
Ticket details
When you open a ticket, the app shows everything about it: key information, the people involved, the work done, and the full change history. From here you can also change the ticket's status and add follow-ups, tasks, solutions and more.
Your organisation decides in GLPI which task categories show the waypoint, vehicle and signature buttons on this screen. Administrators will find the instructions in For administrators: Ticket details options.
Where to find it
Open Tickets from the main menu on the home screen and tap any ticket in the list. If you know the ticket's number, you can also tap the filter icon (top right of the list) and use the Go to ticket tab (see Tickets).
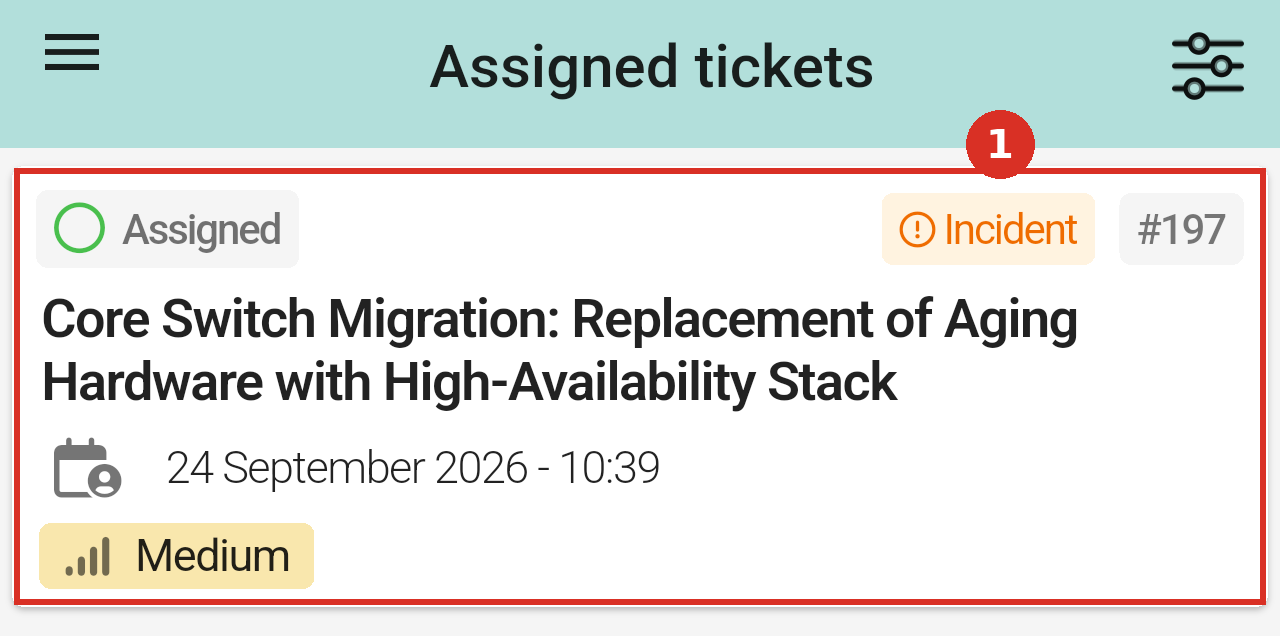
Tap any ticket card in the list (1) to open it.
The ticket header
The top bar stays visible in every section. From left to right it shows the ticket's priority (the bars icon), its status (the coloured circle), its type icon, and its number and title. Below them is the entity the ticket belongs to. Tap the arrow on the left to go back to the list, or the ⌄ arrow on the right to open the ticket actions menu (see Ticket actions menu).
Moving between sections
A ticket is split into sections. Which sections you see depends on your GLPI profile and on the plugins your organisation has installed. There are two ways to move between them: the bottom bar, with the main sections, and the section button, which opens a menu with every section available. The ticket always opens on the Processing tab.
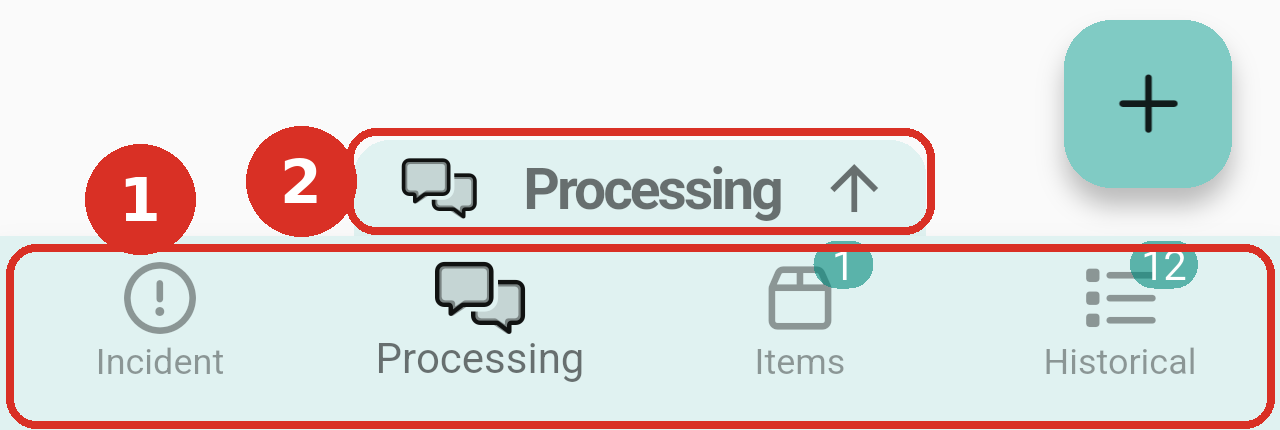
The bottom of the ticket screen: the tab bar (1) and the section button (2).
1. The bottom bar
The bar at the bottom has the main sections of the ticket, such as Processing, Items and Historical. The first tab is called Incident or Request, depending on the type of the ticket. Tap a tab to open that section. The tab you're on is shown in a darker colour. A number badge on a tab shows how many entries it has (for example, 12 on Historical).
2. The section button
Just above the tab bar there's a floating button with an up arrow. It shows the name of the section you're in, and its name changes as you move around. Tap it to open the section menu, which slides up from the bottom of the screen and lists every section available for this ticket, including the ones the bar doesn't have room for. A number badge next to a section shows how many entries it has. To close the menu without changing section, tap outside it.
Note: The + button (add follow-up, task, solution…) only appears on the Processing tab.
Incident or Request: the ticket at a glance
The first tab is called Incident when the ticket is an incident and Request when it is a request. It gives you the ticket's key facts: who opened it and when, who changed it last, and where the request came from.
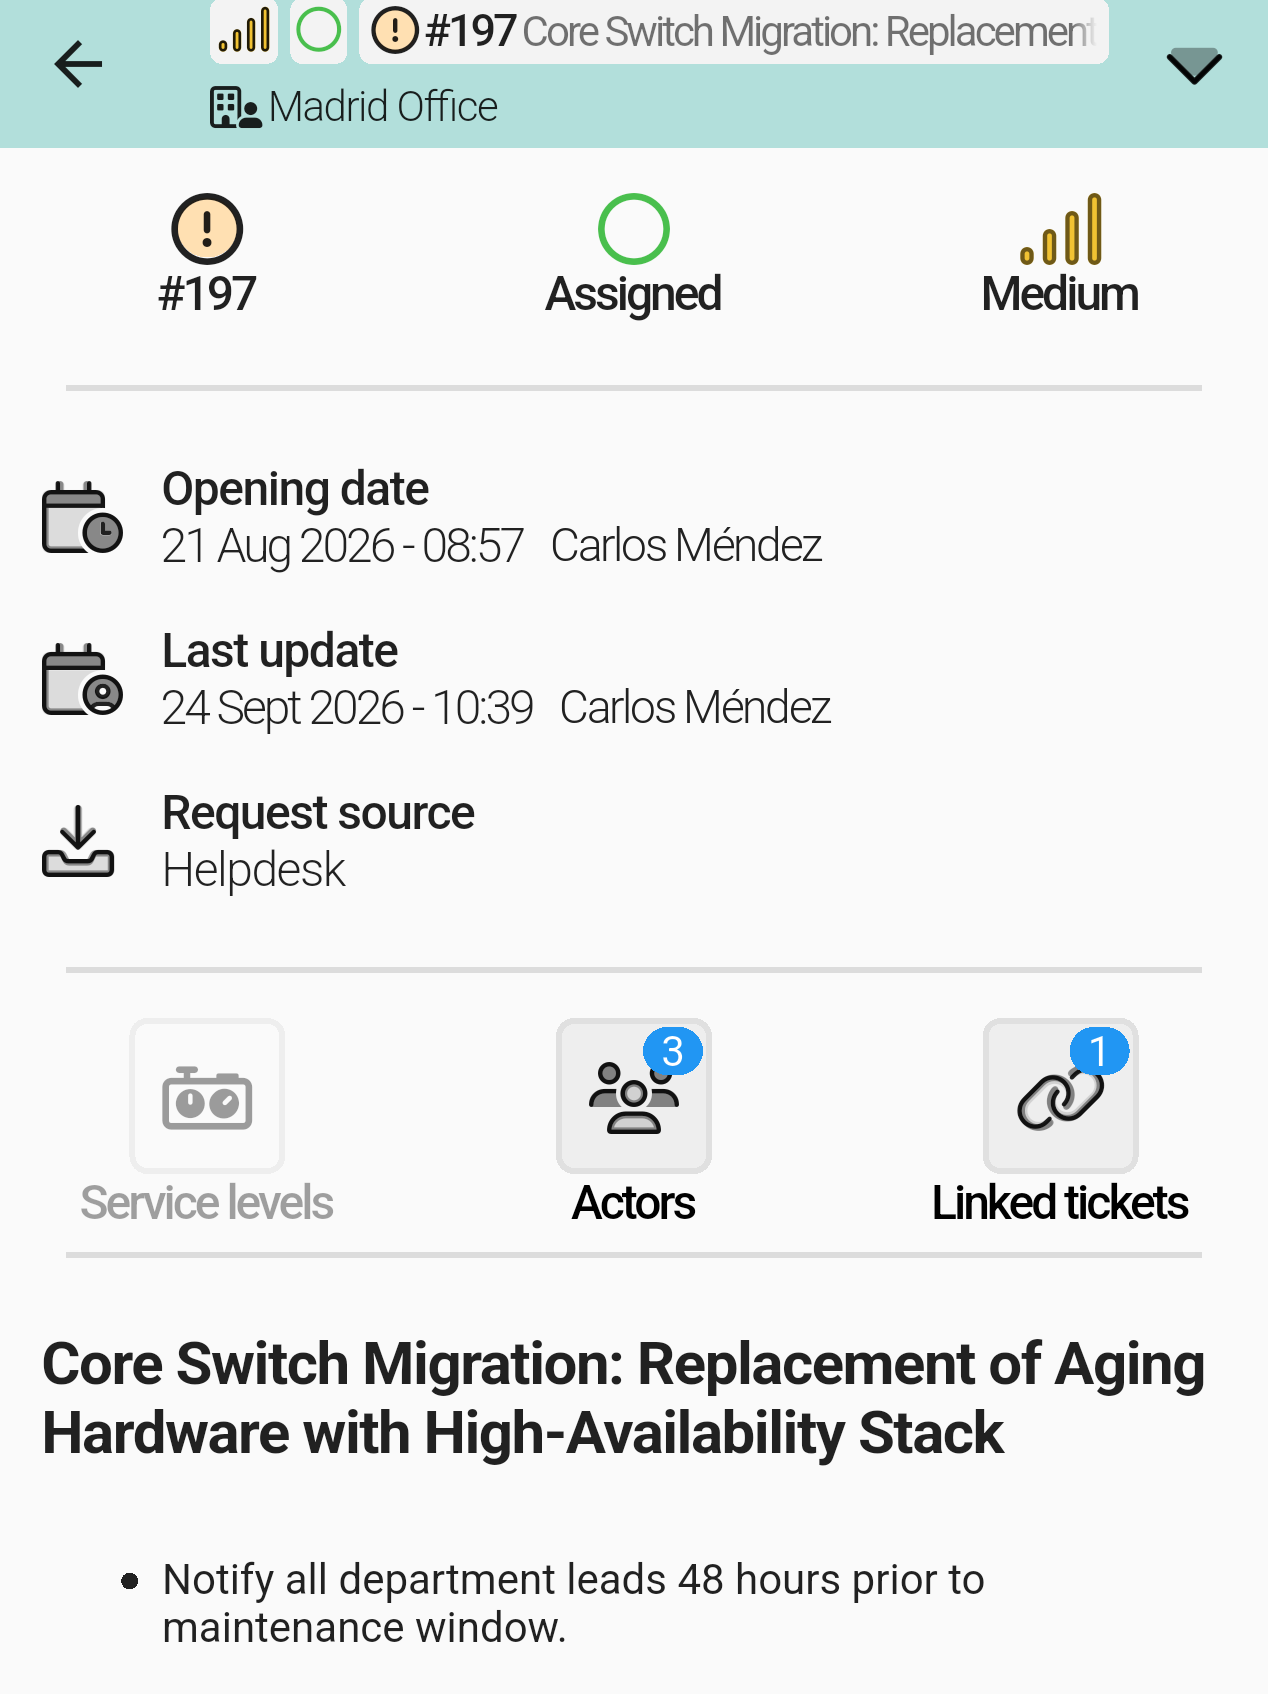
The first tab (here Incident). At the top: the ticket's number, status and priority. Then the dates, the request source and three buttons. The title and description come last.
Below Request source there are three buttons: Service levels, Actors and Linked tickets. A badge on each one shows how many entries it has. A greyed-out button means there's nothing to show. For example, Service levels is greyed out when the ticket has no service level agreement (SLA), that is, no response or resolution deadlines.
Actors
Tap Actors to see everyone involved in the ticket, in three groups:
- Requester: the person who asked for help.
- Observer: people who follow the ticket without working on it.
- Assigned to: the technicians or groups working on the ticket.
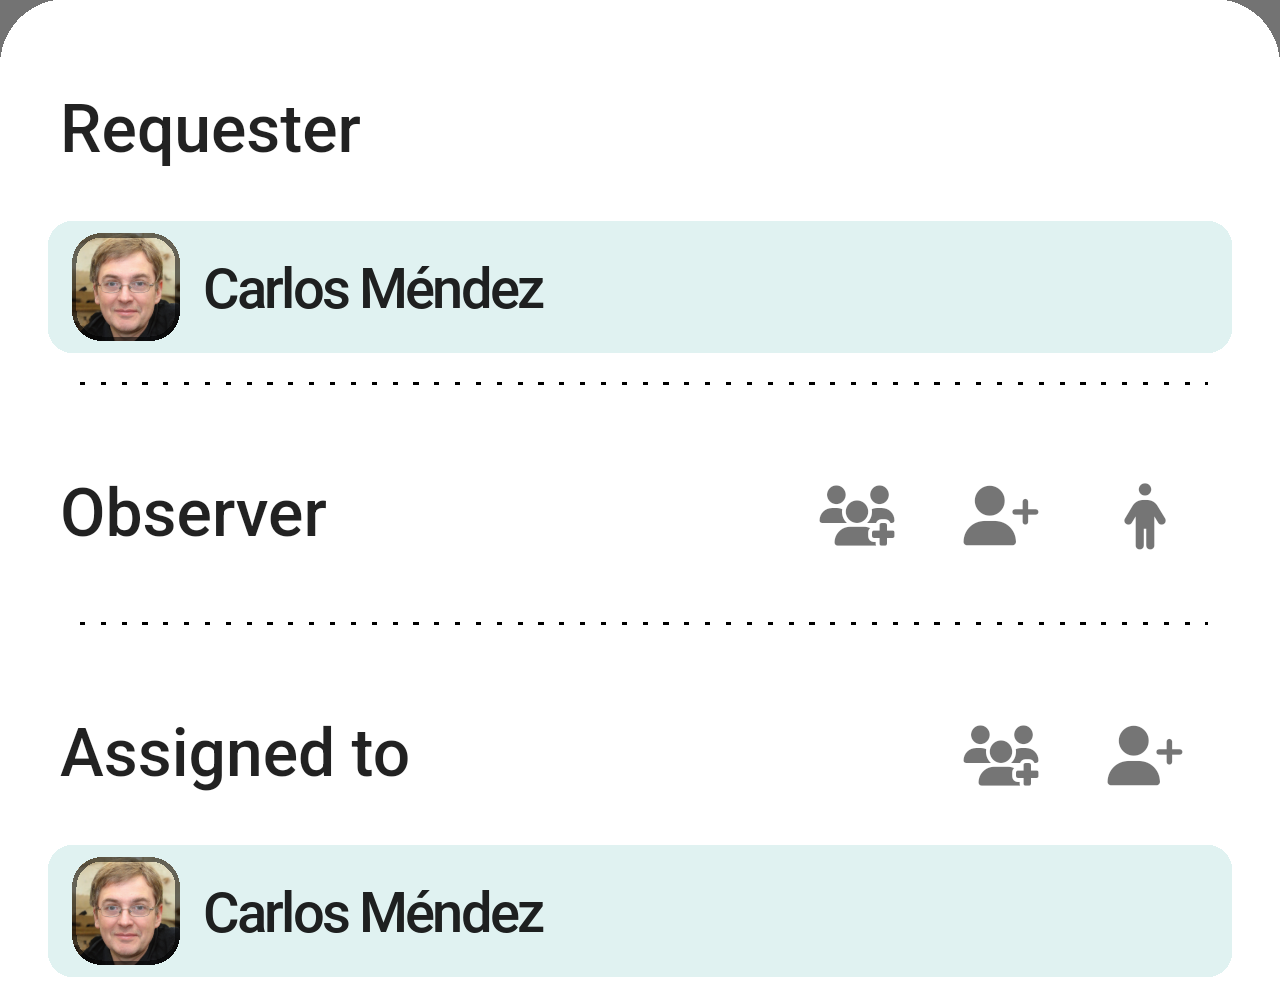
The Actors sheet. Next to Observer and Assigned to, the first icon adds a group and the second adds a user. Next to Observer, the third icon (a standing figure) adds yourself.
Linked tickets
Tap Linked tickets to see the tickets related to this one.
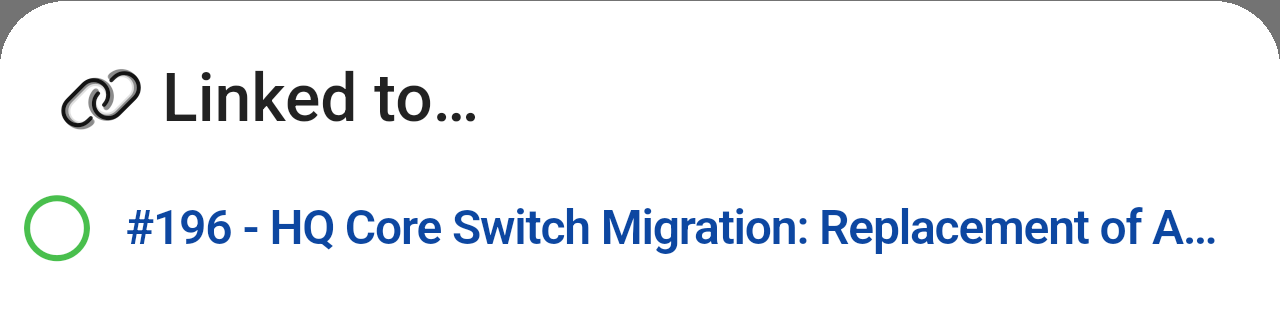
This ticket is linked to ticket #196.
Service levels
When the ticket has a service level agreement (SLA), Service levels shows its deadlines: for example, how soon a technician must take the ticket and how soon it must be resolved.
Processing: the work done on the ticket
The Processing tab is the ticket's timeline. It starts with the ticket's description, followed by everything added to the ticket, oldest first (you can change the order in Preferences). There are five kinds of entry:
- Followup: a message or comment added to the ticket.
- Task: a piece of work done on the ticket, with the time spent on it.
- Document: a file attached to the ticket.
- Validation: a request asking someone to approve the ticket.
- Solution: the answer that resolves the ticket.
Each task card shows:
- the technician and the task description;
- a checkbox showing the task's status (ticked = done, empty = still to do) and a pencil button to edit the task;
- the task category, next to the tag icon at the bottom right.
Note: If your organisation uses the Actualtime, Waypoint or Gapp Sign plugins, task cards also show their extra buttons and data (timers, travel times, signatures). They are explained in their own pages: Actualtime, Waypoints and Gapp Sign.
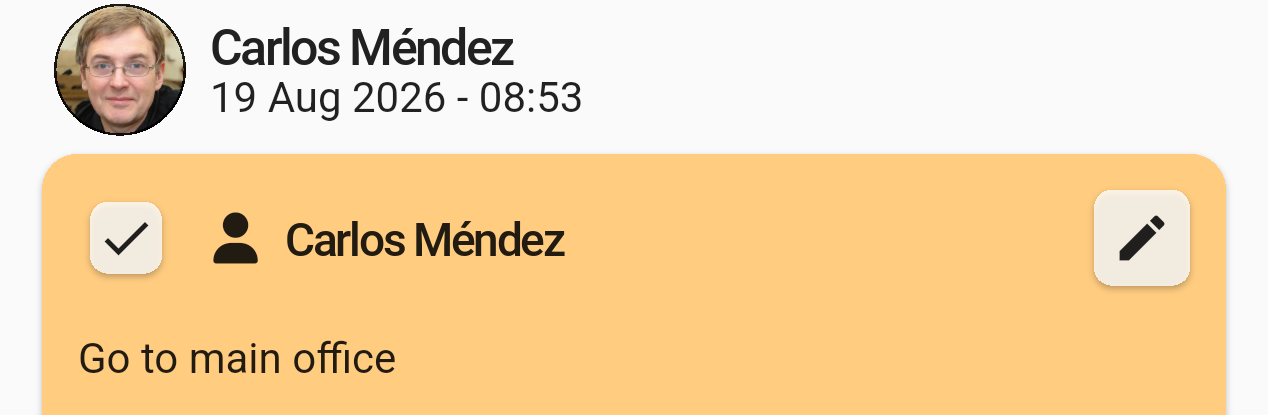
On a task card, the checkbox (left) shows its status and the pencil (right) opens it for editing.
Showing only one kind of entry
To see only one kind of entry, tap the ⌄ arrow (top right) and choose Filter. A bar appears above the timeline with one icon per kind of entry, each with its count. From left to right: follow-ups (speech bubble), tasks (wrench), documents (page), validations (thumbs up) and solutions (tick). The highlighted icon shows which kind is being displayed. Tap the icons to choose which entries to show.
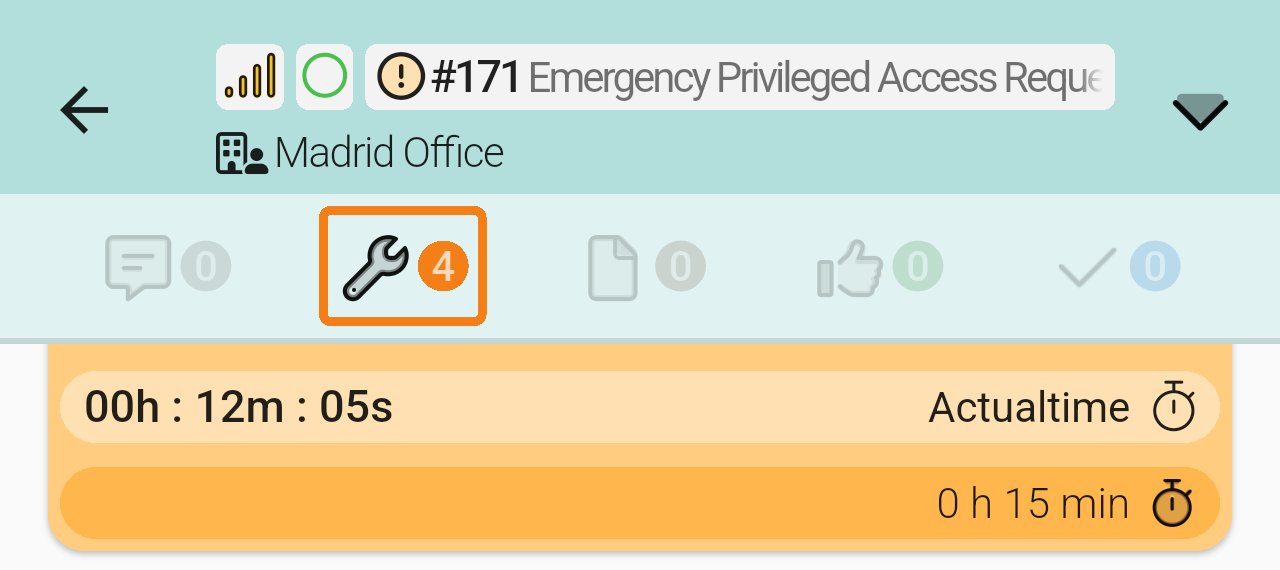
The timeline filtered to show only tasks (4).
Adding to the ticket
To add something to the ticket, use the + button at the bottom right of the Processing tab. When the menu is open, the button turns into a red ×. Tap it to close the menu without adding anything.
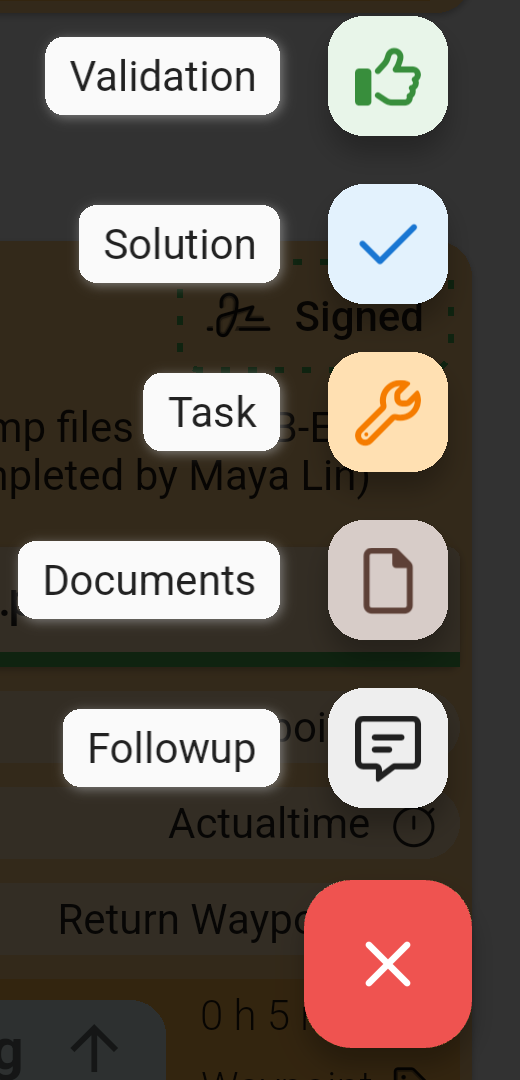
Add a Validation request, a Solution, a Task, Documents or a Followup.
These steps are for a Followup or a Task.
- Tap + and choose the type of entry.
- Write the text. You can @mention people, use basic formatting and attach files with the Upload documents bar at the bottom of the editor, which shows the maximum file size.
- For a task, you can also set its properties: tap the side tab on the right edge of the form to open Properties (see Task properties below).
- Tap the paper-plane icon (top right) to save it.
Both editors look alike. A Followup has the text area, the formatting bar on top and the Upload documents bar at the bottom. A Task also has a small side tab on the right edge, with the buttons that open its properties.
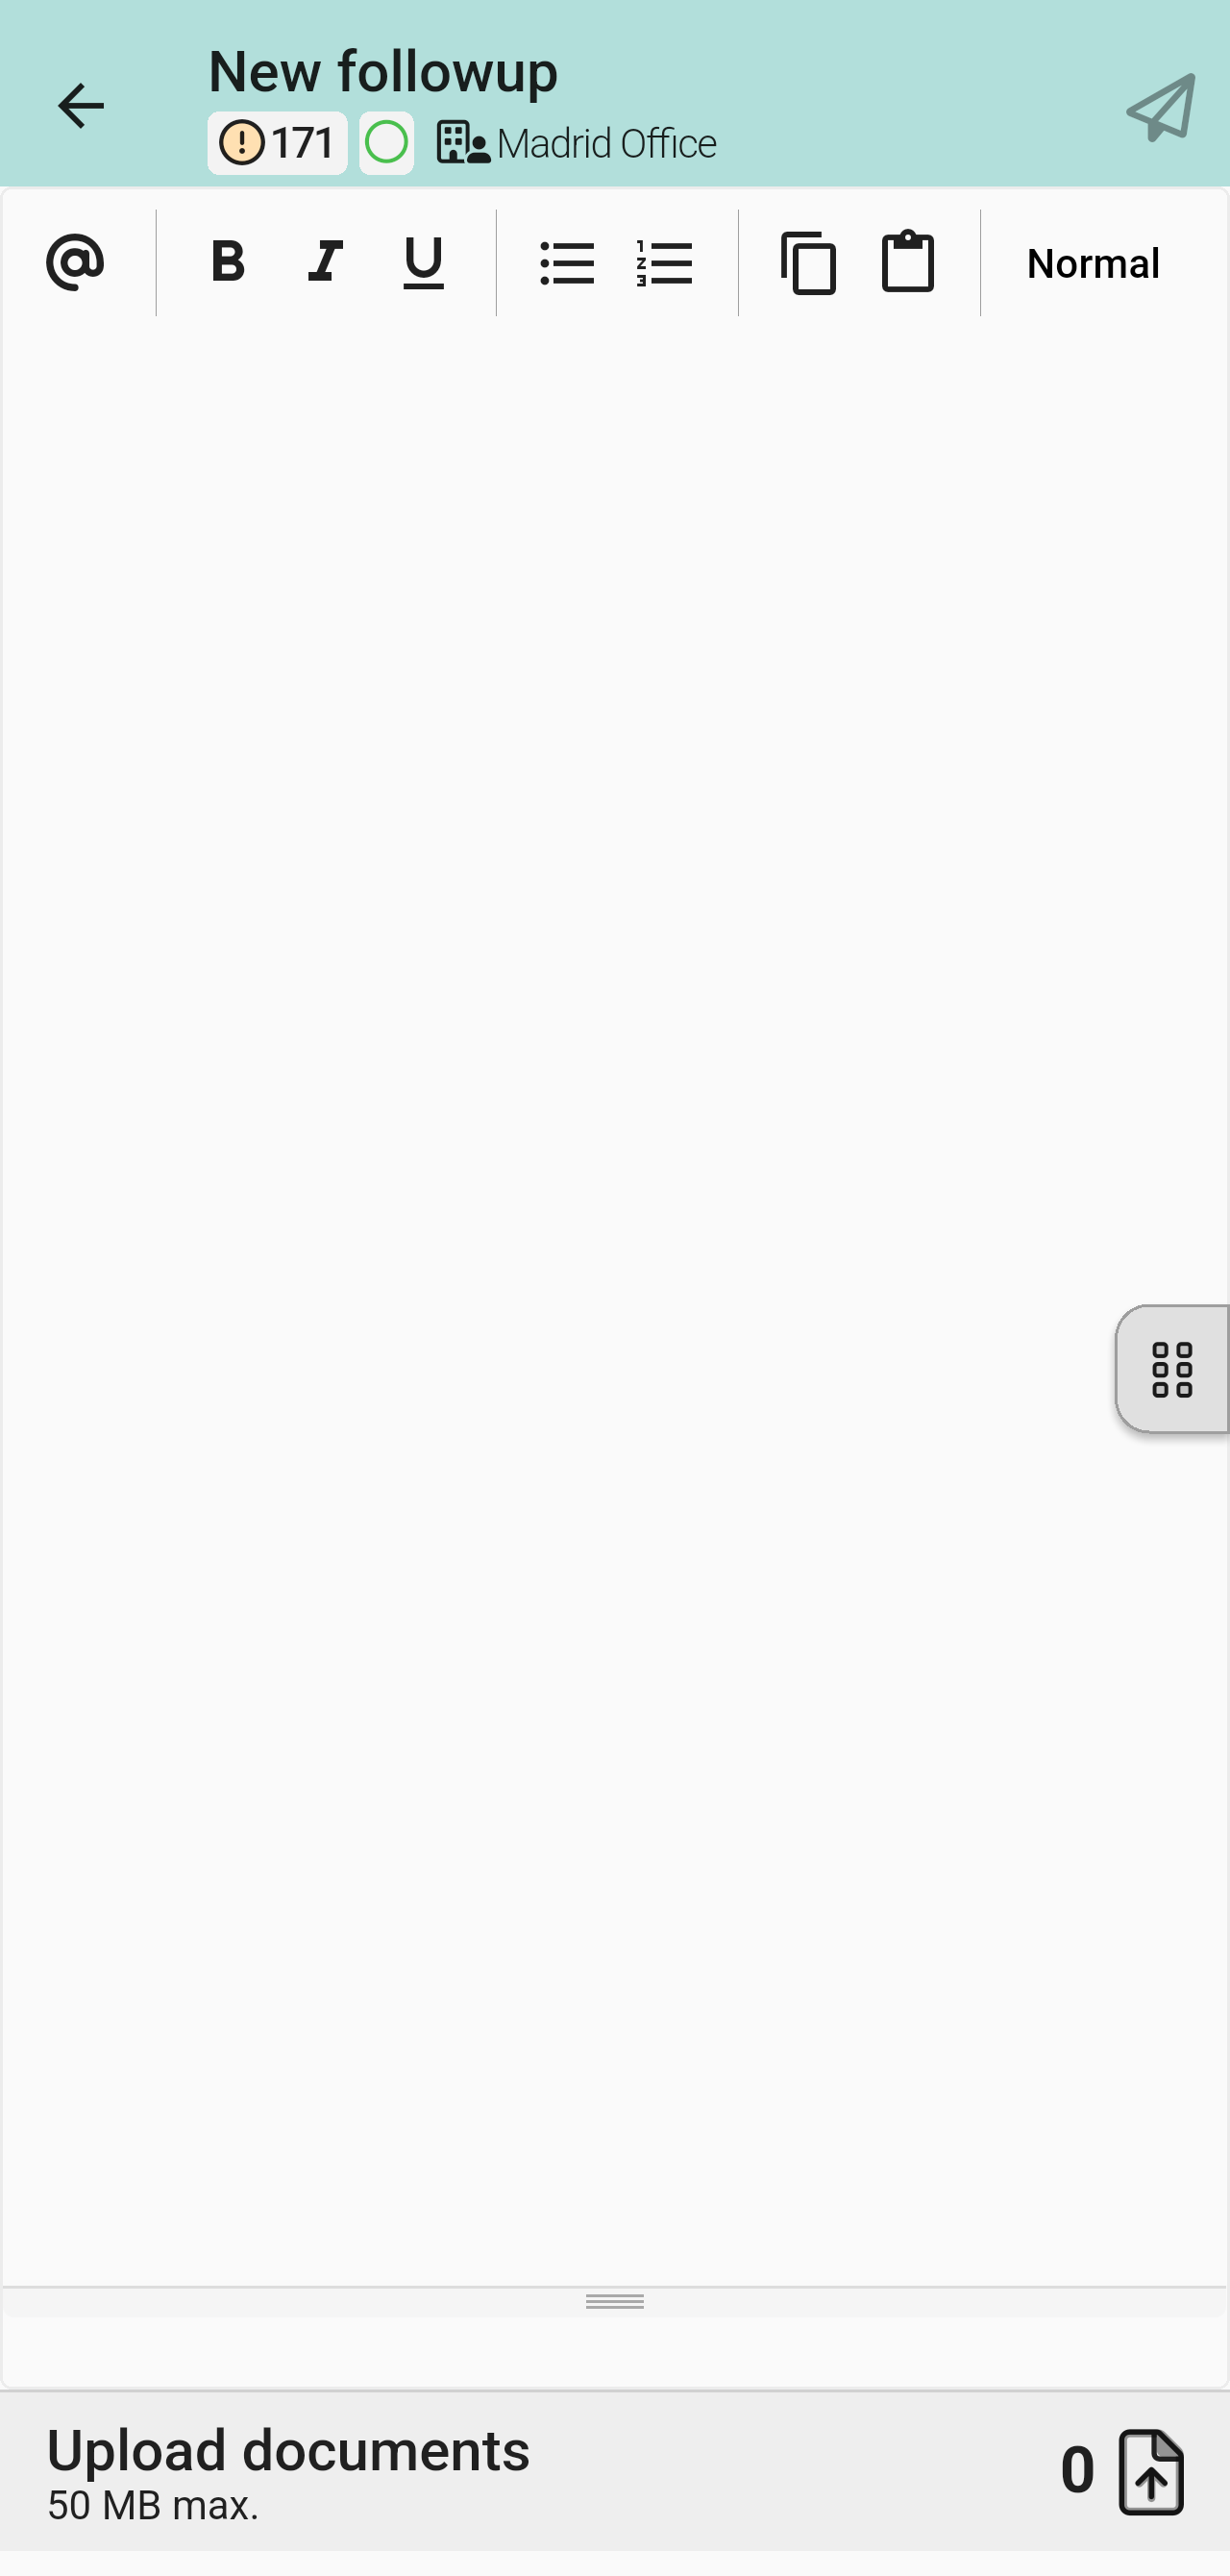
The New followup screen. Under the title you can see the ticket number, its status and its entity. The paper-plane icon (top right) saves it.
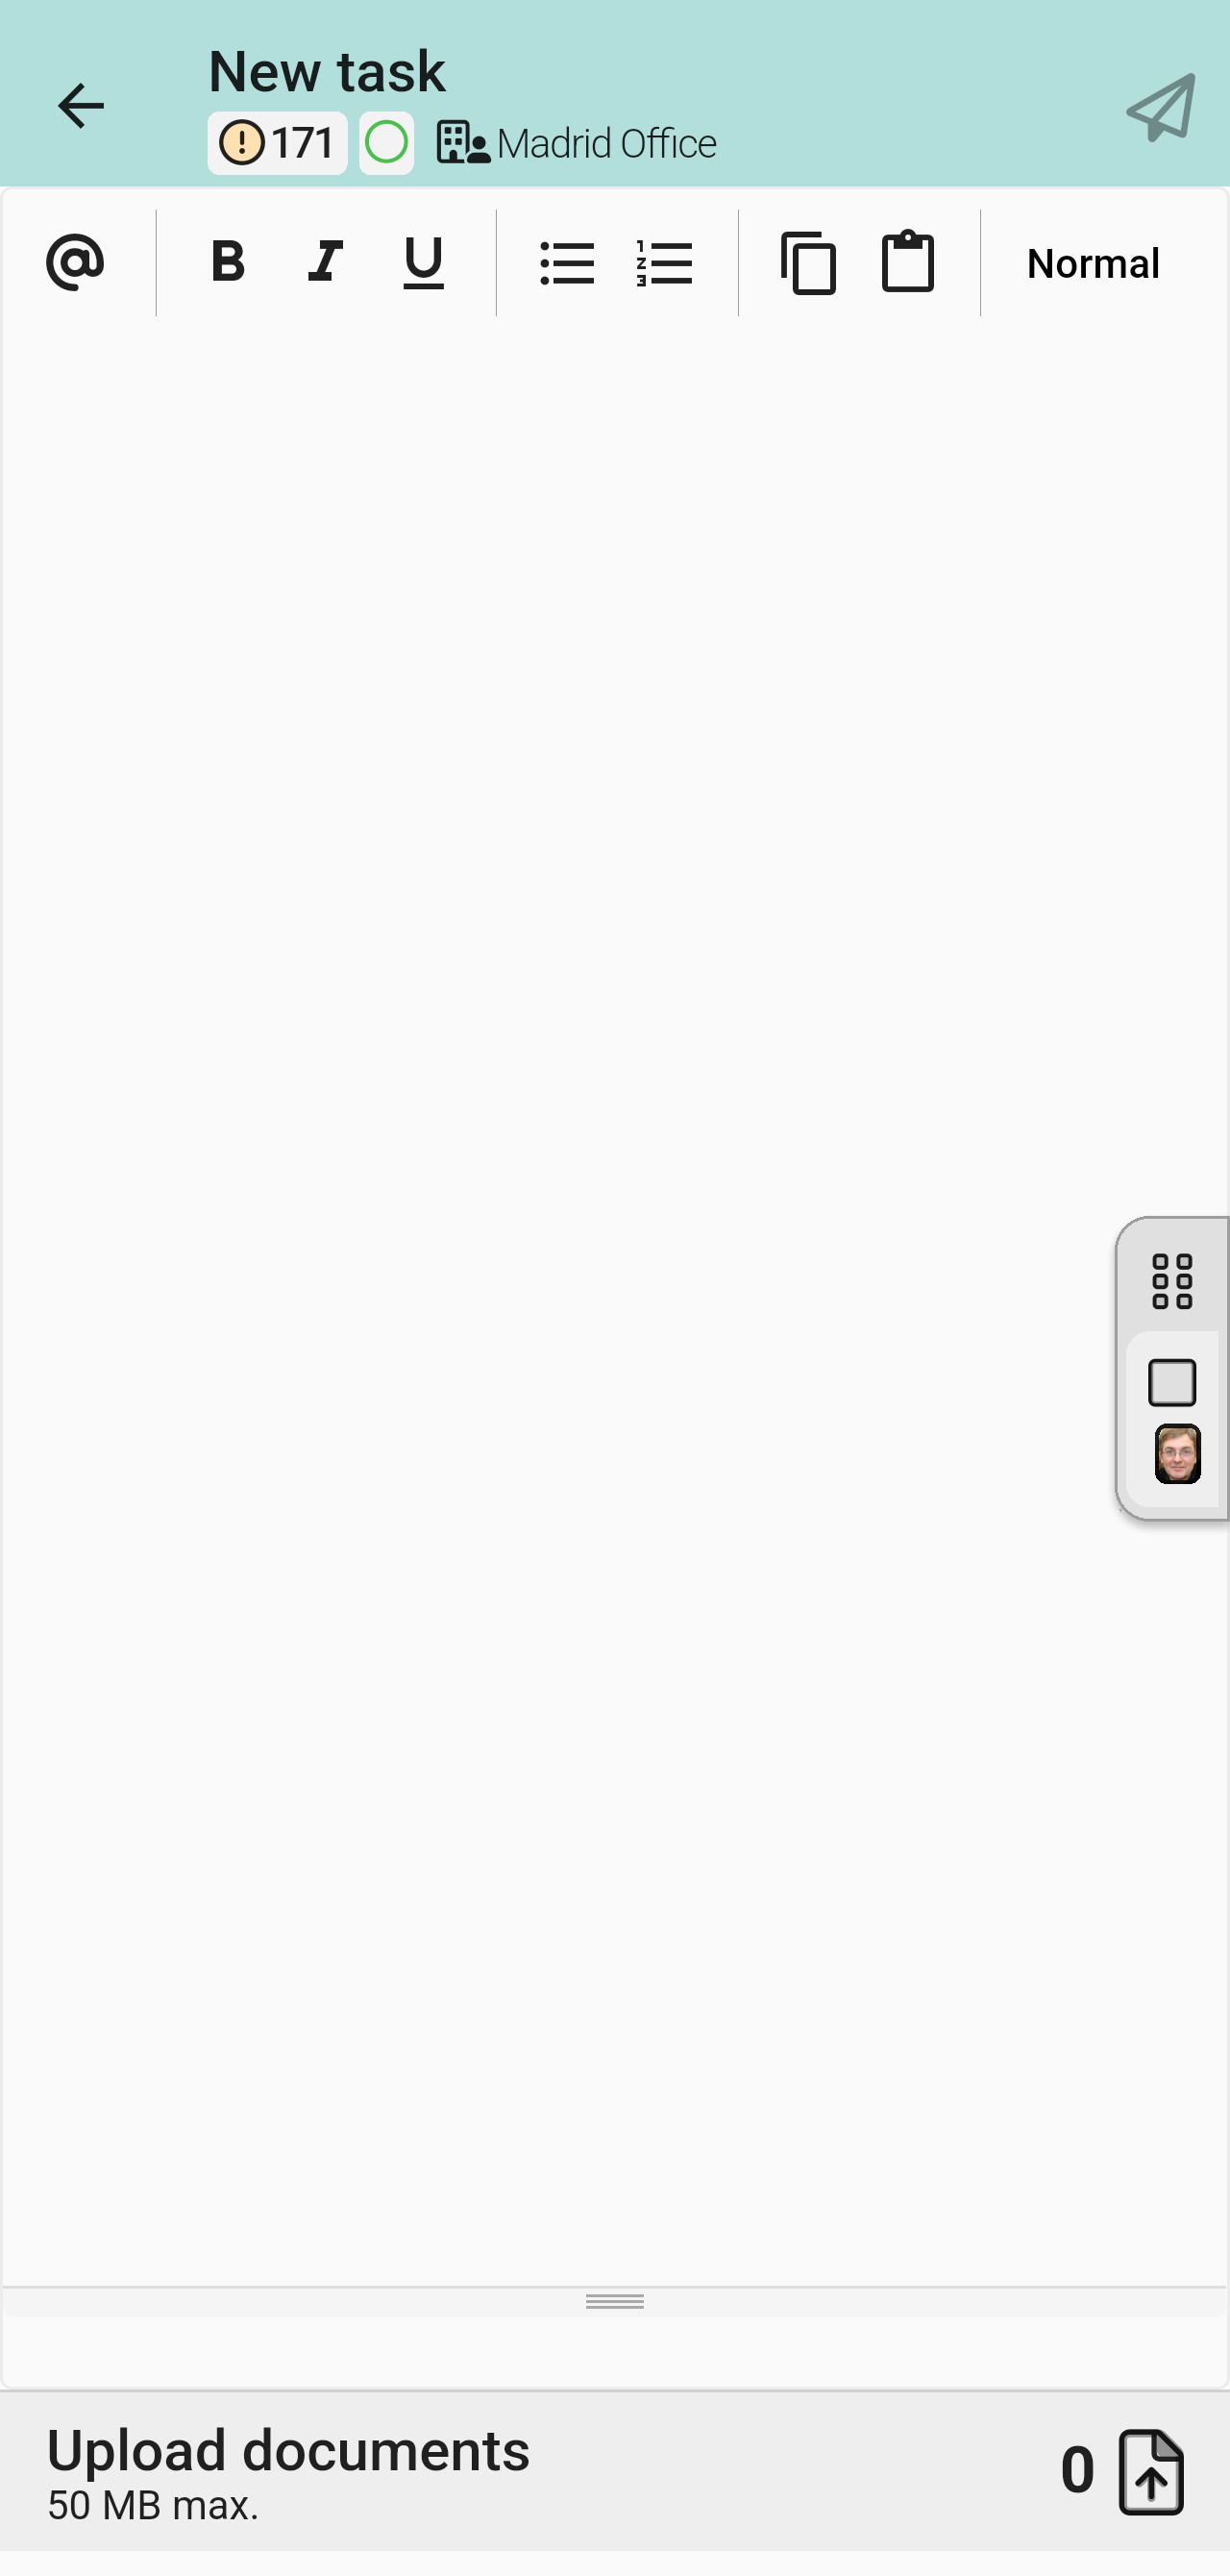
The New task screen. The side tab on the right edge gives access to the task's properties.
Task properties
The Properties panel holds the task's settings. All of them are optional:
- Set to pending: puts the ticket on hold (status Pending) when you save the task.
- Public: makes the task visible to the person who requested the ticket. Leave it off to keep the task visible to technicians only.
- To do: marks the task as still to do.
- Category (tag icon): the kind of work, from the categories your organisation has set up in GLPI.
- Duration (stopwatch icon): how long the task takes.
- Technician: the person the task is assigned to.
- Plan this task: gives the task a date and time, so it appears in Planning.
Plugins can add more options to this panel, such as the Actualtime timer (see Actualtime).
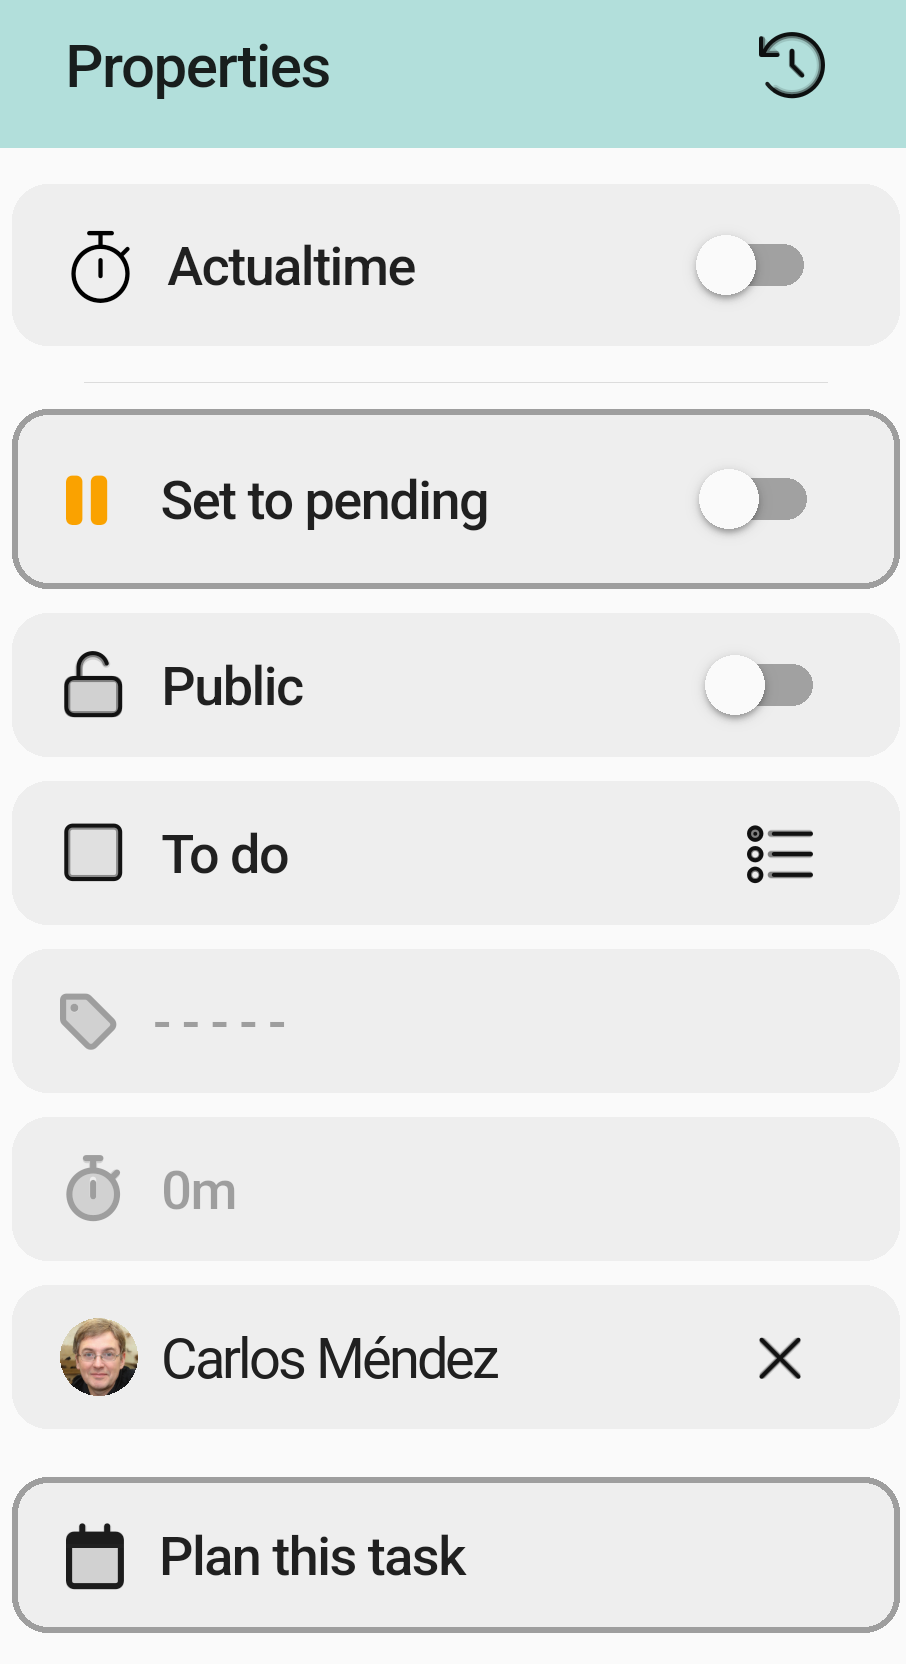
The Properties panel of a new task.
Note: The options available depend on your GLPI profile. For example, you may not be allowed to add solutions or validations.
Items
The Items tab lists the assets linked to the ticket (computers, printers, and so on). Each card shows the asset's name and its kind of asset (for example, Computer), followed by its main data. The fields shown depend on the kind of asset: a computer shows its serial number, user, status, manufacturer, model and type (for example, Laptop), while other kinds of asset show their own fields. If no assets are linked, the tab shows "Oops… It seems there is nothing here."
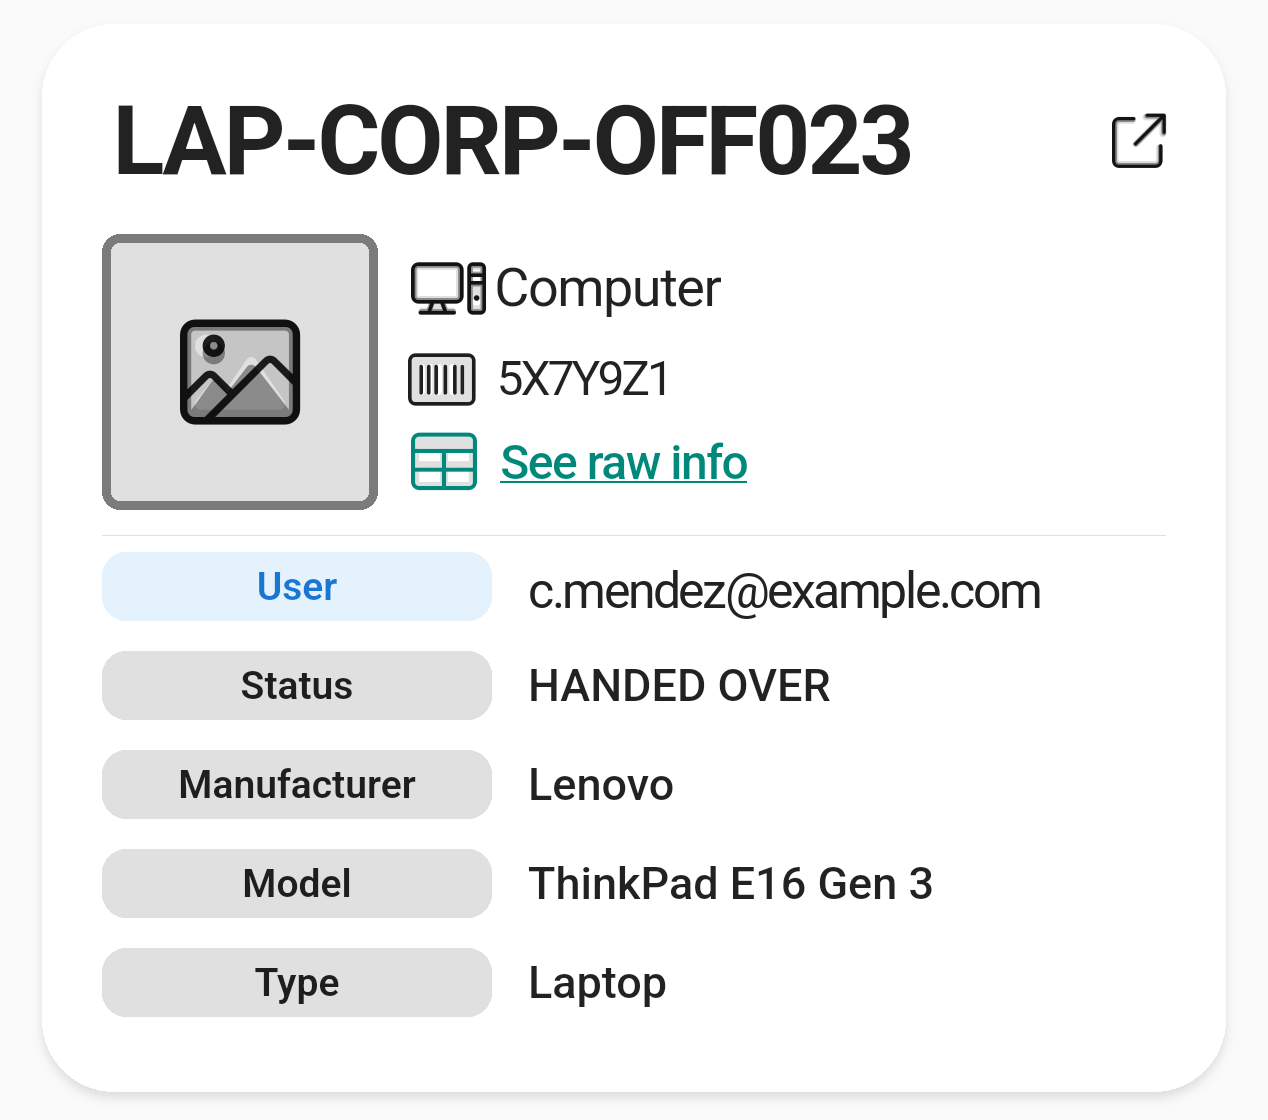
An asset linked to the ticket. Tap See raw info for all its data, or the arrow icon (top right) to open the asset itself (see Assets).
Historical: every change, in order
The Historical tab lists every change made to the ticket, newest first.
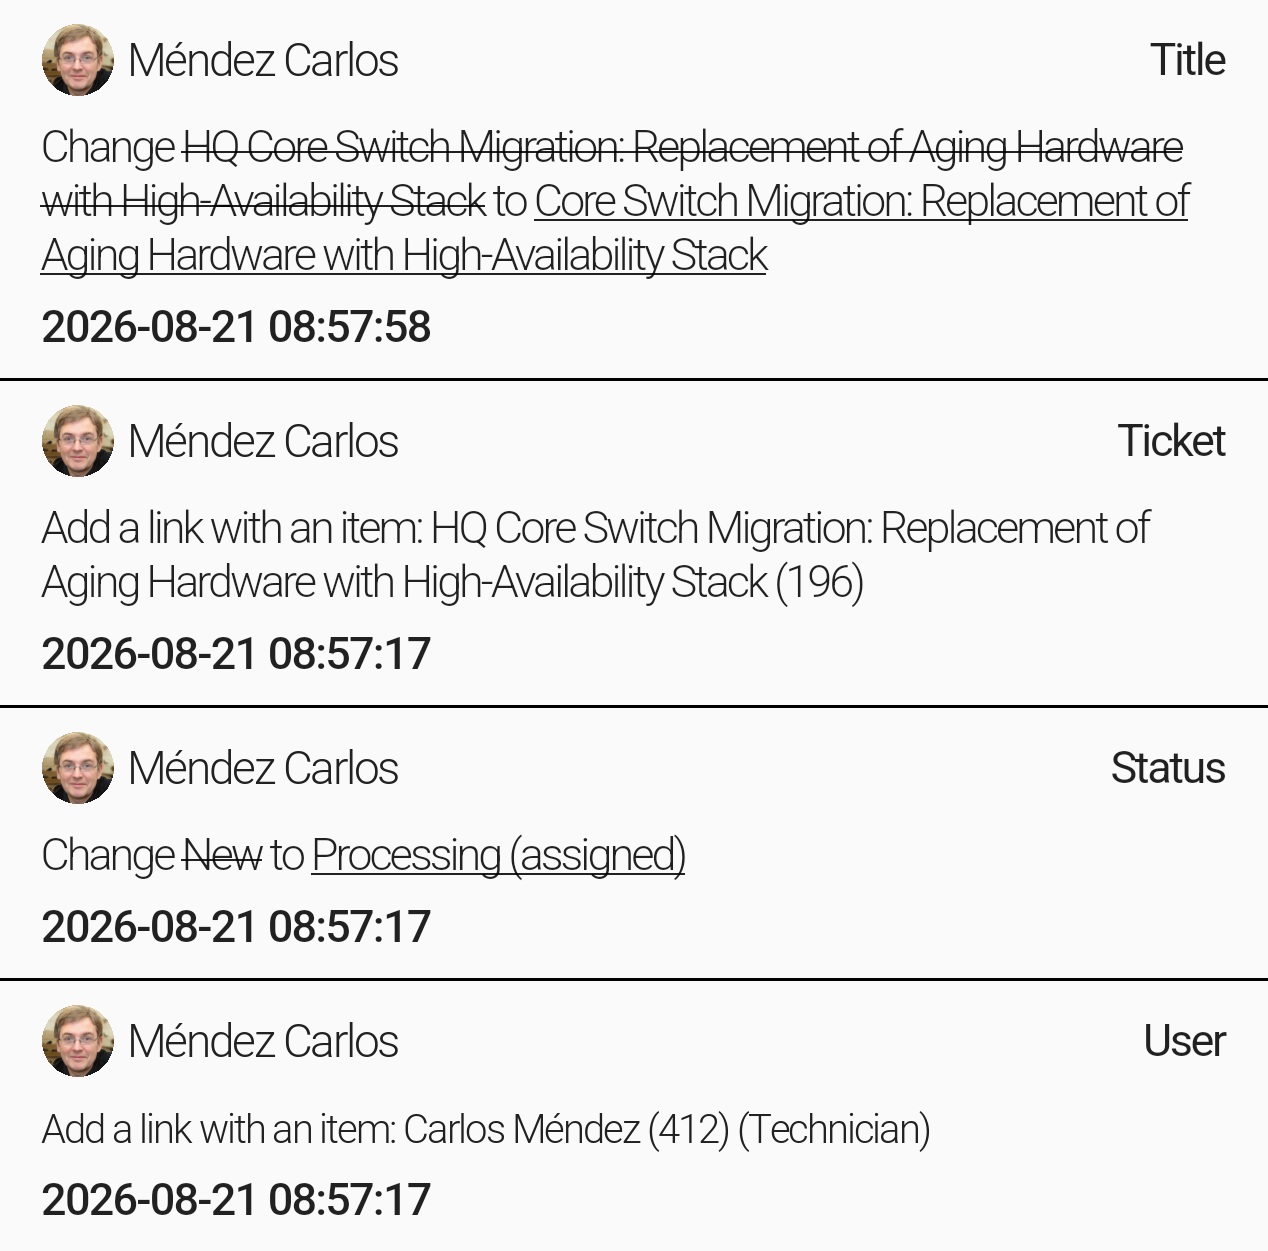
Each entry shows who made the change, the field that changed (Title, Ticket, Status, User…), the old value (crossed out) and the new one, and the exact date and time.
Ticket actions menu
Tap the ⌄ arrow in the top-right corner (1) to open the ticket actions menu. It has three options, shown in the next image and described below.

The arrow (1) that opens the ticket actions menu, at the top right of the ticket header.
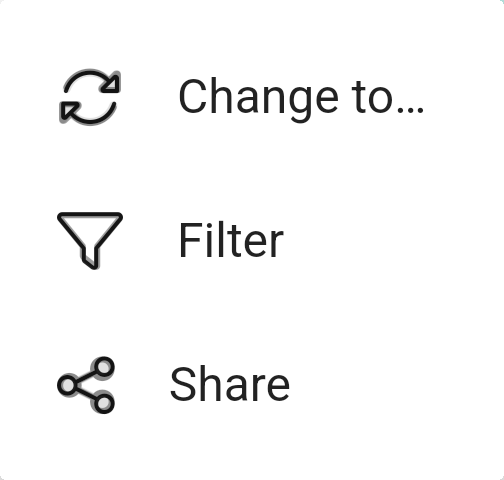
The ticket actions menu.
- Change to… changes the ticket's status.
- Filter shows or hides the entry-type filter bar in Processing (see above).
- Share opens your phone's share options with a link to the ticket in GLPI's web interface.
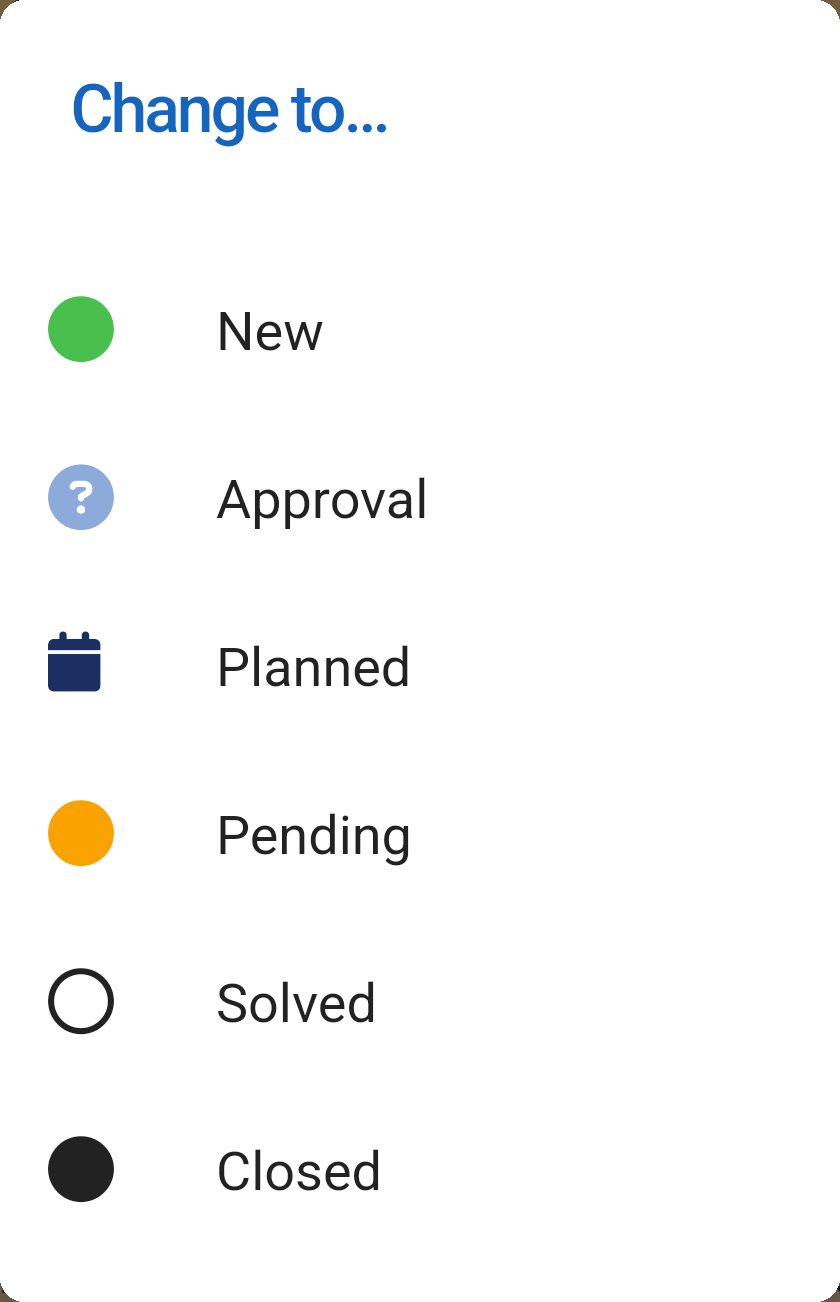
Tap the new status to apply it. The ticket's current status (here Assigned) isn't listed.
Note: Changing the status updates the ticket in GLPI. The statuses you can choose depend on your profile and on your organisation's GLPI settings.
For administrators: Ticket details options
Options in GLPI
Waypoint and vehicle categories are set in GLPI, under Setup → General, on the Gapp Xtended tab, and signature categories are set per entity, on the DocGen tab. Those signature categories are a list per entity, and a child entity can inherit its parent's list. The app reads the Xtended options when the technician signs in.
| Option | Factory value | What changes in the app |
|---|---|---|
| Task categories with waypoints (Gapp Xtended) | None | Tasks in these categories show the waypoint button on their card. |
| Task categories with vehicle waypoints (Gapp Xtended) | None | Tasks in this category record the trip kilometres, and the task must have a vehicle assigned. |
| Ticket task categories that need validation (DocGen tab of the entity) | None | Tasks in these categories show a signature icon with the label Docgen, and ask for a signature. |
Waypoint mode (waypoint_mode) |
Normal | Normal: the category buttons above are offered. User: they are not offered, and the technician's own geolocation is used. Optimizer: they are not offered, and waypoints come from the route menu. |
A category cannot be both a waypoint category and the vehicle category. The place of the waypoint mode in the Gapp Xtended tab is still to be confirmed.
Interactions with other plugins
Waypoint
The waypoint buttons need the Waypoint plugin and Gapp Xtended.
Vehicles
The kilometres need the Vehicles plugin, which works on top of Waypoint.
Gapp Sign
The signature needs Gapp Sign, Docgen and Gapp Xtended.