
Asset Handover
Use Asset Handover to give equipment (a laptop, a phone, a monitor…) to a person (an employee, a customer, a contractor…), or to take it back. You run the process on your phone, and the person who receives it signs on your phone's screen. Every handover and return is recorded in GLPI with their signature.
Where to find it
From the home screen, tap Asset Handover, or open it from the side drawer.
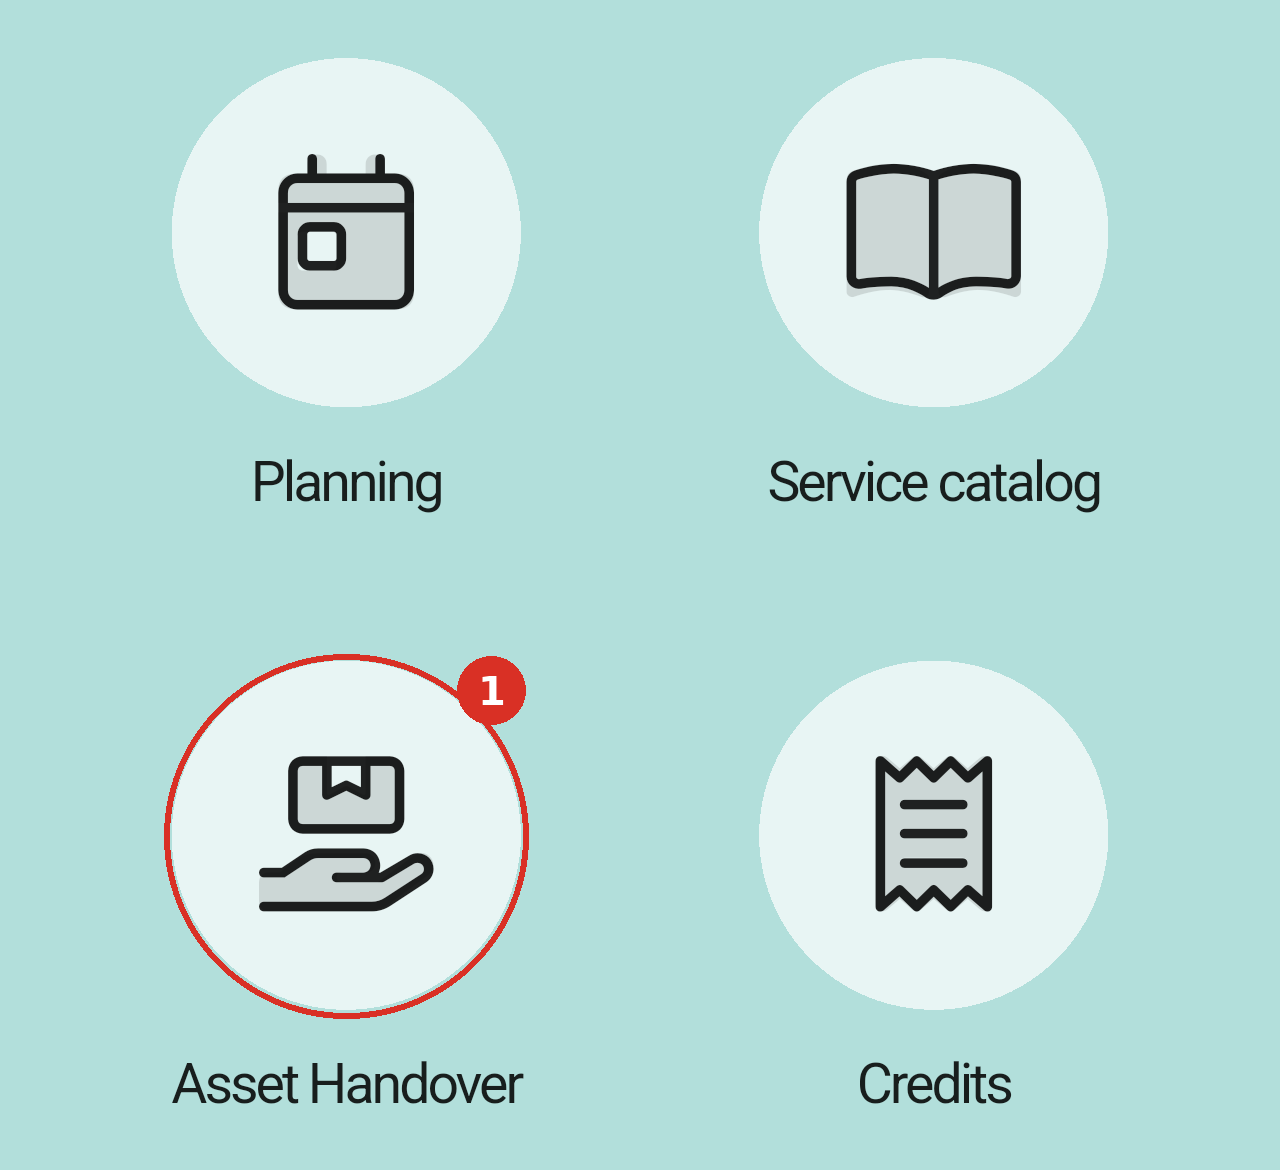
The Asset Handover icon on the home screen (1).
The Asset Handover screen opens. You can start from the asset, by scanning its QR code, or from the person. The steps on this page start with Select user.
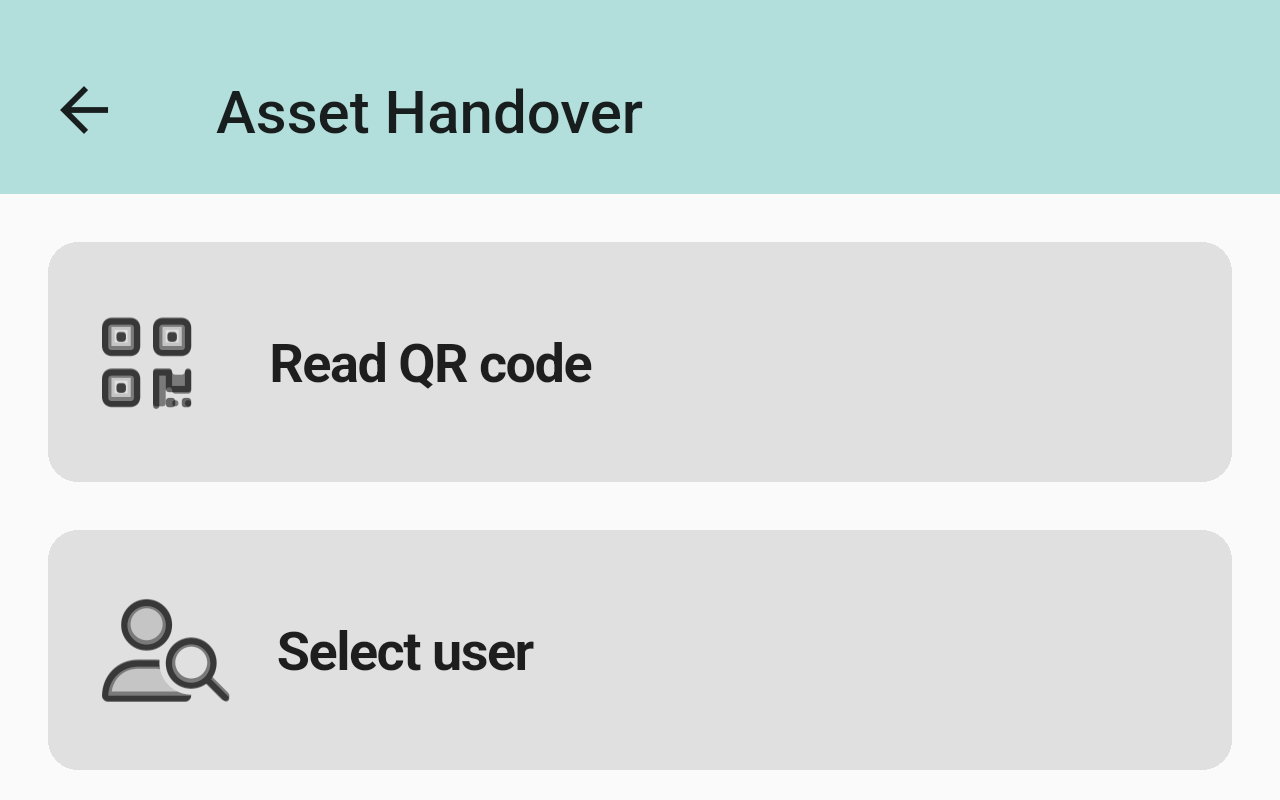
Tap Read QR code to start from the asset, or Select user to start from the person.
Handing over an asset
To hand an asset over, you choose the recipient and the asset, then open the handover document, which the recipient signs. Follow these steps in order.
1. Select the recipient
Tap Select user and choose the person who receives the asset. Their screen opens with an Assets to hand over section. If they already have assets, these are listed under Handed over assets.
2. Add the asset and create the handover
Add the asset, then create the handover:
- Tap + on the Assets to hand over bar.
- Pick the asset's category (for example Computer), then tap the asset in the list. You can also scan the asset's QR code instead.
- Tap Create Handover, below the list.
- The Information pop-up lists the recipient and the assets. Check them, then tap Continue.
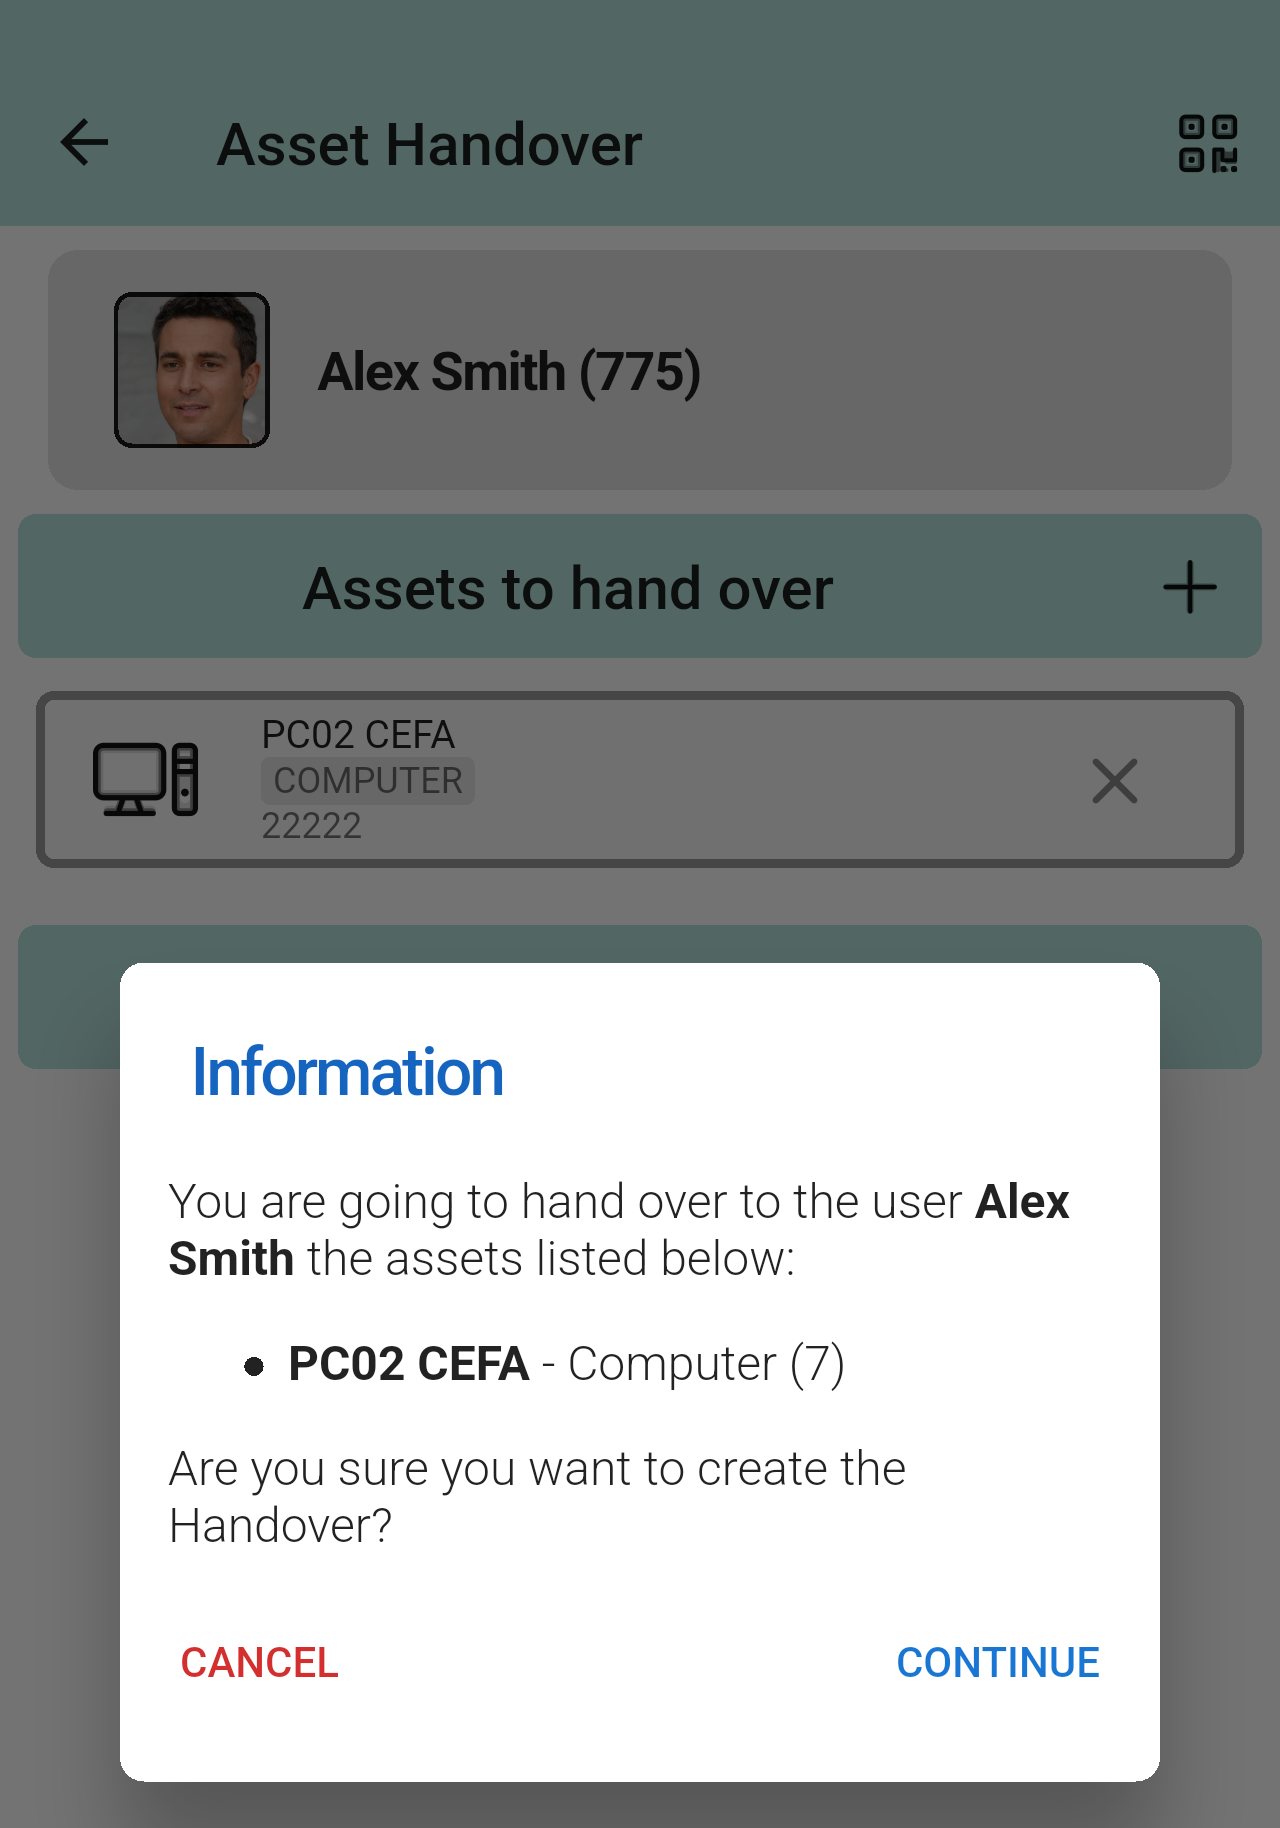
The asset is added under Assets to hand over, and the pop-up asks you to confirm before the handover document opens.
3. Read the handover document
The GappSign - Asset Handover screen opens with the handover document. The document comes from a template that your organization prepares in GLPI, so its content and layout are your organization's own: usually the conditions for using the asset, the person who receives it, the assets and you as the person handing them over. Give the phone to the recipient so they can read it.
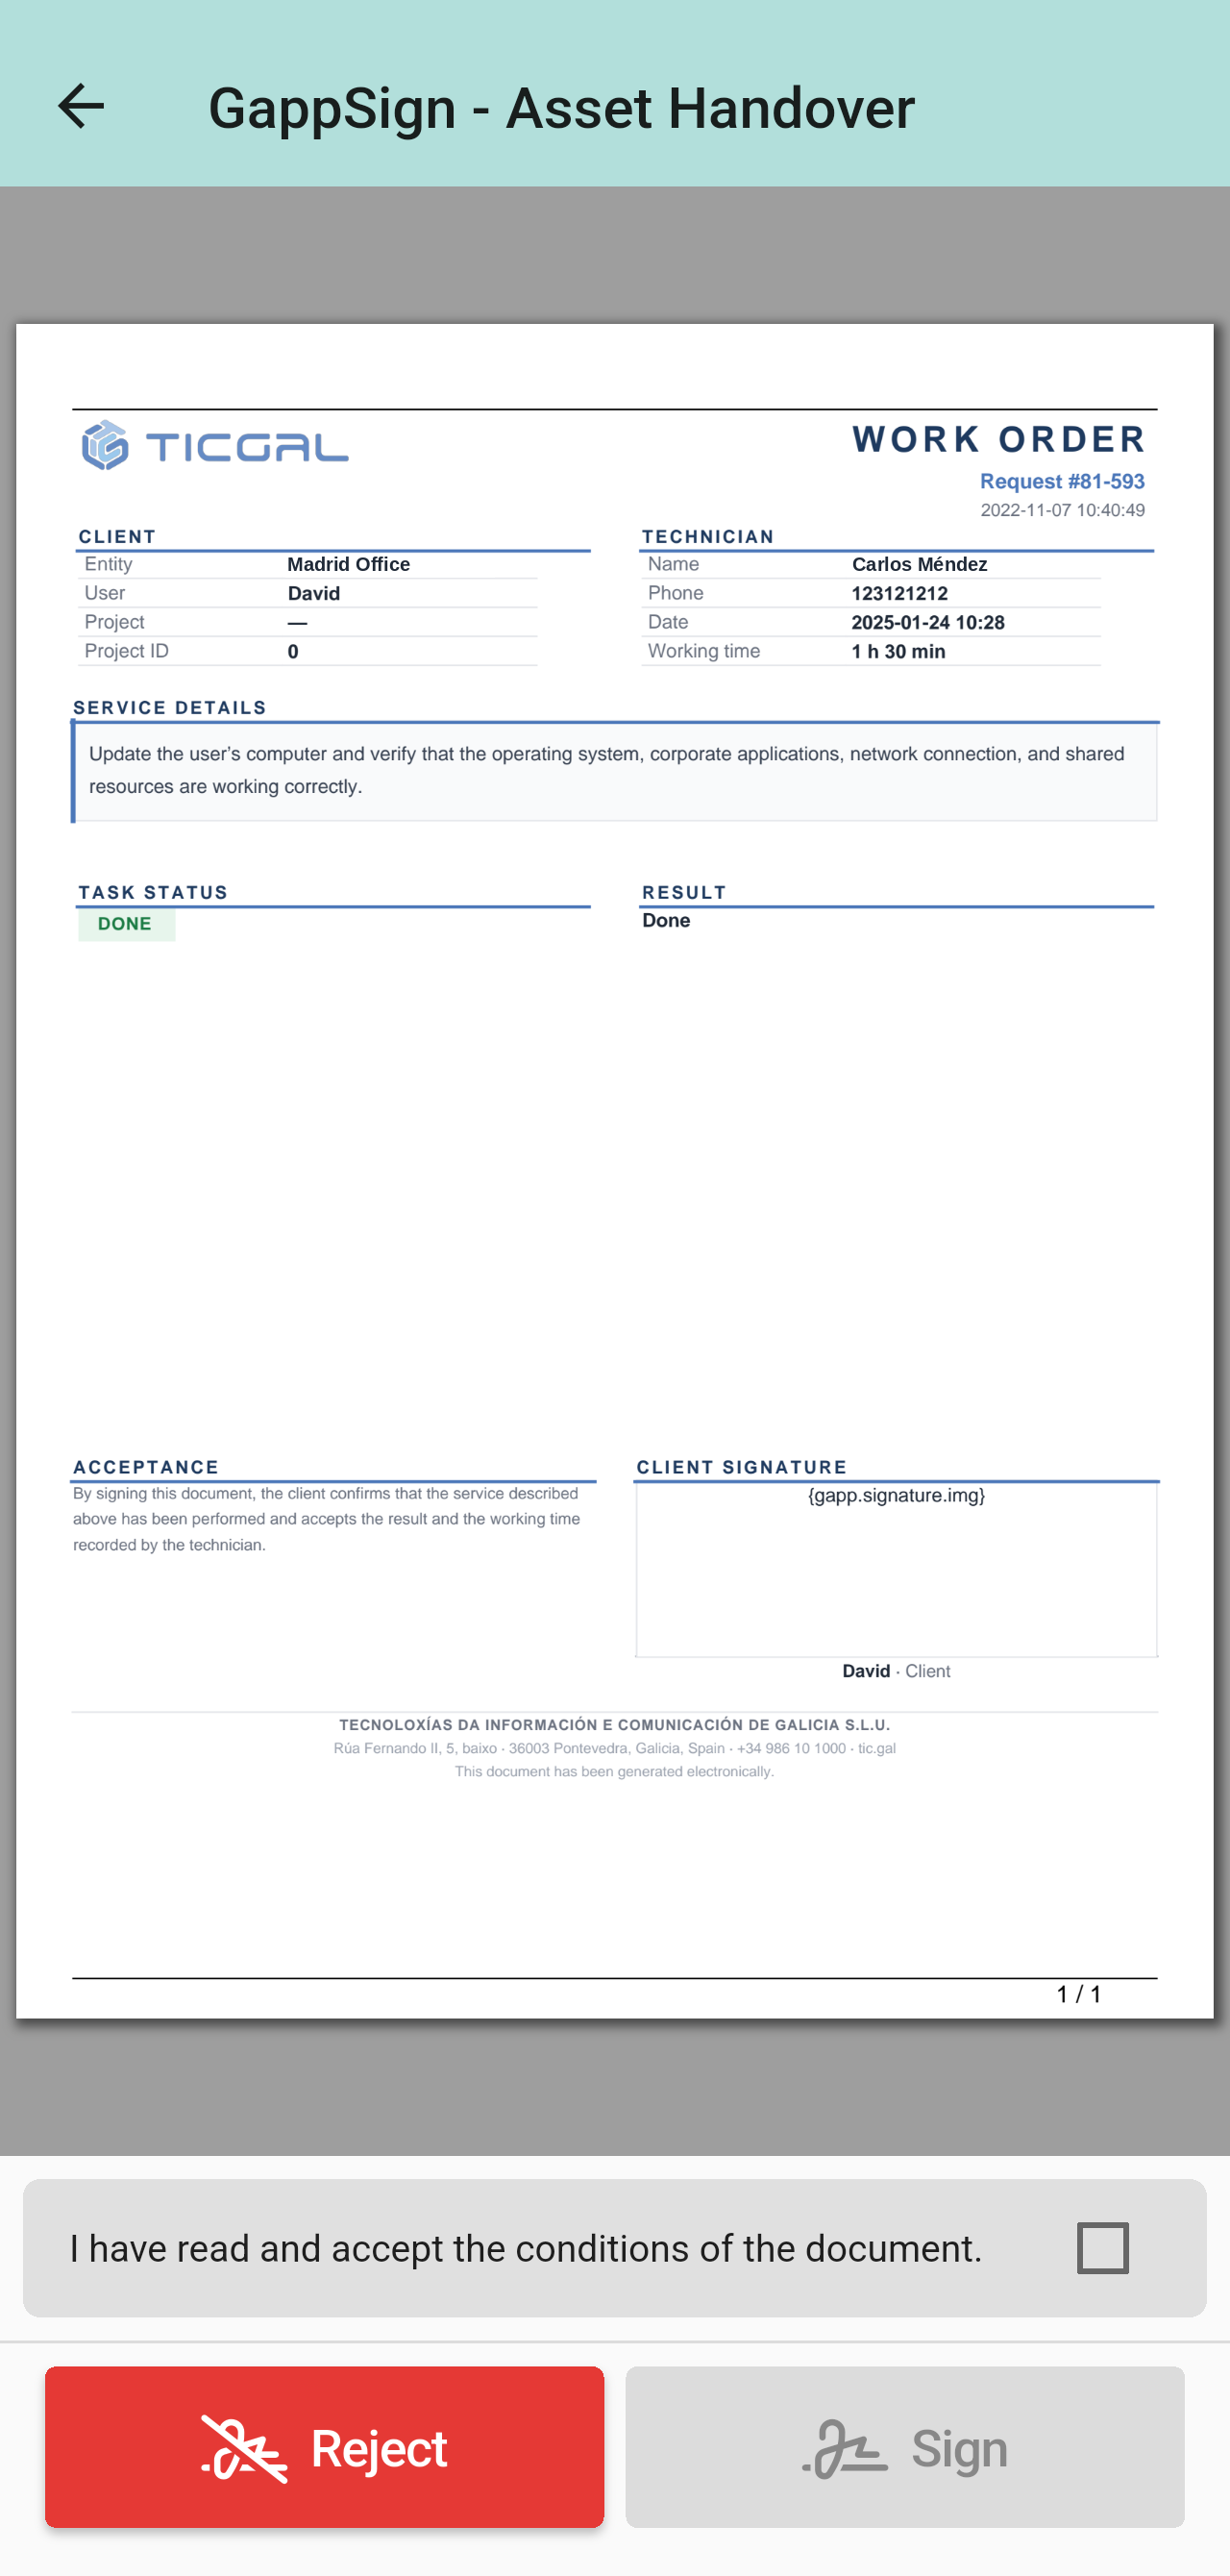
An example document on the GappSign - Asset Handover screen. Your organization sets up its content in GLPI, so yours will look different.
4. Accept the conditions
The recipient scrolls to the end of the document, then ticks I have read and accept the conditions of the document. The box stays grayed out until they reach the end.
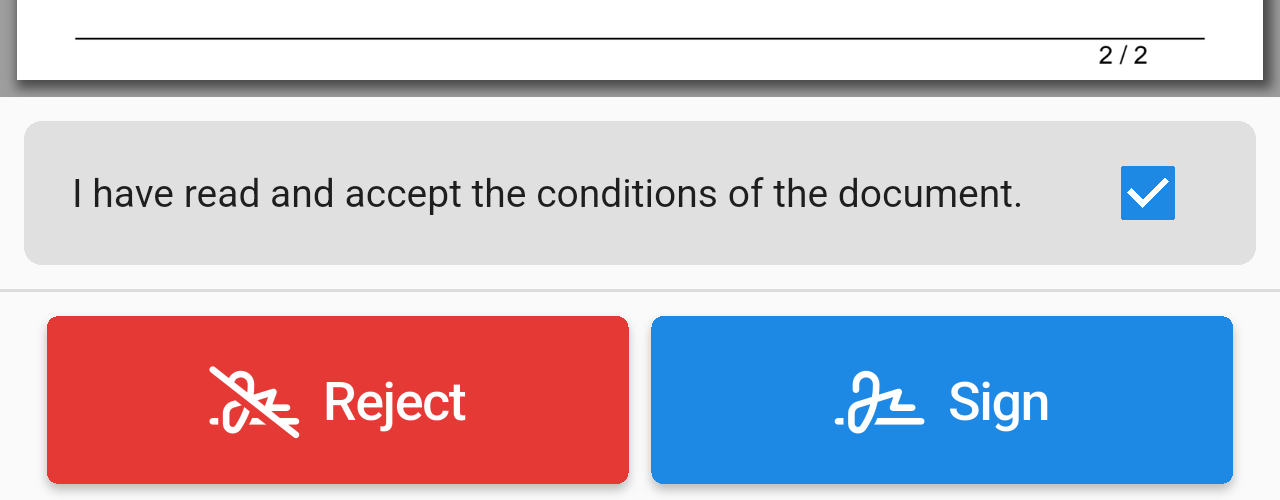
Once the box is ticked, Sign turns blue and can be tapped.
If the recipient doesn't accept the conditions, tap Reject and confirm. The handover is cancelled and the asset isn't assigned to them. GLPI keeps a record of the rejected handover.
5. Open the signature pad
Tap Sign. The signature pad opens, with the recipient's name at the top.
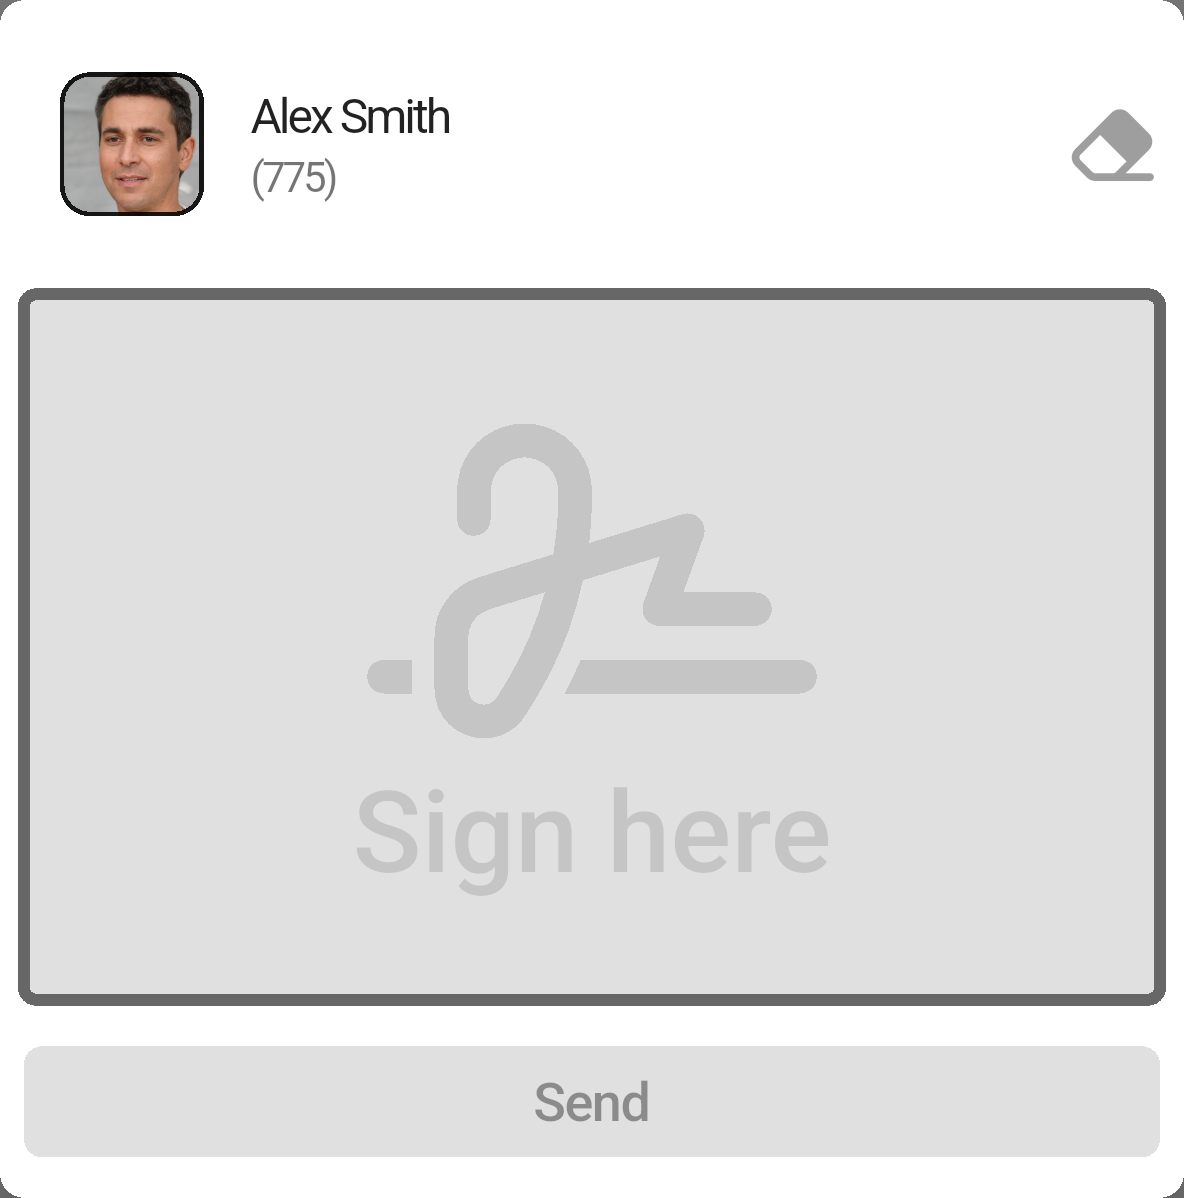
The recipient signs here with a finger. To start again, tap the eraser icon at the top right.
6. Sign and send
The recipient draws their signature, then taps Send.
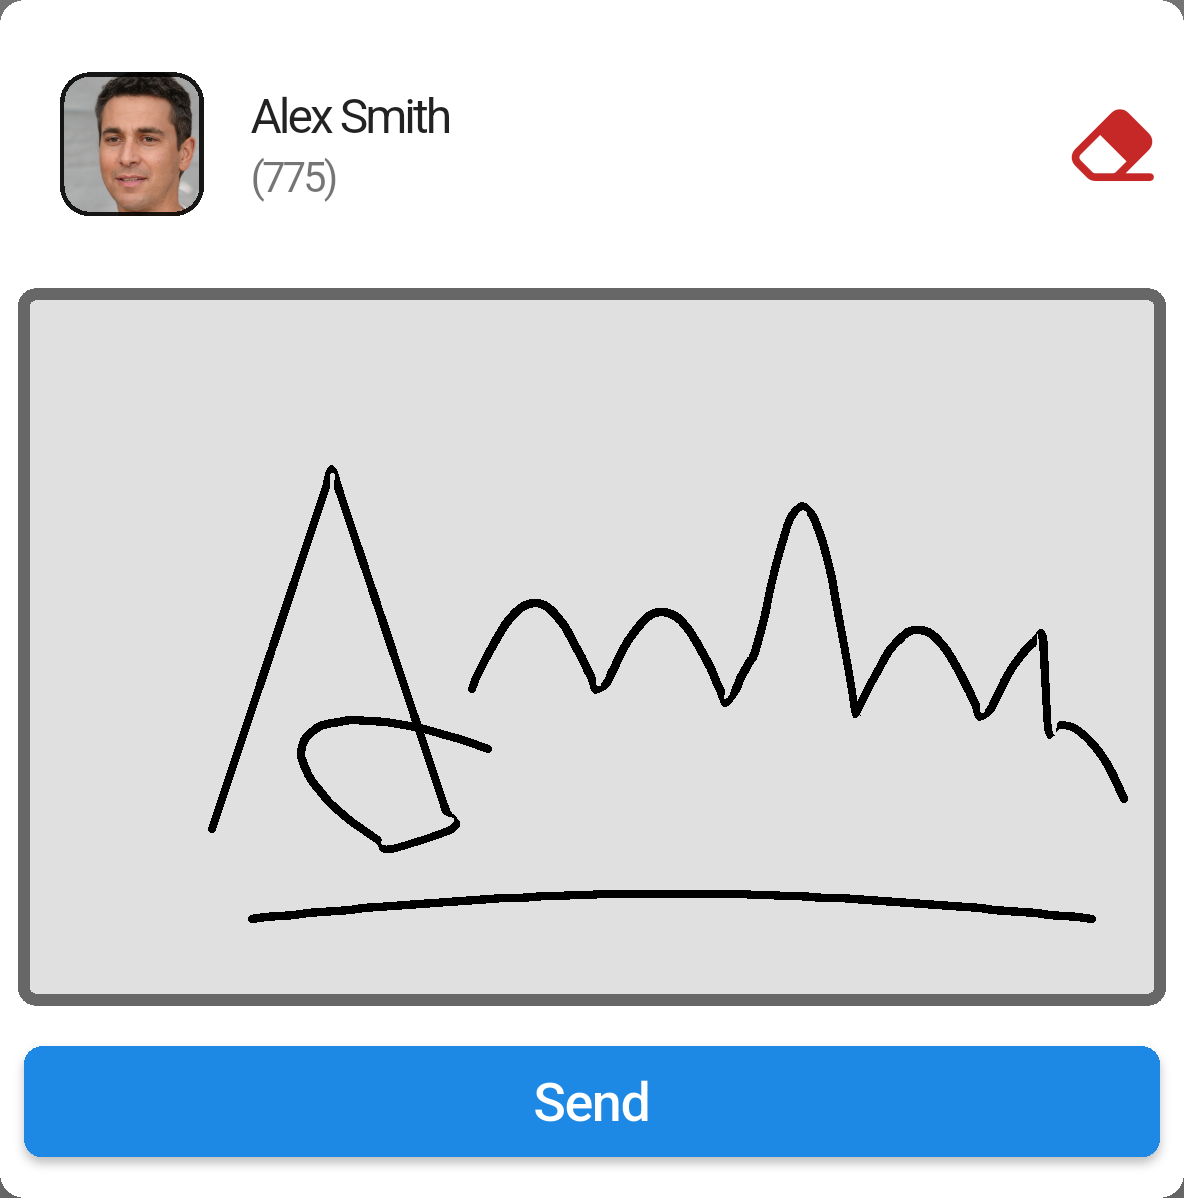
Once something is drawn, Send lights up.
7. Confirmation
The app confirms that the handover has been signed.
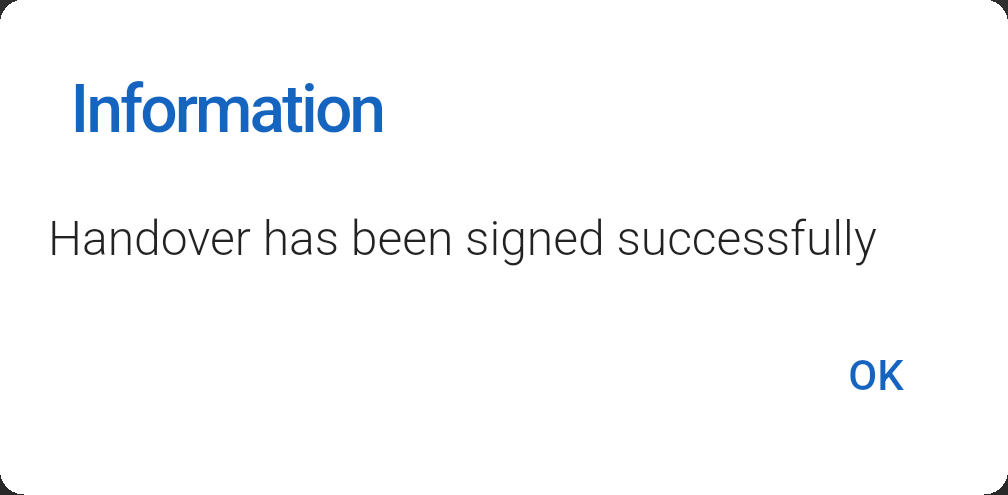
Confirmation that the handover was recorded in GLPI.
Note: If the asset is already assigned to someone else, a pop-up warns you before you continue. If the recipient already has an asset of the same type, a button lets you swap the old one for the new one in one step.
Handed-over assets
After you choose a person with Select user, the assets they already have appear under Handed over assets, below Assets to hand over.
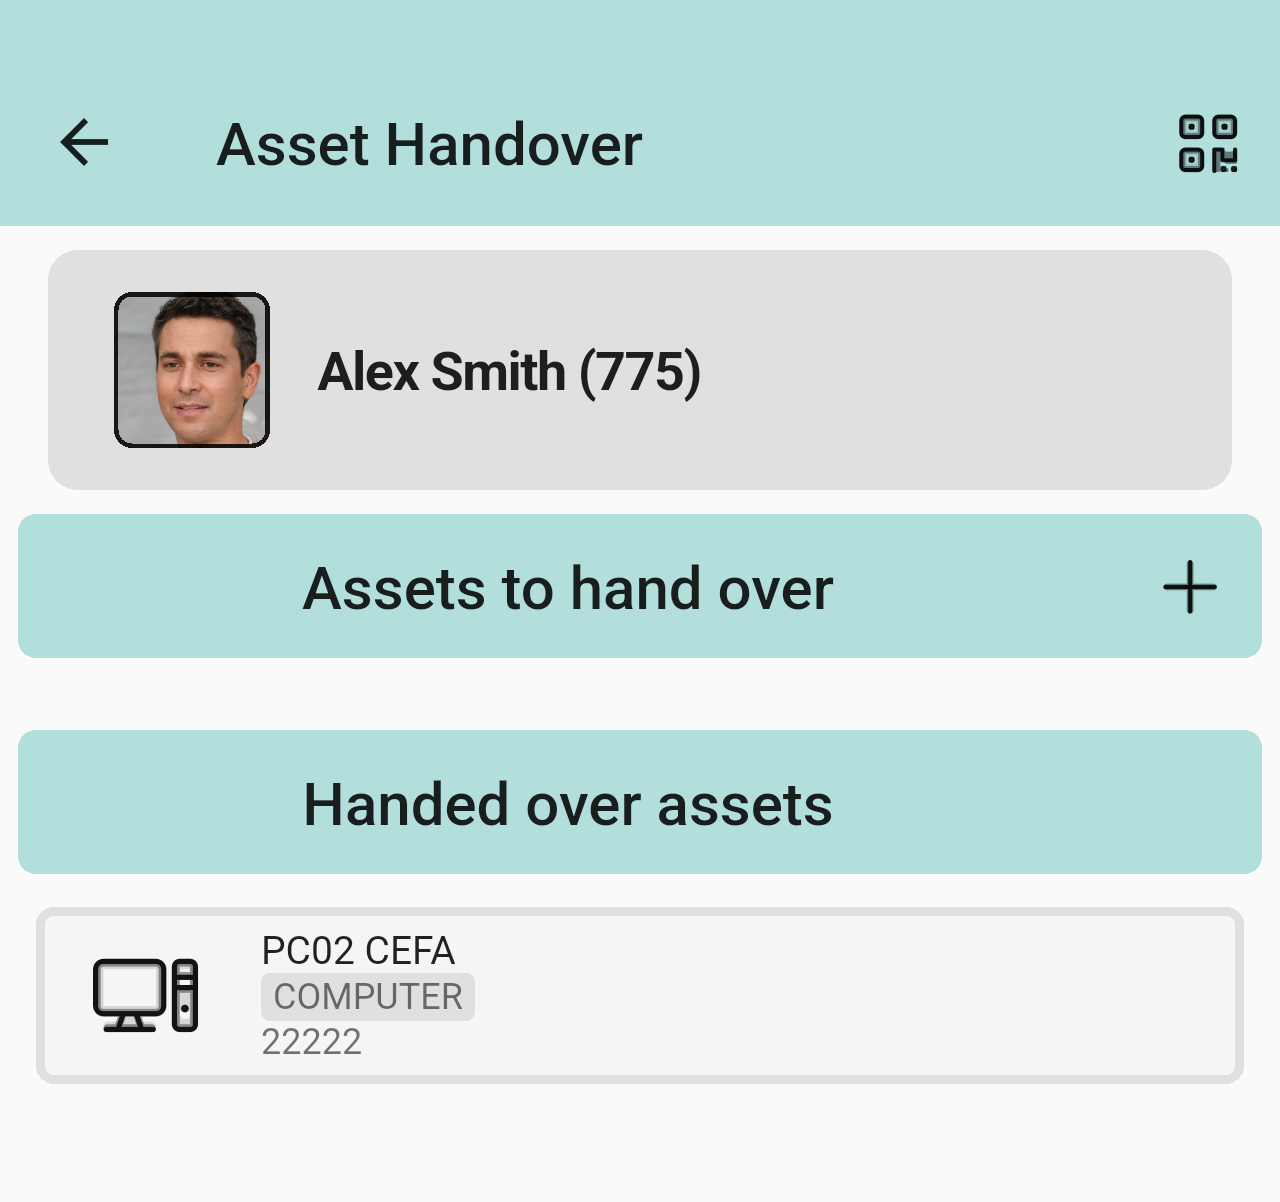
The Handed over assets list for this person. You start a return from here.
Returning an asset
A return follows the same pattern as a handover, but starts from an asset the person already has.
1. Select the asset to return
Tap Select user and choose the person who is returning the asset. Then press and hold the asset under Handed over assets. A normal tap does nothing. The asset gets a green checkmark, and the section title changes to Assets to return.
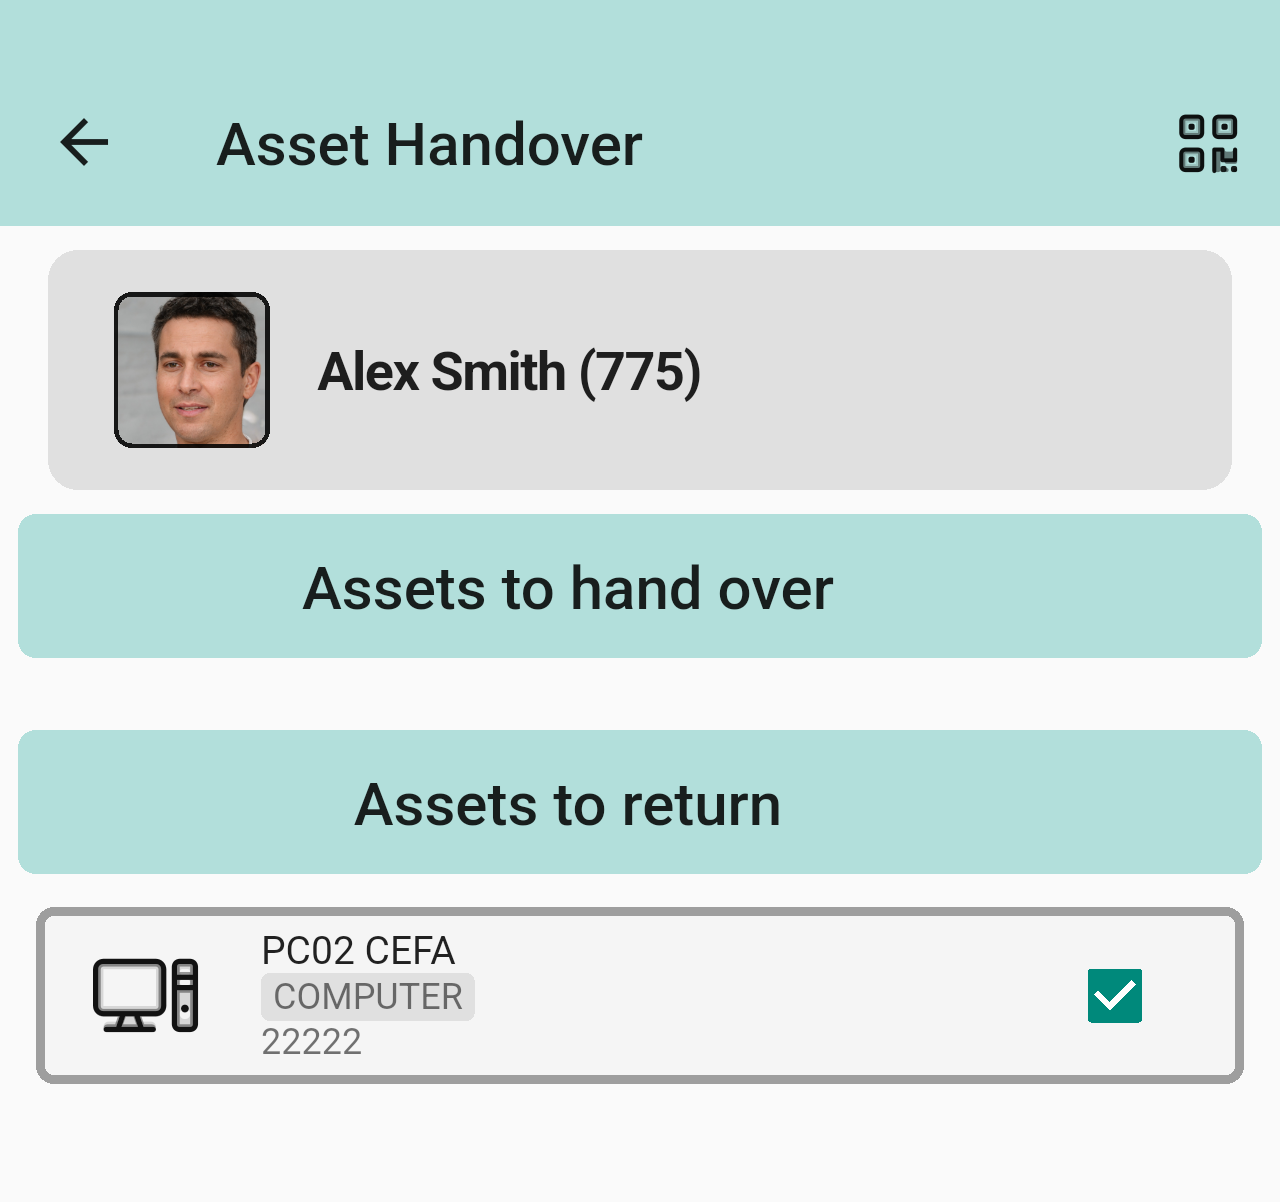
The asset is selected for return, and the section is now called Assets to return.
2. Create the return
Tap Create Handover. The button has the same name for returns. The Information pop-up says You are going to return from the user… and lists the assets. Check them, then tap Continue.
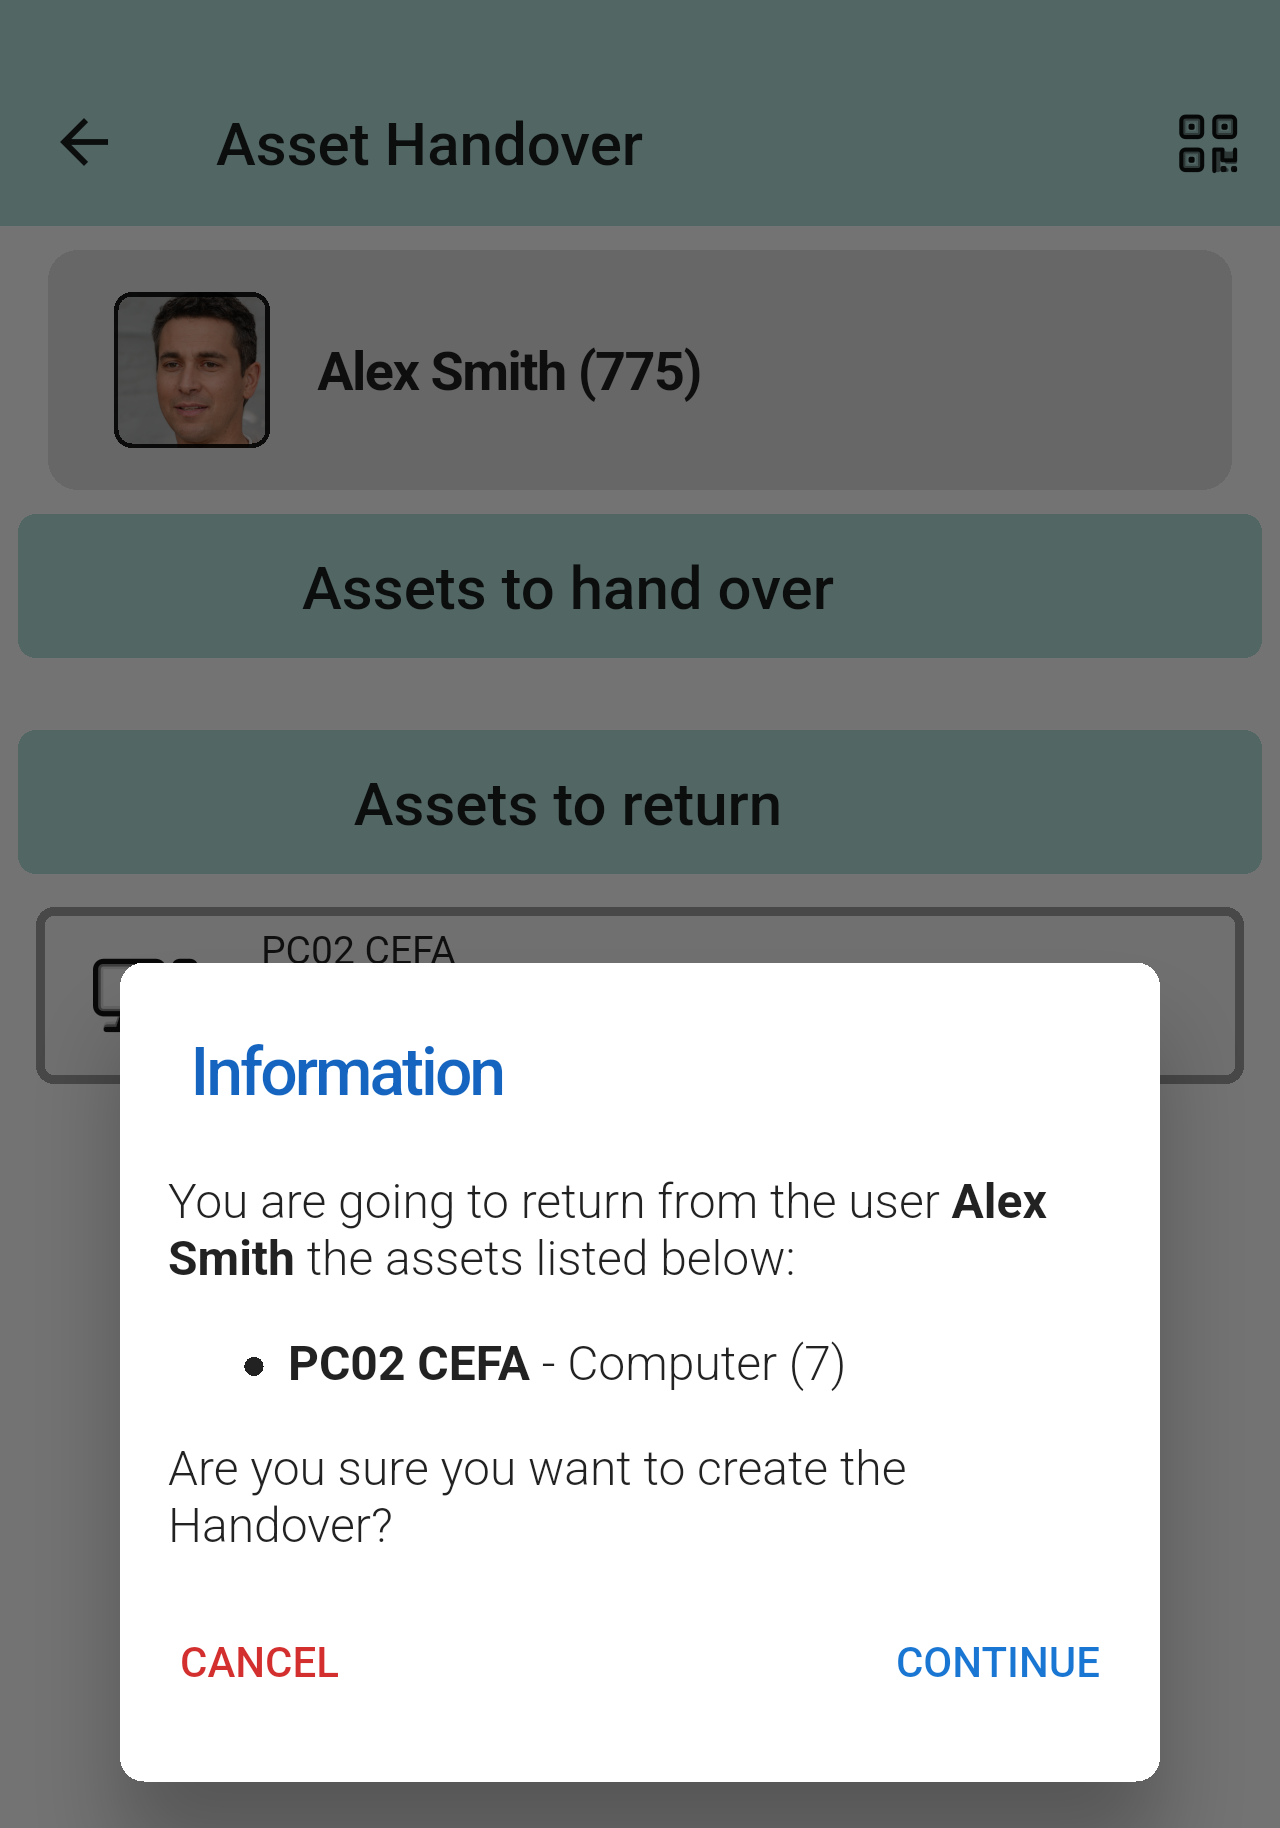
Confirm the return before moving on to the return document.
3. Read, accept and sign the return document
A return document opens. It's different from the handover document, and lists the assets being returned. Then do the same as for a handover: the person returning the asset scrolls to the end and ticks the box, you tap Sign, and they sign and tap Send.
4. Confirmation
The app confirms the return. The message still says Handover has been signed successfully. Tap OK.
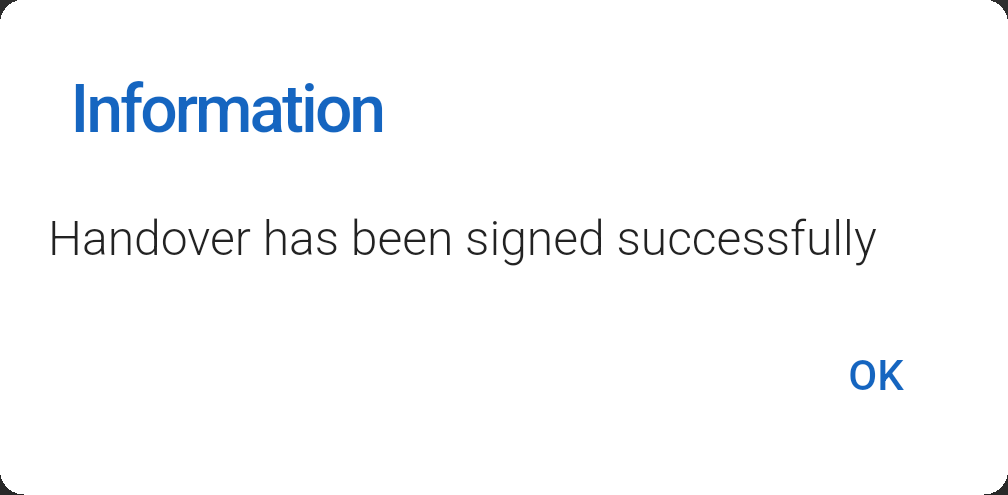
A return gets the same confirmation message as a handover.
Unfinished handovers
The handover is created as soon as you tap Continue in the confirmation pop-up. If you then leave the document (for example with the back arrow) without signing or rejecting it, the handover stays pending. The next time you open Asset Handover, Read QR code and Select user are grayed out. Tap the orange Resume Handover button to go back to the document.
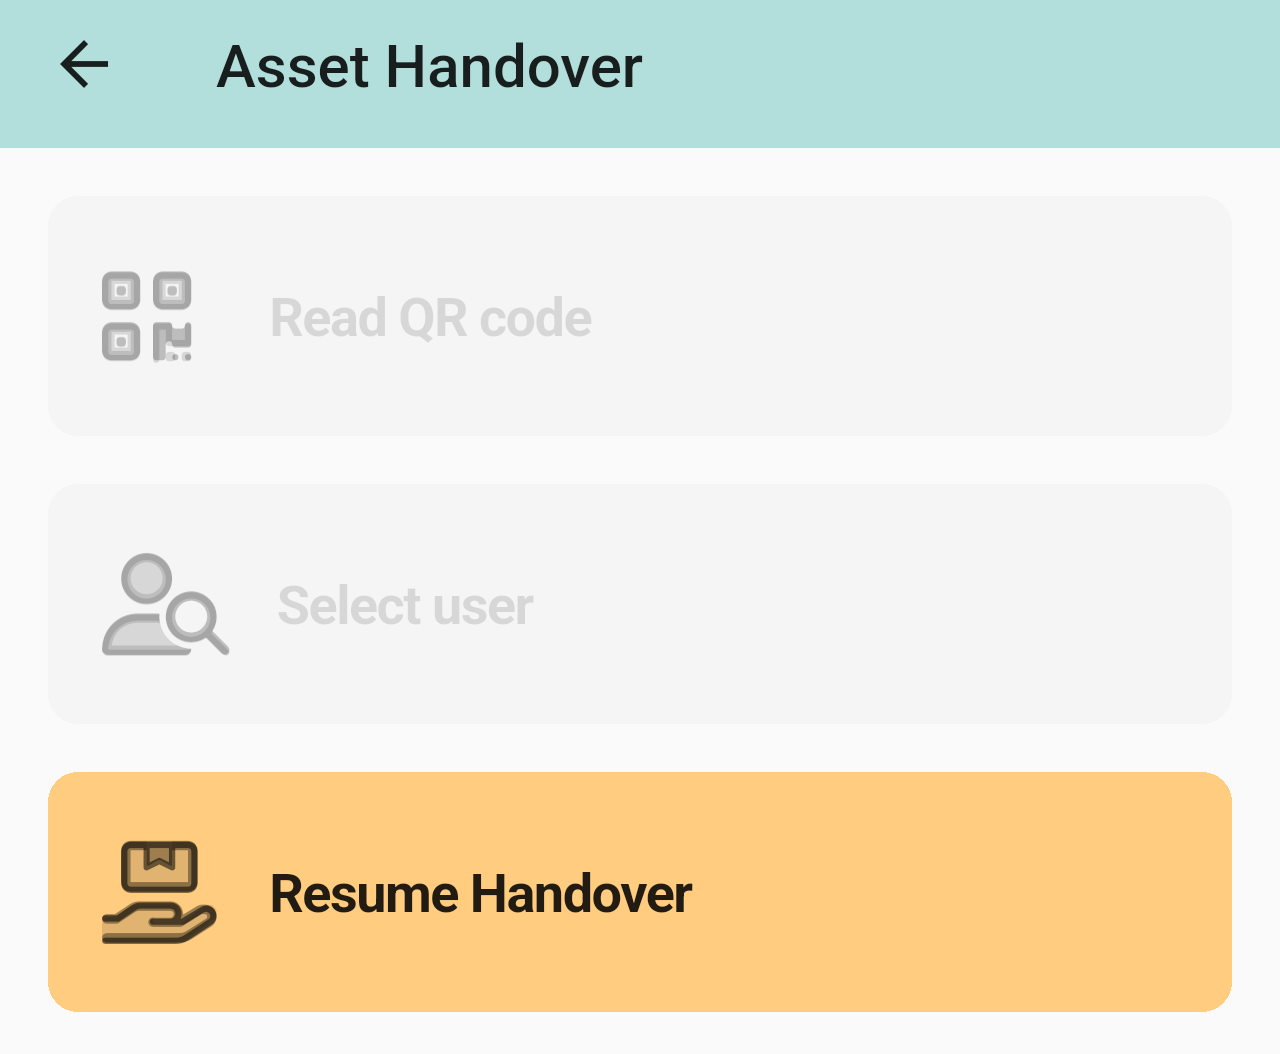
A pending handover blocks new ones until you finish it. Tap Resume Handover, then sign the document or tap Reject.
Note: This module relies on two GLPI plugins: Asset Handover, which manages handovers and returns, and Gapp Sign, which handles the signatures. Your organization sets up the handover and return documents, and their conditions, in GLPI.