
Vehicles
Record the kilometres of a work trip by car, together with the time you spend travelling. Vehicles works on top of Waypoint: the driver enters the odometer reading when the trip starts and when it ends, and GLPI saves the distance against the vehicle and the task. Passengers can join the driver's trip by scanning a QR code.
Before you start
Vehicles is a GLPI plugin, so your organization has to have it enabled, together with Waypoint and Gapp Xtended. It is only for technicians: it doesn't appear in Self-Service profiles. Three things have to be ready before a trip can be recorded:
- A vehicle task: the task must have the task category that your administration has set up for vehicle trips in GLPI (in this example, En coche). A task with any other category shows the normal waypoint button, without kilometres.
- A vehicle and a driver: the task must have a vehicle assigned in GLPI. The driver is the user chosen on the task. If you are the driver you will be asked for the odometer reading. If you are not, you join the driver's trip as a passenger.
- Location: the app records where you start and end the trip, so it asks for access to your physical activity and your location the first time (see Waypoints).
Note: Your working day in TAM must be started before you begin a trip, as with any other timer. If it isn't, the app tells you that TAM must be initialized and offers a Go to TAM button.
Where to find it
Open the ticket and go to its Processing tab (see Ticket details). On a vehicle task that is still to do and assigned to you, the button at the top right of the card is a car instead of the ActualTime stopwatch.
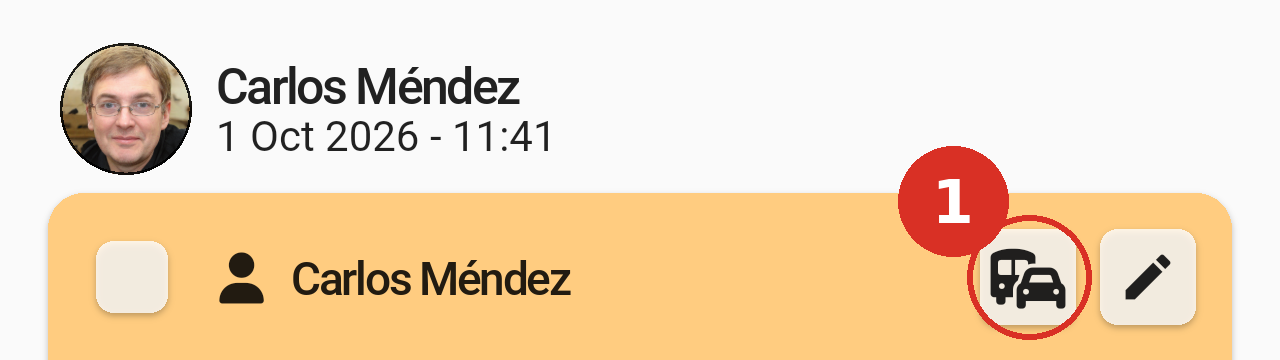
A vehicle task. Tap the car button (1), next to the pencil.
Driver or passenger
- Driver: you are the driver chosen on the task. You enter the odometer reading at the start and at the end, and the distance is saved on the vehicle.
- Passenger: you are not the driver. You choose the driver's route and scan their QR code to join the same trip. You are not asked for kilometres.
Recording a trip as the driver
A full visit has three parts, which you use one after another: the trip out (Vehicle), the work on site (Actualtime) and the trip back (Return Vehicle). Only one of them runs at a time. The kilometres are asked for on the two trips, when you start and when you end each one.
1. Start the trip out
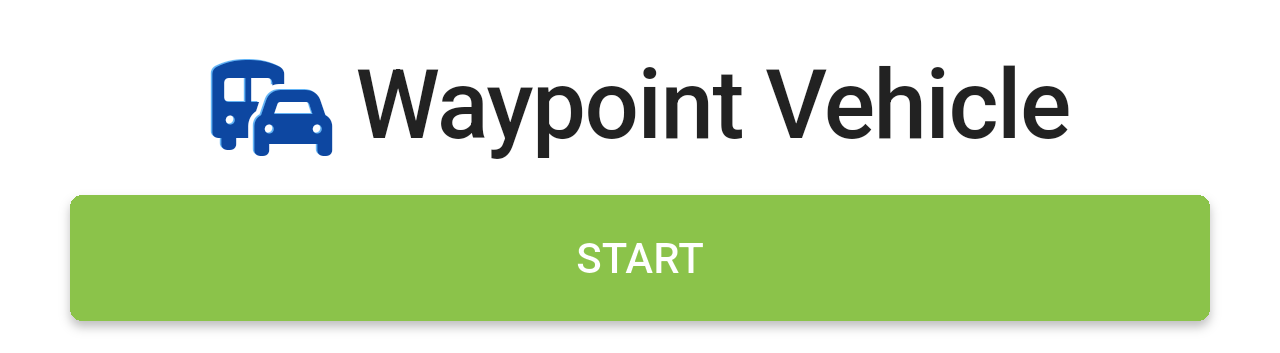
The panel before starting the trip.
The app asks for the mileage: the reading on the odometer when you leave. Only digits are accepted. Tap SEND to start, or CANCEL to go back without starting.
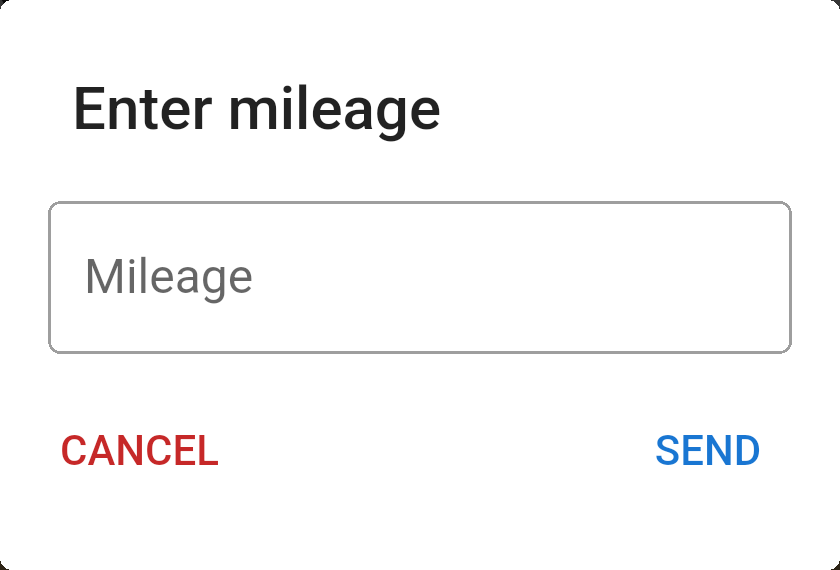
The dialog that asks for the odometer reading.
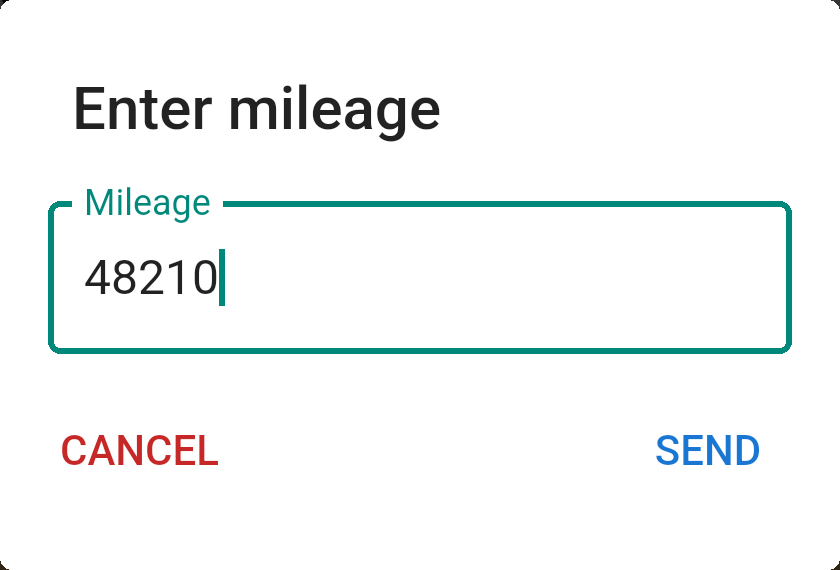
An odometer reading of 48210 km entered before tapping SEND.
2. Drive to the site
While you travel, a yellow bar under the ticket header shows a car icon, the running timer and the ticket it belongs to.

The yellow bar with the trip timer.
The task card also shows the timer, in a blue Vehicle row. The pencil disappears while the trip is running, and only the car button is left.
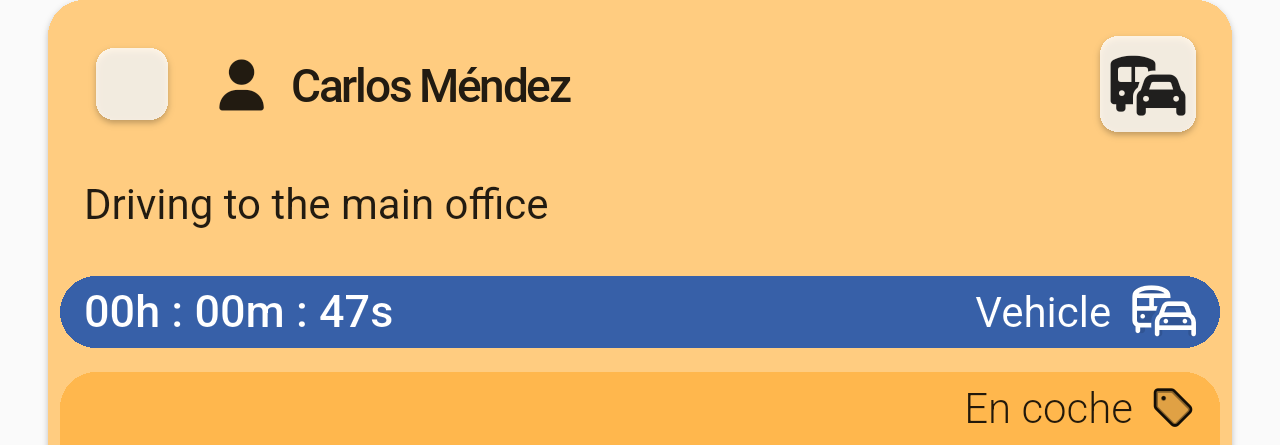
The task card while the trip out is running.
3. Arrive and start working
When you arrive, tap the car button again and then END.
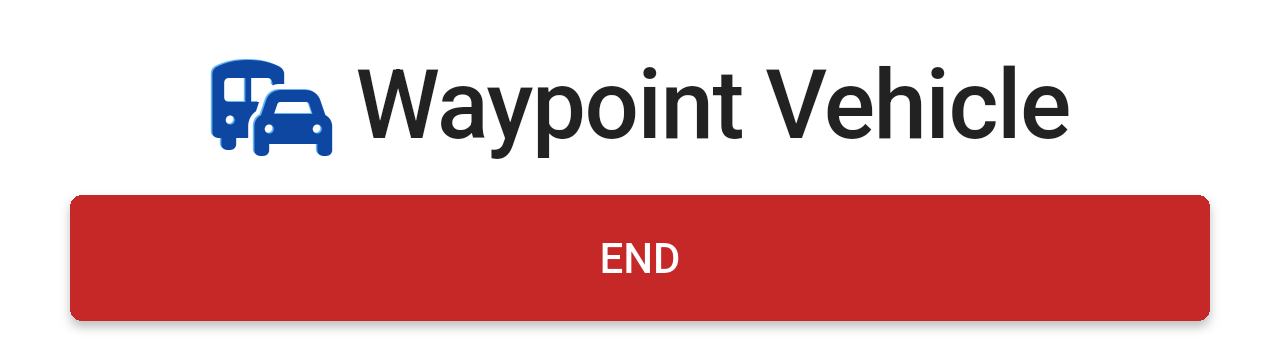
The panel during the trip: tap END when you get there.
The app asks for the odometer reading again. Enter the reading at the destination (in this example 48236, so the trip was 26 km) and tap SEND. The trip time is saved and ActualTime starts on its own, so the time you spend working is recorded from the moment you arrive.
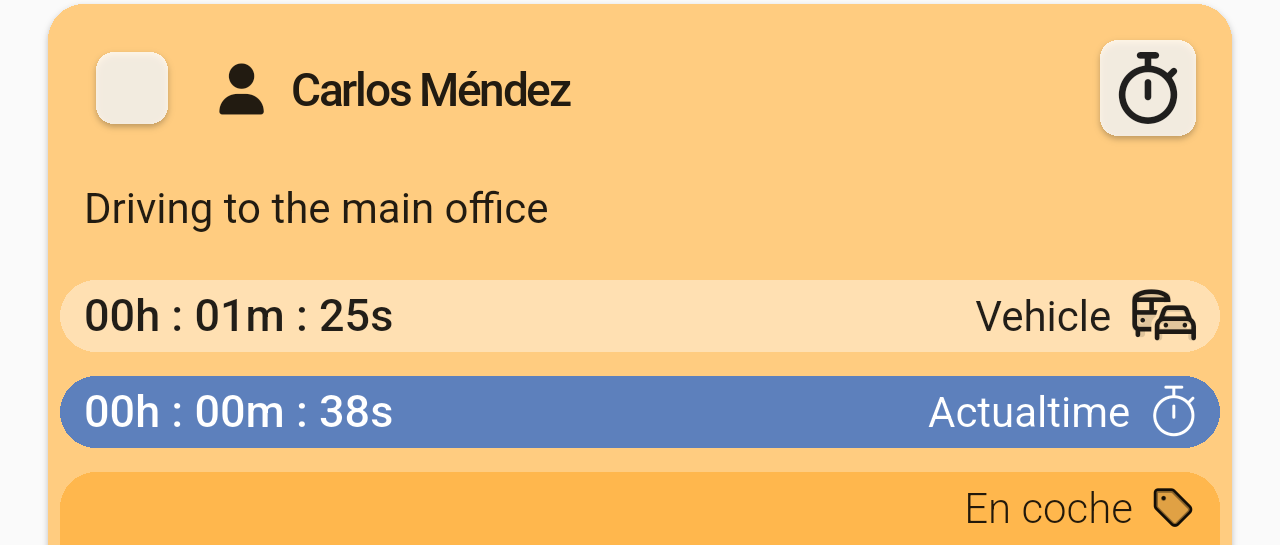
The trip took 1 min 25 s, and ActualTime is now running.
Tap the stopwatch to pause or end the work. It works exactly as described in Actualtime, including the Finish task confirmation.
4. Travel back
When the work is finished, the yellow bar shows Return waypoint pending, to remind you that the trip back hasn't been recorded yet.

The reminder that the trip back is still to be recorded.
Tap the bar and then START RETURN WAYPOINT when you leave the site. The app asks for the odometer reading, as on the trip out.
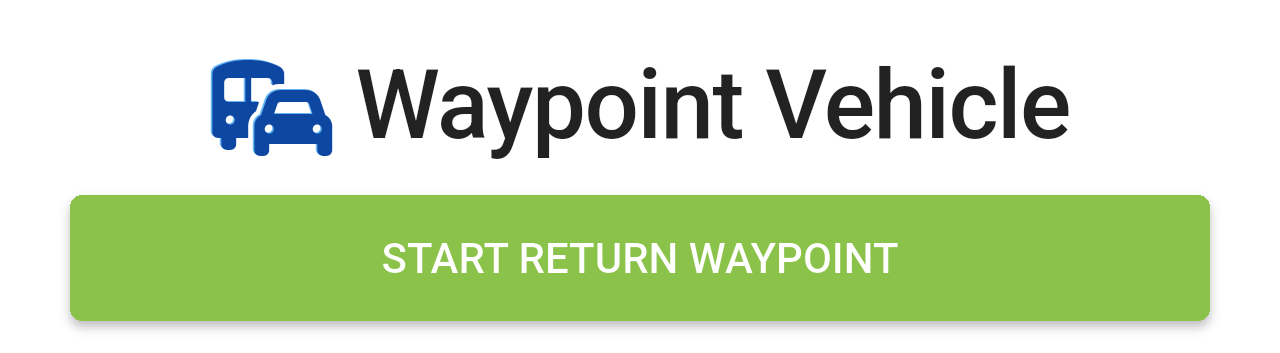
The panel for the trip back.
When you are back, tap the car button on the task and then END RETURN WAYPOINT, and enter the final reading.
The panel while the trip back is running.
The finished task
Once the trip back is recorded, the task card shows the three times, one row each: Vehicle (trip out), Actualtime (work on site) and Return Vehicle (trip back). The checkbox is ticked, and a Sign button appears at the top right of the card: you can now have the customer sign the visit (see Signing the visit below).
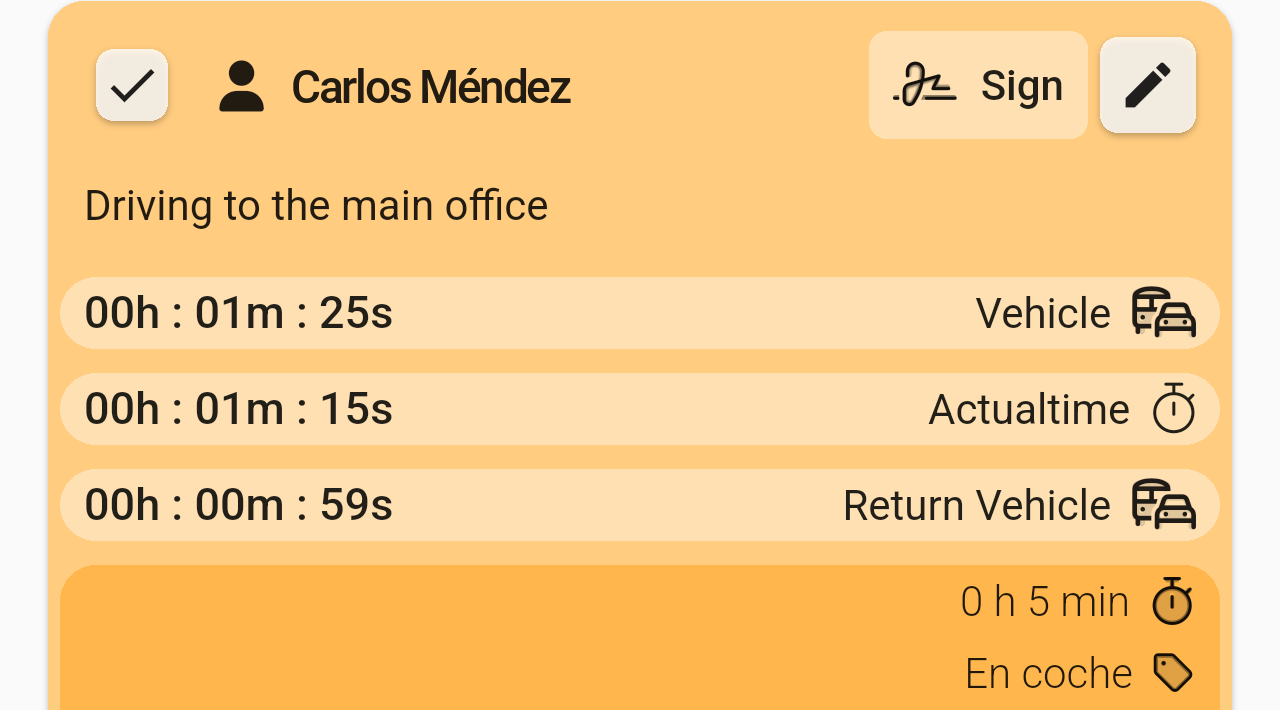
A finished visit: 1 min 25 s out, 1 min 15 s on site and 59 s back. The Sign button, at the top right, opens the signature.
Note: The total duration of the task is not the sum of the three rows.
Signing the visit
Once the trip back is recorded, the customer can sign the visit right from the task card. Tap Sign and Gapp Sign opens the work order of the visit: the customer reads it, accepts its conditions and signs with a finger on the screen. The signed PDF is then attached to the task in GLPI, and the card shows Signed instead of the button.
While the task is still open, or if it is assigned to someone else, the button is crossed out and can't be used yet. The steps to sign, and what happens if the customer doesn't agree (Reject), are the same as for any other task. They are explained in Gapp Sign, so this page doesn't repeat them.
Note: The document that the customer signs is generated in GLPI, not in the app. If the document doesn't open or Sign doesn't work, ask your GLPI administration to review the signature setup. See Gapp Sign.
Joining a trip as a passenger
If you are on the same task but you are not the driver, you don't enter any kilometres. You join the driver's trip instead.
If nobody has started a trip yet, the app says there are no routes to join.

What a passenger sees when no driver has started a trip.
Showing your QR code as the driver
While your trip is running, a person with a plus button appears next to the car button on the task. It is there during the trip out and during the trip back, and it disappears when the trip ends.

The add passenger button, to the left of the car button, while a trip is running.
Tap it to show a QR code with your name, photo and the vehicle's registration number, and the text "Scan to join the trip". The screen brightness goes to maximum so the code is easy to scan, and goes back to normal when you close it. The passenger scans this code with their own phone (see above).
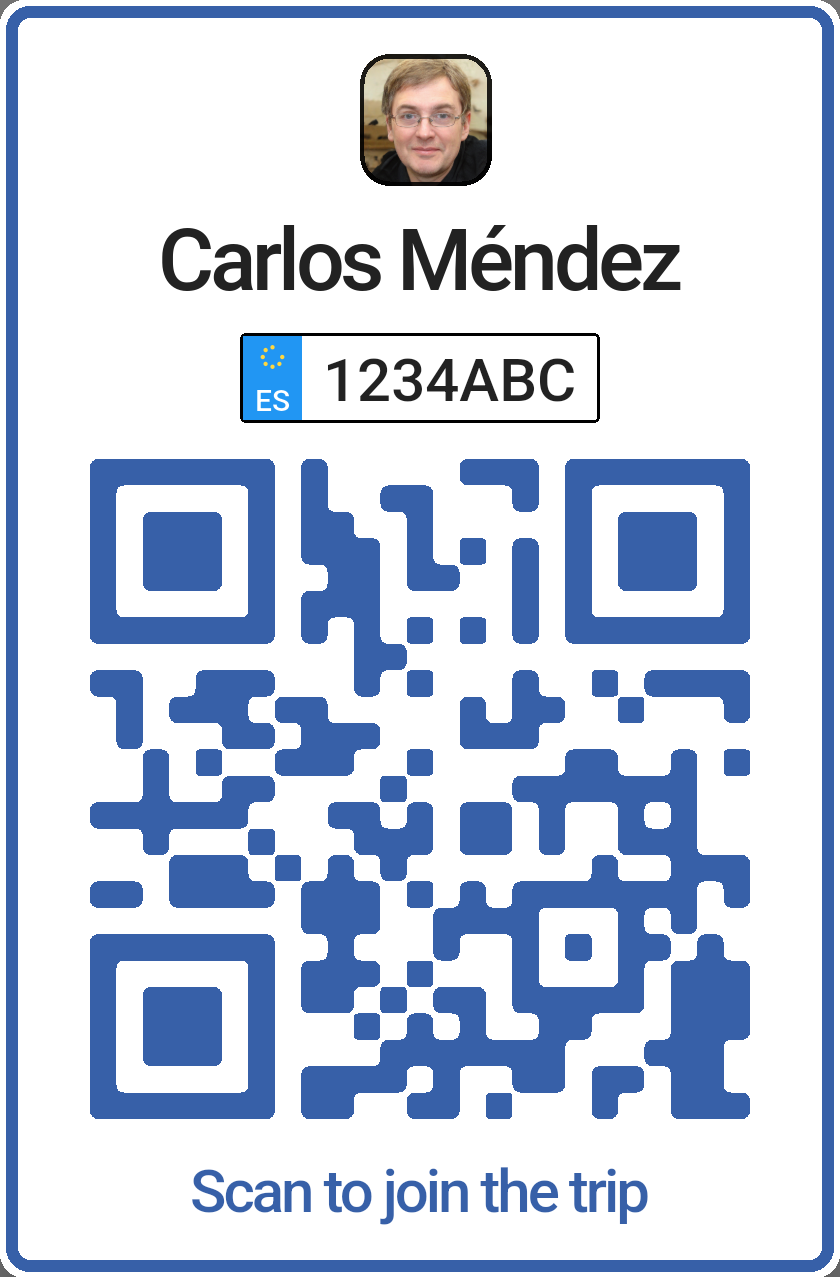
The driver's QR code. Tap outside the card to close it.
Note: The QR code is valid for 1 minute and for a single scan. If it expires, close it and open it again to get a new one: a new code replaces the previous one. The add passenger button only appears if the vehicle has a registration number in GLPI.
If something goes wrong
These are the messages you may see when starting or ending a trip.
- TAM must be initialized in order to perform this action. Your working day isn't started. Tap Go to TAM, start your day and try again.
- There's already an active counter. Another timer is running. Tap the message to open it, then pause or end it first.
- You are already doing a task. The server only allows one timer at a time. End the other one first.
- Technician not in charge of the task. The task is assigned to someone else, so you can't start it.
- Geolocation is mandatory. The app couldn't get your position. Check that location is on and try again.
- Code expired or Code not found. The passenger scanned a QR code that is more than a minute old or was already used. Ask the driver to open a new one.
- The START button is greyed out. The GPS signal is still too weak. Wait a moment, or go outside.
Setting it up in GLPI
This part is for your administration. The kilometres only work if the four things below are in place, and they are set up in GLPI, not in the app.
1. A vehicle
Create the vehicle in GLPI, under Assets, Vehicles. It needs a manufacturer and a model (the model list only shows the models of the manufacturer you chose), and a registration number if you want passengers to be able to join by QR code.
2. A driver
Only users marked as drivers appear in the driver list of a task. Open the user in GLPI and turn on Driver in its Vehicle section.

The Driver option in a user's profile.
3. The task category
Vehicle trips only work on one task category. In GLPI go to Setup, General, tab Gapp Xtended, and look for Task categories with vehicle waypoints. The category chosen there is the one that shows the car button in the app. The field next to it, Task categories with waypoints, is for normal trips without a vehicle.

Here the category for car trips is En coche.
4. The task
When you create or edit the task, choose the vehicle and the driver in its Vehicle section. If the task doesn't have the vehicle category, the vehicle is not saved.
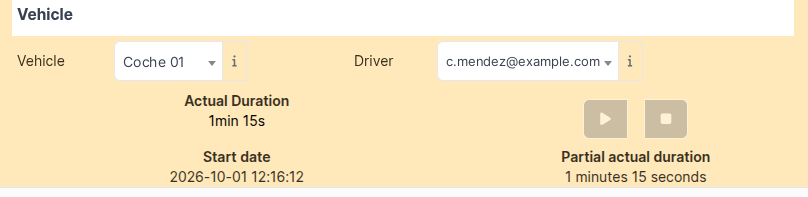
The Vehicle section of a task, with the vehicle and its driver.
Each trip is saved as a route on the vehicle, in its Vehicle routing tab, with the driver, start and end dates, initial and final mileage, and the kilometres travelled.

The Vehicle routing tab of a vehicle: the trip out and the trip back of the example above, 26 km each.