
Waypoints
Record the time you spend travelling to a site, working there and travelling back, all on the same task. This uses Waypoint (travel time) together with ActualTime (time spent working). It's only available on tasks whose category is set up for Waypoint in GLPI.
Where to find it
Open the ticket and go to its Processing tab (see Ticket details). A task that can use Waypoint has a waypoint button (a route with a pin) at the top right of its card, where other tasks have the ActualTime stopwatch.
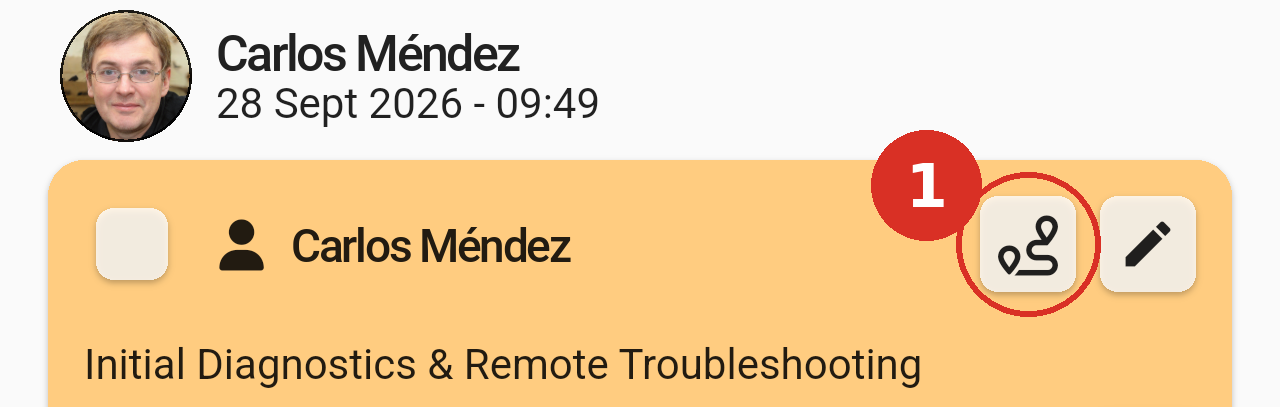
A task with the Waypoint category. Tap the waypoint button, next to the pencil.
Recording a visit, step by step
A full visit has three timers, which you use one after another: the trip out (Waypoint), the work on site (Actualtime) and the trip back (Return Waypoint). Only one of them runs at a time.
1. Start the trip out
Tap the waypoint button on the task. A Waypoint panel opens at the bottom of the screen with a timer at zero. Tap START when you leave.
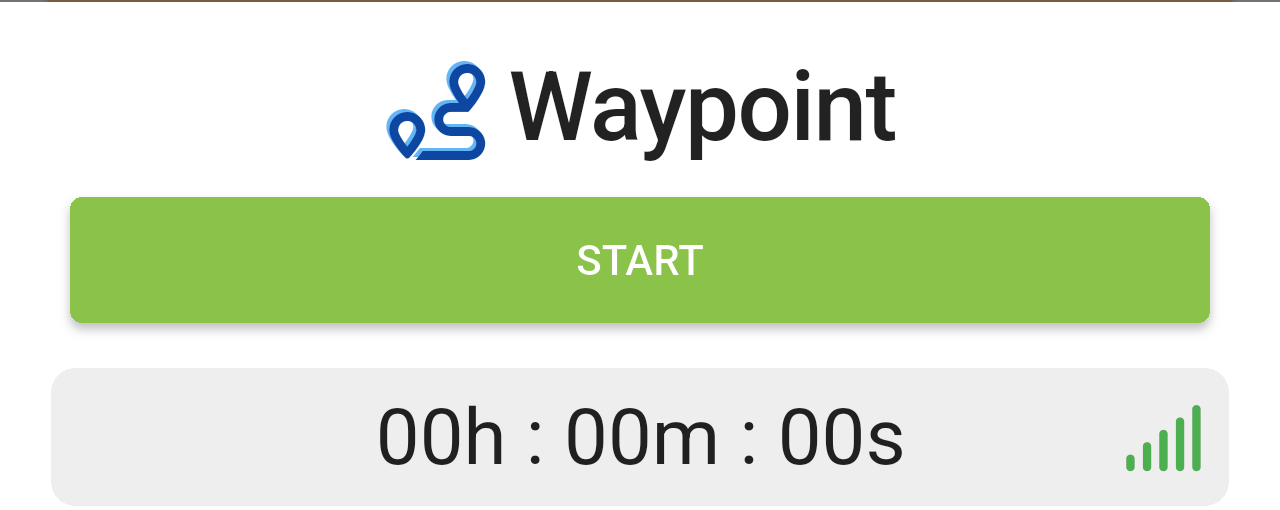
The Waypoint panel before starting the trip.
The first time, the app asks for access to your physical activity and your location. To record the trip while the app is in the background, choose Allow all the time for location.
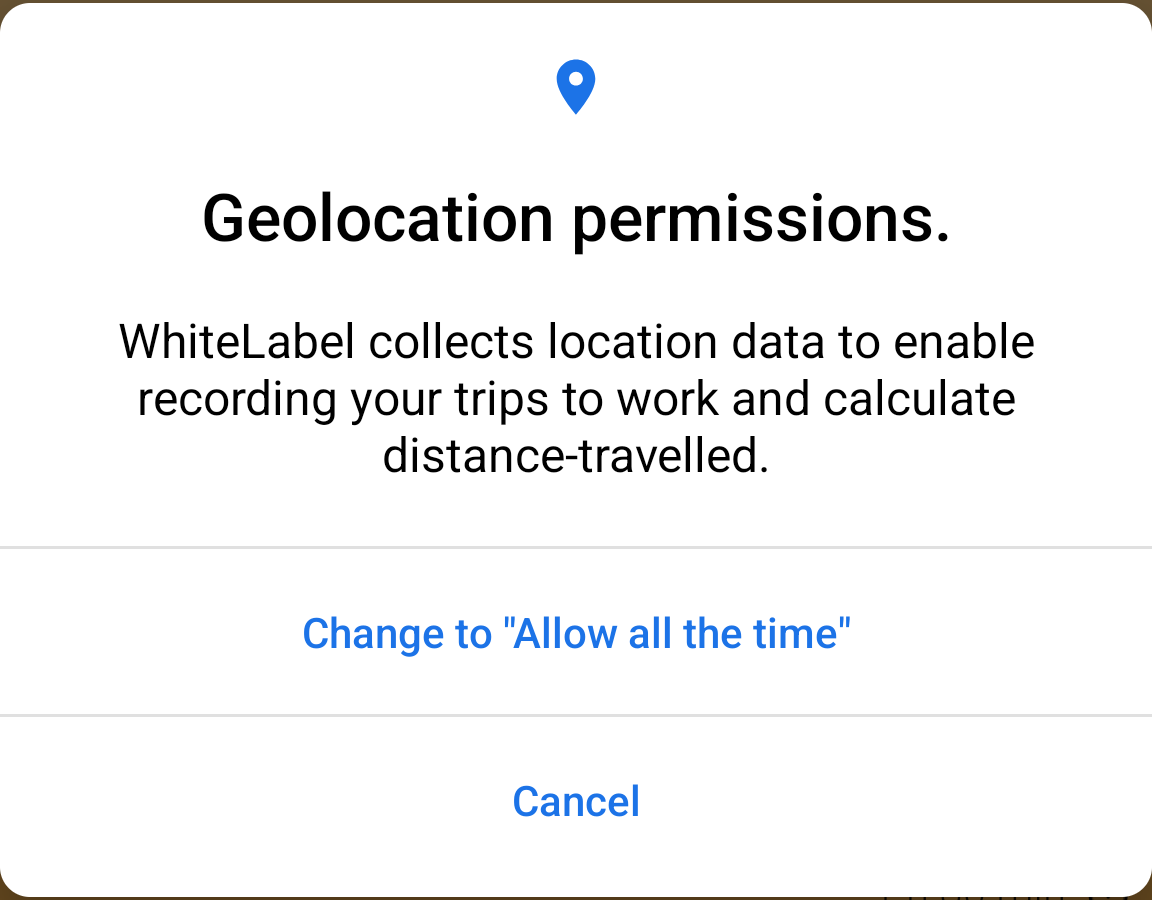
The app explains why it needs your location. Tap Change to "Allow all the time".
2. Travel to the site
While you travel, a yellow bar at the top of the screen shows the running timer and which ticket it belongs to. The bar isn't only on the ticket: it stays at the top of the main menu and the other screens of the app while the trip is running, and tapping it takes you back to the ticket.
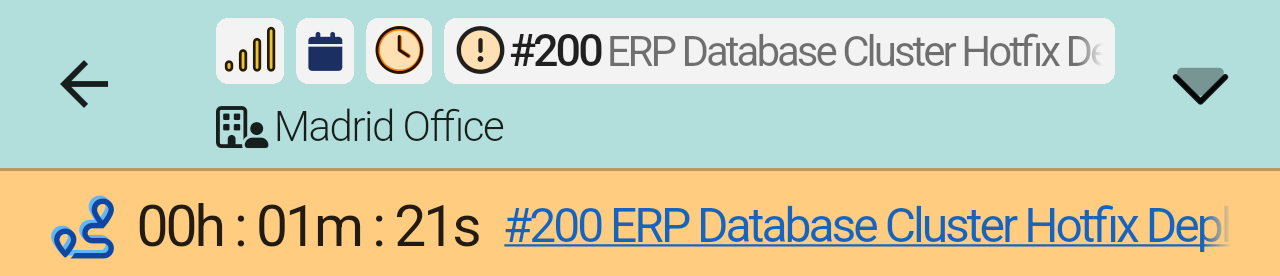
The yellow bar with the trip timer and the ticket it belongs to, here on the ticket screen.
The task card also shows the timer, in a blue Waypoint row.
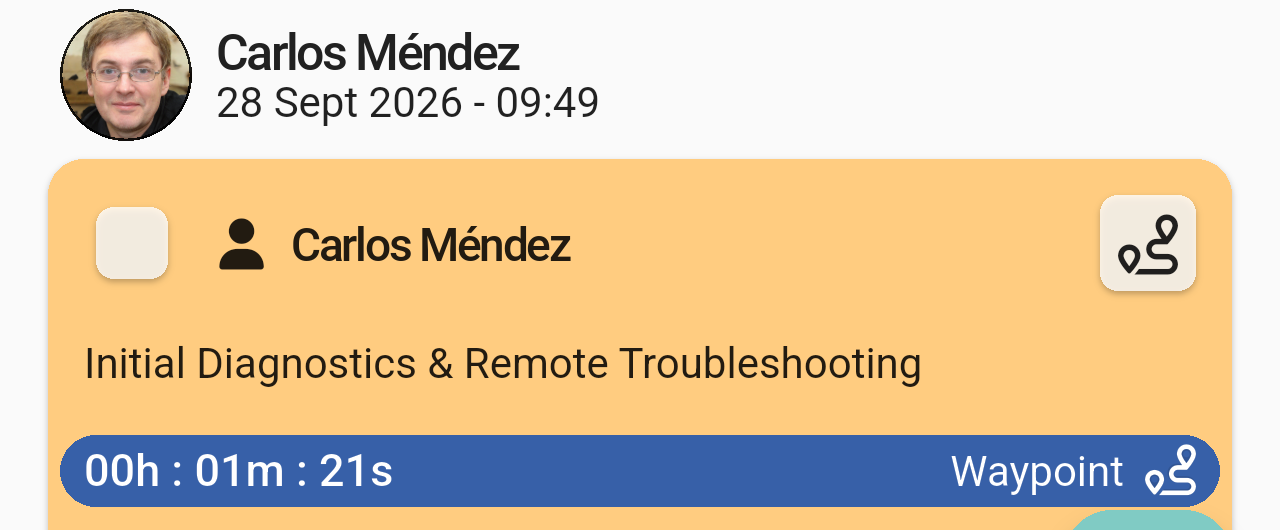
The task card while the trip out is running.
3. Arrive and start working
When you arrive, tap the waypoint button on the task again and then END.
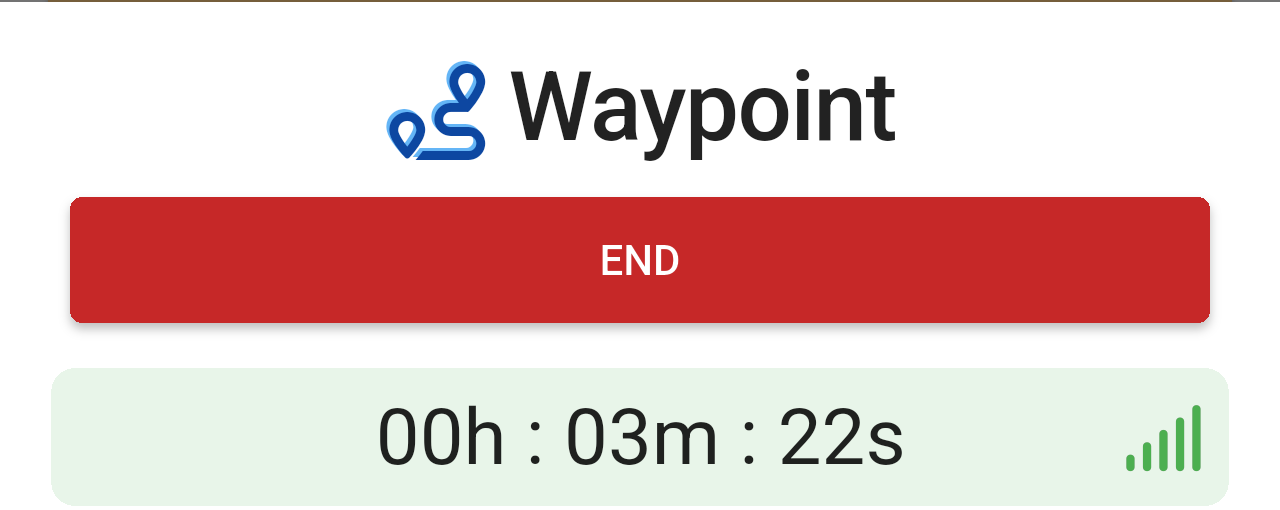
The Waypoint panel during the trip: tap END when you get there.
The trip time is saved and ActualTime starts on its own, so the time you spend working is recorded from the moment you arrive. On the card, the Waypoint row now shows the final trip time, a blue Actualtime row counts the work, and the task's button changes to a stopwatch.
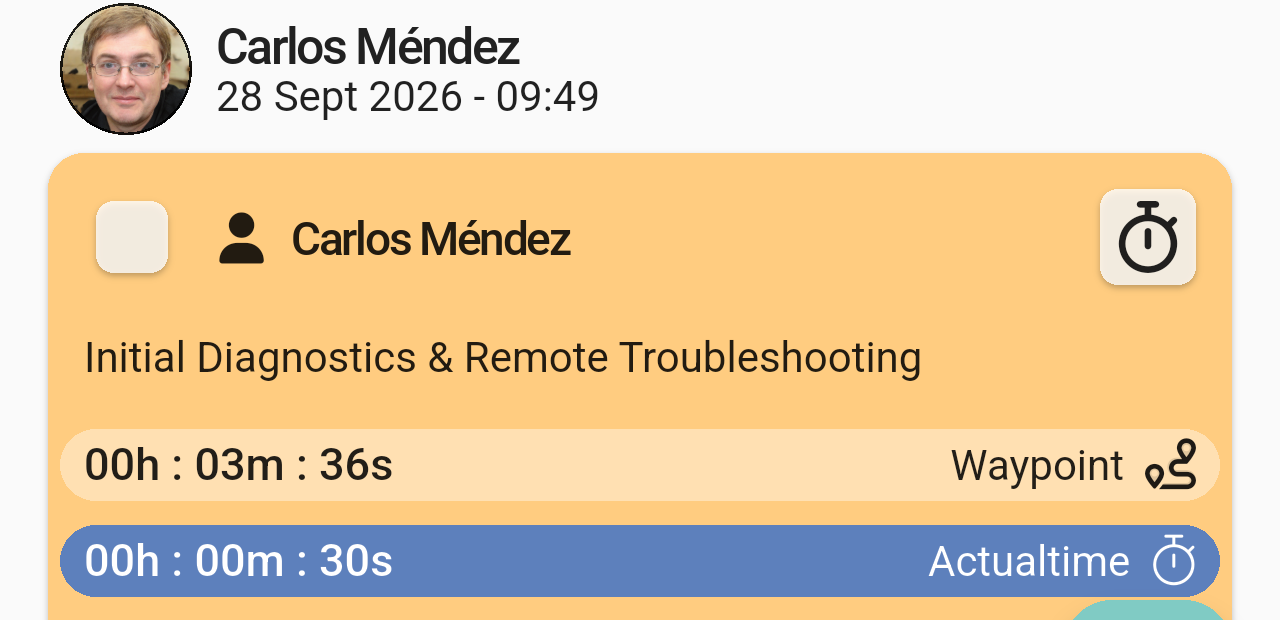
The trip took 3 min 36 s, and ActualTime is now running.
4. Finish the work
While you work on site, the time is counted by ActualTime, not by Waypoint. You pause and end that timer from the stopwatch button on the task, as explained in Actualtime. When you end it, the task is finished and the app moves on to the trip back.
5. Travel back
When the work is finished, the yellow bar at the top of the screen shows Return waypoint pending, to remind you that the trip back hasn't been recorded yet.
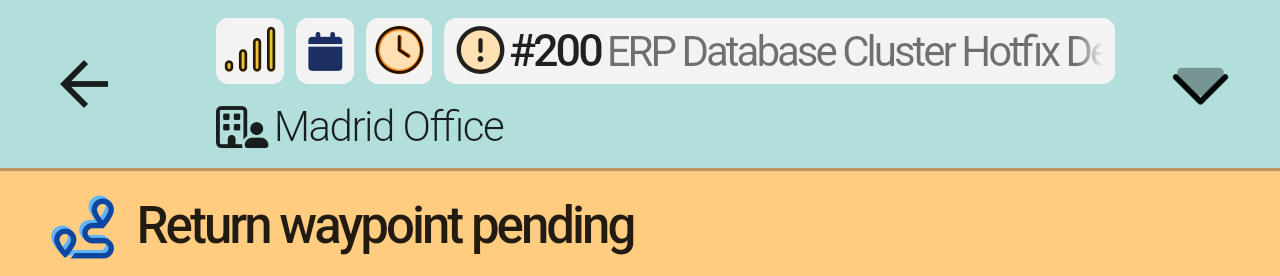
The reminder that the trip back is still to be recorded.
Tap the bar and then START RETURN WAYPOINT when you leave the site. When you're back, tap the waypoint button on the task and then END RETURN WAYPOINT.
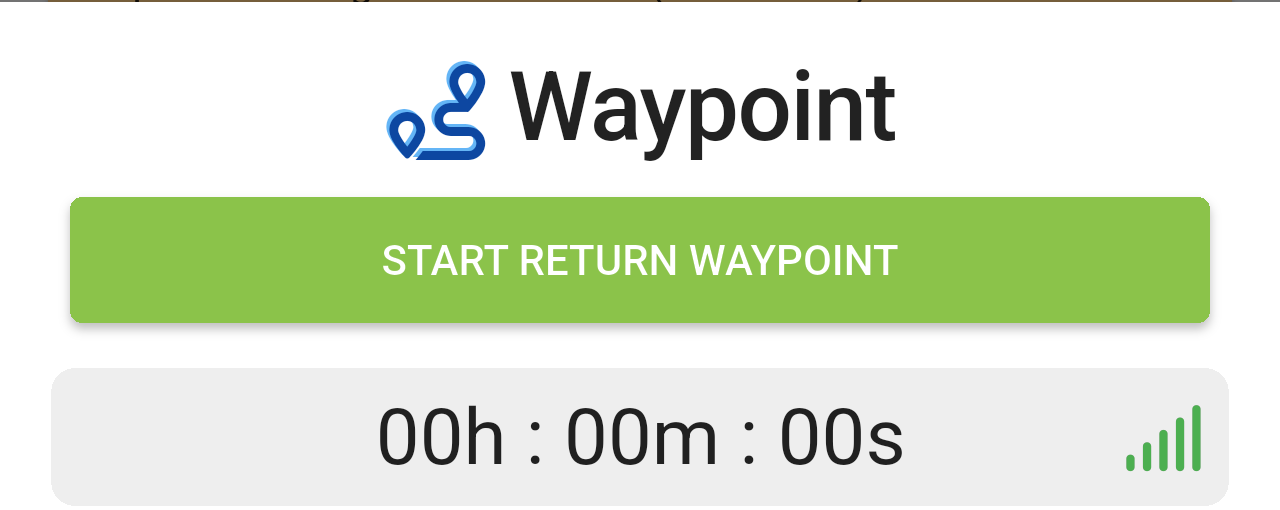
The Waypoint panel for the trip back.
The finished task
Once the trip back is recorded, the task card shows the three times, one row each: Waypoint (trip out), Actualtime (work on site) and Return Waypoint (trip back). Below them are the task's total duration and its category. The checkbox is ticked, and a Sign button appears to sign the task with Gapp Sign.
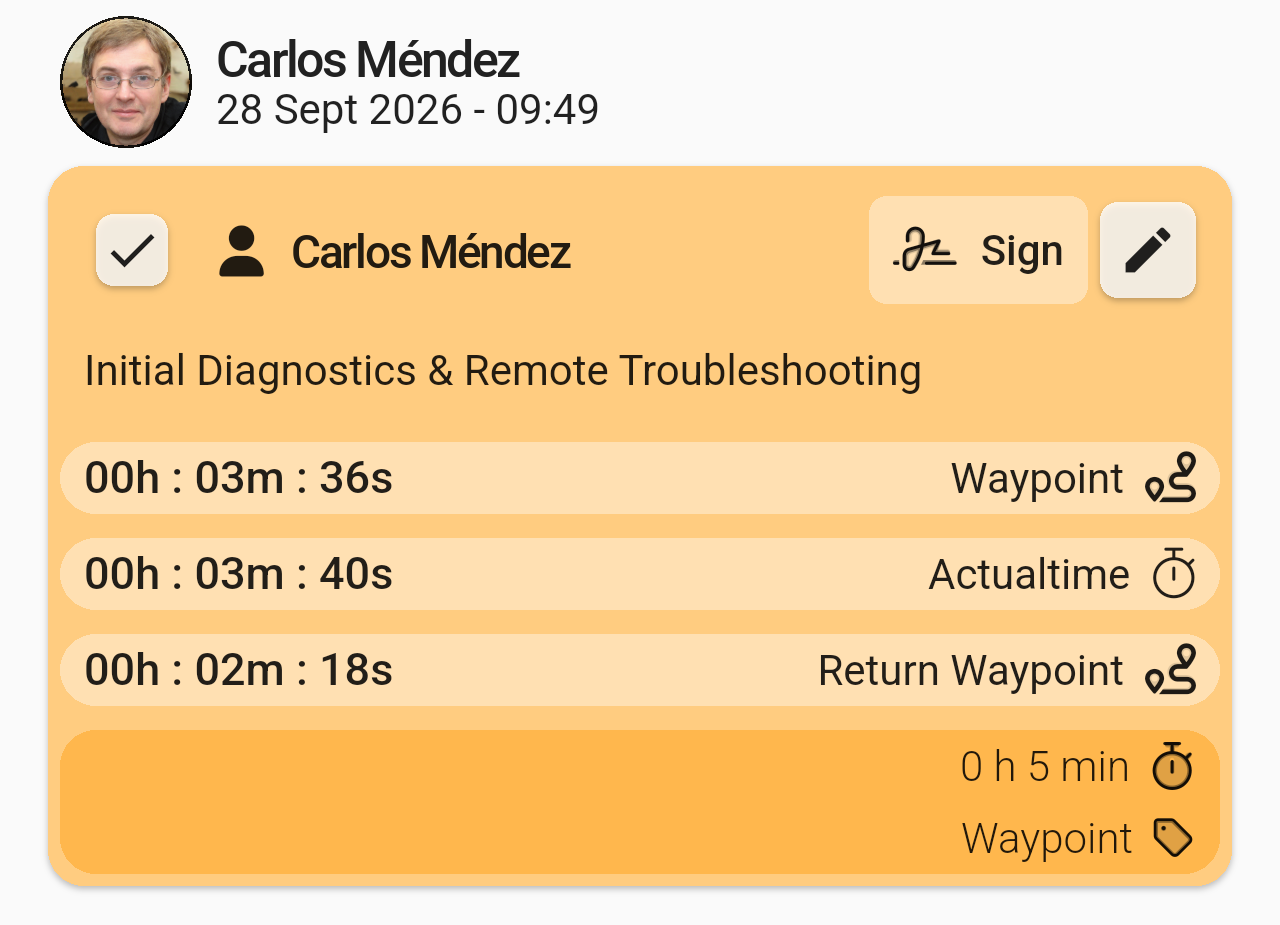
A finished visit: 3 min 36 s out, 3 min 40 s on site and 2 min 18 s back.
Note: Waypoint is used together with two other plugins. ActualTime records the work on site, between the trip out and the trip back (see Actualtime). Vehicles adds the car's kilometres to the trip when the task has the vehicle category (see Vehicles). Because ActualTime needs your working day to be running, start your day in TAM before you set off (see TAM).
Setting it up in GLPI
This part is for your administration. The waypoint button only appears on tasks whose category is set up for Waypoint, and that is done in GLPI, not in the app.
1. Create the task category
In GLPI, go to Setup, Dropdowns, Task categories. The list shows the task categories that already exist. If the one your technicians will use for visits is there, you can use it as it is. If not, tap the + button at the top right (1) to create it.
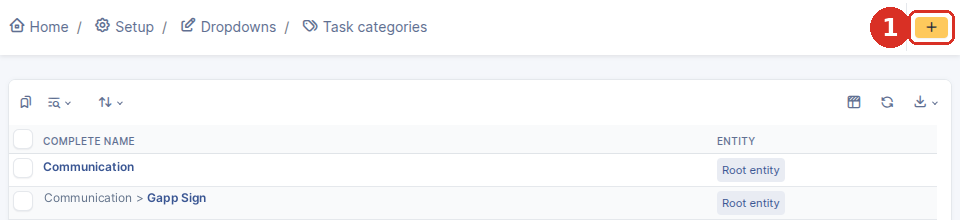
The list of task categories, with the + button to add a new one (1).
In the New item - Task category form:
- Name: Type the name of the category, for example Waypoint.
- Active: Set it to Yes. A new category starts as No, and an inactive category can't be chosen on a task.
- Add: Tap Add to save it.
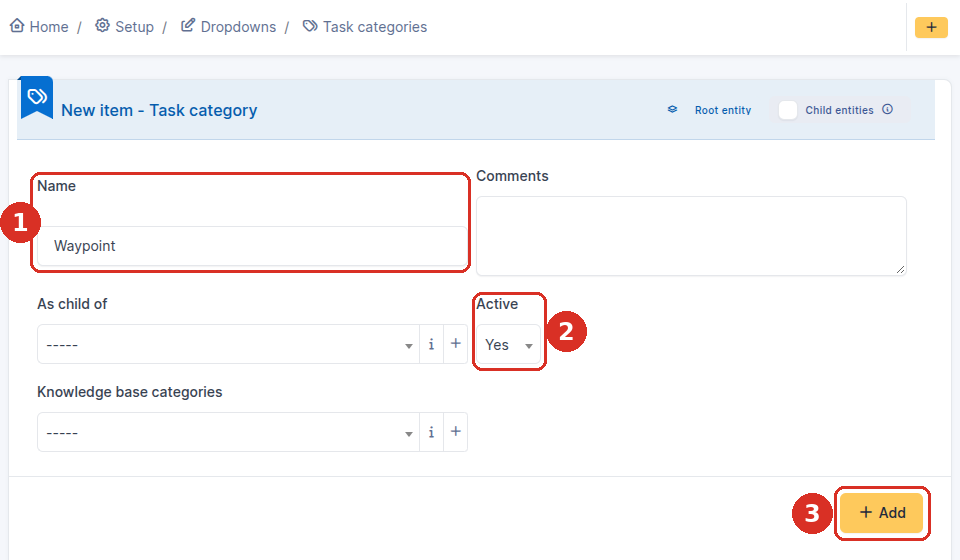
The new category form: name (1), Active set to Yes (2) and Add (3).
2. Mark it as a waypoint category
Go to Setup, General, tab Gapp Xtended, and add the category to Task categories with waypoints. You can choose more than one. Save the form. From then on, any task with one of these categories shows the waypoint button in the app.

The Waypoint settings in the Gapp Xtended tab, before choosing any category. Task categories with vehicle waypoints, next to it, is the category for car trips, explained in Vehicles.
3. Other settings in the same form
The same part of the form has a few more settings:
- API: A Google Maps API key. With it, GLPI works out the distance of each trip from its start and end points. Without it, the trips are still recorded, but without the distance.
- Enable user geolocation: Leave it set to No. GLPI itself warns that it isn't compatible with the normal operation of Waypoints.
Note: A category can't be a waypoint category and the vehicle category at the same time. If the category you're looking for is missing from Task categories with waypoints, check that it isn't chosen as the vehicle category.