
TAM
TAM (Time and Attendance Management) is where you clock in and out: you start and stop your working day and see how much of it you have left. You can also review your day's timeline, compare it with the time you've logged on tasks, and check your working calendar and your hour balance for the year.
Before you start
TAM is a GLPI plugin, so your organization has to have it enabled, together with the Gapp Xtended plugin. Your GLPI profile also needs the right to use the timer; if you don't see TAM in the app, ask your administration. Your organization may also require you to start your day from the app: in GLPI on the web, TAM then only says "You need to use the mobile application". The app needs access to your location, because every start and stop records where you are.
Note: We recommend reading the TAM plugin documentation before you start this page. It explains how to set up the plugin on the GLPI side.
Note: TAM works together with ActualTime: if your organization uses both, you have to start your working day before you can start a timer on a task (see Actualtime).
Where to find it
From the home screen, tap TAM, or open it from the side drawer. The label next to TAM shows at a glance the state of your working day:
- Green square: Your working day is running.
- Red square: Your working day isn't running (not started yet, or stopped).
- Brown coffee cup: You are on your paid coffee break. The square is replaced by a small brown label with a cup until the break ends.
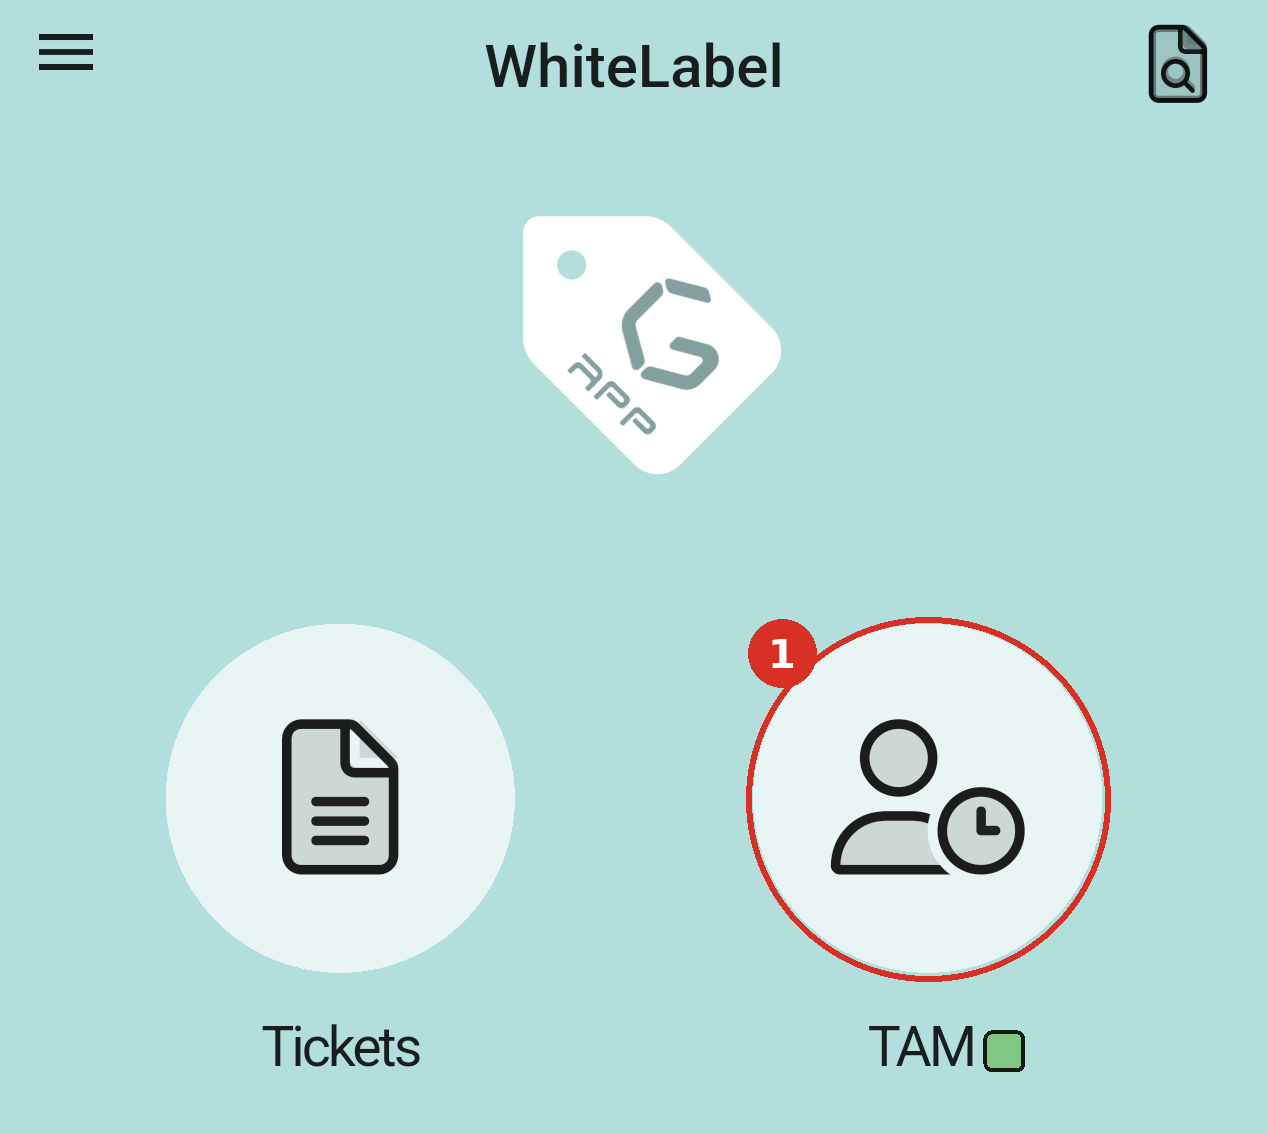
The TAM icon on the home screen (1). The green square means your working day is running.
Starting and stopping your working day
The TAM screen has four parts, numbered in the screenshot below. The three icons at the top right are explained in The buttons at the top.
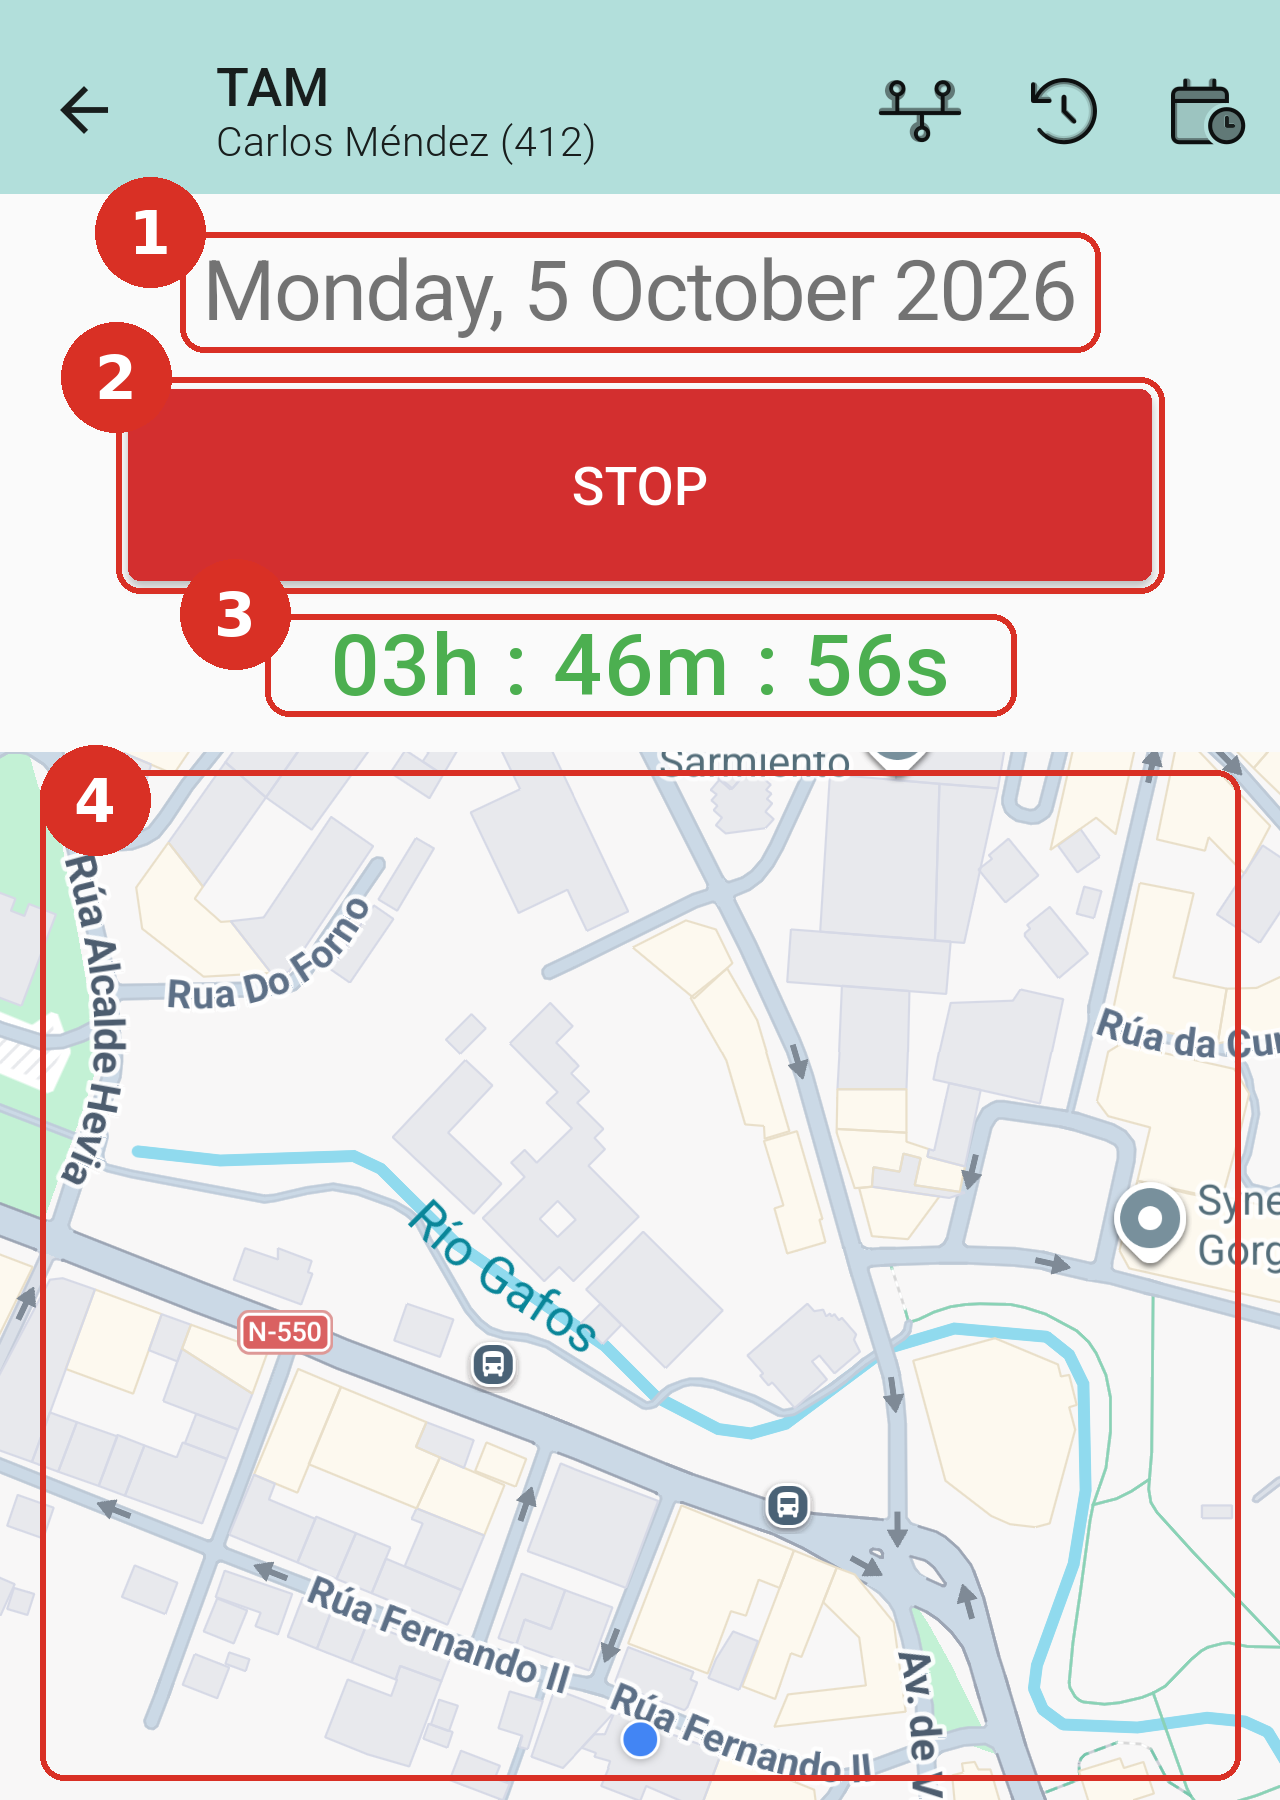
The TAM screen while the working day is running.
- Date: Today's date.
- START / STOP button: Starts or stops your working day. It is green and reads START before you start, and red and reads STOP while your day is running.
- Counter: The time of your working day. Gray before you start, green while it counts down the time you have left, and red once you go over (see below).
- Map: Your current location (see Your location).
Starting your day
Tap START at the beginning of your working day. Before you start, the counter is gray and shows how long your working day is according to your calendar.
Note: Starting and stopping your working day updates your attendance record in GLPI straight away, and you can't undo it from the app. Only tap START or STOP when you really start or stop work.
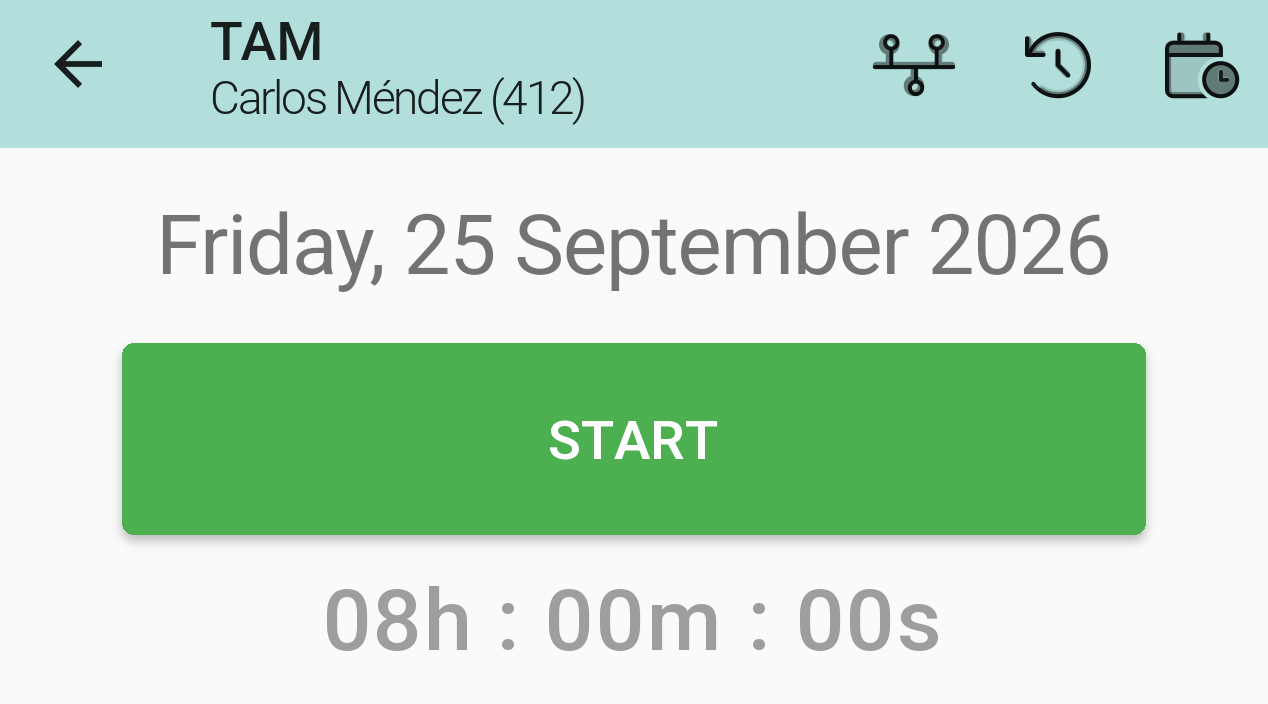
Working day not started yet: an 8-hour day is ahead.
Working on a non-working day
On a day that isn't a working day in your calendar, such as a weekend or a public holiday, the button is replaced by a gray slider that reads NON-WORKING DAY. This protects you from starting your day by mistake.
If you really have to work that day, slide the handle all the way across (the one with the open padlock). The slider turns into the normal START button and you can clock in as usual.
While your day is running
Once you've started, the button turns red and reads STOP, and the counter turns green and counts down the time you have left. The app's Do not disturb mode is switched off while your day is running.
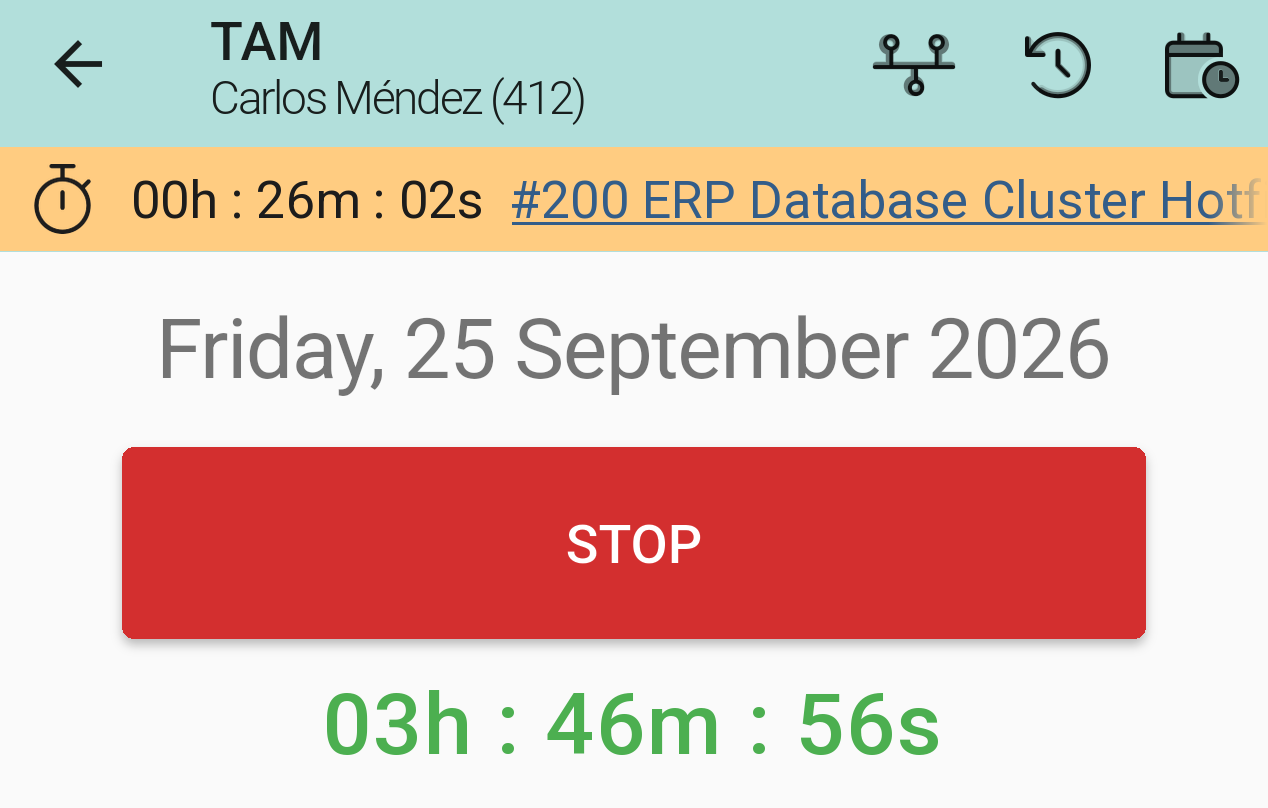
Working day running, with 3 h 46 min left. The yellow bar at the top shows an ActualTime timer running on ticket #200.
ActualTime is the timer you can start on a ticket's task to record how long you spend on it. While one of these timers is running, a yellow bar appears at the top of the screen. It shows how long the timer has been running and the ticket it belongs to.
Stopping: breaks and the end of your day
Tap STOP whenever you stop working. A Stop reason window asks you why. The reasons are created by your organization in GLPI, so the list varies; the icon shows what each one does:
- Coffee cup: a paid break, with a countdown. Grayed out once you've used it.
- Walking person with a dashed line: a stop that still counts as work, such as a trip between jobs.
- Walking person with a loop arrow: any other stop you will come back from, such as lunch.
- House with an arrow: the end of your day. Tap and hold the reason (Long press to confirm.), then confirm with Stop.
After a reason that keeps your counter running, the button turns brown and shows the reason's name. Tap it again to go back to normal work. If there are no reasons, STOP just stops the counter.
Ending your day is final: you can't start again right away. Your organization sets a minimum time between two days, and if you try before it has passed, GLPI answers "You have just finished your day". A TAM STOPPED window shows your time, and the app switches Do not disturb on until you start your next day.
Note: Stopping updates your attendance record in GLPI straight away and can't be undone from the app. If you made a mistake, ask your administration to correct it.
When you go over your working day
If you keep working after the counter reaches zero, it turns red and counts up the extra time (overtime).
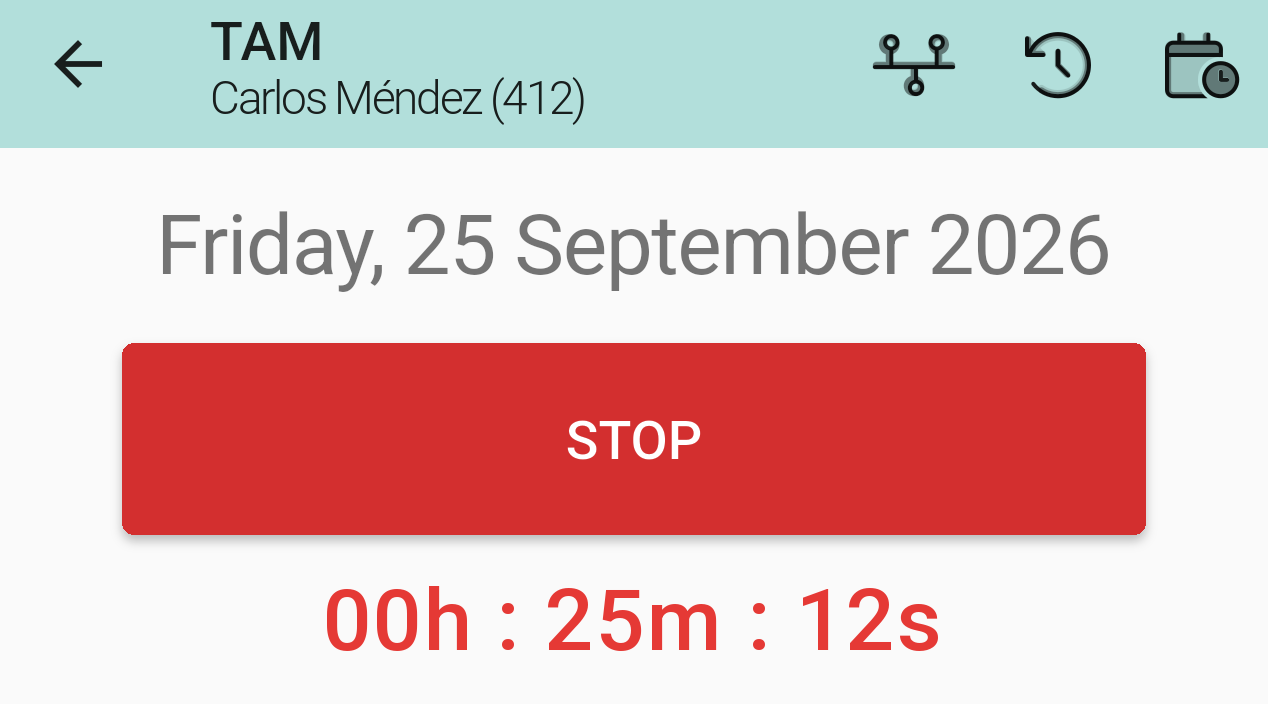
25 minutes of overtime: the red counter counts up once your working hours are done.
Your location
Below the counter, TAM shows your current location on a map. The app records your position every time you start or stop, so your organization can see where you clocked in. If you are close to a known workplace, GLPI records it by that place; otherwise it counts as remote work. The map zooms in as your location gets more precise.
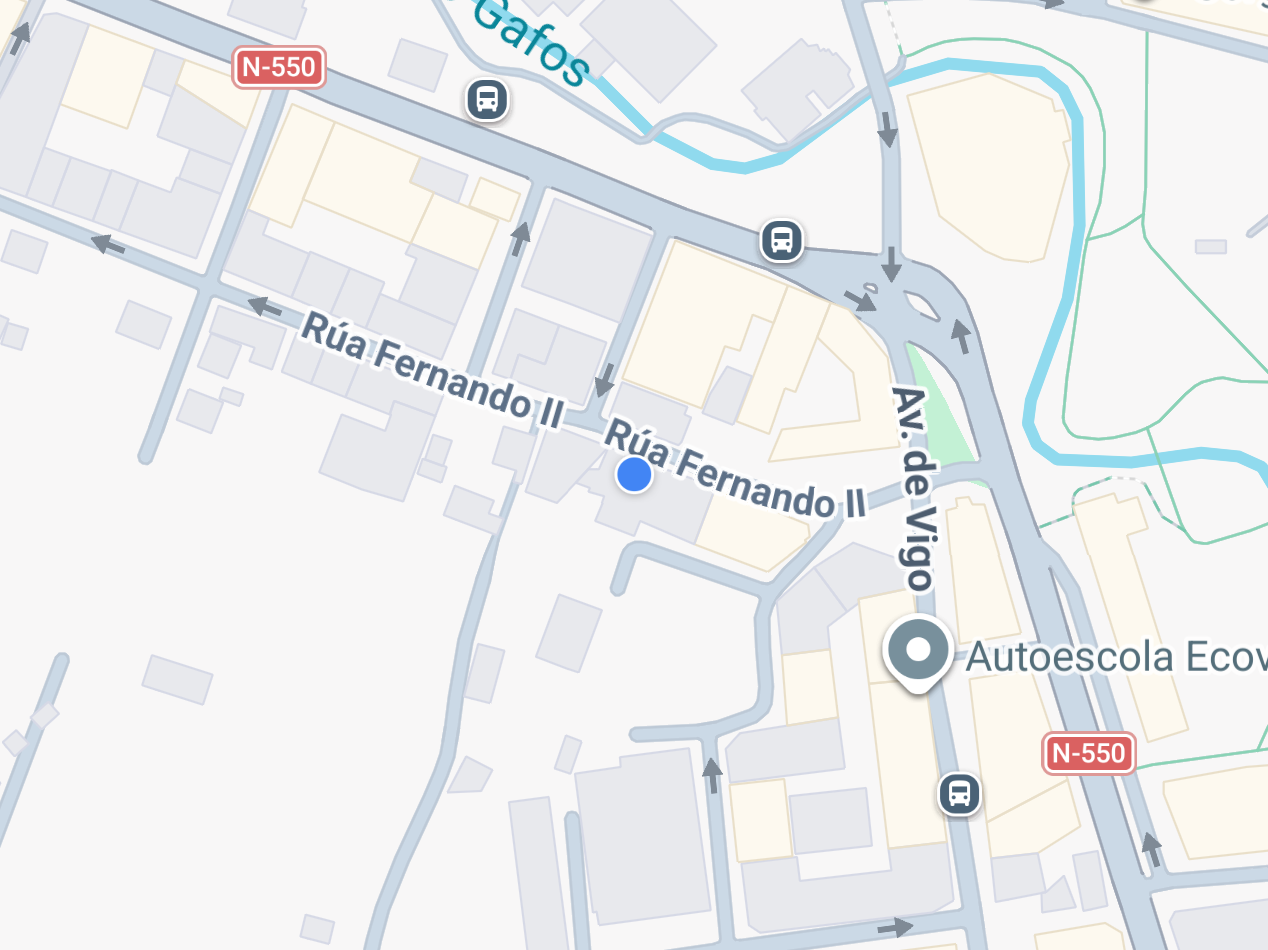
Your current location (blue dot).
The buttons at the top
The top bar of the TAM screen has three icons on the right. Each one opens a window that you can close to come back to the screen where you were.
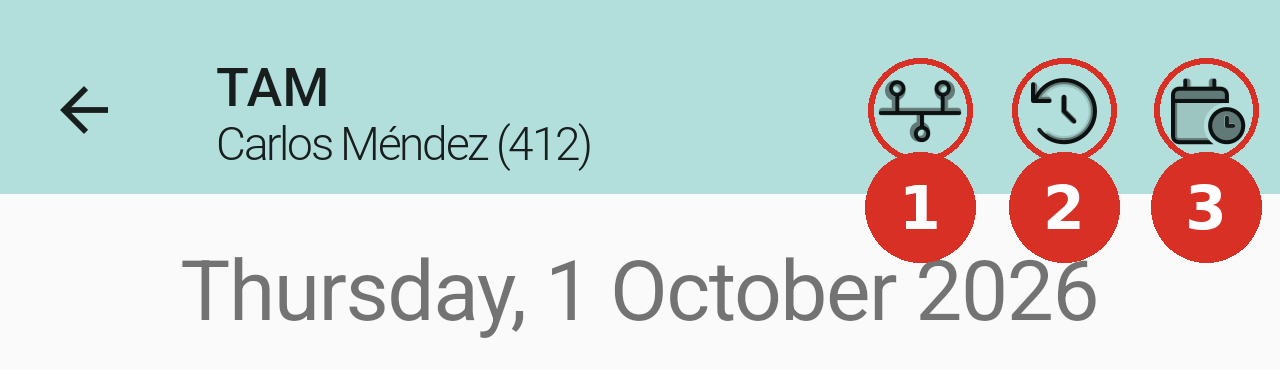
- Connected dots: the timeline of your day. It appears once you have started your day today. See 1. Reviewing your day.
- Clock with an arrow: your Actualtime Engagement. See 2. Actualtime Engagement.
- Calendar with a clock: your working calendar and hour balance. See 3. Your working calendar.
1. Reviewing your day
To see today's timeline, tap the first of the three icons at the top right (the one with connected dots). This icon appears once you have started your day at least once today. Use the arrows on either side of the date to go to the previous or next day.
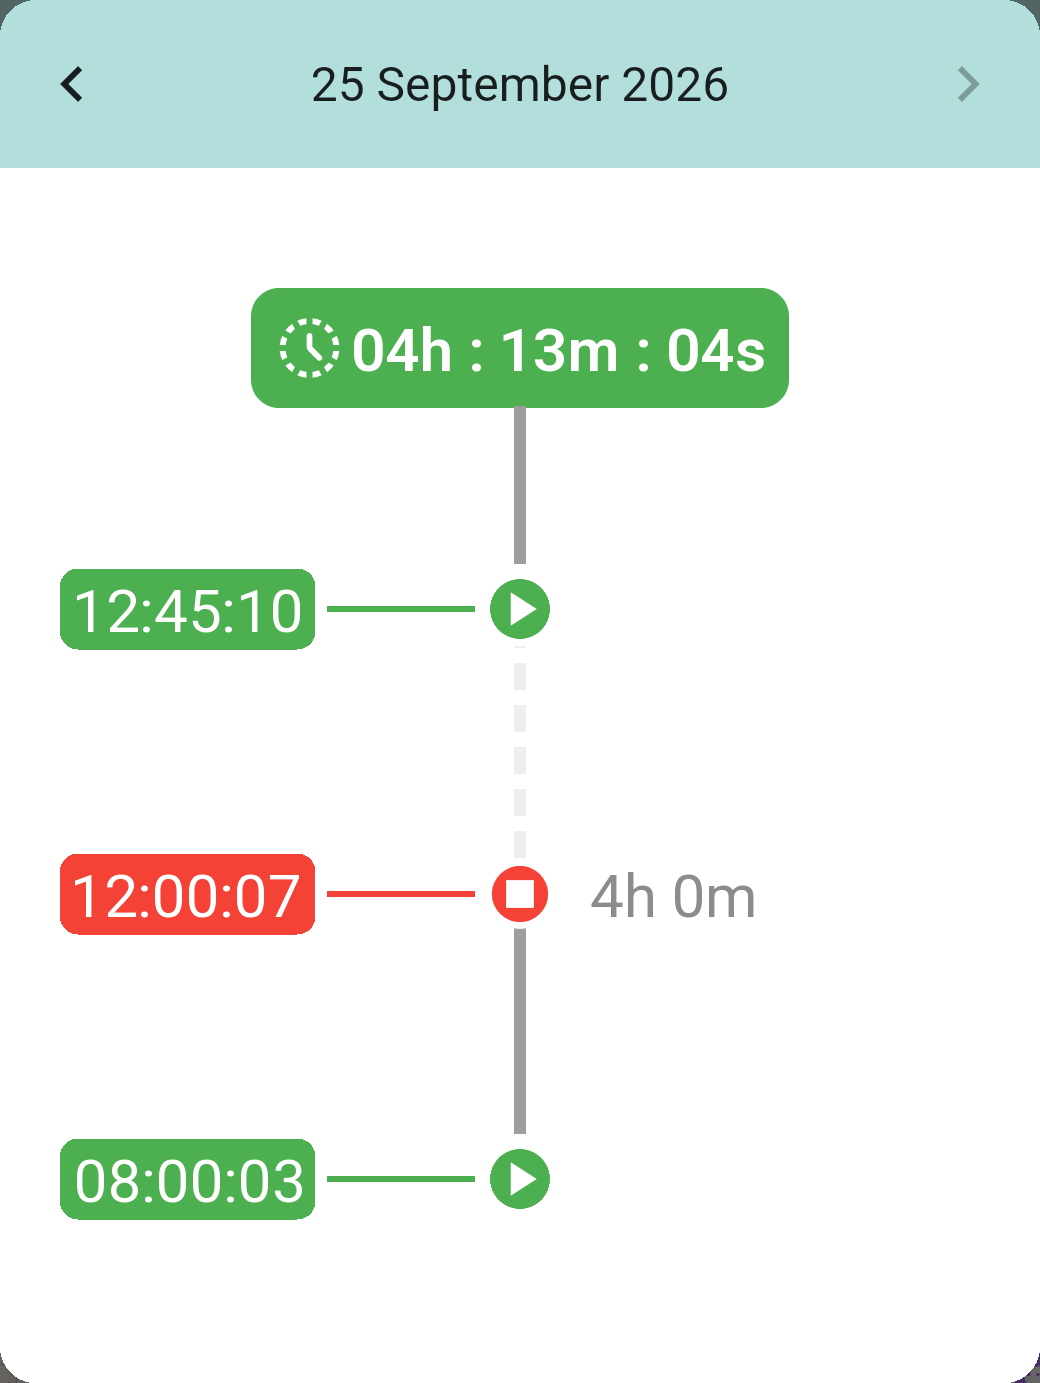
The day's timeline, newest at the top. Green entries are starts and red entries are stops. Next to each stop you see how long you worked since the previous start (here, 4h 0m). The dashed line is a break, which doesn't count as worked time. The total at the top is the time worked so far that day.
2. Actualtime Engagement
The clock with a counterclockwise arrow opens Actualtime Engagement, which compares the time you recorded on tasks with ActualTime timers with the time of your working day. It only appears if your organization has a recent enough version of Gapp Xtended. It is explained, with screenshots, in Actualtime Engagement on the ActualTime page.
3. Your working calendar
Tap the third icon at the top right (the calendar) to open your working calendar. Use the arrows to move between months. Today is highlighted in blue.
The 2026 diff panel at the bottom shows your hour balance for the year: the difference between the hours you've worked and the hours your calendar expected.
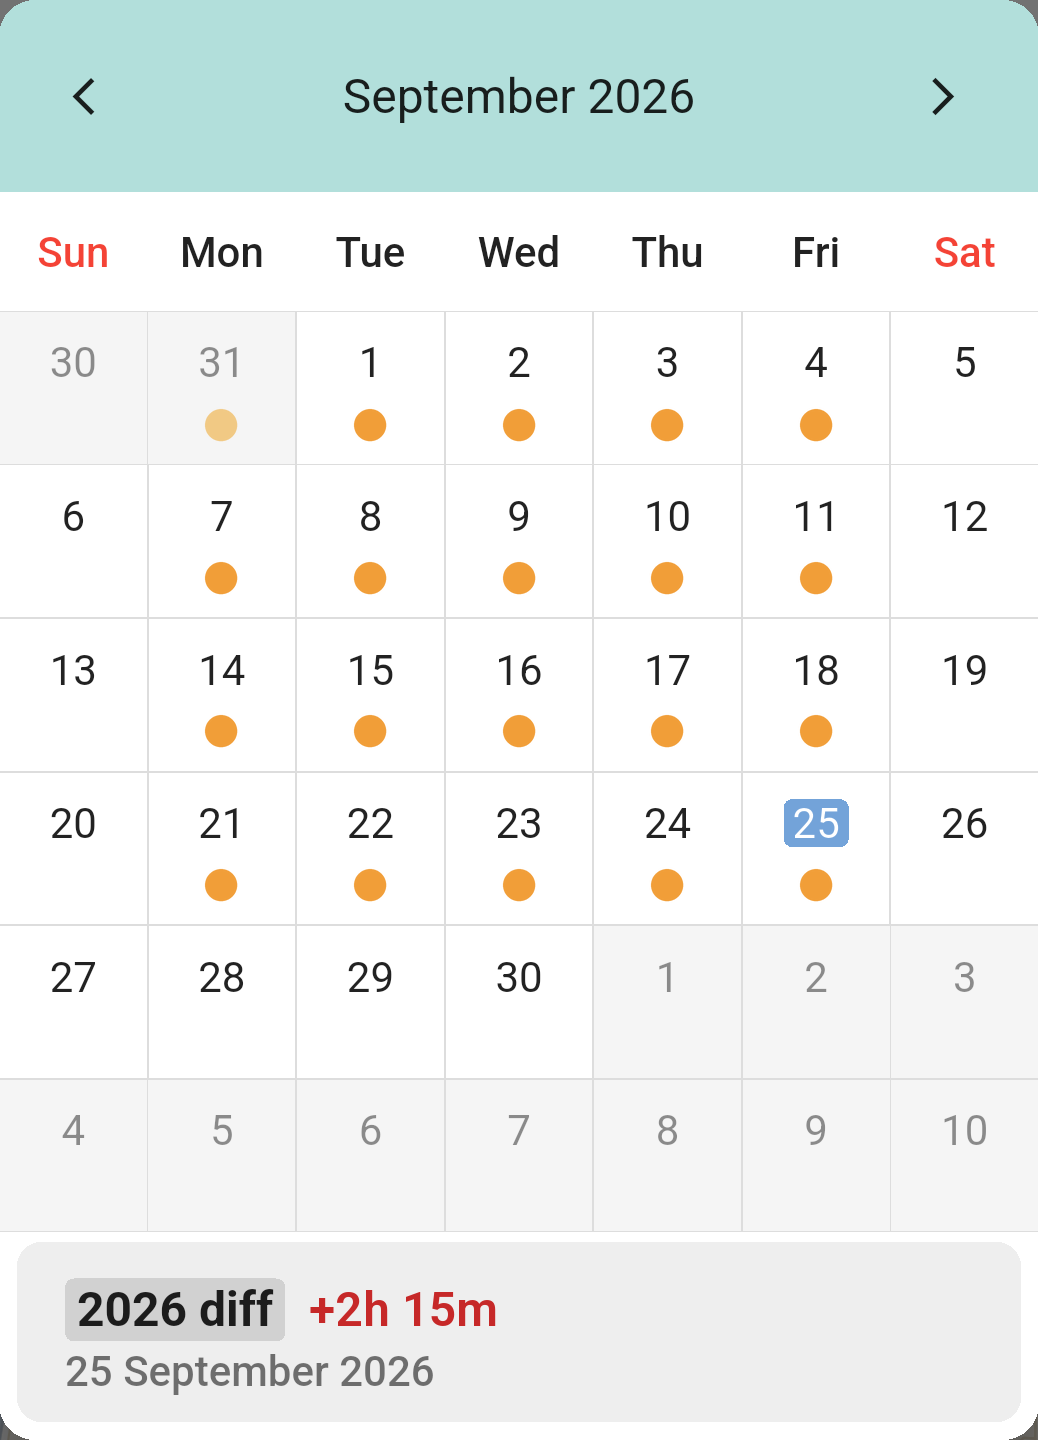
Days with an orange dot are working days in your calendar. Here, the 2026 diff balance is +2h 15m: 2 h 15 min more than expected.
Tap a working day to see, in the panel at the bottom, how long that day was supposed to be and how far you were from it. A minus in green means you worked less than expected; a plus in red means you worked more. The diff for the year follows the same rule.
Other days have a colored bar instead of the orange dot:
- Red bar: a public holiday or a day your organization is closed. Tap it to see its name in the pink panel at the bottom.
- Purple bar: your holidays. The panel reads Holidays and shows the first and last day.
- Brown bar: a leave, such as sick leave or a personal day. The panel shows its name.
Here are two examples side by side: a public holiday on a single day (left) and a holiday that lasts several days (right).
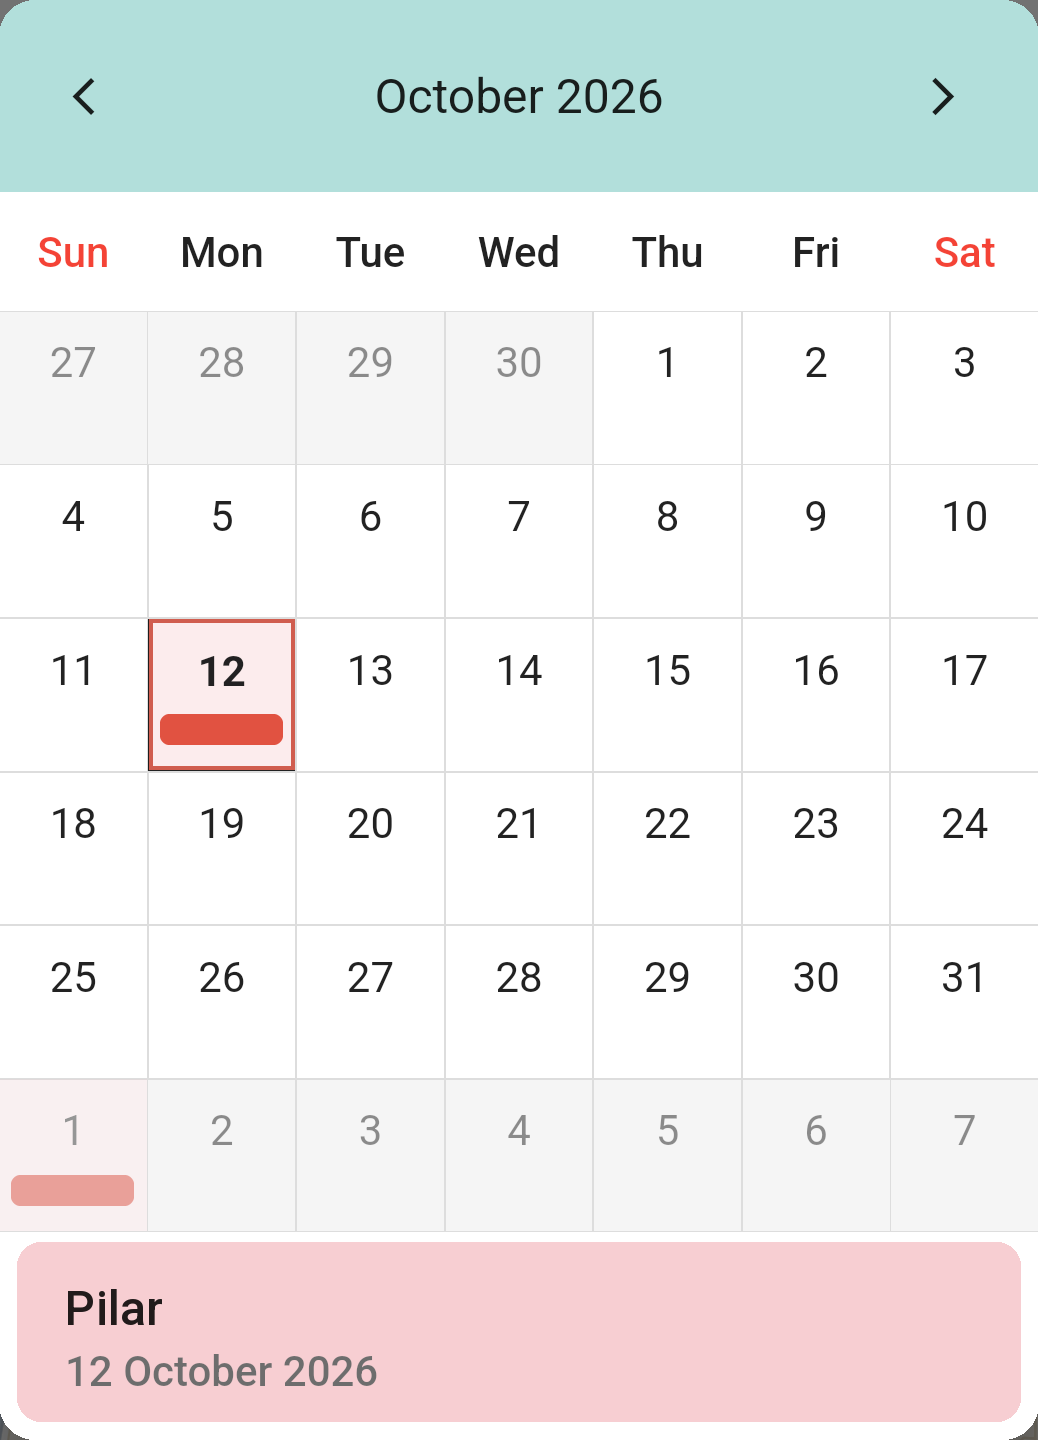 12 October is a public holiday (Pilar), so it isn't a working day: a red bar and a pink panel with its name. |
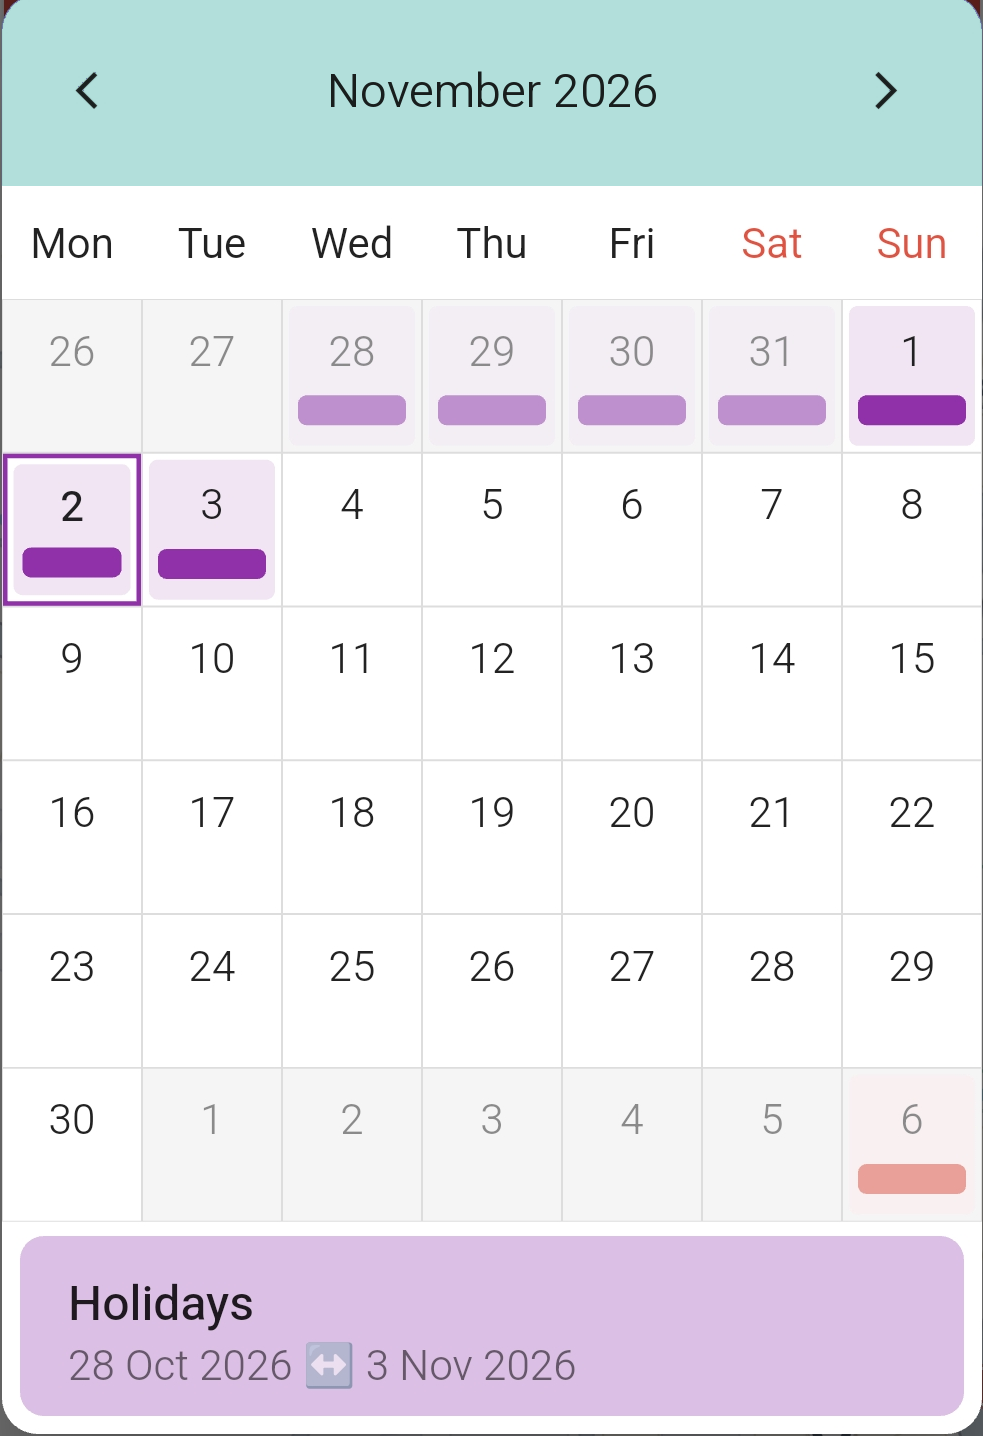 Holidays from 28 October to 3 November: a purple bar on each day and a panel with the first and last day. The red bar on the 6th is a day your organization is closed. |
A holiday that lasts several days is drawn as one bar on every day of the period. Tap any of those days to select it: the day gets a border of the same color, and the panel at the bottom shows the first and the last day of the whole period. Days that belong to the previous or the next month are shown paler.
Note: Your working calendar, working day length, holidays and leaves are set up by your organization in GLPI. You can't create them from the app.
TAM and ActualTime
ActualTime is the timer you start on a ticket's task, and TAM is your working day. The two are linked: you can't start an ActualTime timer while your day isn't started. If you try, the app says TAM must be initialized in order to perform this action and offers a Go to TAM button. While a timer is running, the yellow bar at the top of TAM shows it, and tapping it opens the timer. The reverse also applies: you can't stop your day while a timer is running. The app shows You are already doing a task (or You are already doing a waypoint), so pause or end the timer first. The Engagement figure compares the two. See Actualtime for the full flow.
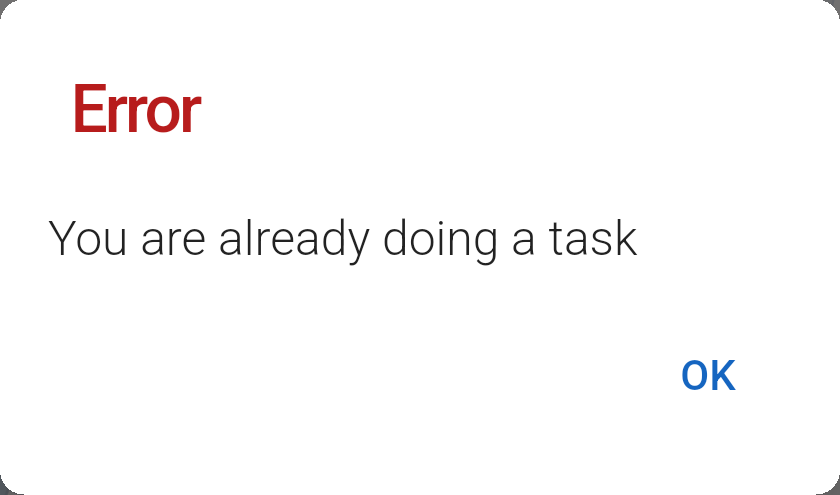
The error you get when you try to stop your day while an ActualTime timer is running.
If you forget to stop
If your day stays running without activity for a long time, GLPI warns you with a notification that says "Are you still there? Press to confirm", and a bar appears in the app reading "TAM is gonna stop due to inactivity". Tap it and then I'm still here to keep your day running. If you don't, the timers are stopped automatically and your administration can review the record in GLPI. Any day still open at midnight is closed by GLPI and marked as forgotten, and depending on how your organization set it up, a ticket may be created so the real end time can be confirmed.