
Gapp Sign
Get the customer's signature on a finished task, right from the phone. Gapp Sign shows the document to the customer, collects the signature on the screen and attaches the signed PDF to the task in GLPI.
Note: The document itself (for example a work order) is generated by the Docgen plugin, which also decides which tasks need a signature. This page covers the signing, and Setting it up in GLPI explains what your administration prepares in Docgen. See also Docgen.
Where to find it
Open the ticket and go to its Processing tab (see Ticket details). A task that needs a signature (see Docgen for which ones do) shows a crossed-out signature icon at the top of its card while the task is still open or assigned to someone else. You can't sign it yet.

An open task that needs a signature. The crossed-out icon means it can't be signed until the task is finished and assigned to you.
Once the task is finished (its checkbox is ticked) and assigned to you, the crossed-out icon is replaced by a Sign button.
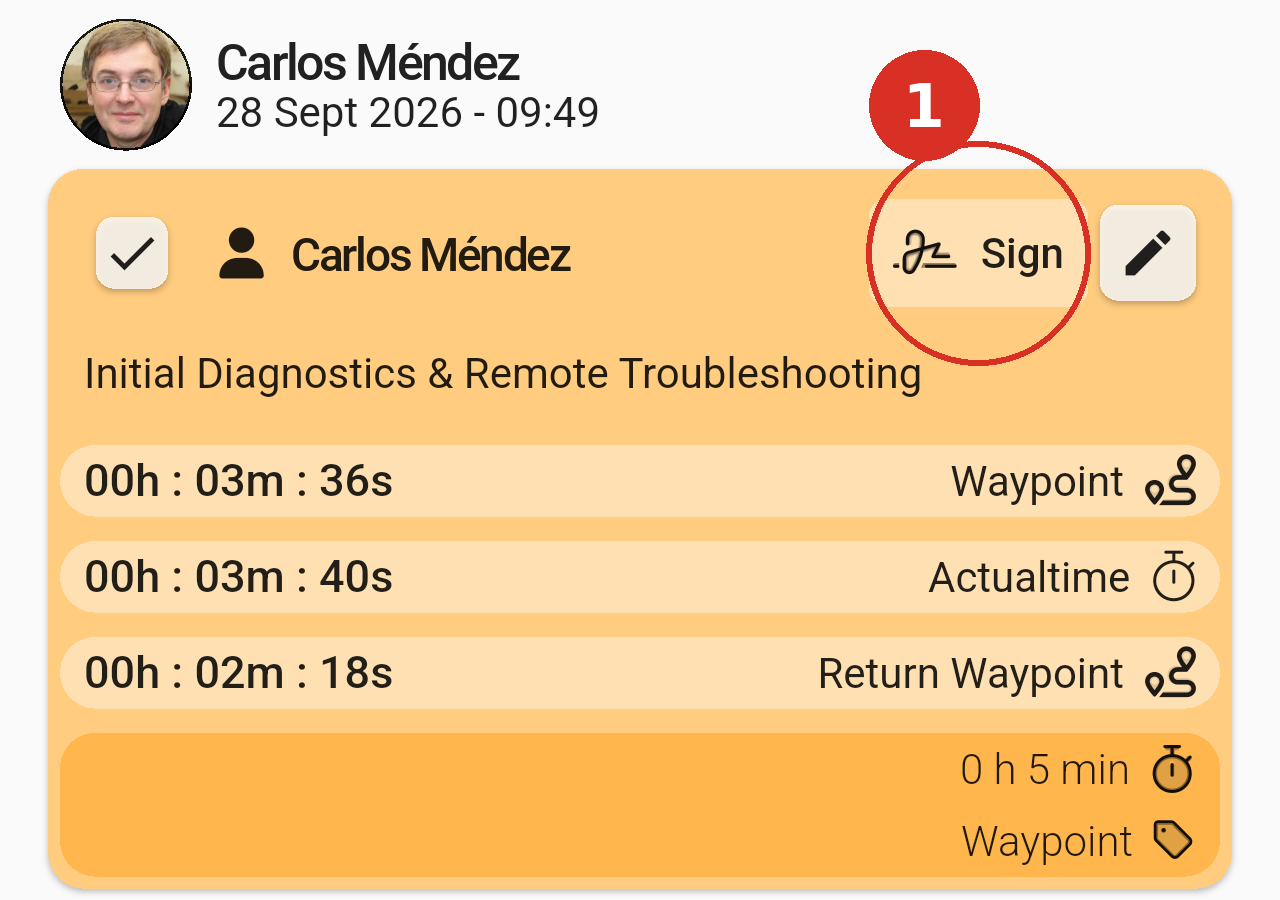
A finished task waiting for a signature. Tap Sign to start.
Pending signature reminder
When you open a ticket that has finished tasks still waiting for a signature, the app reminds you with a Pending actions message.
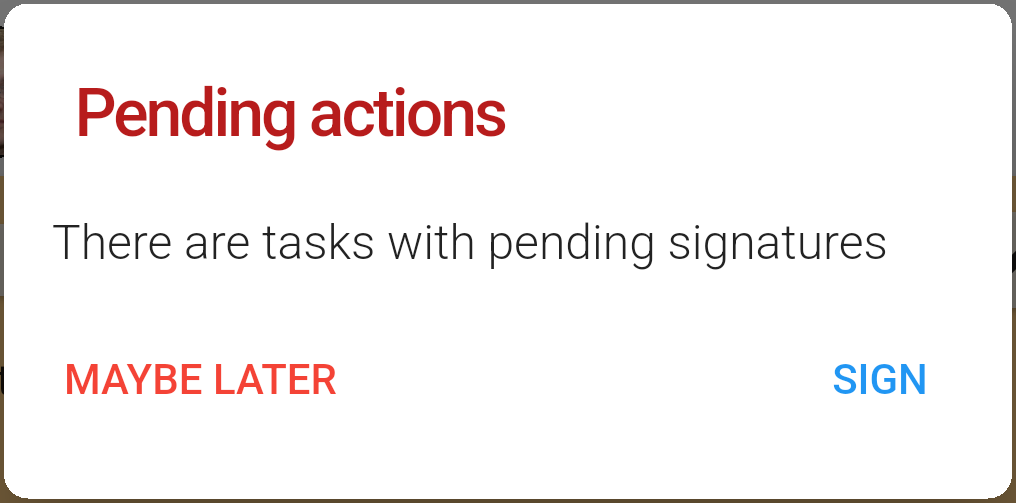
The reminder shown when the ticket opens. SIGN takes you straight to the document; MAYBE LATER closes the message.
Signing a task, step by step
Signing takes four steps: read the document, accept its conditions, sign, and send. Hand the phone to the customer for steps 2 and 3.
1. Read the document
Tap Sign on the task card, or SIGN in the reminder. The GappSign screen opens with the document to be signed: a work order with the client, the technician, the service carried out, the task status and the working time. The layout of this document comes from the Docgen template in GLPI, so yours may look different.
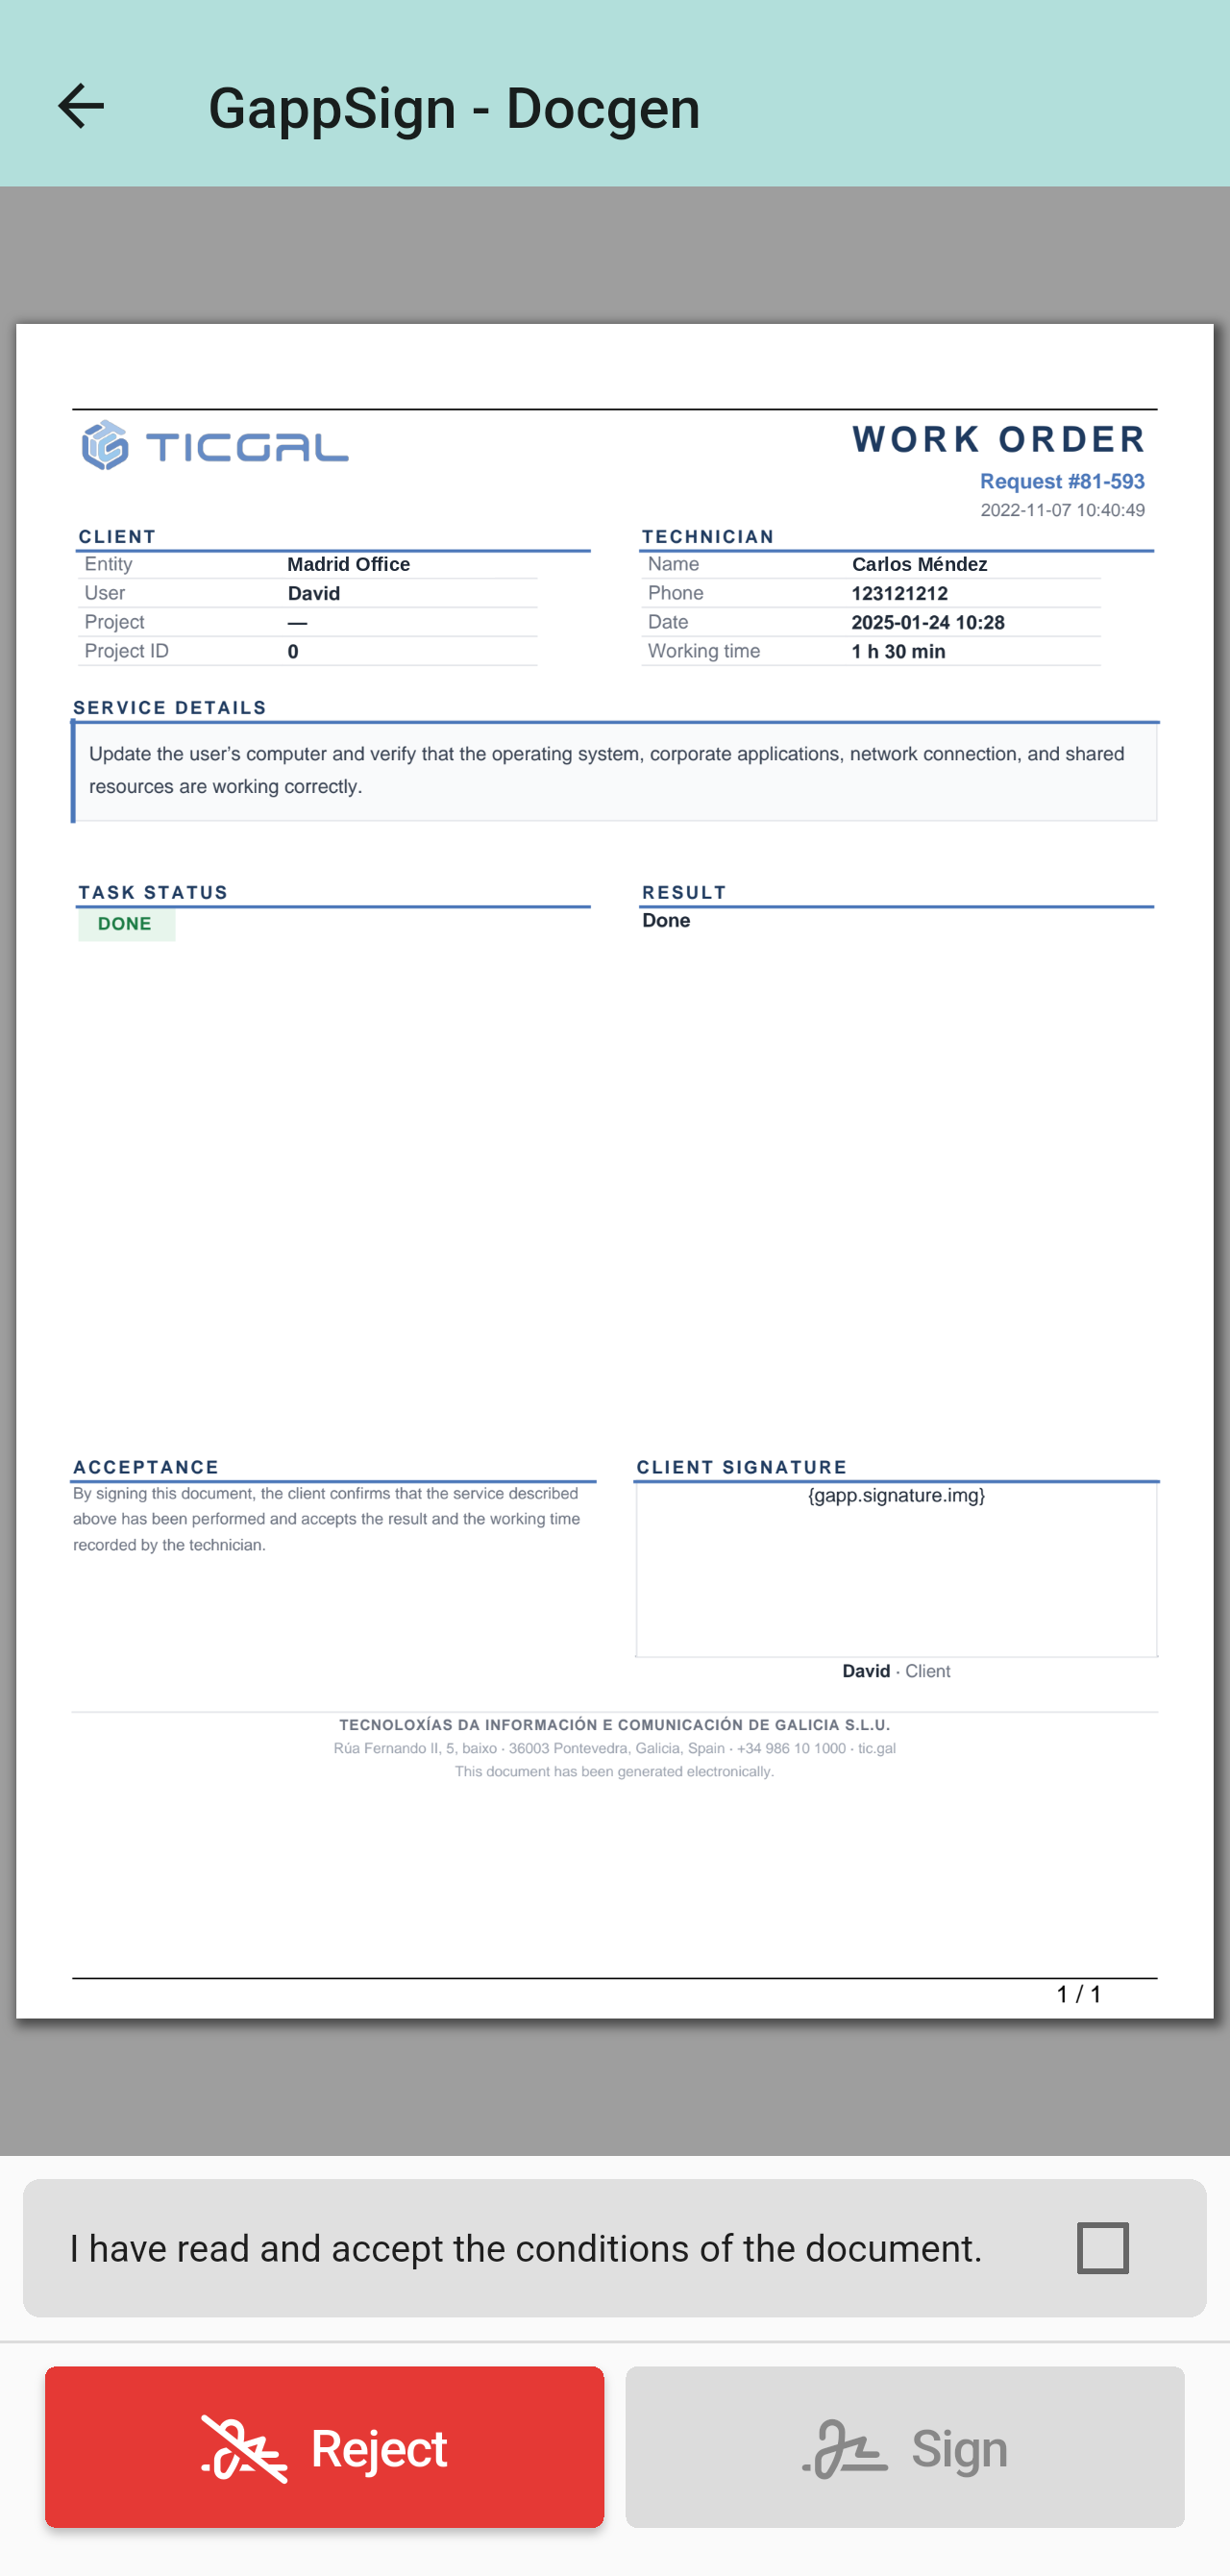
The work order to be signed. The Client signature box is still empty, and Sign is grayed out.
2. Accept the conditions
Tick I have read and accept the conditions of the document. The Sign button turns blue. Tap it.
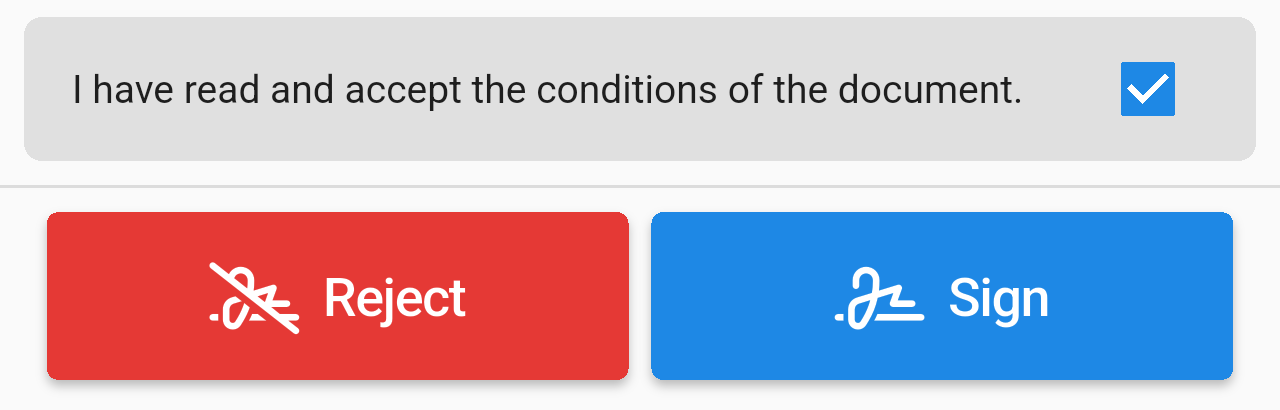
With the conditions accepted, Sign is enabled.
3. Sign on the screen
A signature panel opens. Sign with your finger inside the gray box. If you're not happy with it, tap the eraser at the top right to clear the box and sign again. Then tap Send.
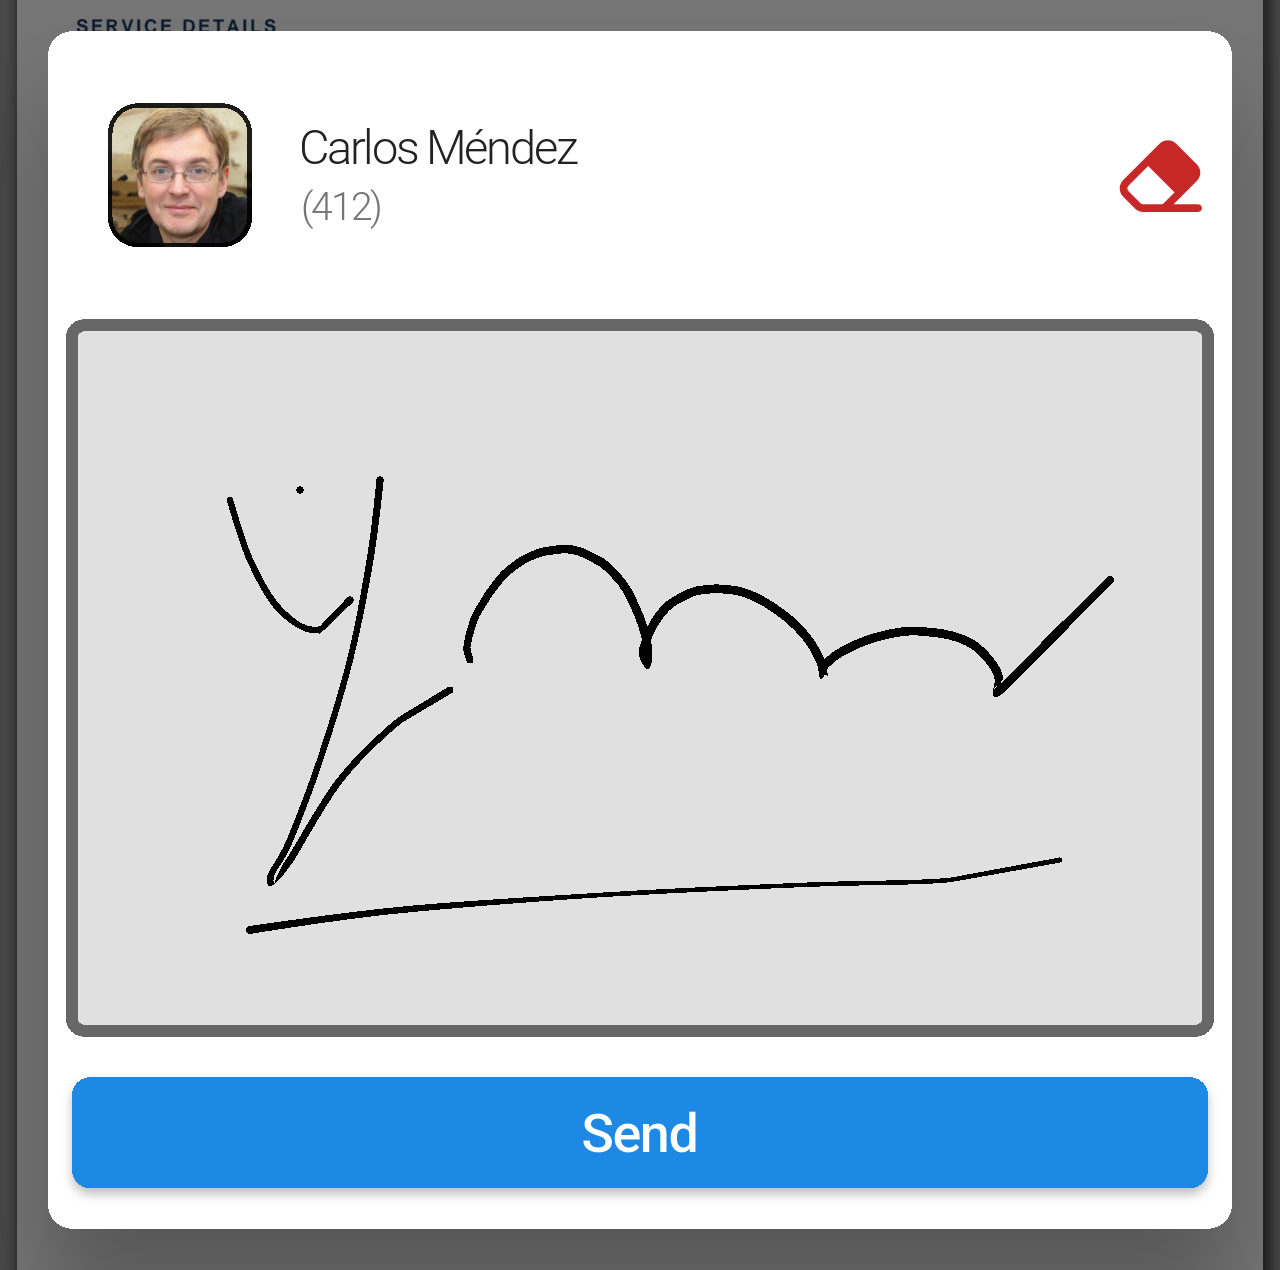
The signature panel with a signature drawn in it, ready to send.
4. Check the signed task
Once the signature is sent, you're back on the ticket. The task card now shows Signed at the top, and the signed PDF is attached to the task.
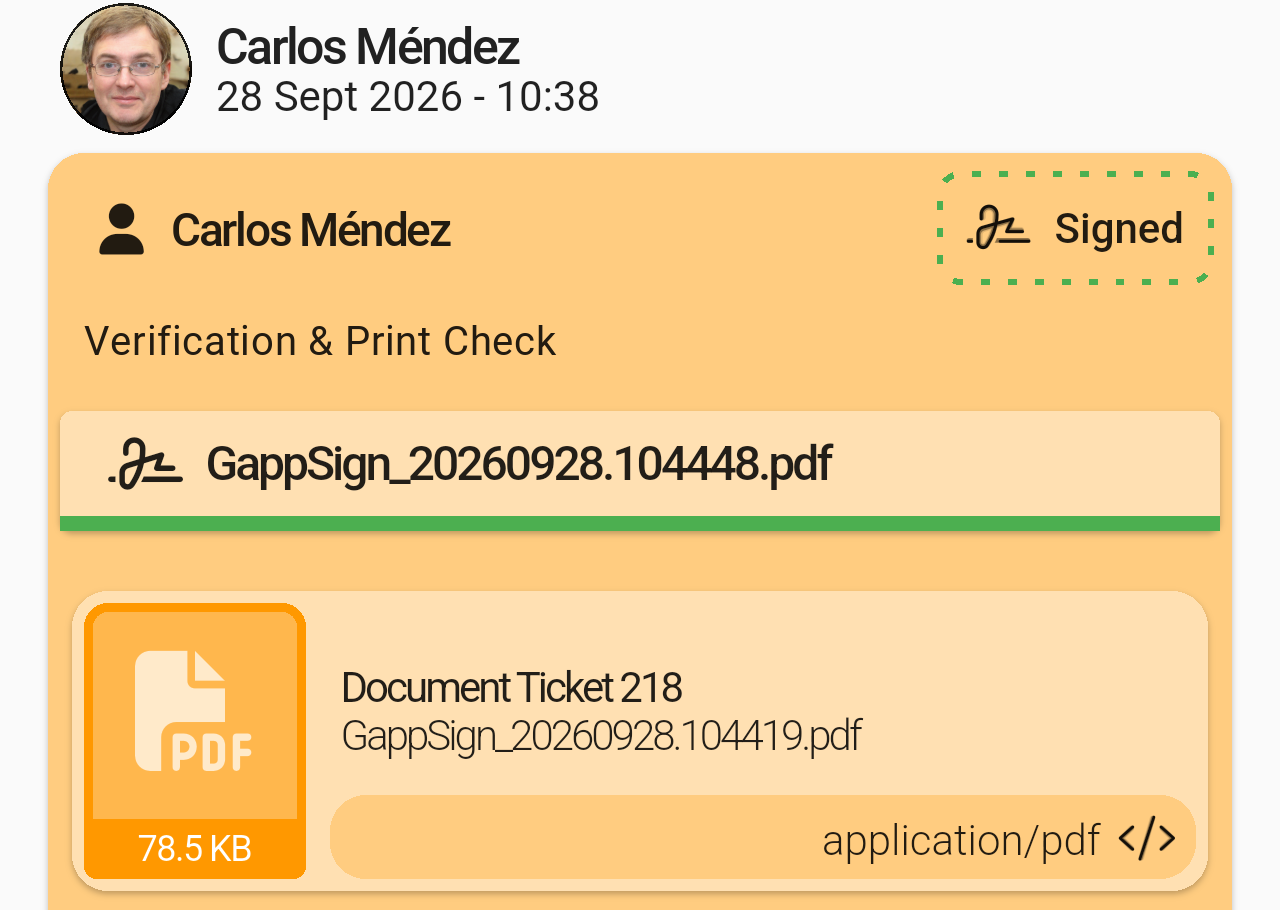
The signed task, with the signed PDF attached to it.
Tap the PDF to View it in the app or Download it to the phone.
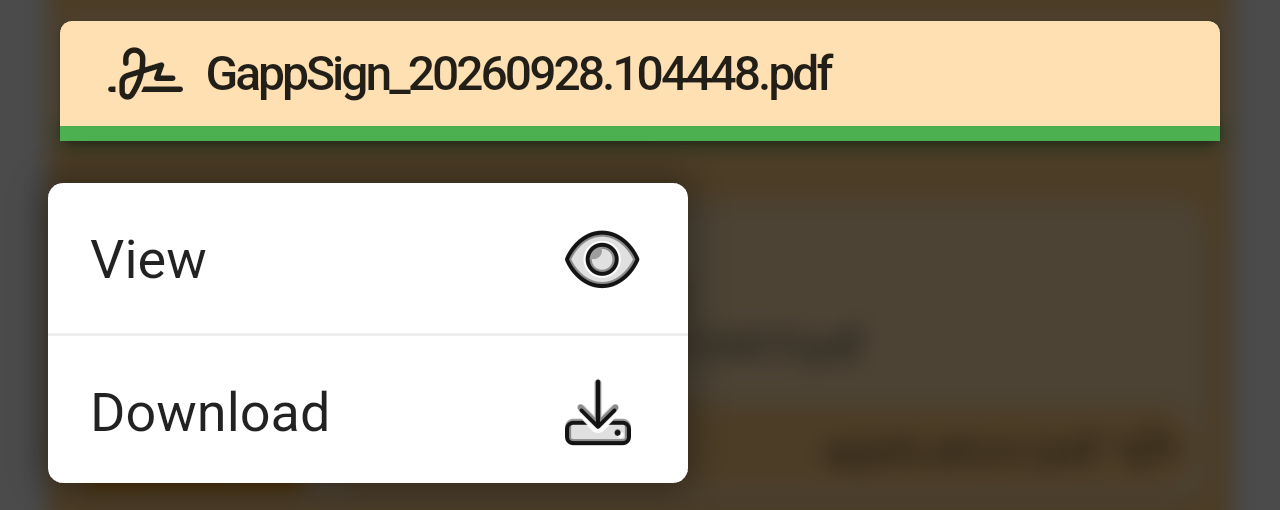
The options for the signed PDF.
The signed document is the same work order, now with the signature in the Client signature box.
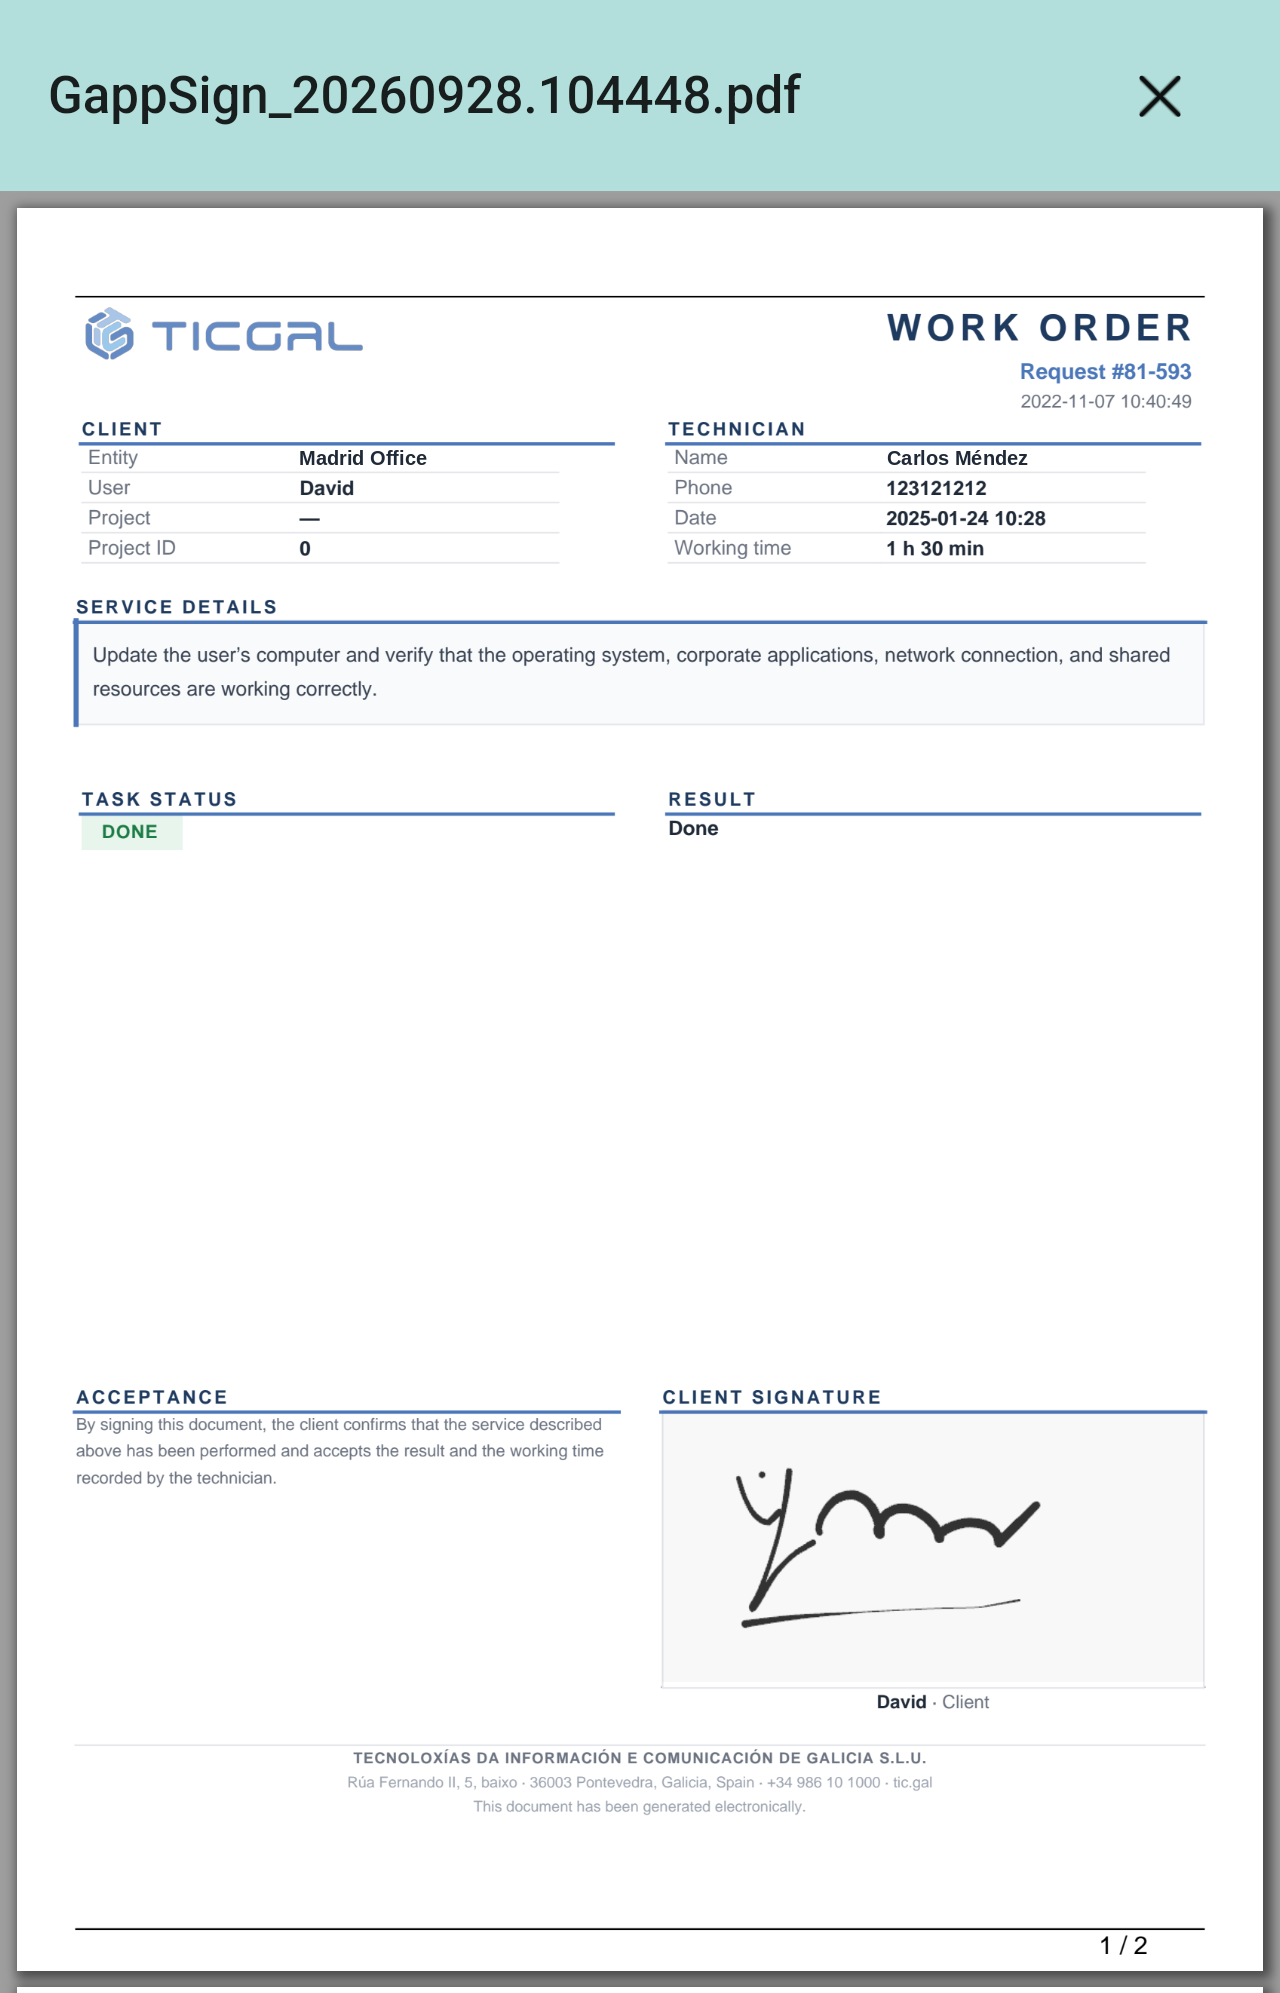
The signed PDF open in the app's viewer. Tap the X to close it.
If the customer doesn't agree
If the customer doesn't accept the document, tap the red Reject button instead of Sign. A Reject signing window opens. Choose a reason from the list, add a comment if you want, and tap Send. Send stays grayed out until a reason is chosen. The reasons in the list are set up by your GLPI administration.
Once it's sent, the task card shows a red dashed Rejected badge instead of Signed.
Note: Gapp Sign is also used to sign asset handovers and returns. See Asset Handover.
Setting it up in GLPI
This part is for your administration. Which tasks ask for a signature, and what the document looks like, is set up in GLPI with the Docgen plugin, not in the app. Docgen, Gapp Sign and Gapp Xtended (the plugin that connects GLPI with the app) must be installed.
1. Choose the task categories that need a signature
In GLPI, open the entity (Administration, Entities) and go to its DocGen tab. In Ticket task categories that need validation, choose the task categories whose tasks the customer has to sign, and save. In a child entity, the field Inherit validation from parent entity comes first: set it to Yes to use the parent's list (the list is then hidden), or to No to choose the categories for this entity.
A category asks for a signature because it is in this list, not because of its name. In the app, when you create or edit a task, these categories show a signature icon and the label Docgen in the Task category list.
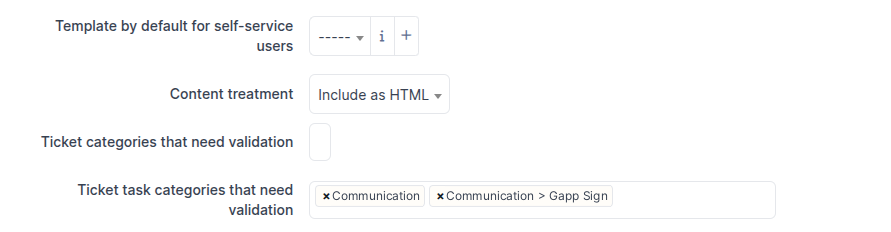
The entity's DocGen tab. Tasks with these two categories ask for a signature in the app.
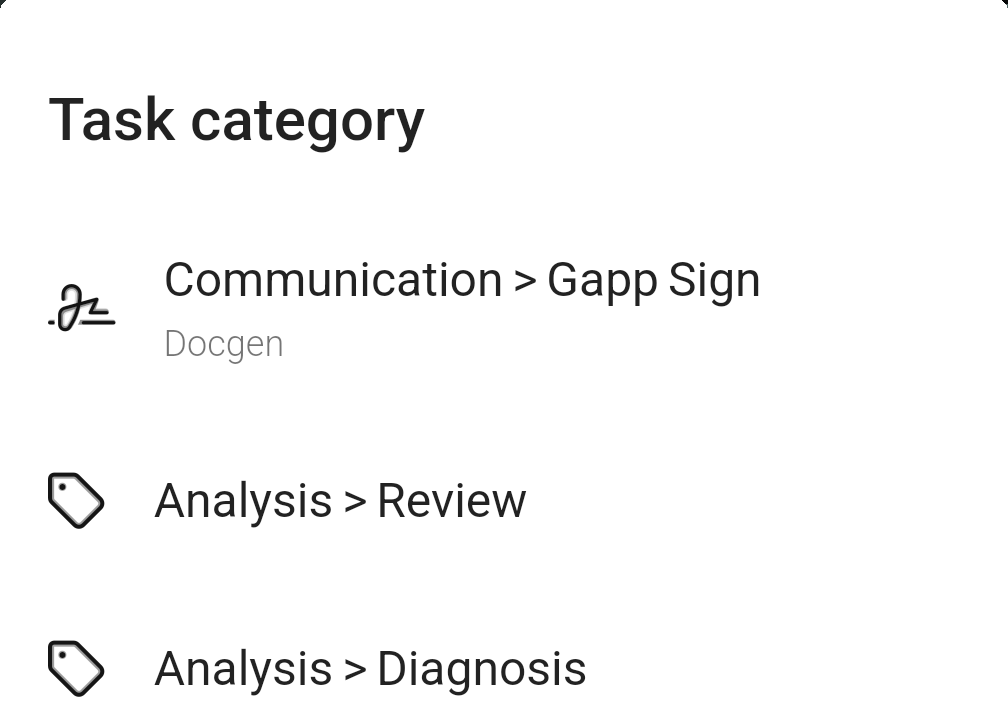
In the app, "Communication > Gapp Sign" is marked Docgen: its tasks need a signature. The others are plain categories.
2. Prepare the document template
The document that the customer signs (for example a work order) comes from a Docgen template. Templates are managed in Setup, Dropdowns, Templates (the Configure button of DocGen in Setup, Plugins opens the same list). A template is written in HTML and CSS with Docgen tags, which GLPI replaces with the data of the ticket or the task, and it can be limited to a type of item, a category or a group.

The list of DocGen templates. Open one to edit its content.
Note: If a task doesn't ask for a signature when it should, or the document isn't the one you expect, check the entity's DocGen tab and the templates. The app only shows what Docgen sends.
Related pages
- Docgen: which tasks need a signature and where the document comes from.
- Ticket details: the Processing tab, where tasks are shown.
- Tasks: finishing a task.
- Waypoints: recording travel and work time on a task.
- Asset Handover: signing the handover of an asset.