
Tickets
View, filter and work on your GLPI tickets directly from your mobile device.
Where to find it
Tap Tickets in the main menu on the home screen. You can also open it from the side drawer (menu icon ☰, top left).
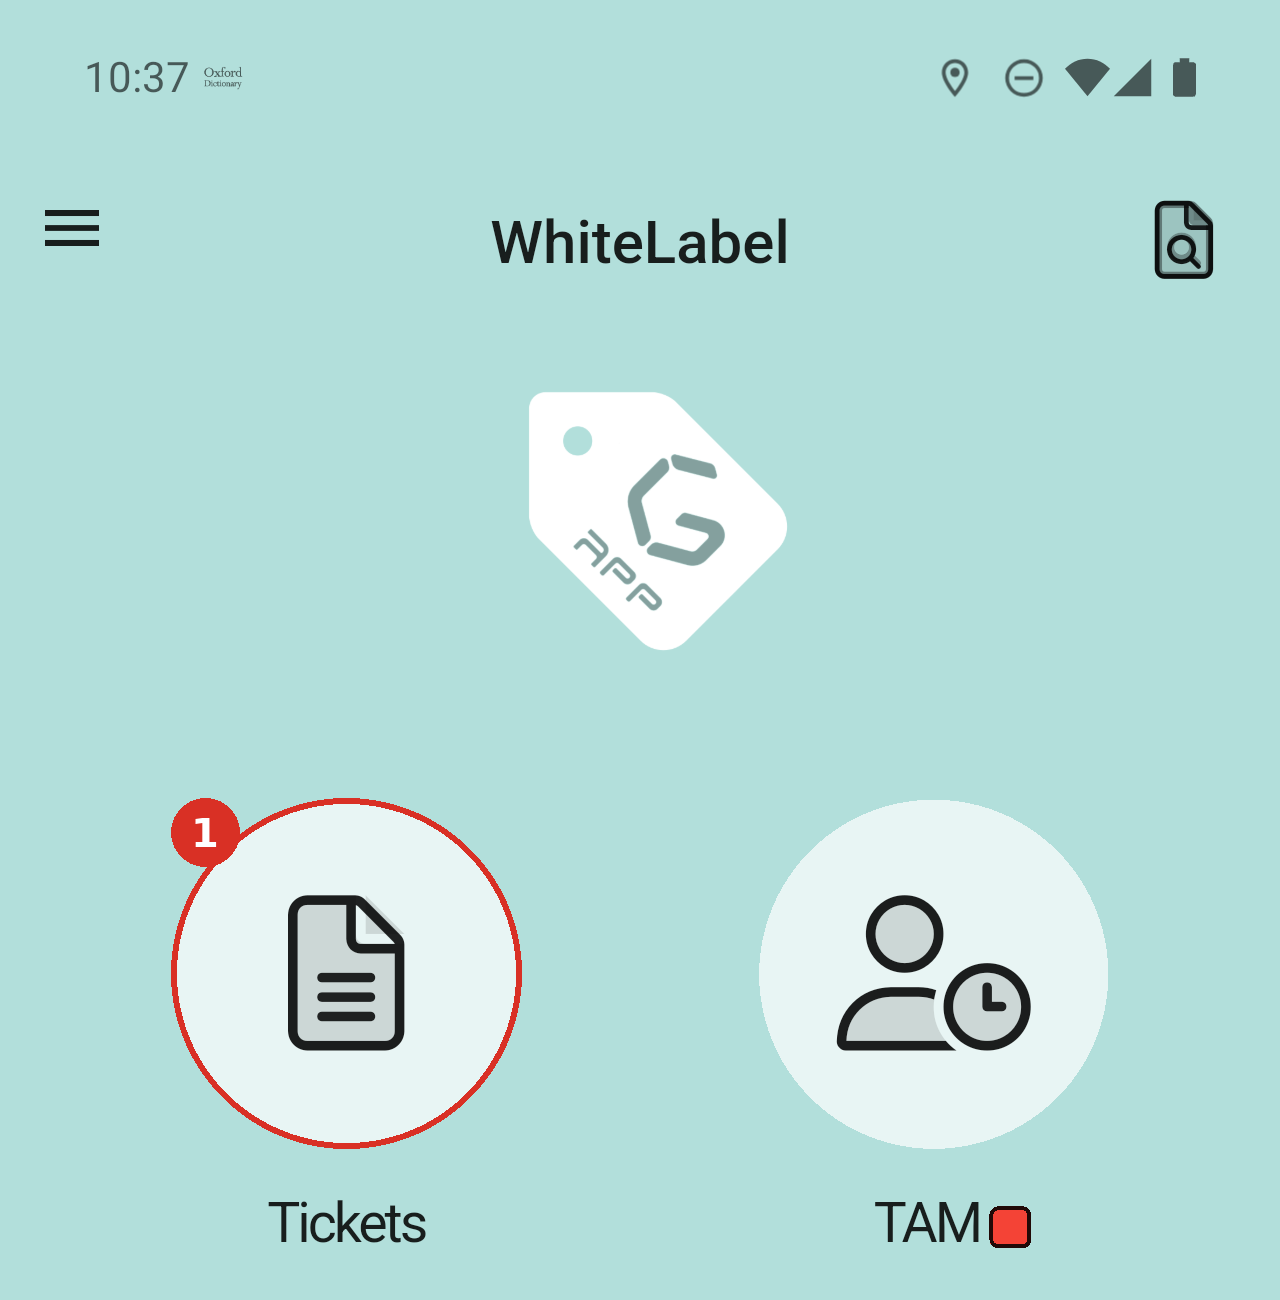
From the home screen, tap Tickets.
The ticket list
The list shows one card per ticket. The title bar at the top tells you which list you're viewing.
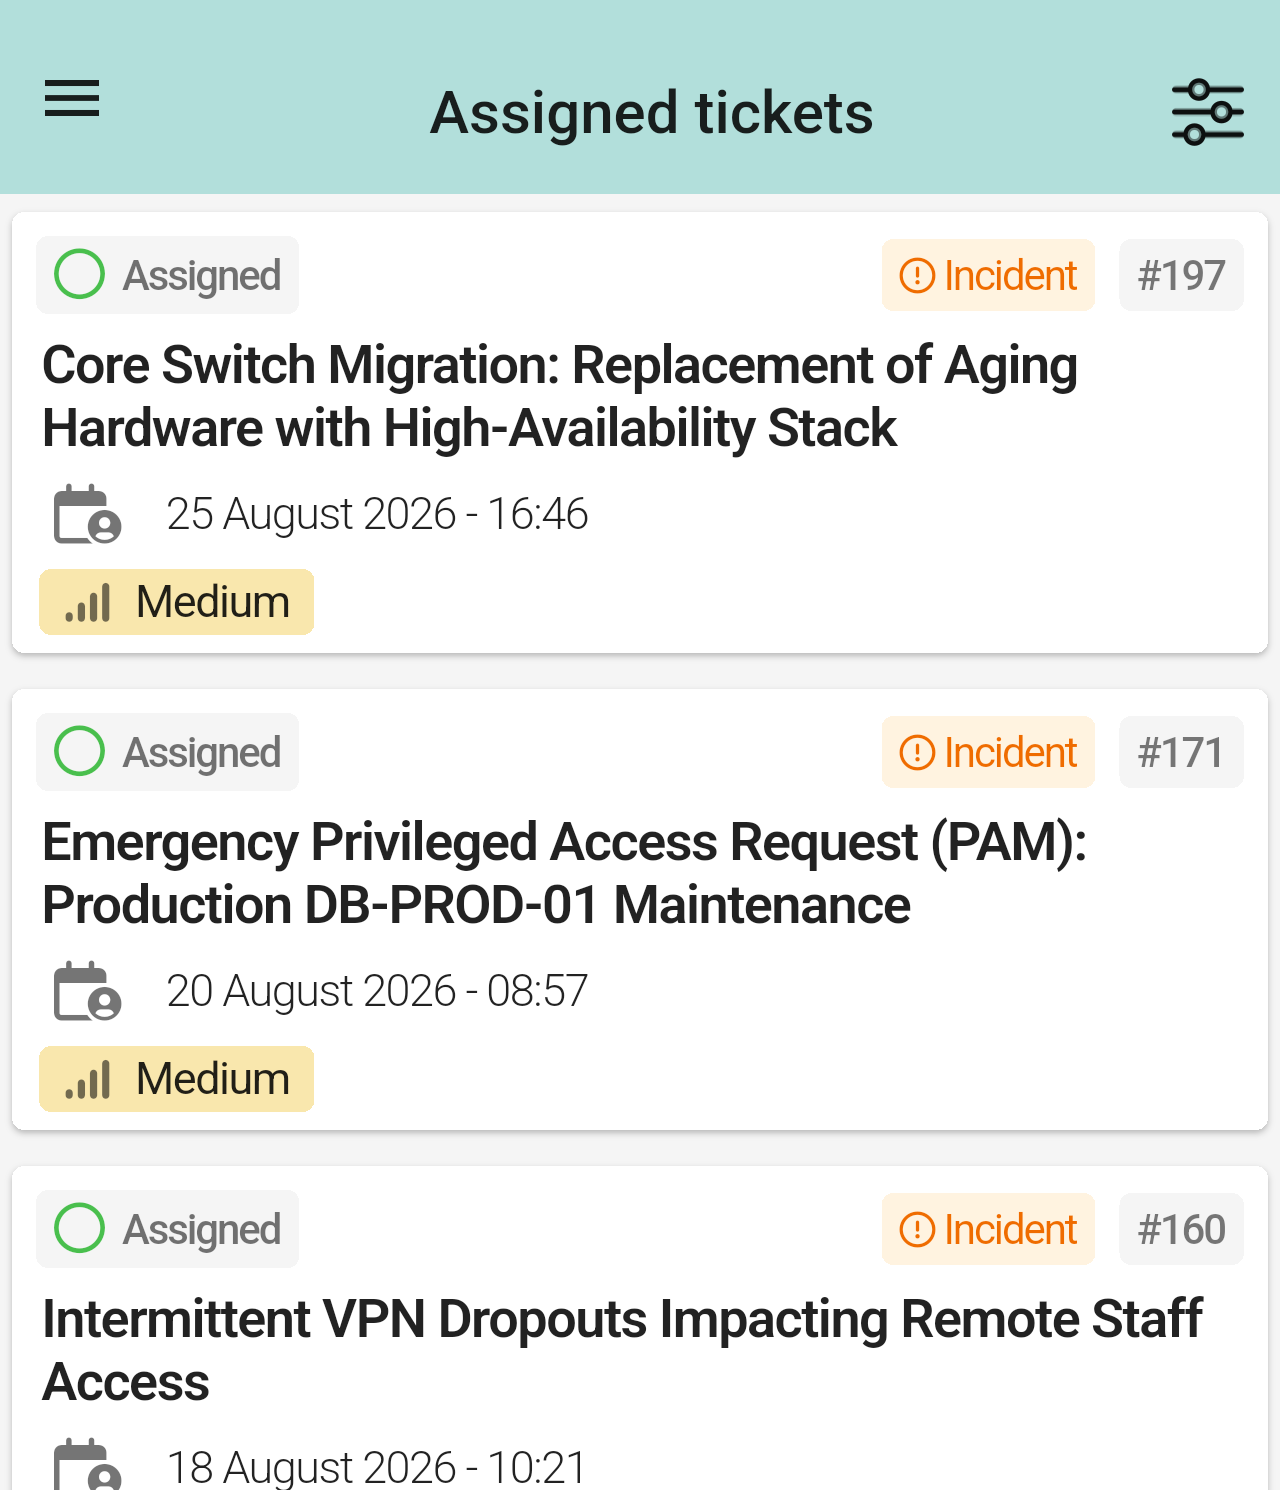
The ticket list. The title bar shows which list you're viewing (here Assigned tickets).
Each card shows six pieces of information, numbered in the image below:
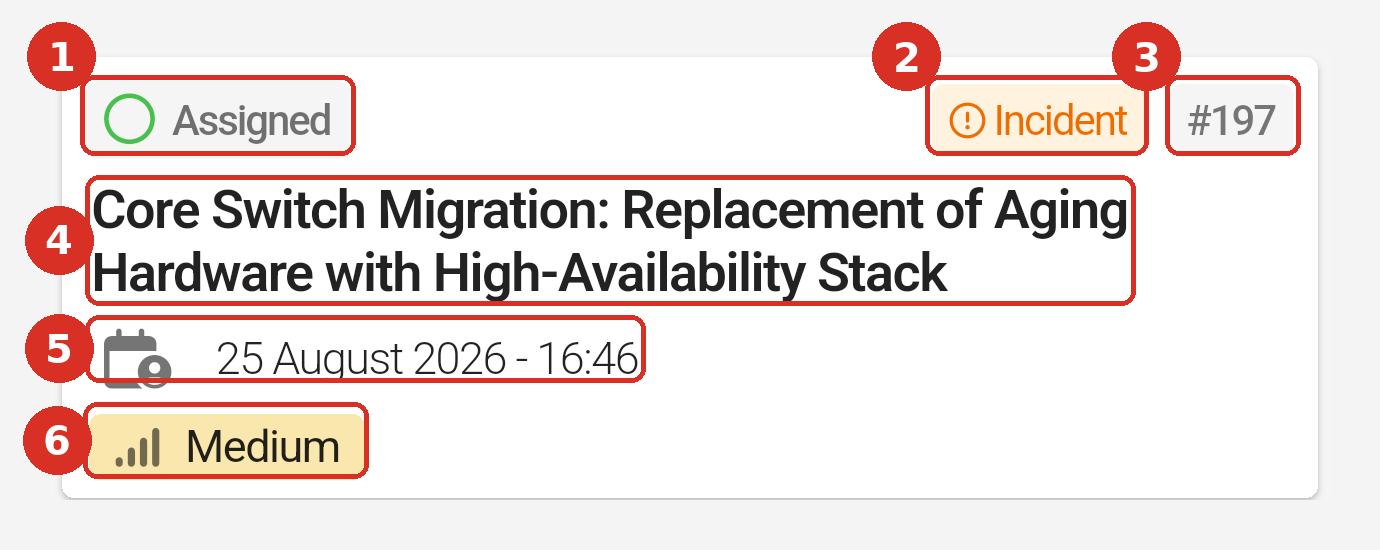
A ticket card and its six fields.
- Status: New, Approval, Assigned, Planned, Pending, Solved or Closed, each with its own icon and colour.
- Type: Incident (something isn't working) or Request (you're asking for something, such as access or new equipment).
- Ticket number, for example #197.
- Title of the ticket.
- Last update: the date and time the ticket was last changed.
- Priority, for example Low or Medium, on a coloured label with a signal-bar icon.
Tap a card to open that ticket (see Ticket details). To create a new ticket, tap the + button at the bottom right of the list (see Create Ticket).
Filtering and sorting the list
Tap the filter icon (three sliders, top right of the ticket list, next to the list title) to open the filter panel.
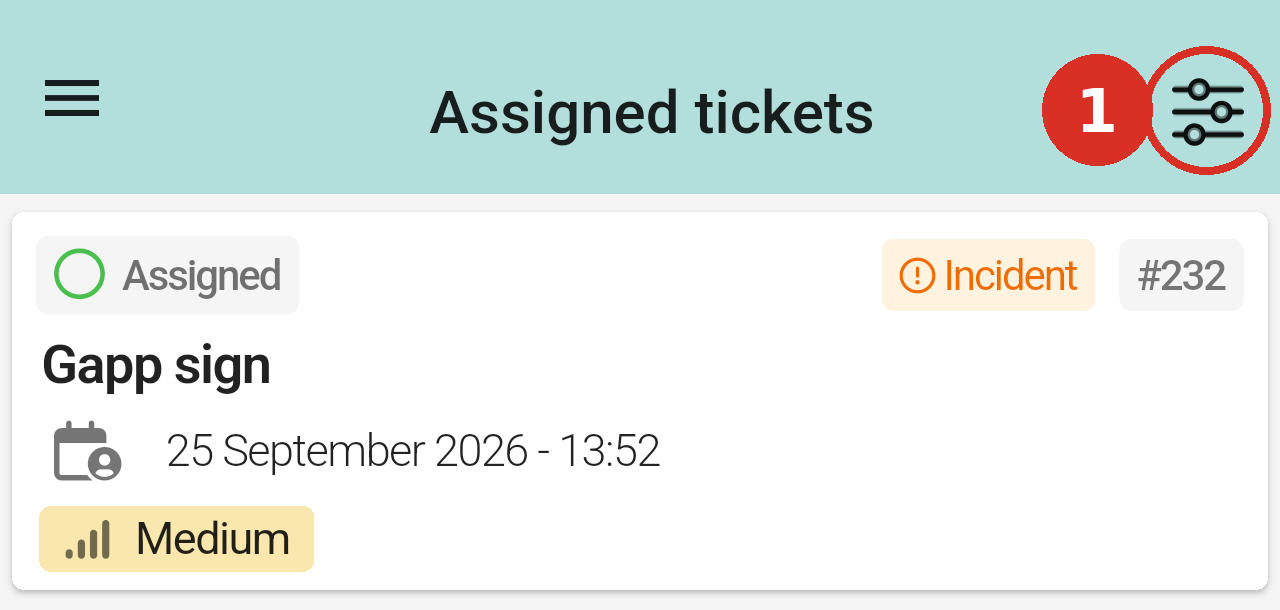
From the ticket list, tap the filter icon (1) in the top bar.
The panel has three tabs at the top: Filter, Saved searches and Go to ticket.
The Filter tab has five blocks, numbered in the image below: the ticket lists, Content filter, Sort by, Ticket status and Ticket date. Each block is explained in the section with the same number. Choosing a list, or adding or removing a content filter, applies straight away: the panel closes and the list updates. To close the panel without changing anything, tap outside it.
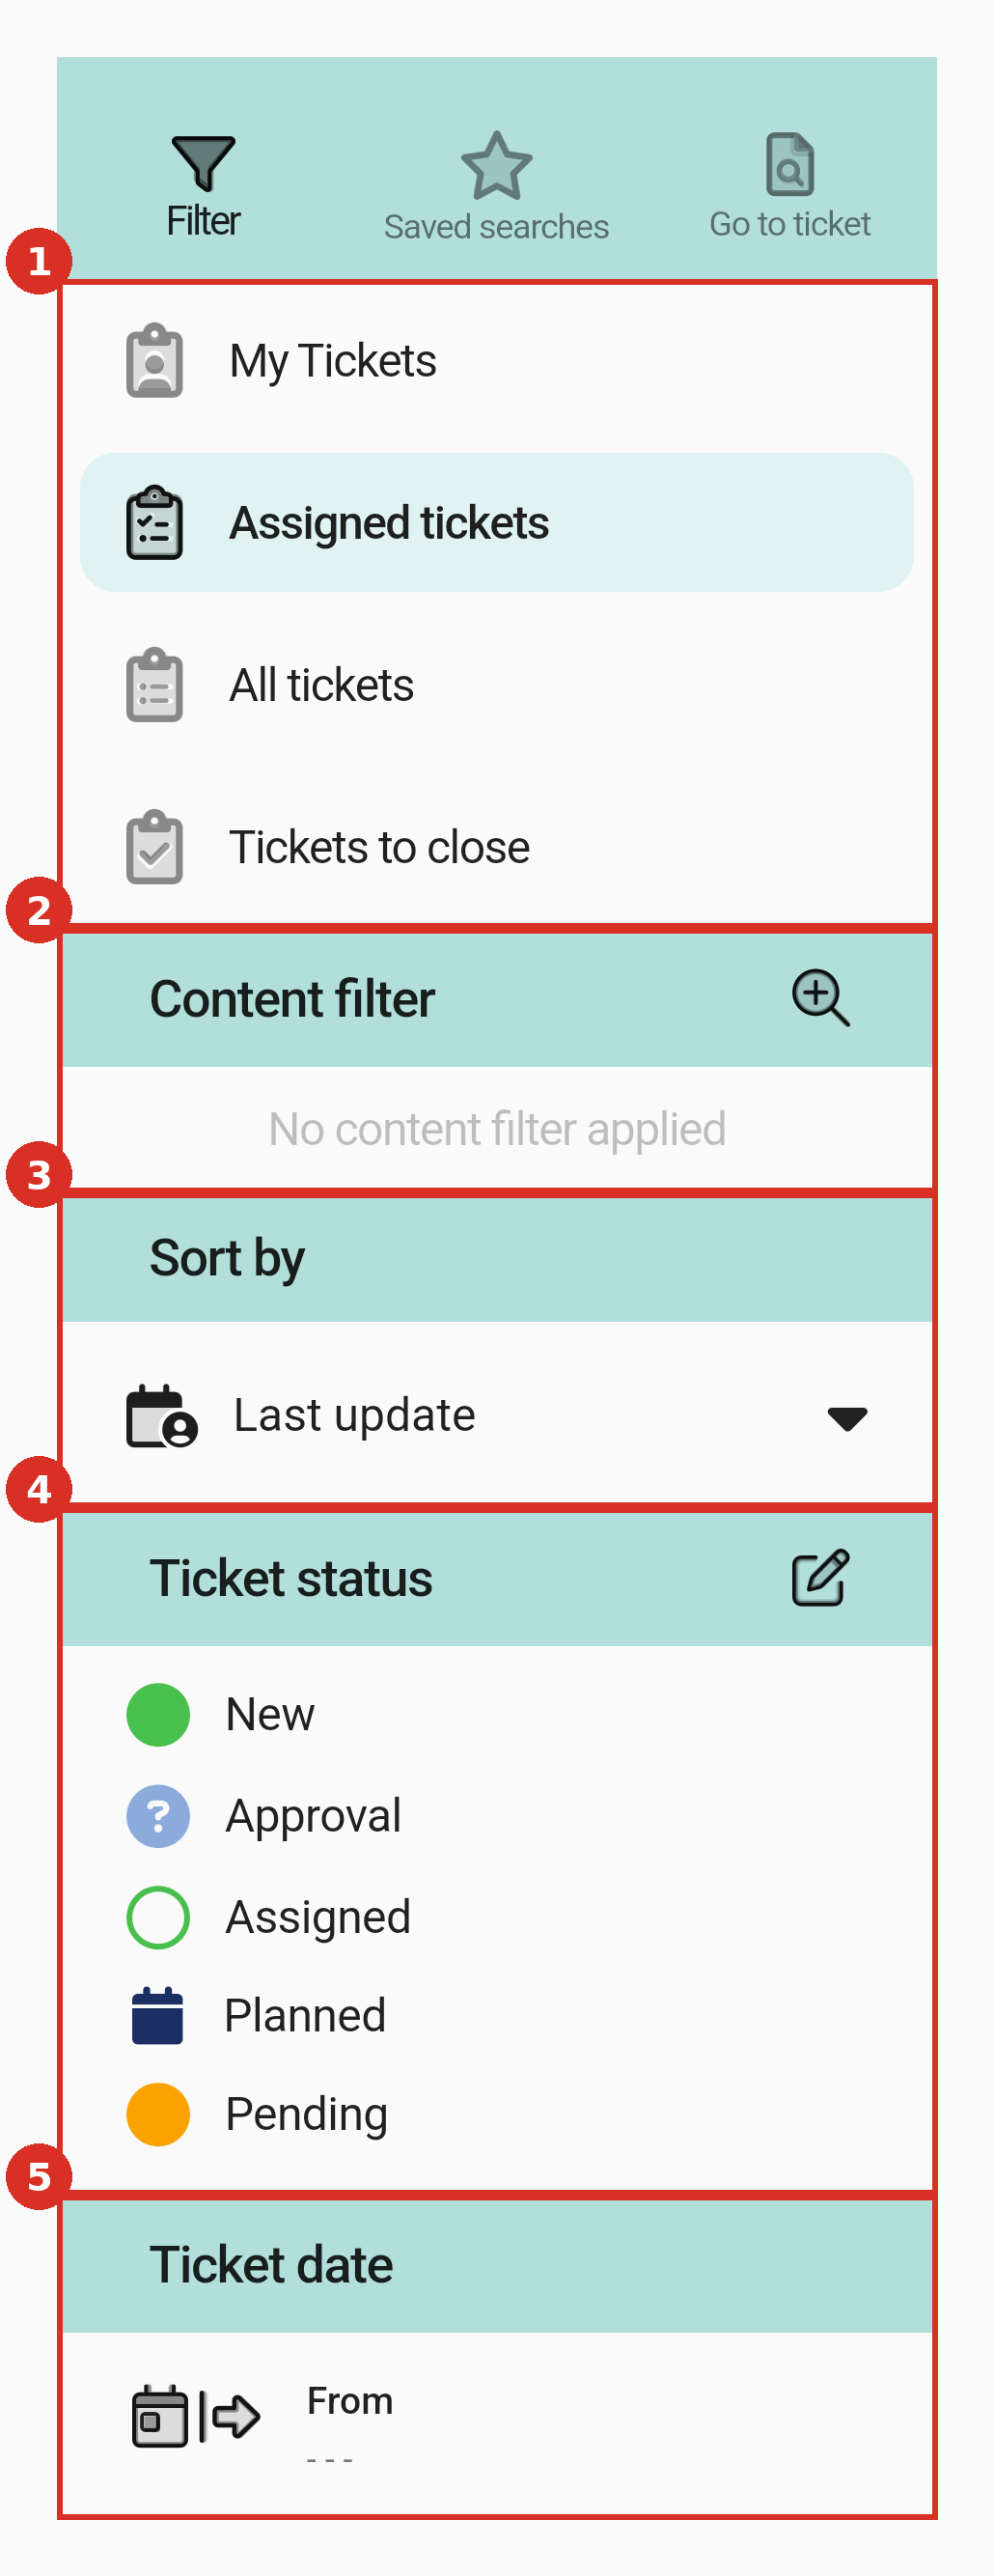
The Filter tab and its five blocks, numbered to match the sections below.
1. Choosing which tickets to list
At the top of the Filter tab, pick one of these lists:
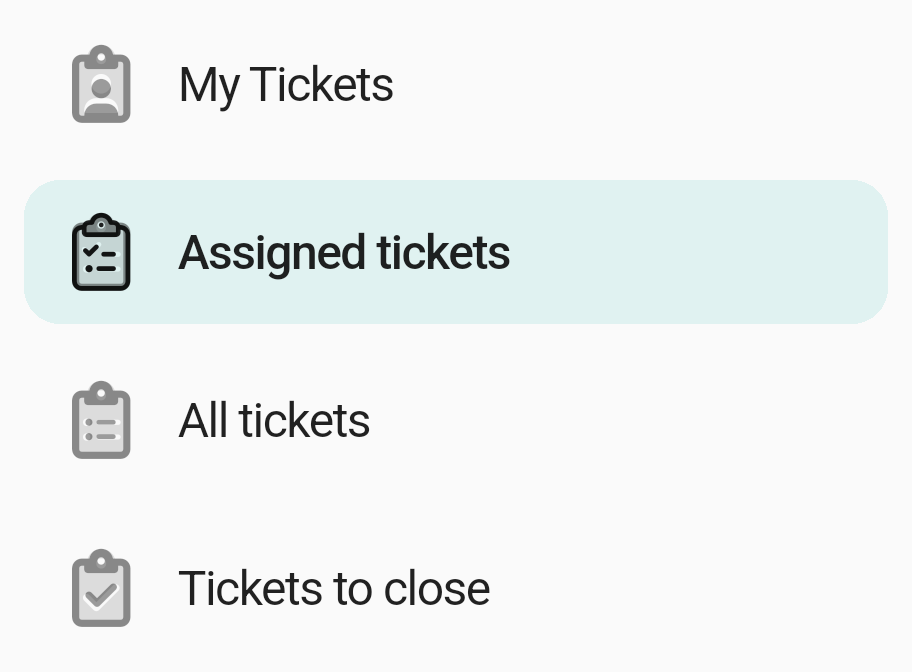
The four available lists, with the current one highlighted.
- My Tickets: tickets you opened.
- Assigned tickets: tickets assigned to you (the default).
- All tickets: every ticket you're allowed to see.
- Tickets to close: tickets that are Solved and still waiting to be closed. This list shows them even though Solved isn't ticked in Ticket status.
2. Searching by title or description
Narrow the list down to tickets whose title or description contains a word you choose:
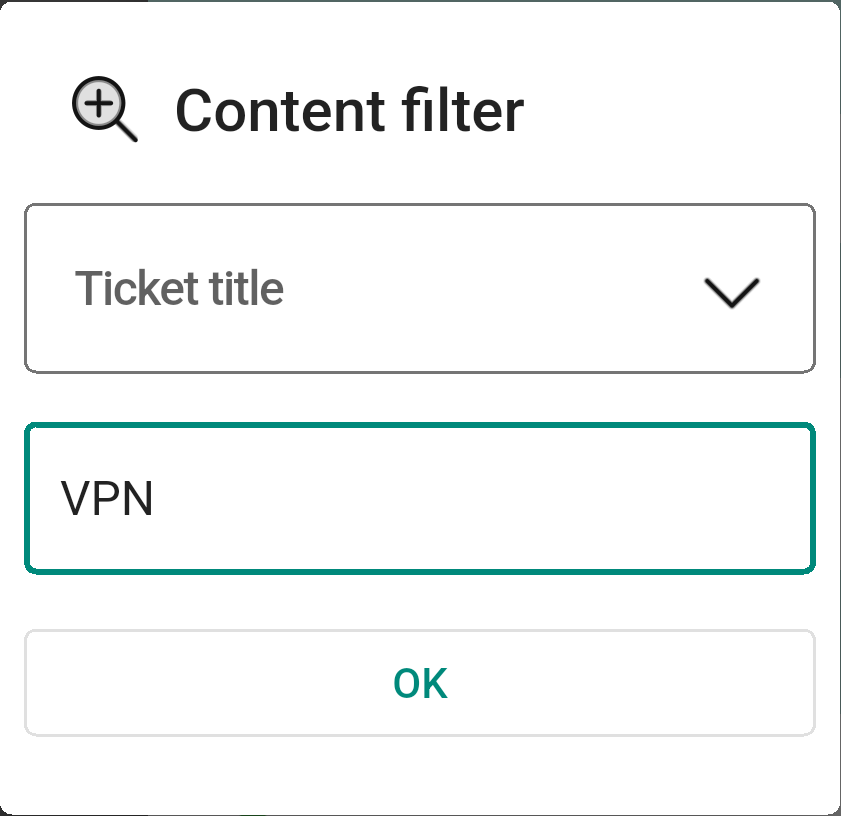
Searching for tickets whose title contains "VPN".
- In the Content filter block, tap the magnifying glass with a + (right end of the bar).
- In the dialog that opens, use the drop-down list at the top to choose Ticket title or Ticket description.
- Type the text to search for in the box below it and tap OK.
The list then shows only matching tickets, and the active filter appears under the list name in the title bar:
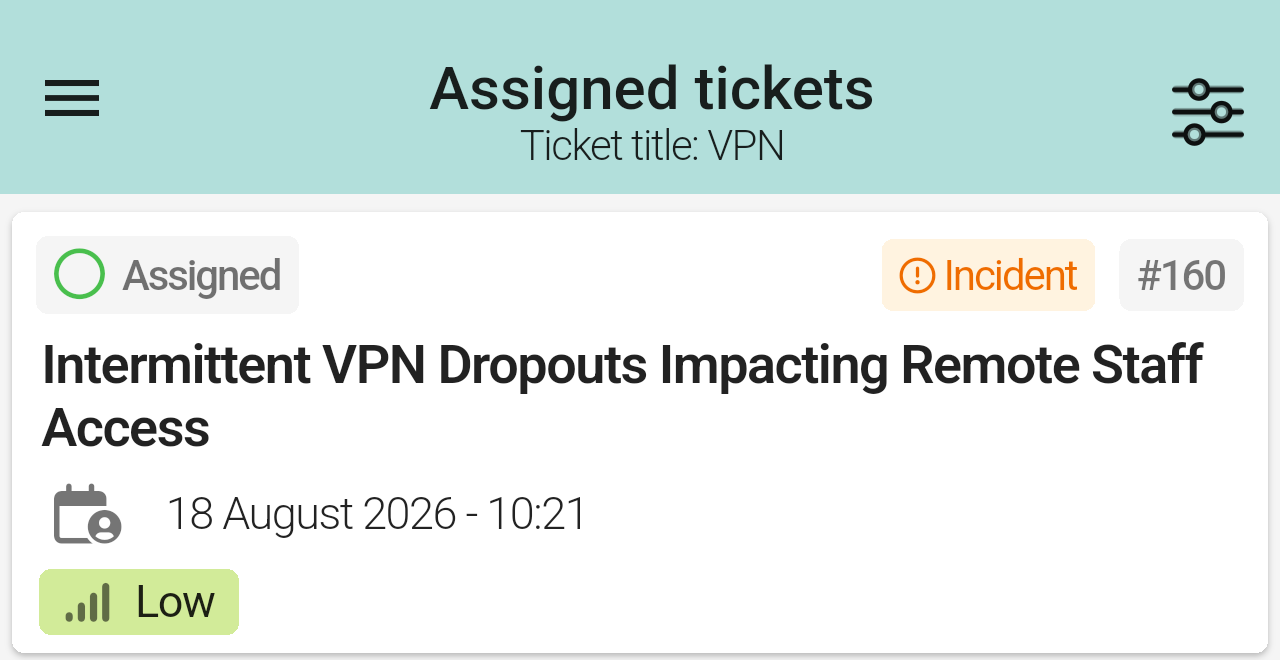
The filtered list. The subtitle "Ticket title: VPN" reminds you a filter is on.
To remove the filter, open the filter panel again. In the Content filter block, tap the X on the filter card. The filter is removed and the panel closes. While a filter is on, the magnifying glass is greyed out.
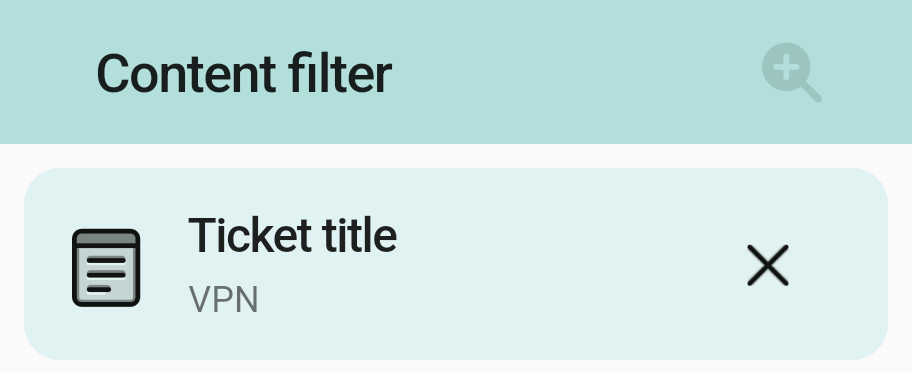
An active filter in the Content filter block. Tap the X to remove it.
3. Sorting
Sort the list by one of four fields:
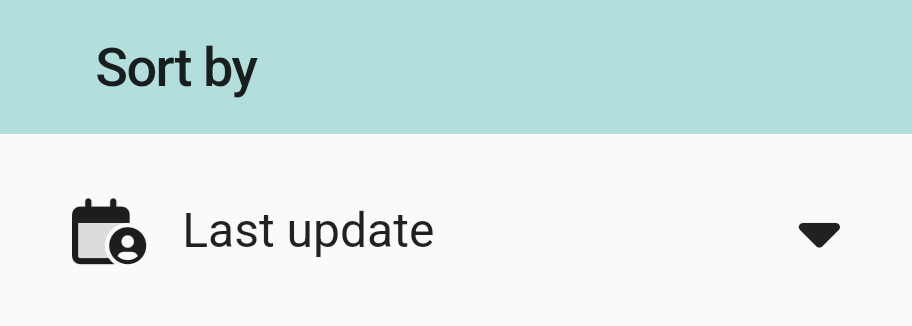
The Sort by block, set to its default.
Under Sort by, tap the current option (or the ▼ arrow on its right) and choose Last update (the default), Creation date, Priority or SLA due date. The SLA due date is the deadline your service level agreement (SLA) sets for the ticket.
4. Filtering by status
The Ticket status block lists the statuses the list currently shows. To change them, tap the pencil icon at the right end of the Ticket status bar:
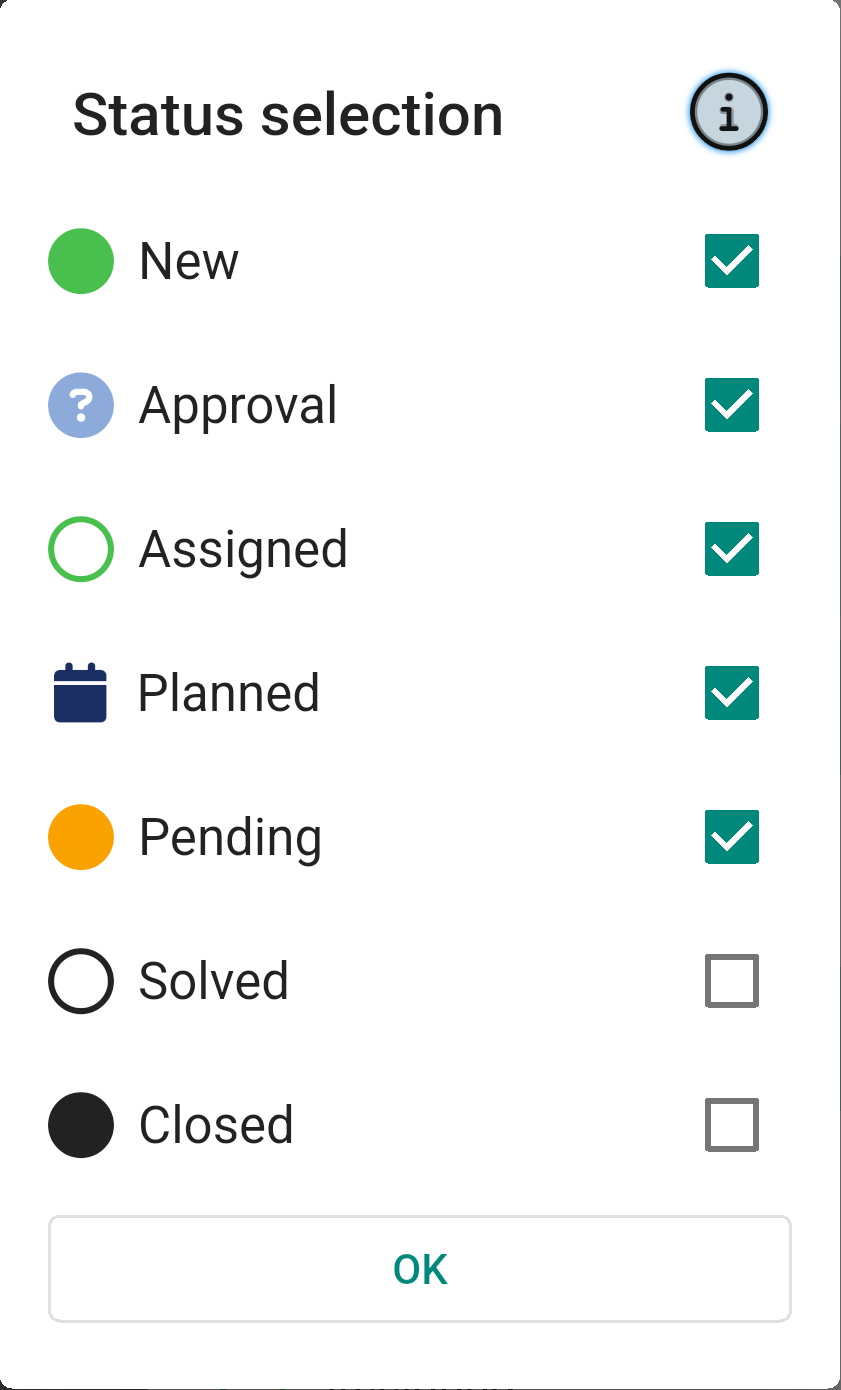
The Status selection dialog with its default choices: every status is ticked except Solved and Closed.
Tick the statuses you want to see, untick the ones you don't, and tap OK.
Two shortcuts:
- Long-press a status (keep your finger on its row) to untick all the other statuses and keep only that one.
- Tap the i icon at the top right of the dialog to see a reminder of this. A blue message reads "Long press to remove every selection but the one selected".
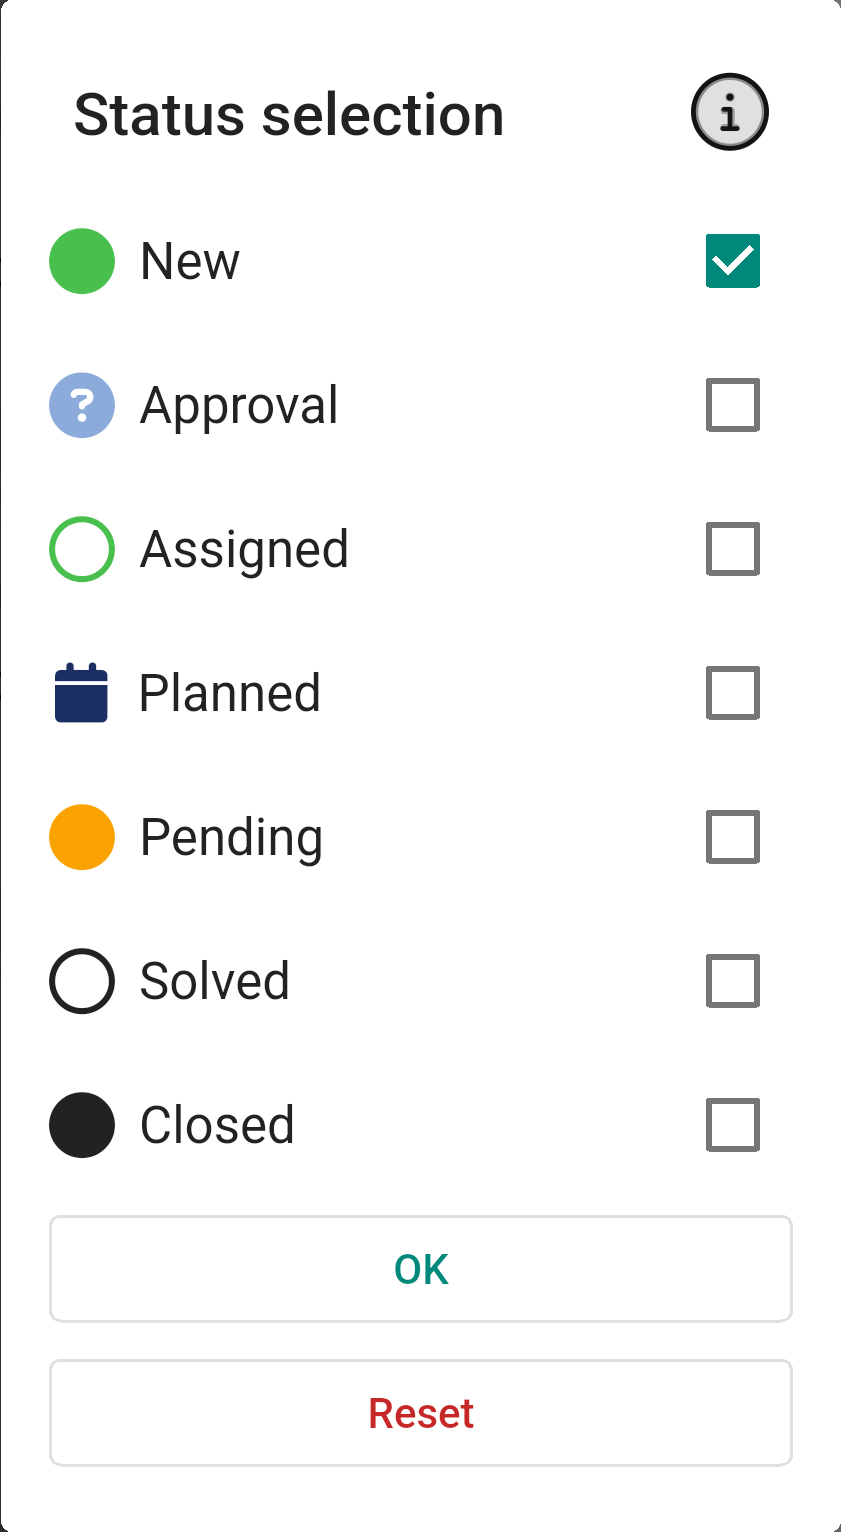
The dialog after a long press on New: only New is ticked. The red Reset button appears whenever your choice is different from the default, and takes you back to it (every status ticked except Solved and Closed).
5. Filtering by date
Under Ticket date, tap From. A calendar opens where you choose the dates of the tickets you want: tap one day to see the tickets from that day on, or tap two days to choose a range. You can't pick days in the future. Tap OK to apply the filter, or Cancel to close the calendar without changing anything.
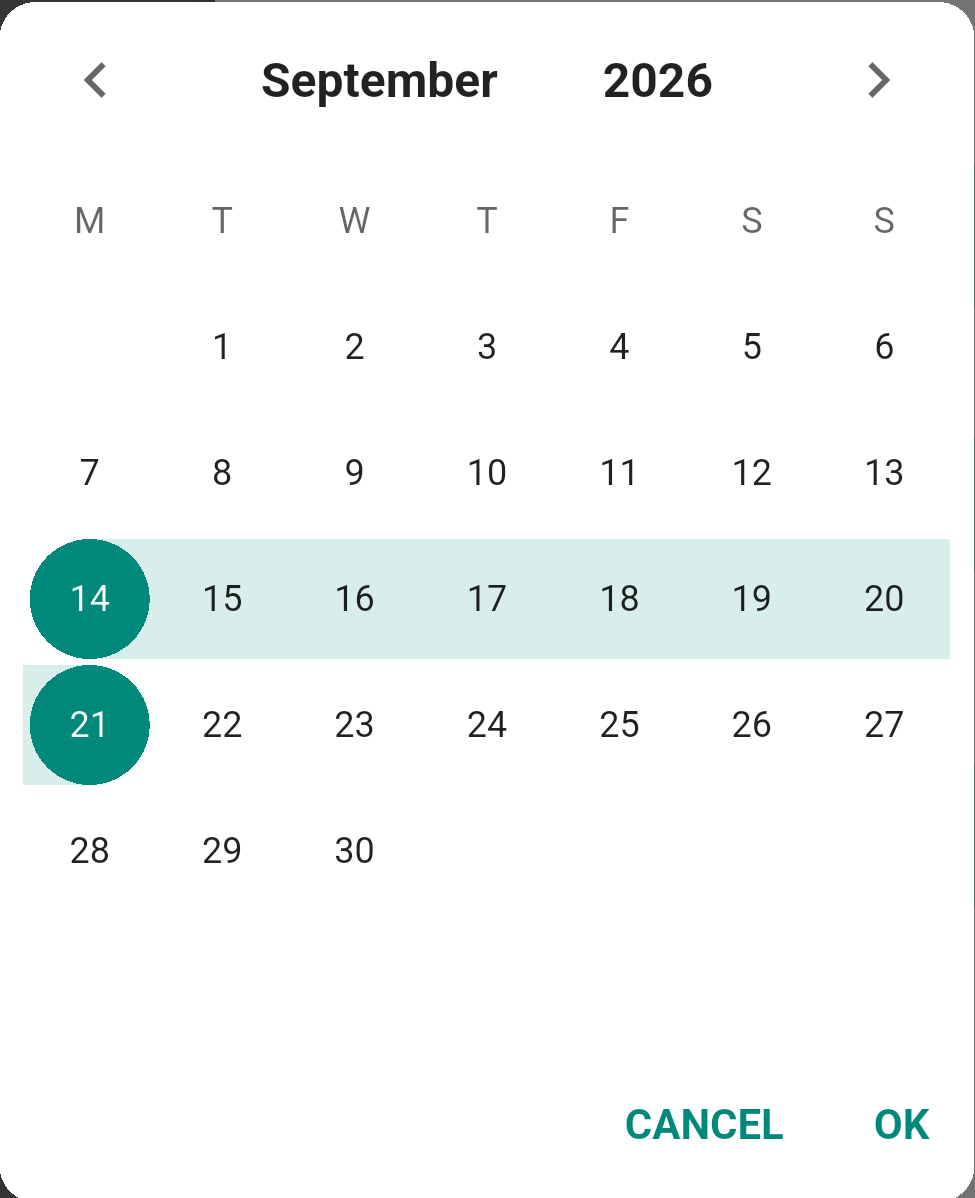
Choosing a range: the first and last days are marked with a circle, and the days between them are highlighted.
Once the filter is applied, the Ticket date block shows From and To. To clear the dates, tap the clock icon with a counter-clockwise arrow, at the right end of the Ticket date bar.
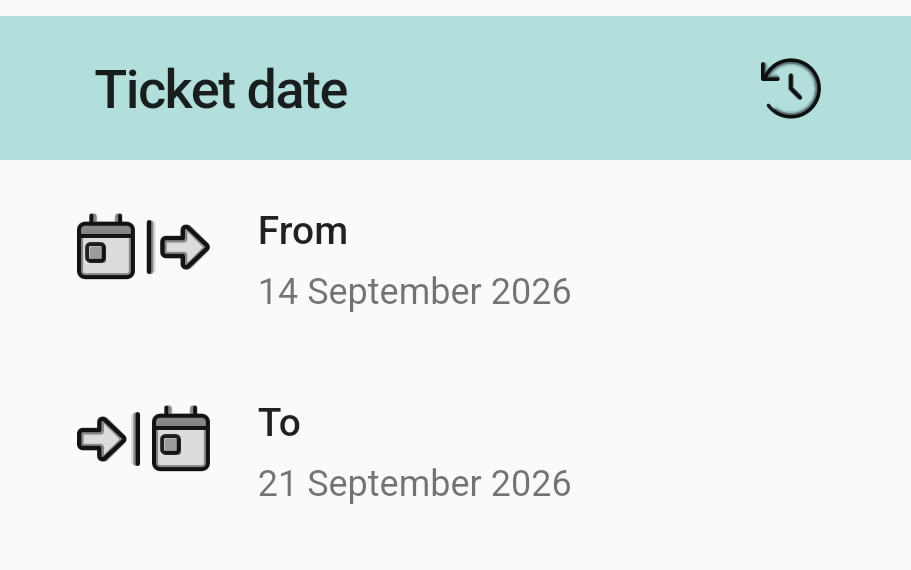
The Ticket date block with a range applied. The icon at the right of the bar clears the dates.
Note: If no ticket matches your filters, the list shows "Oops… There doesn't seem to be any ticket here."
Saved searches
A saved search is a ready-made set of filters, for example "All new tickets". To use one, open the filter panel (filter icon, top right of the list), tap the Saved searches tab and tap the search. The list then shows that search's tickets, and the title bar shows the search's name.
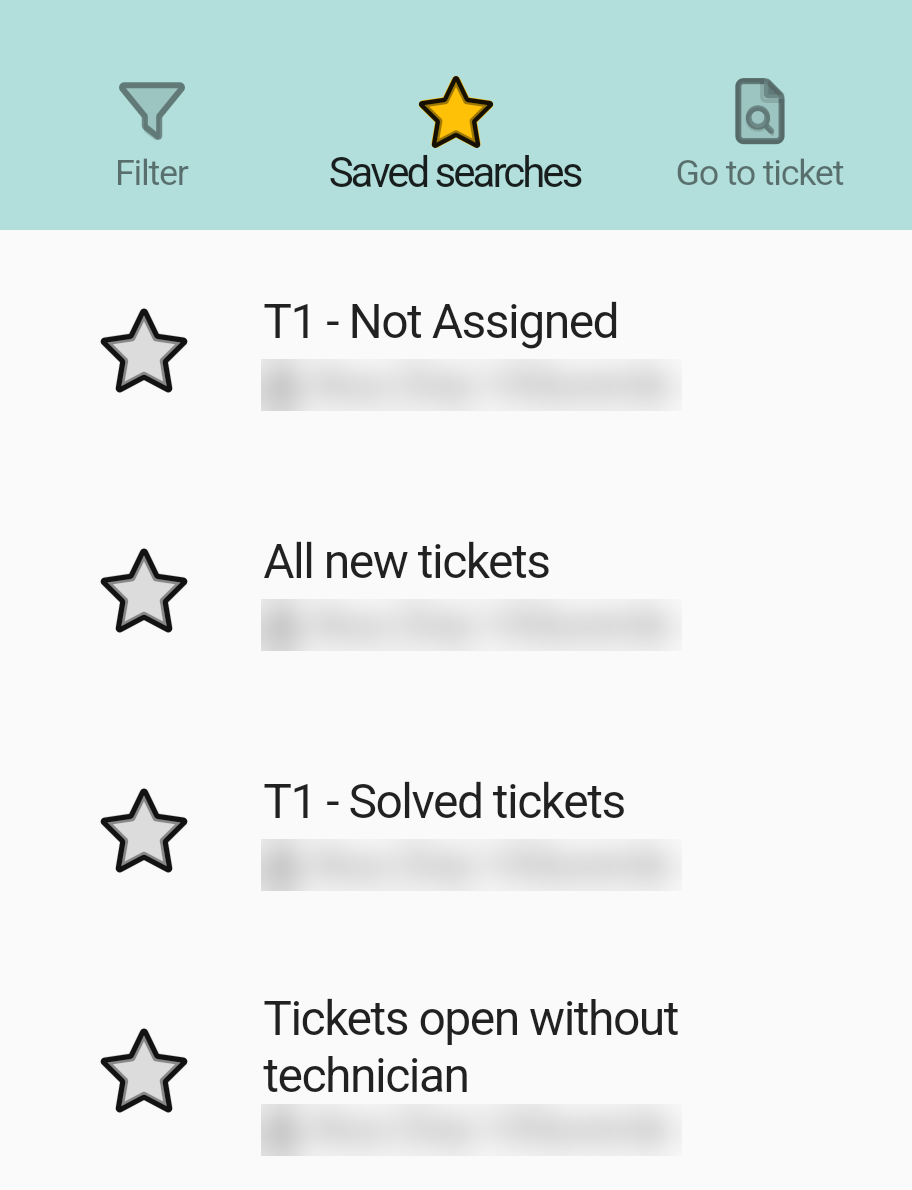
Saved searches, each with the name of the person who created it (blurred here).
Note: Saved searches are created and shared in GLPI's web interface. The app shows the ones you have access to.
Going straight to a ticket
If you know the ticket number, open the filter panel (filter icon, top right of the list) and tap the Go to ticket tab. In the dialog that opens, type the number in the Enter ticket id field and tap GO.
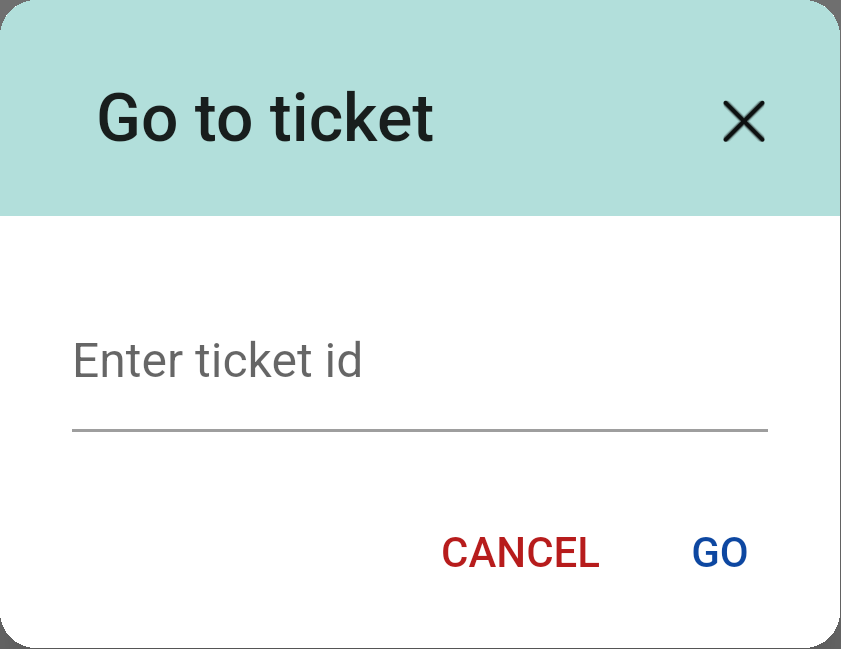
The Go to ticket dialog: type the ticket number and tap GO.