
Create a Task
To create a task, open a ticket. A (+) button sits in the bottom-right corner of the screen; tapping it opens the ticket actions menu, where Add a new task creates a task.
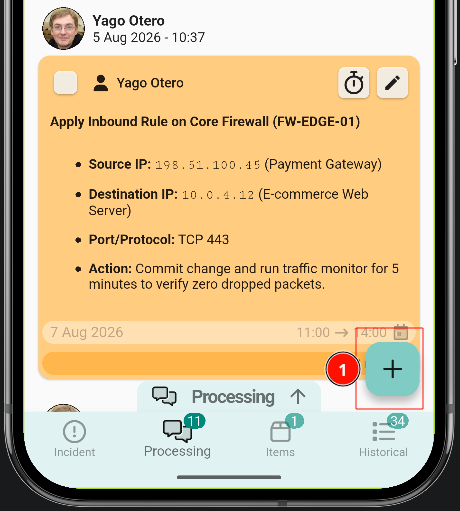
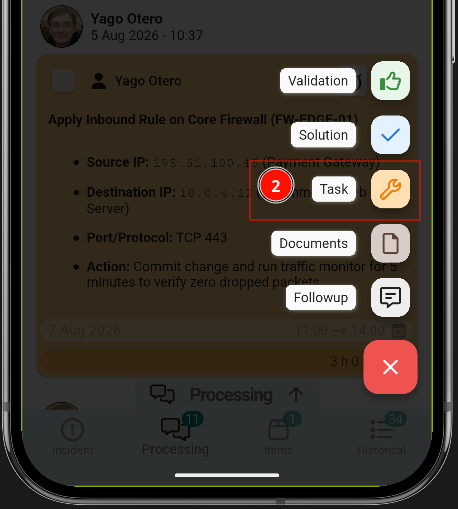
Create a task
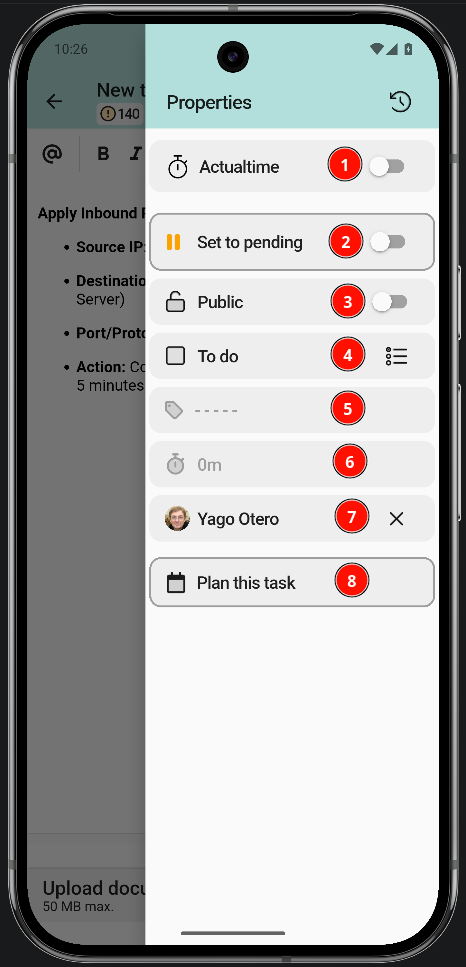
The task shares most of the follow-up structure, with additional status, category and planning options.
- ActualTime. It is covered in detail below.
- Put the task on hold.
- Public or private task. The client does not always need to see this information.
- Mark the task as done.
- Task category.
- Task duration.
- Assigned technician.
- Plan the task.
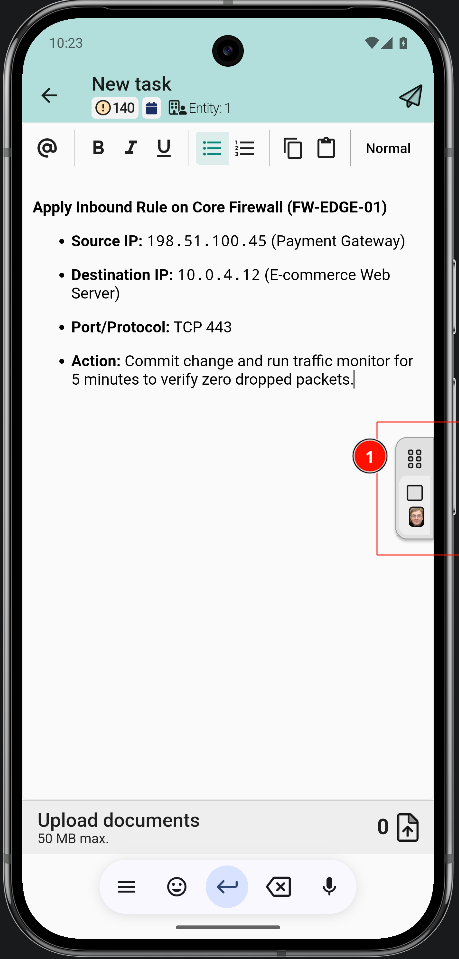
Work with an ActualTime
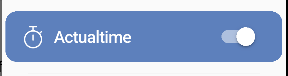
The first option of the menu is the timer: it counts the time from when the task is started until it is paused.
Notification permissions must be enabled on the device. ActualTime relies on them to track time in the background and to alert when a task is running.
The ActualTime timer starts with this option. Once active, it looks like this:
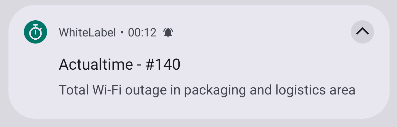
There are three ways to check how long the task has been running.
Tapping the running task from another screen moves the view to it automatically.
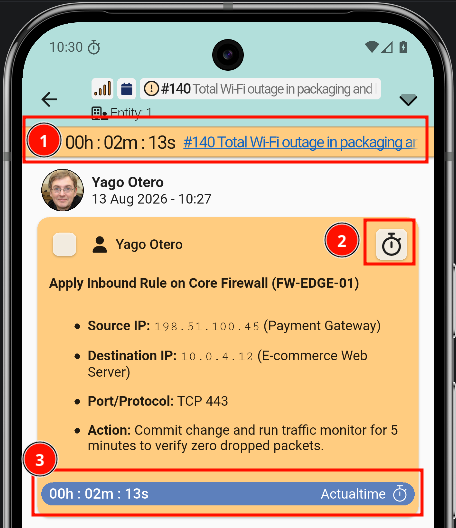
With the counter running, the task can be opened to pause it or mark it as done from the clock icon described in point 2 above.
The task can be started and paused as many times as needed.
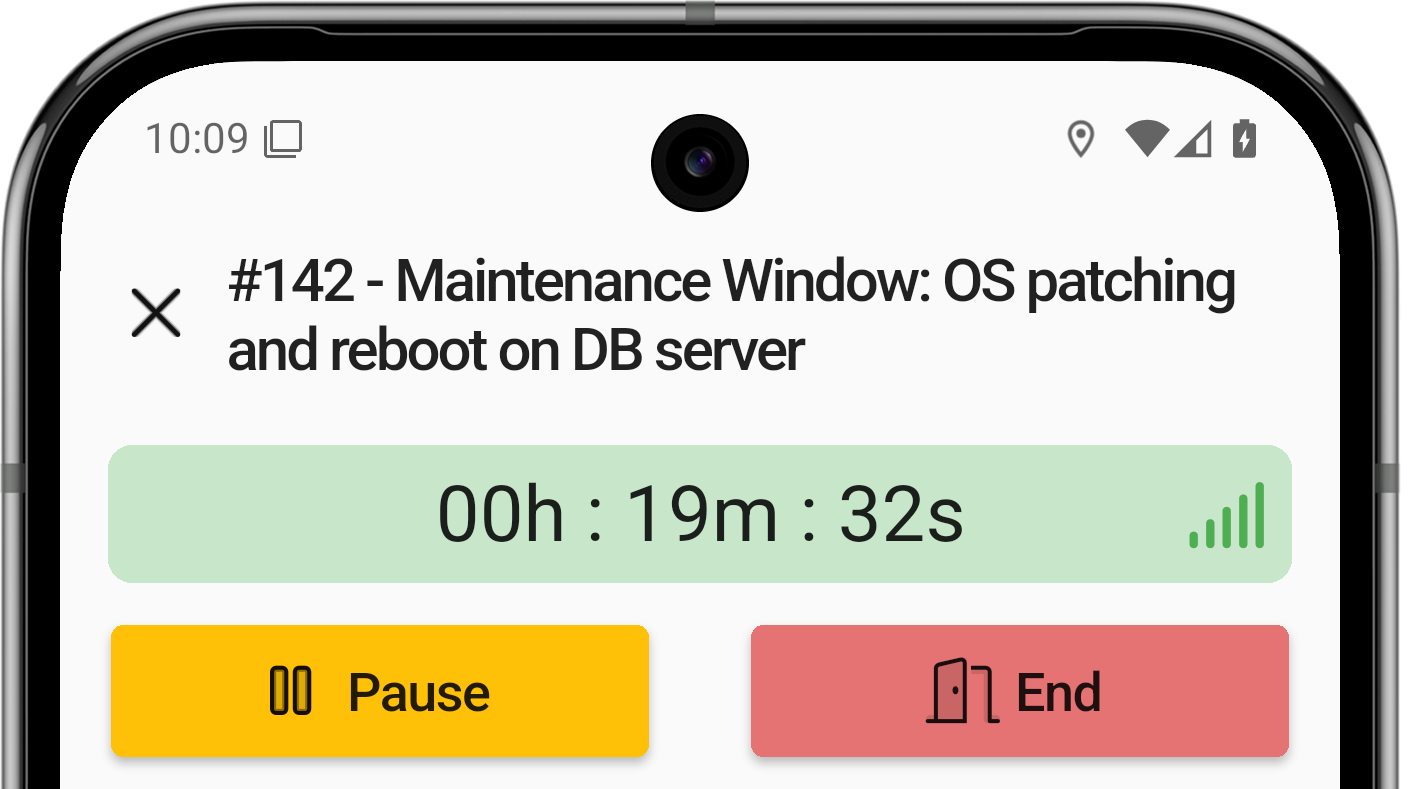
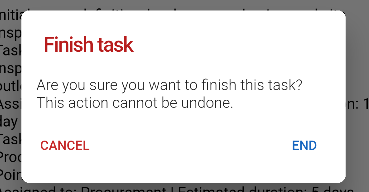
Finishing a task shows an alert asking for confirmation.
Change task status
There is another way to mark the task as done: a checkbox in the top-left corner of the ticket view.
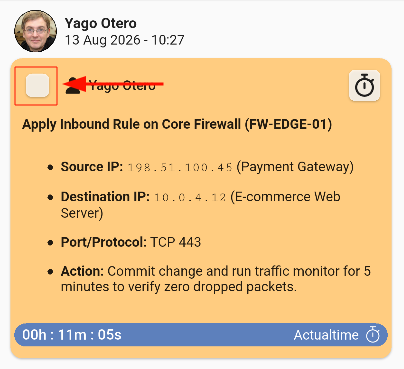
Tapping the checkbox asks for confirmation.
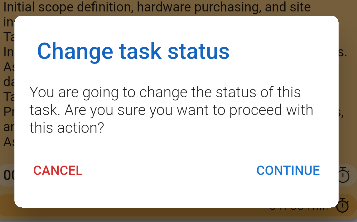
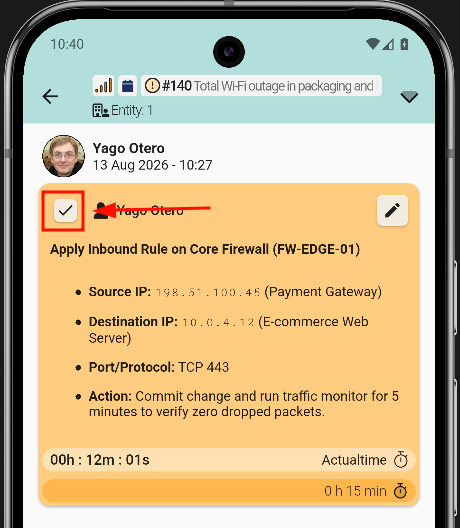
After confirming, an arrow shows whether the task is finished.
Edit task
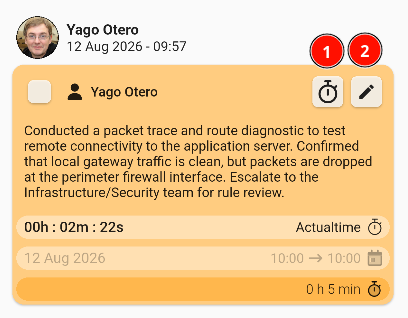
Tasks can always be edited again: even after a task has been sent, it can be reopened and modified. Two options are available:
- Clock: edit the ActualTime.
- Pencil: edit the task fields.
More ActualTime options
ActualTime has a wide range of customization options; these are the most important ones related to the app.

