
Plan a task
How to plan a task from a ticket: choose the ticket, create the task, set the date, time and reminder, send it, and add it to the calendar.
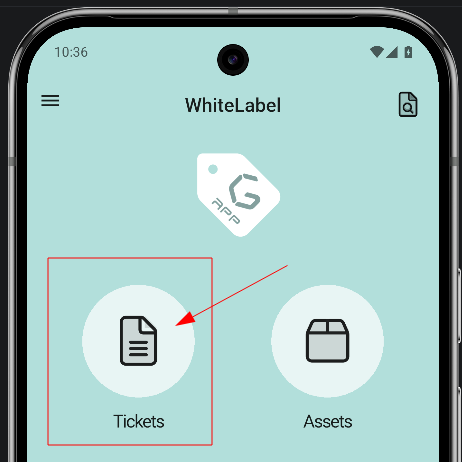
1. Go to Tickets
2. Choose the ticket
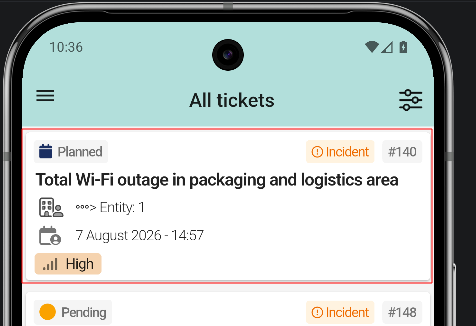
Tap the ticket to plan in the list. In the example, ticket #140 Total Wi-Fi outage in packaging and logistics area. Tapping a row opens the ticket detail view.
3. Create the task
4. Open the task properties
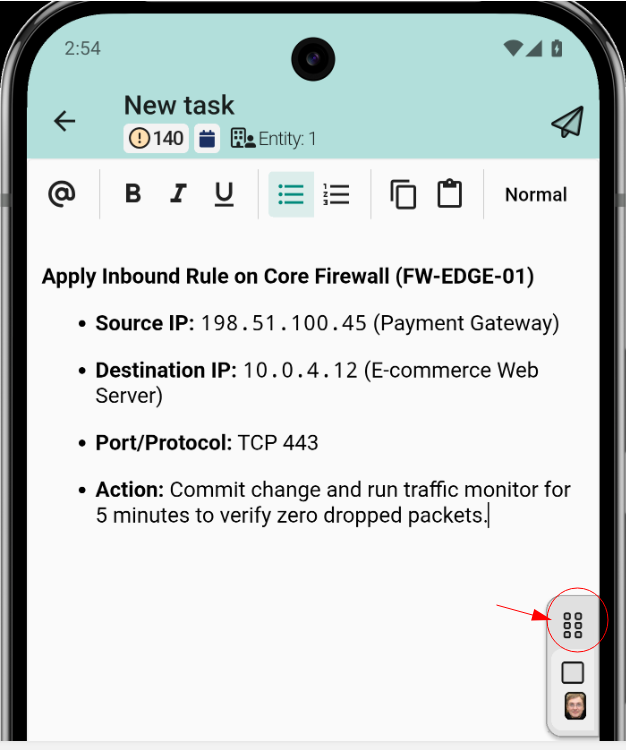
Open the task properties panel, where the task is configured. The panel includes:
- Put the task on hold keeps the task without starting it.
- Public or private task decides whether the client sees the task.
- Mark the task as done finishes the task.
- Task category assigns a category to the task.
- Task duration sets the estimated time the task takes.
- Assigned technician assigns the technician in charge of the task.
- Plan task opens the planning form, at the end of the panel.
5. Tap Plan task
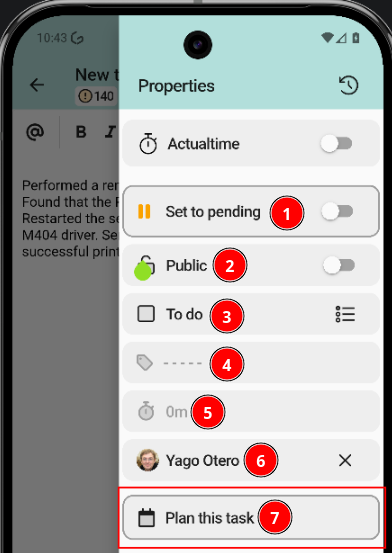
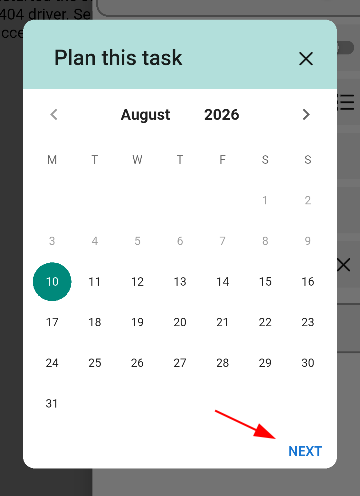
Tap Plan task to open the planning form for the task.
6. Set date and time
In the selector, choose the day on the calendar and the start time. Both are required. Confirm with OK. If requesters have a different time zone set in GLPI, the time is shown relative to the time zone of the user who created the task.
7. Configure a reminder
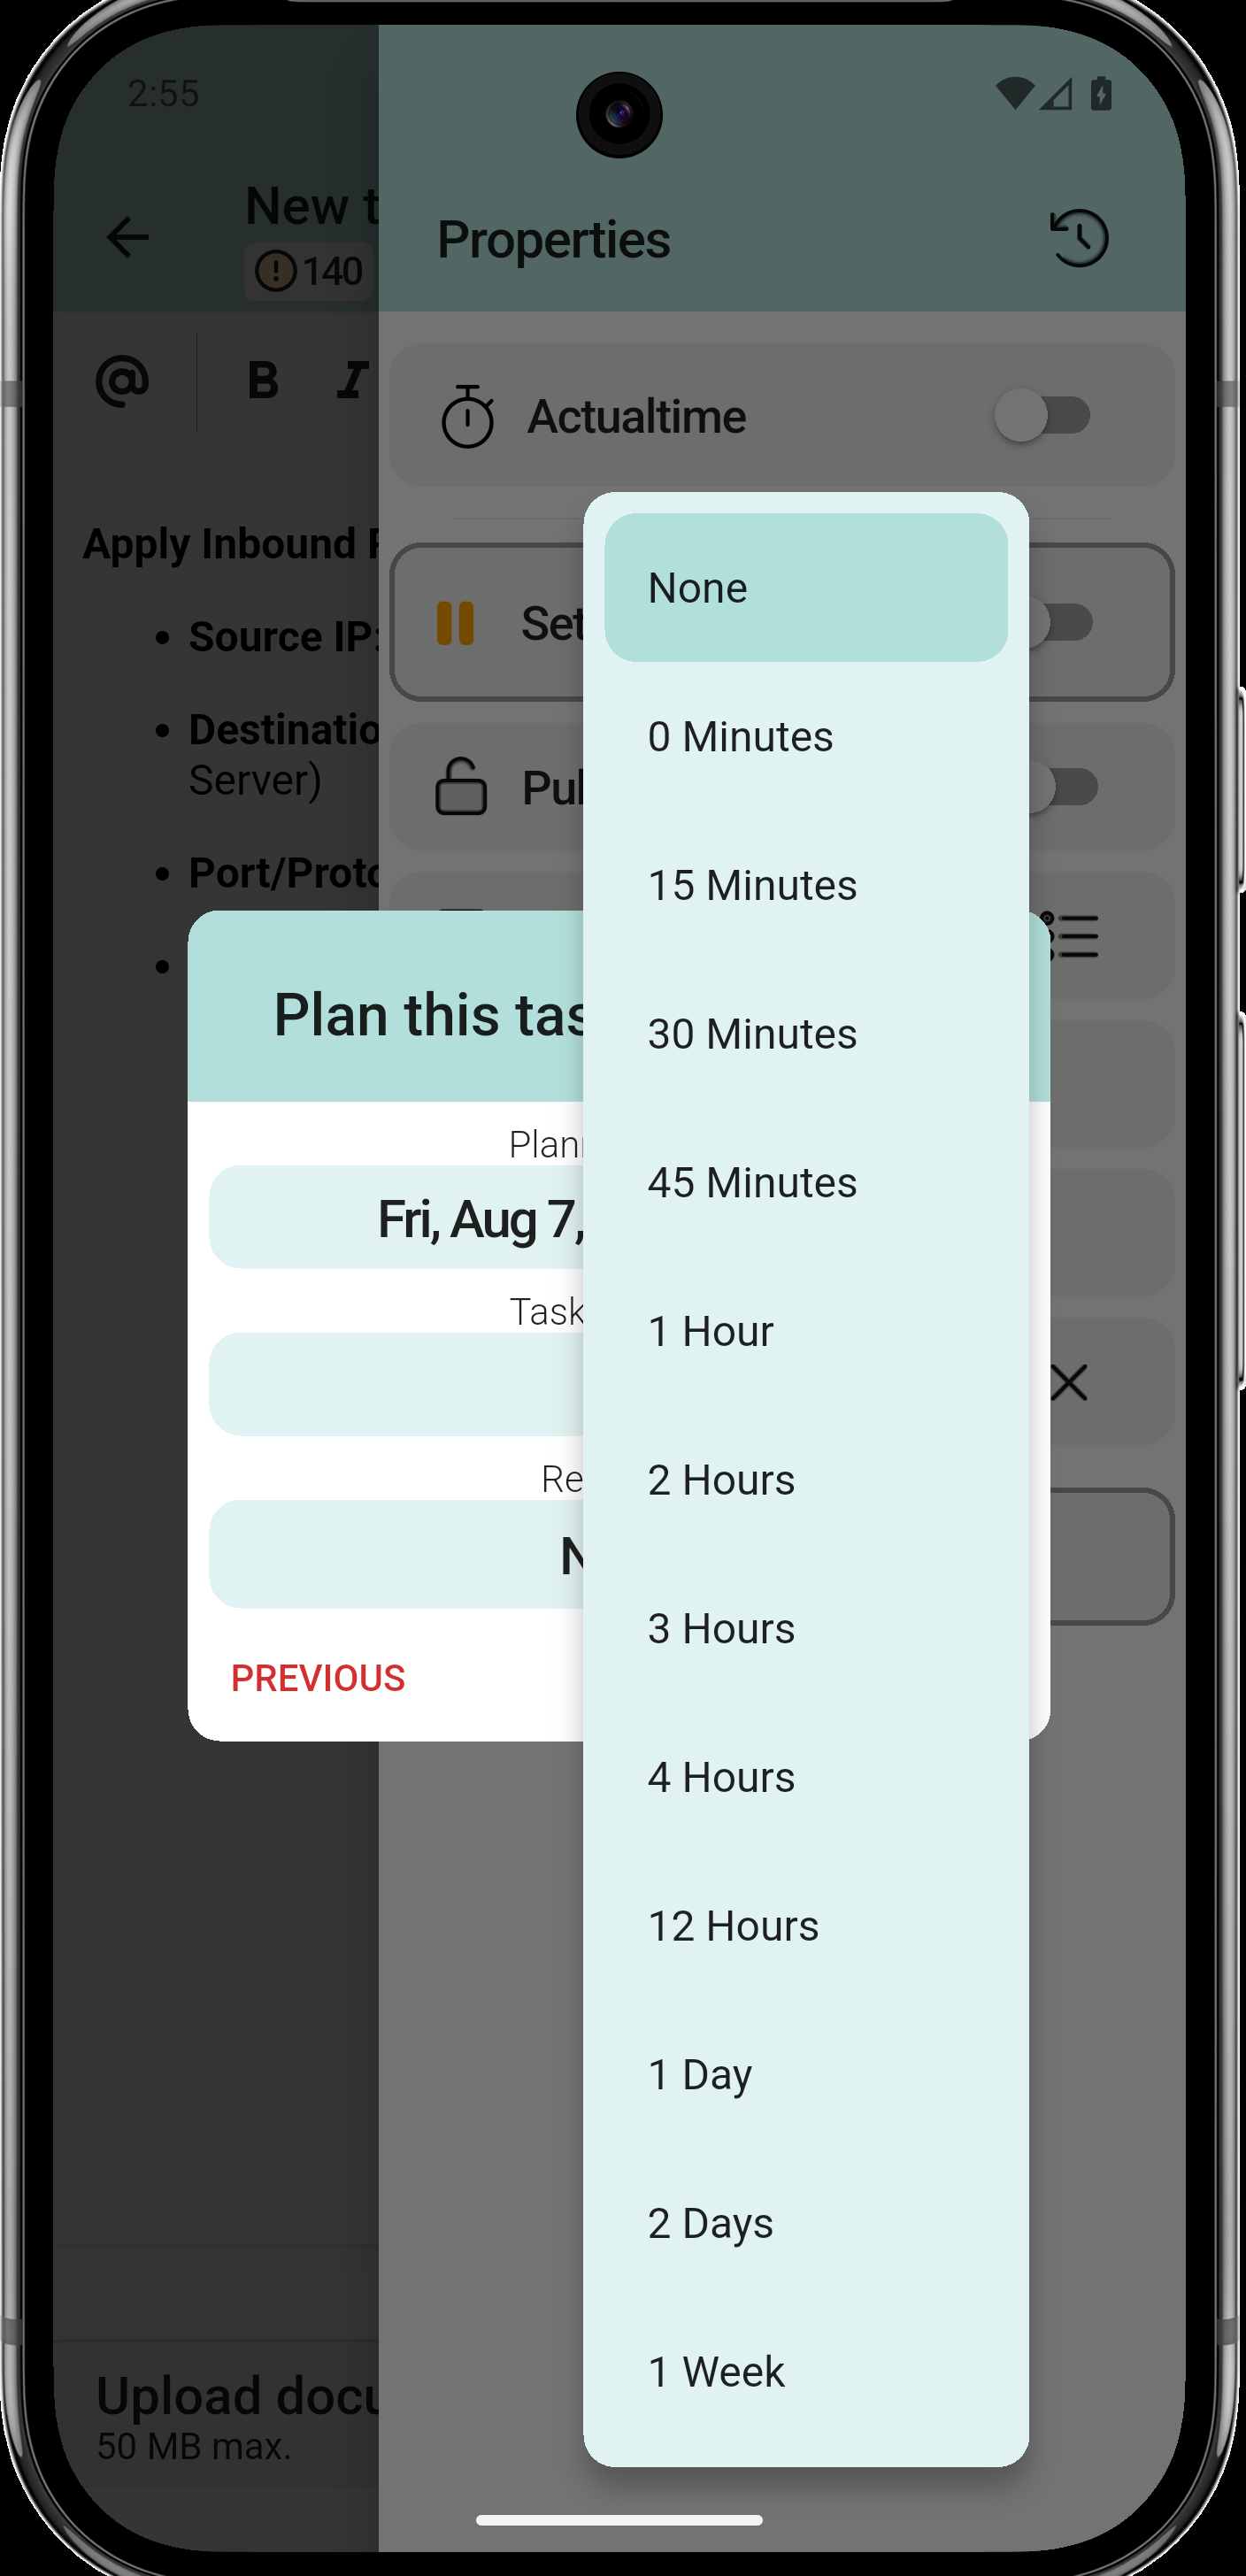
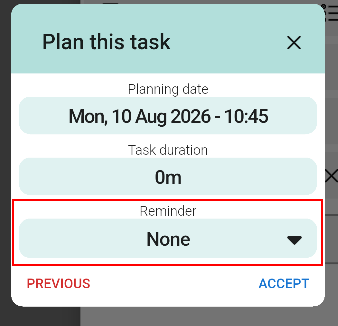
The reminder is optional. Choose when to be notified before the start: at the time of the event, minutes before, hours before or a day before. In the example, 10 minutes before. Confirm with OK.
8. Task marked as Planned
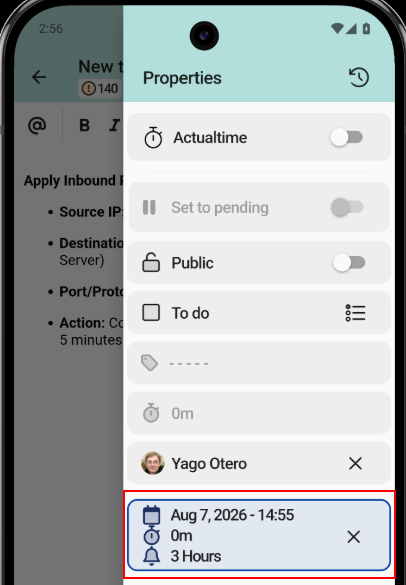
The task is marked as Planned and shows the planned date, time range and duration.
9. Send the task
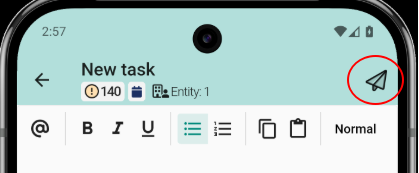
Tap Send the task to send the task with its planning.
10. Add to calendar
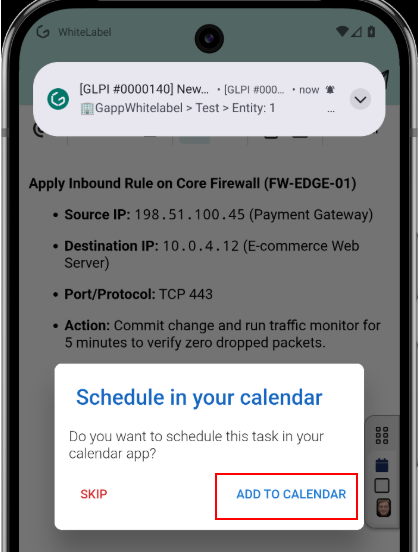
The app asks whether the task should be scheduled in the phone's calendar app. Tap ADD TO CALENDAR to open the calendar with the data already filled in, or SKIP to skip this step.
11. Information for the calendar
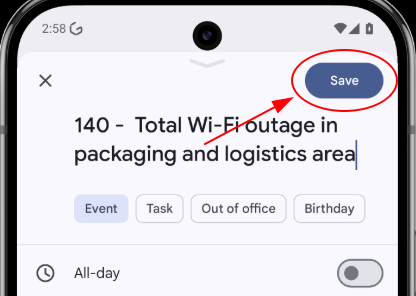
The system calendar opens an event with the title, date, time and reminder already configured. Tap Save to store it.
12. Planned task in the ticket
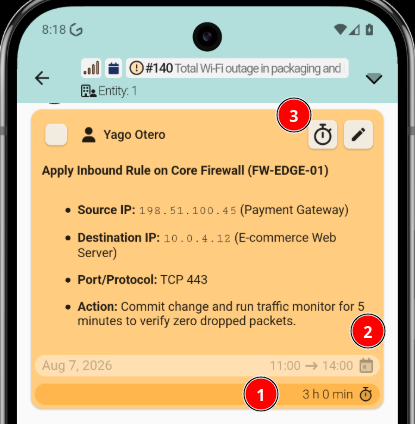
Back in the ticket, the planned task shows a clock icon in the top-right corner of its card, indicating that it is planned.