Create a Ticket
1. Go to ticket creation
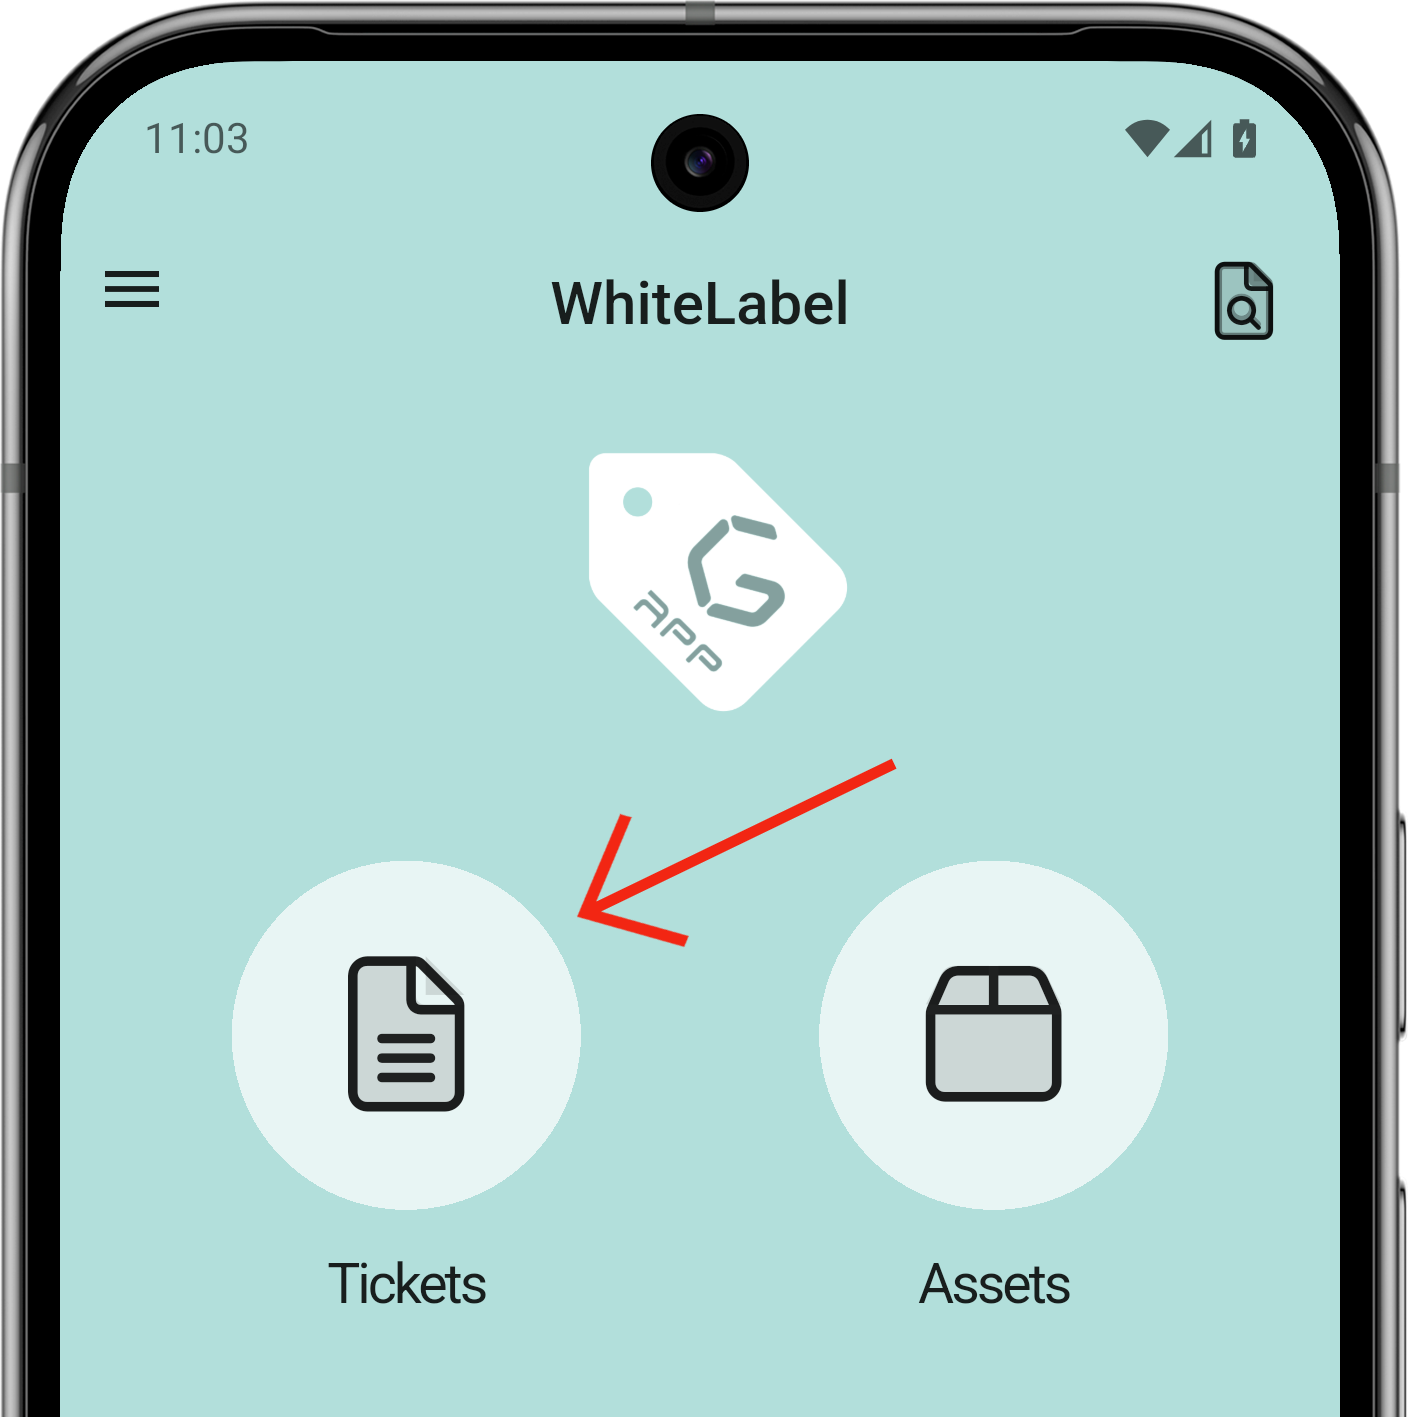
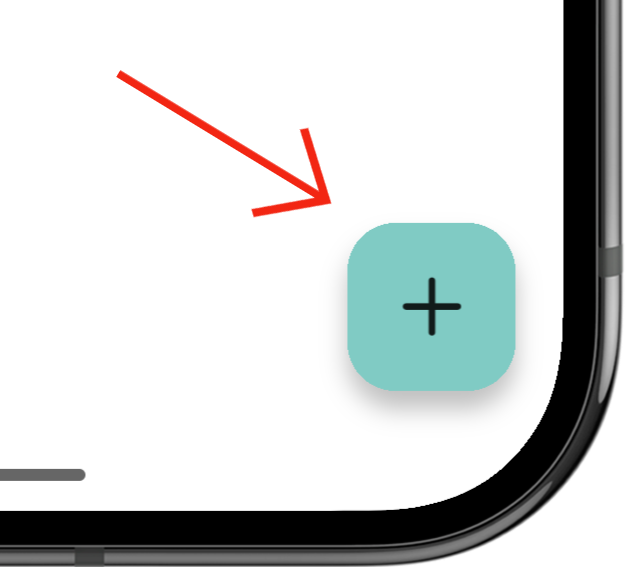
First, go to the ticket section of the application. Once there, a floating action button appears in the bottom-right corner of the screen.
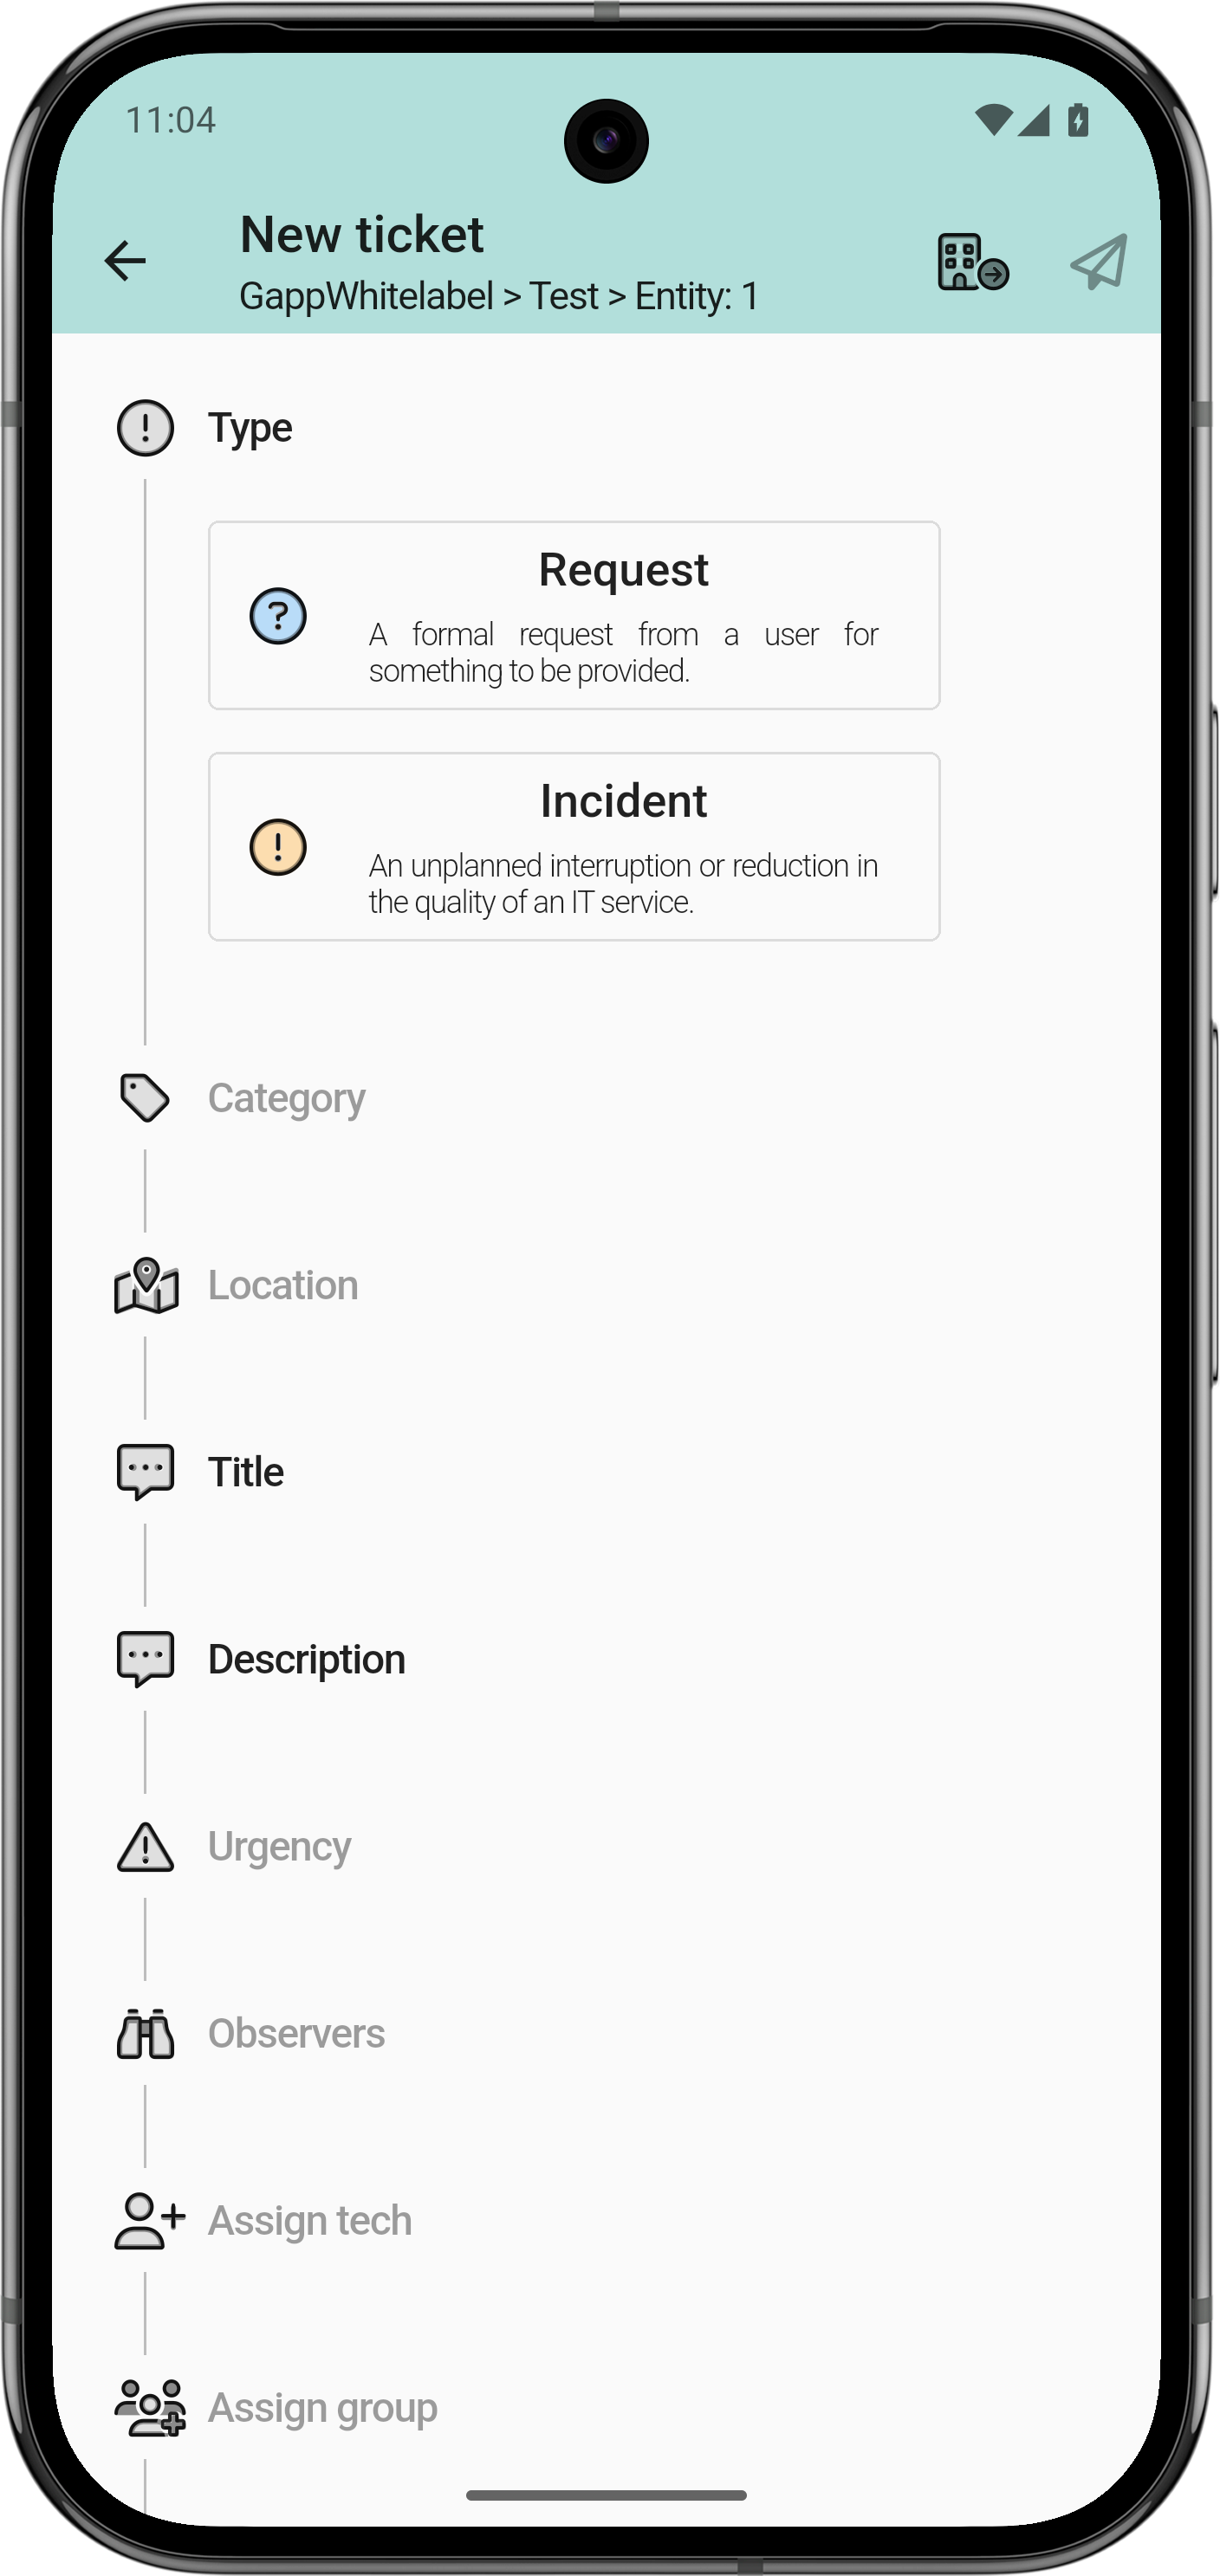
The ticket creation page opens. First, select the ticket type: Request or Incident. The numbered list below explains what each element on the screen does.
This screen appears when a new ticket is created from the home screen, the main menu, or the yellow (+) icon in the main ticket view.
CuandoTapping lethe dasbutton alopens botónall sethe teticket abriráoptions, todaswith lasrequired opcionesand deloptional ticket,fields. tendrás opciones obligatorias y opcionales. Podrás configurar desde las opciones delThe plugin enoptions in GLPI define cualeswhich quieresfields opcionalesare yoptional cualesand obligatorias.which are required.
Obligatorias:Required:negrita.bold.Opcionales:Optional:grislightclaro.grey.
LosThe camposfields quethat secan podránbe marcarmarked obligatoriosas serán:required are: category, location, urgency and observers
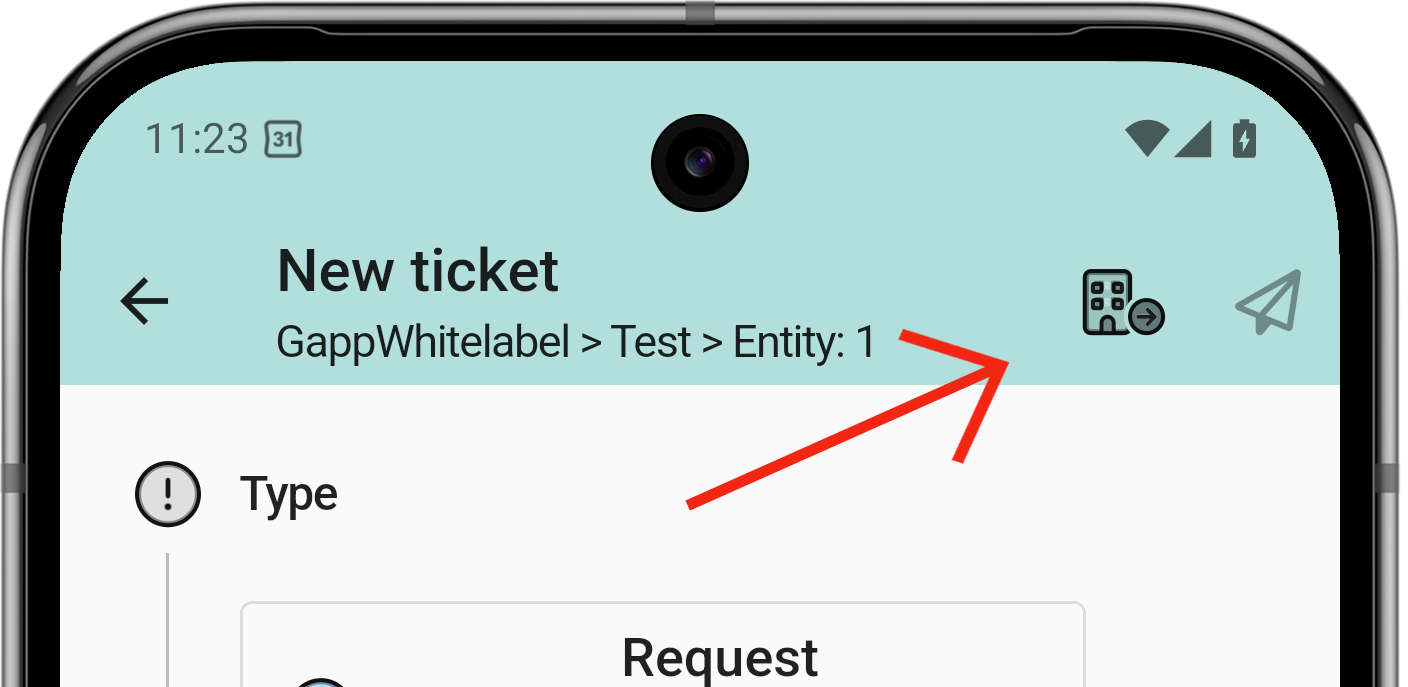
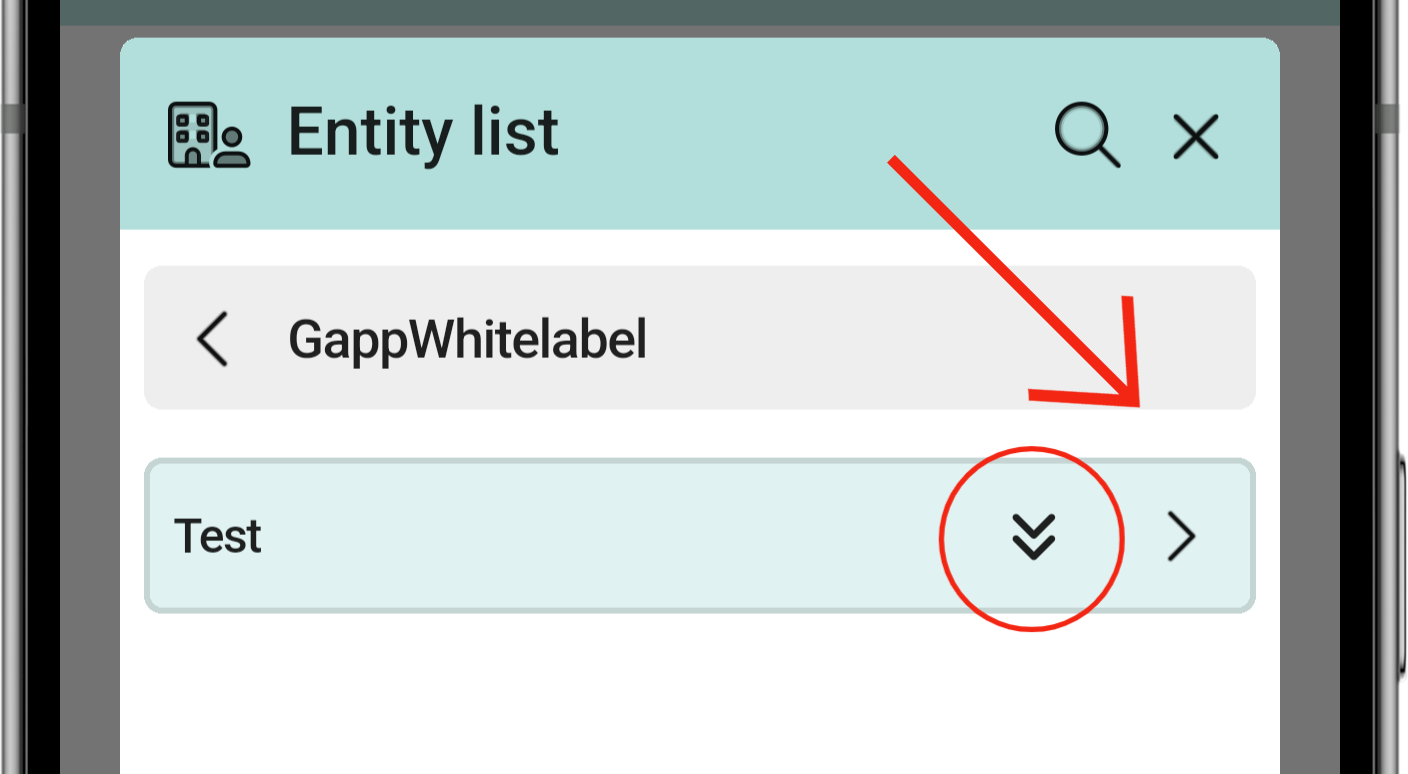
ParaTo seleccionarselect lathe entidadcorrect correctaentity, deberástap darlethe albuilding iconoicon dein unthe edificiotop enbar; laa barralist superior,opens sewith teall desplegaráthe unentities listadoavailable confor todasthe las entidades disponibles para tu perfil.profile.
UnaAn entidadentity puedecan tenercontain sub-entidades,entities; paratap movertethe entreright ellasarrow tendrásto quemove pulsarbetween sobre la flecha derecha.them.
FlechaArrowmirandopointinghacia abajo:down:seleccionarselectlatheentidadentity.FlechaArrowmirandopointinghacia la derecha:right:mirarview sub-entidadesentities.