Create a Ticket
1. Go to ticket creation
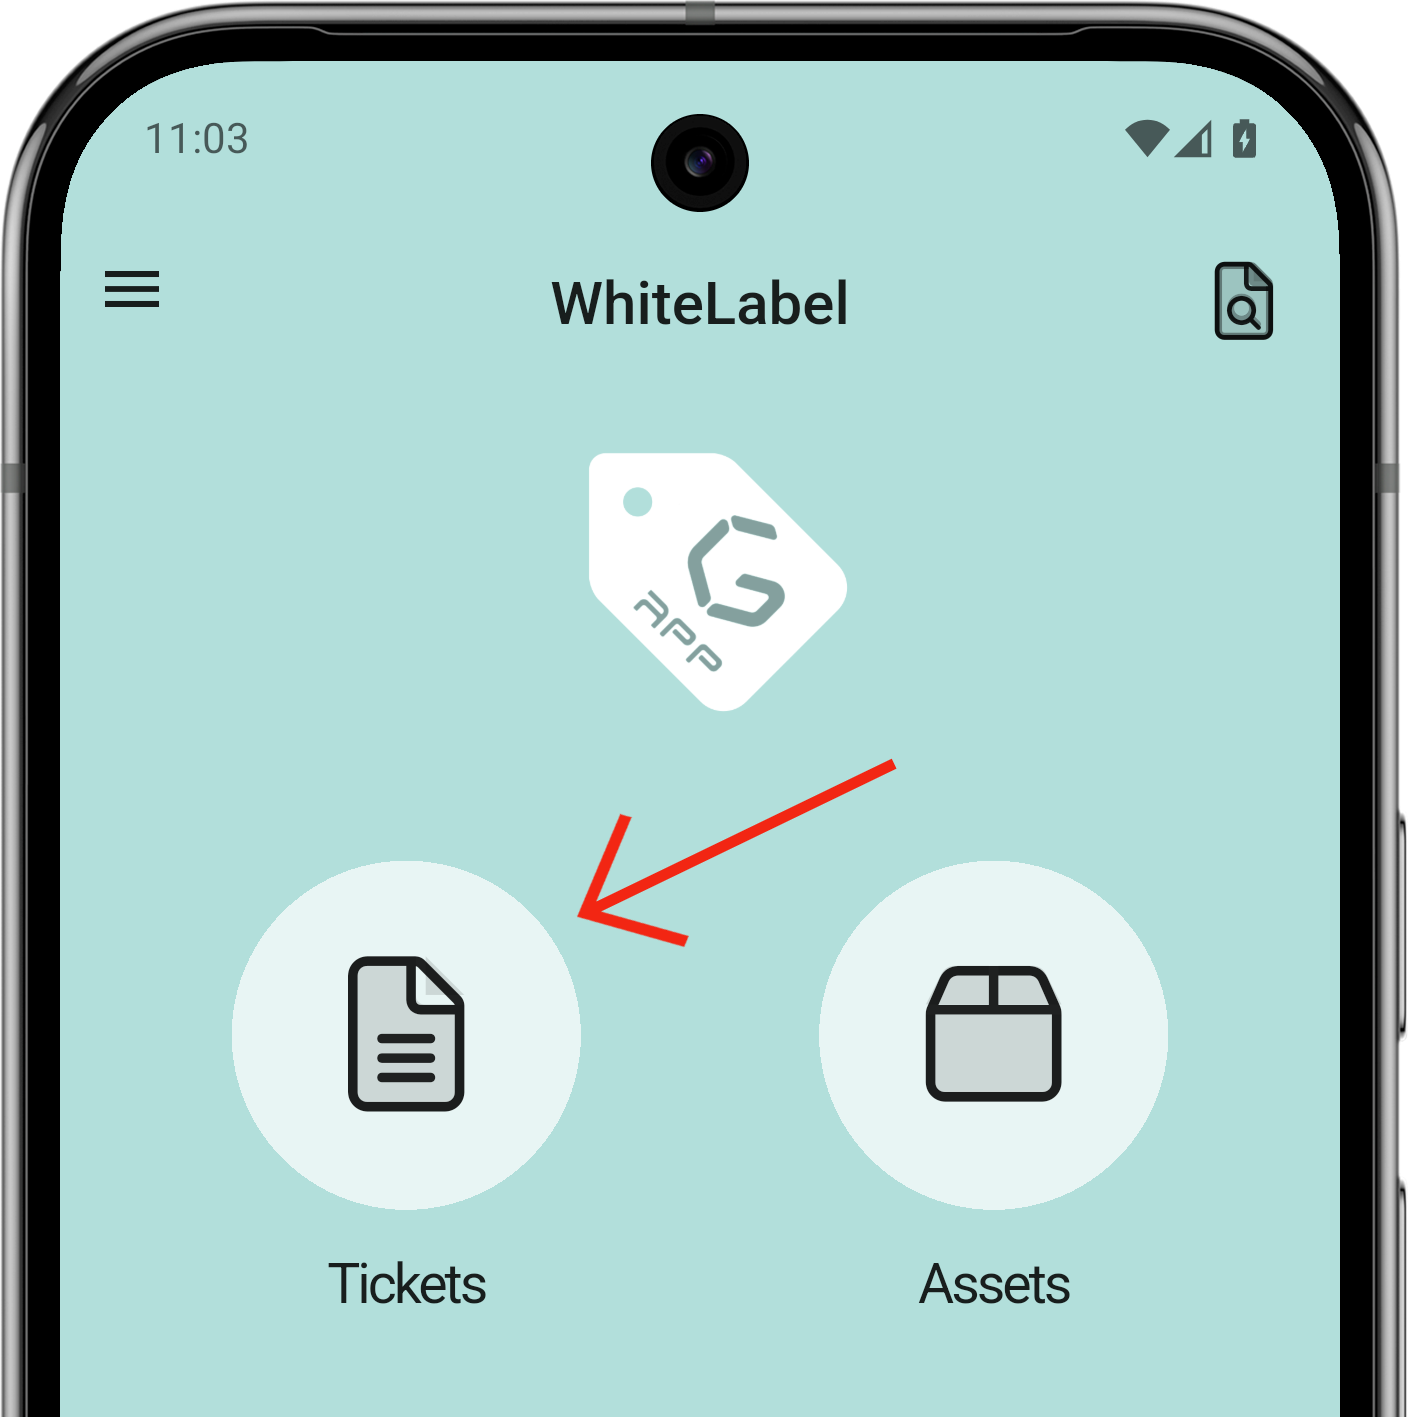
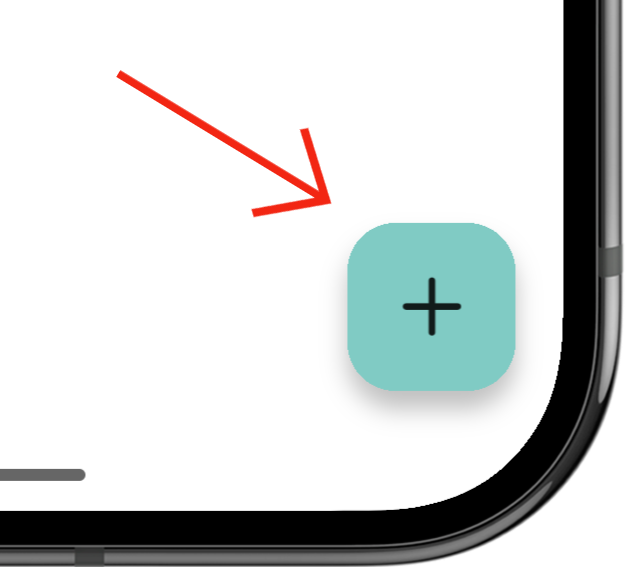
First, go to the ticket section of the application. Once there, a floating action button appears in the bottom-right corner of the screen.
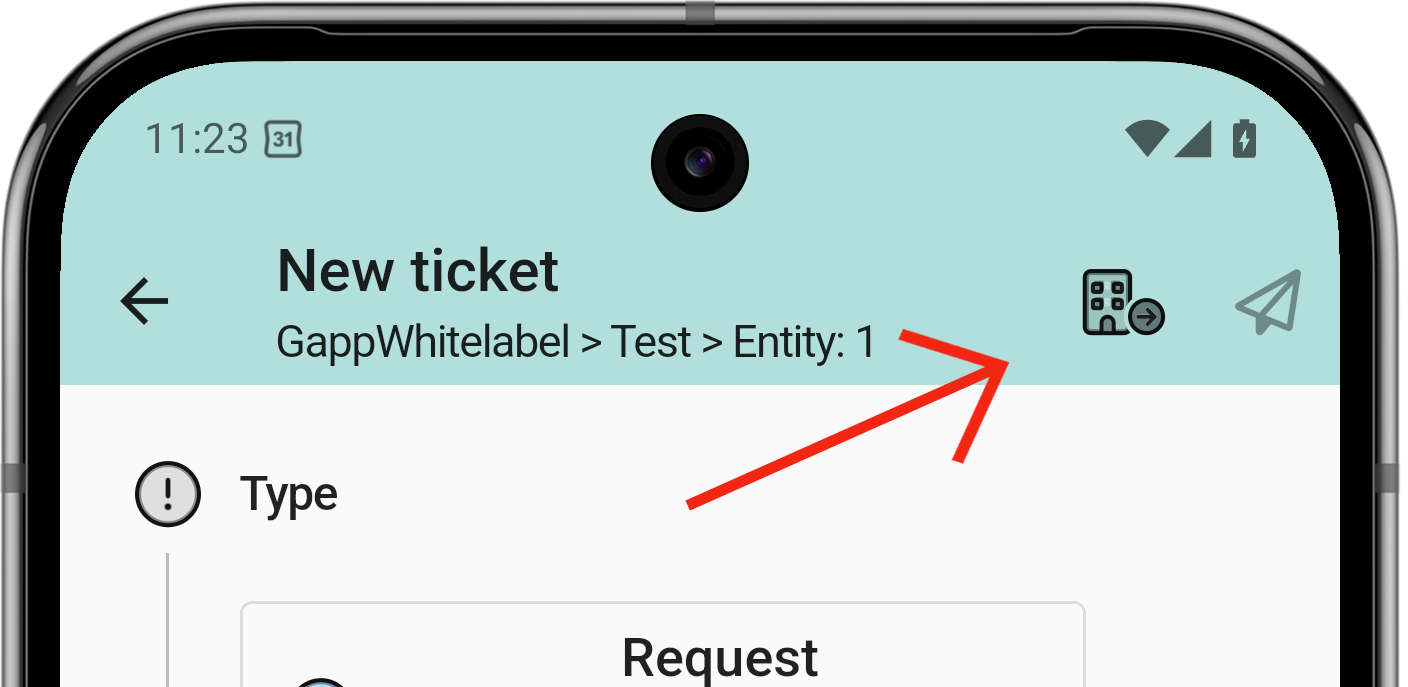
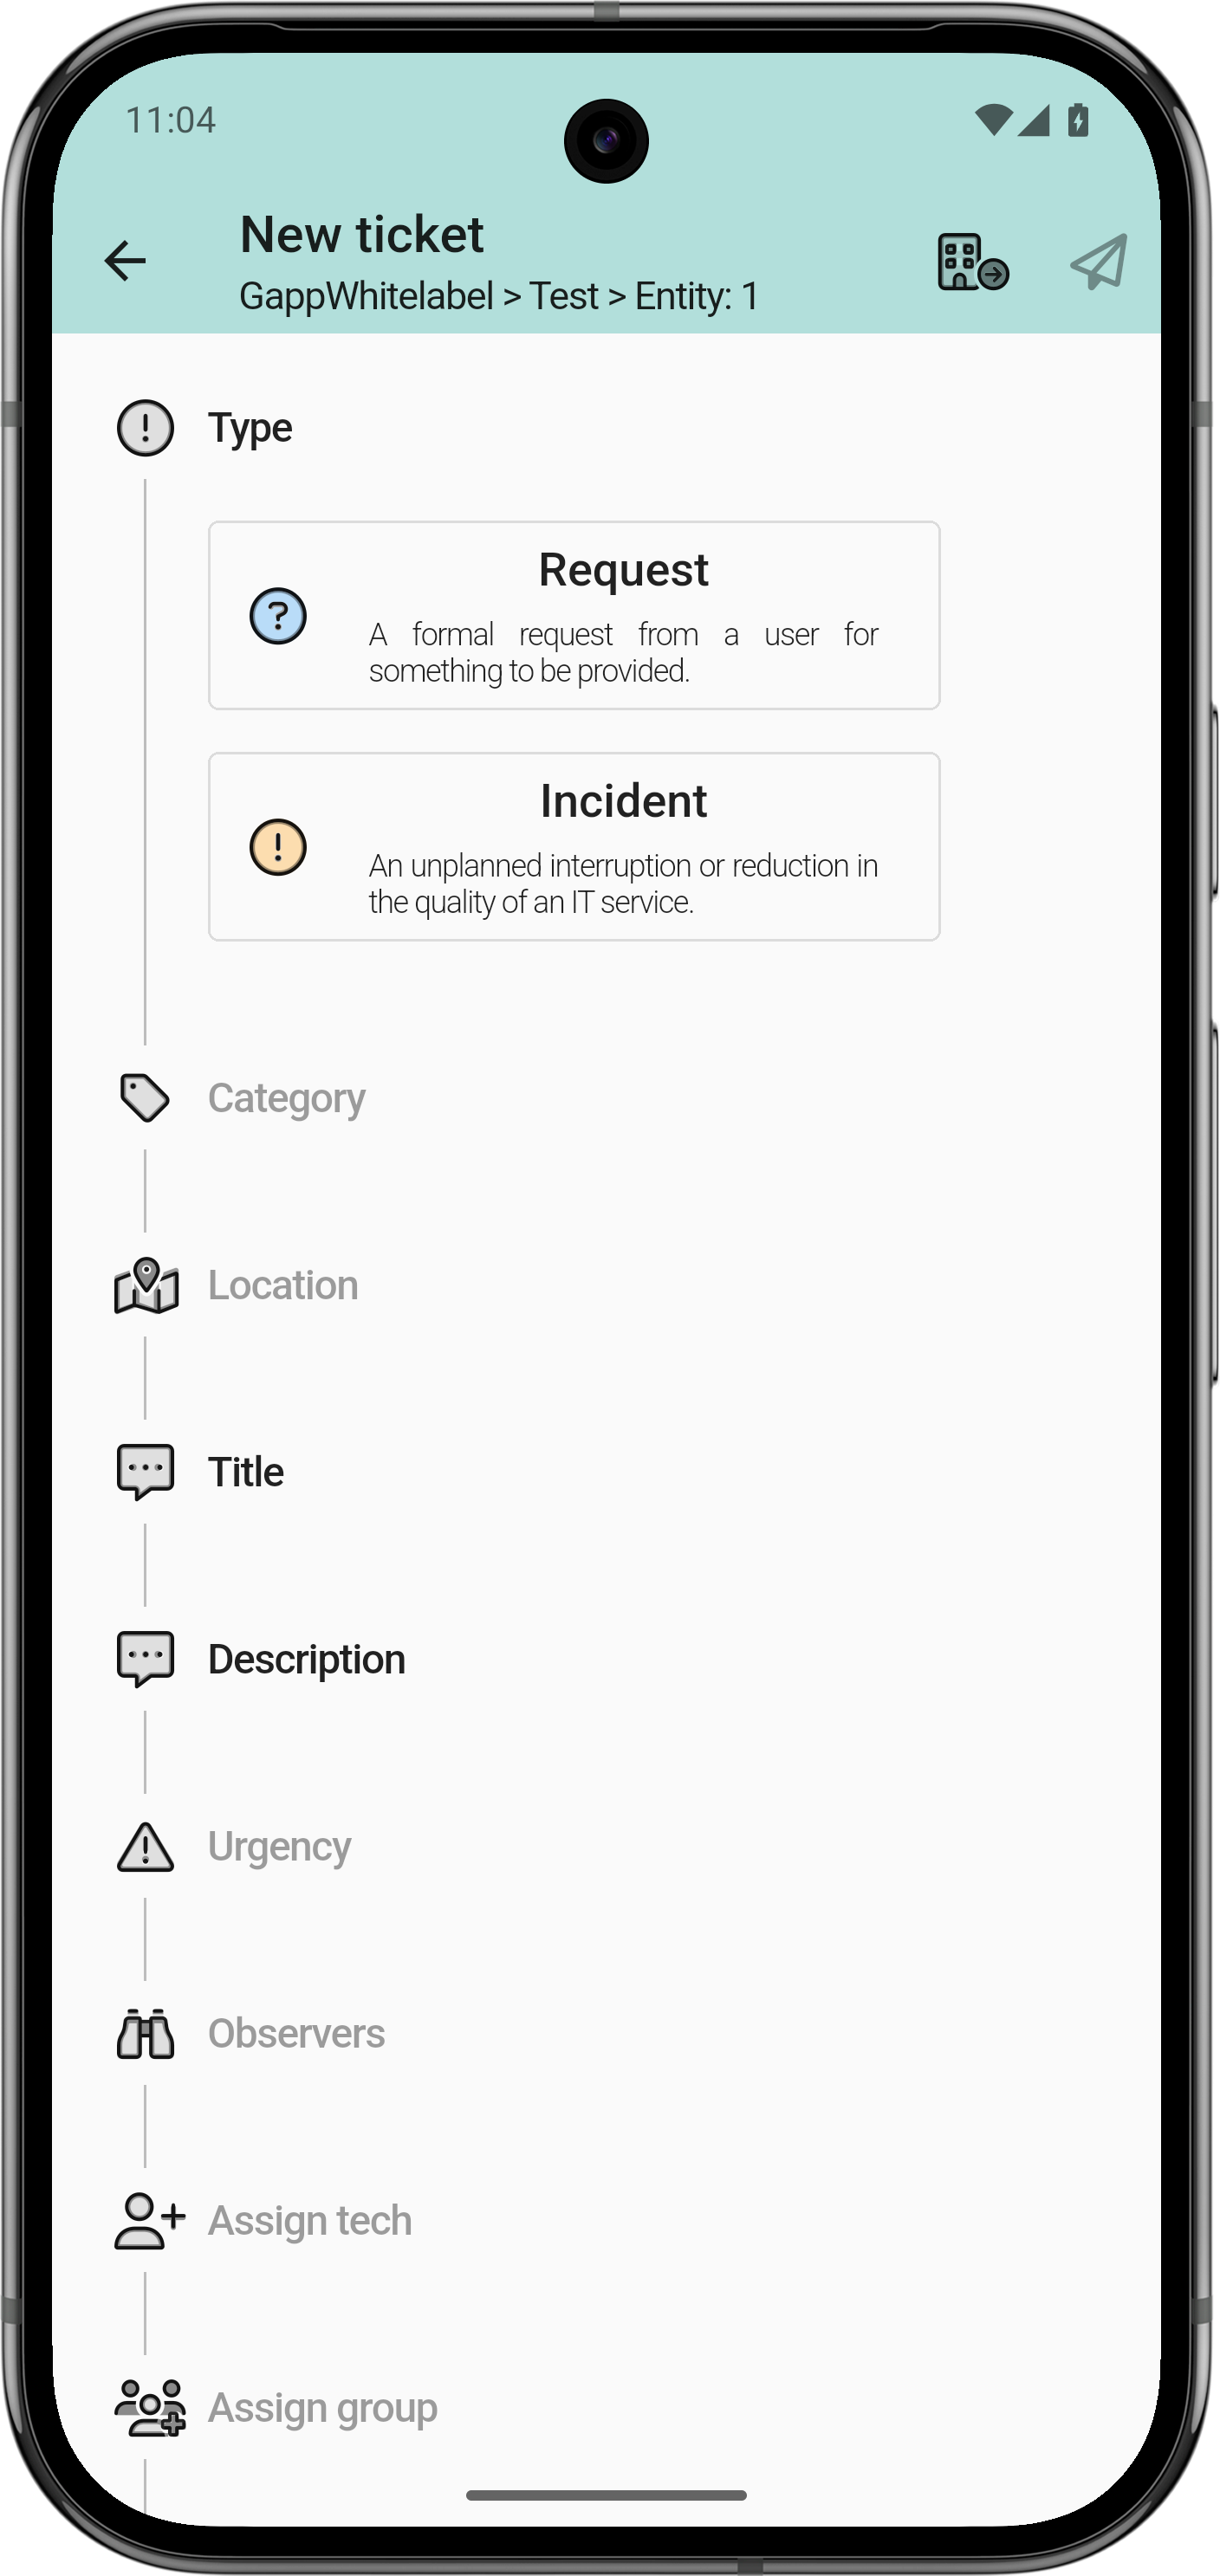
The ticket creation page opens. First, select the ticket type: Request or Incident. The numbered list below explains what each element on the screen does.
This screen appears when a new ticket is created from the home screen, the main menu, or the yellow (+) icon in the main ticket view.
Tapping the button opens all the ticket options, with required and optional fields. The plugin options in GLPI define which fields are optional and which are required.
- Required: bold.
- Optional: light grey.
The fields that can be marked as required are: category, location, urgency and observers
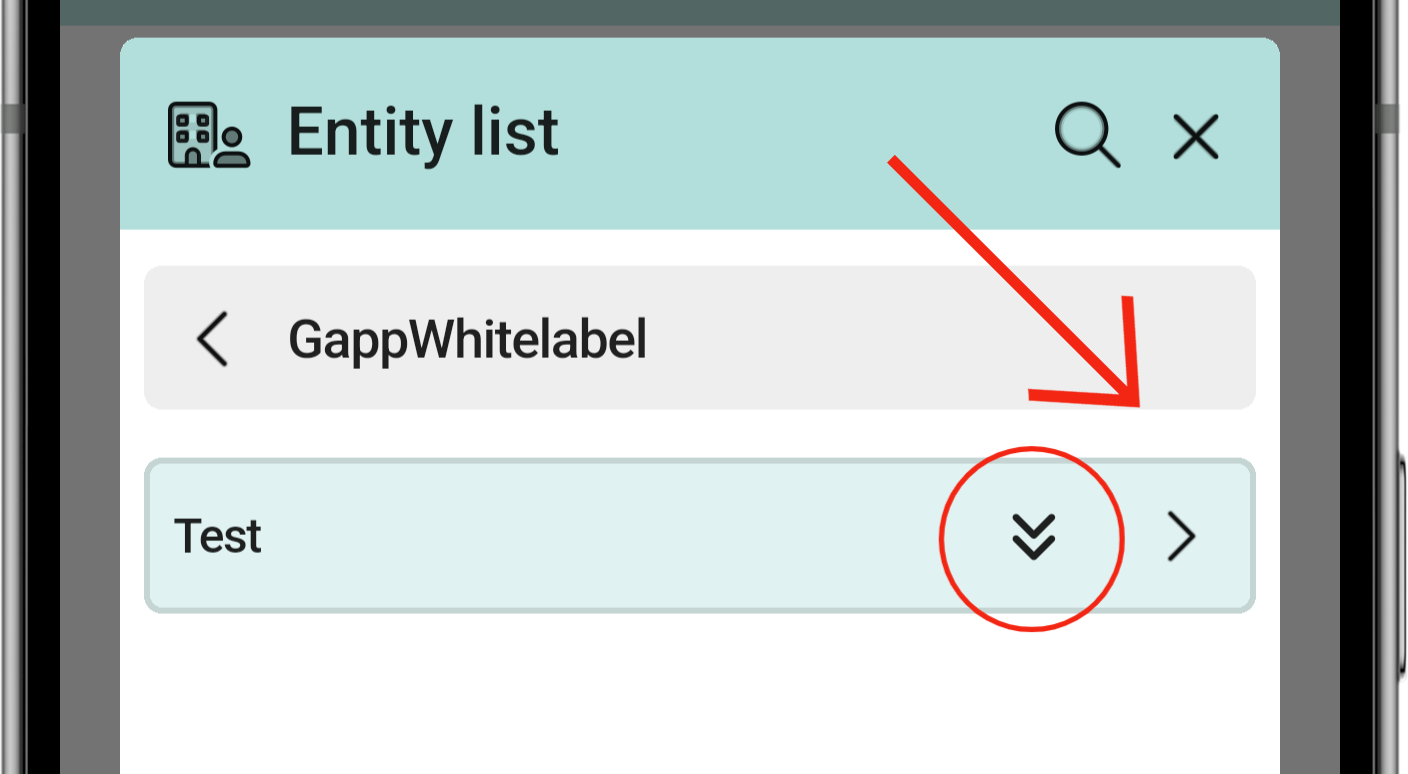
To select the correct entity, tap the building icon in the top bar; a list opens with all the entities available for the profile.
An entity can contain sub-entities; tap the right arrow to move between them.
- Arrow pointing down: select the entity.
- Arrow pointing right: view sub-entities.