Create a Ticket
1. Go to ticket creation
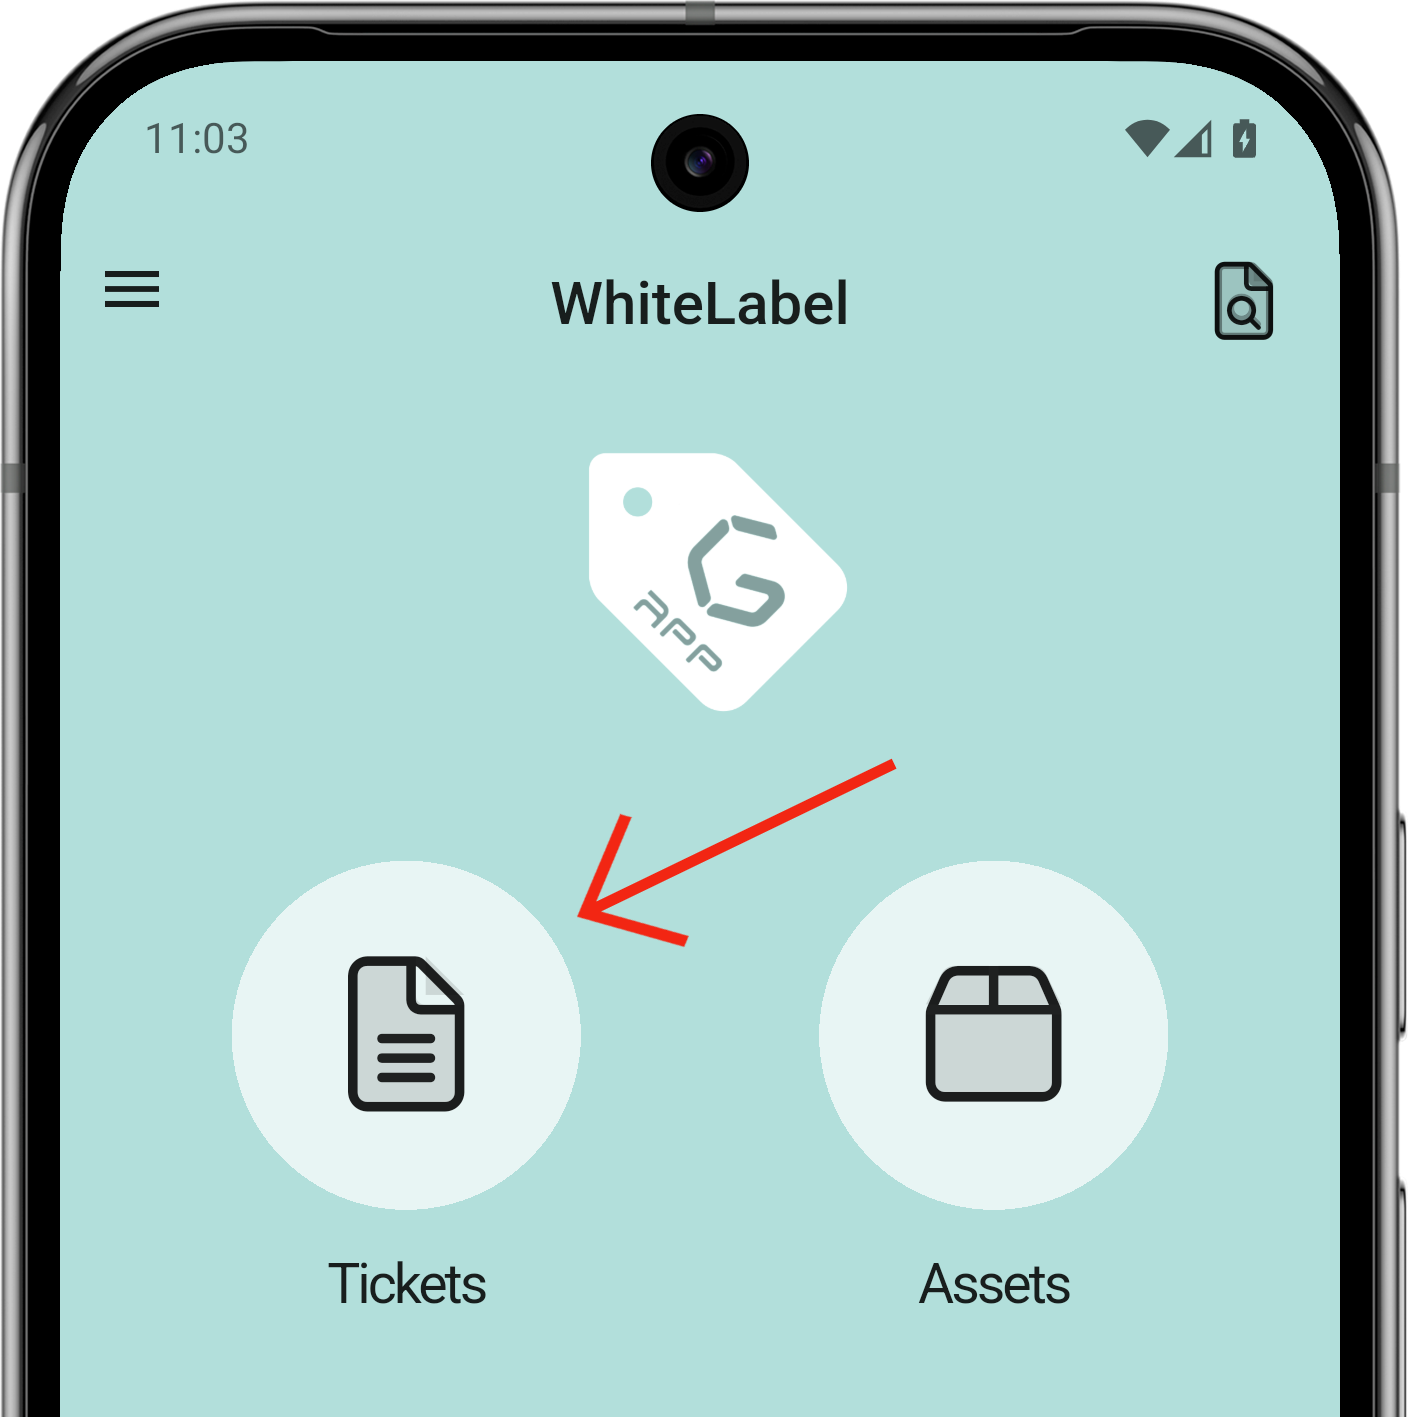
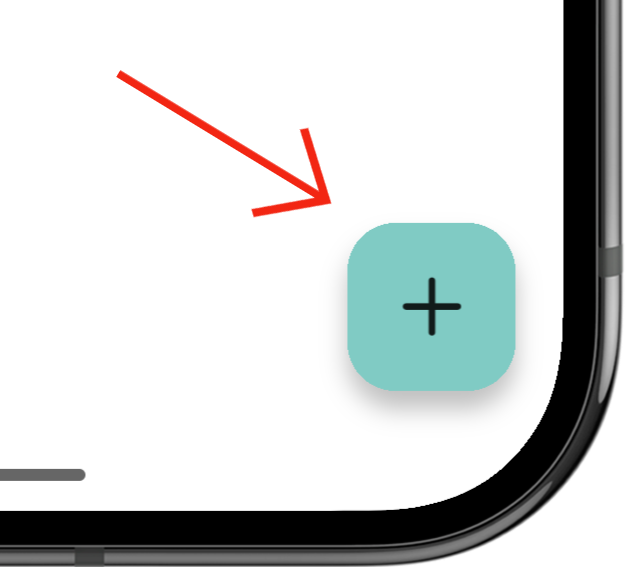
First, go to the ticket section of the application. Once there, a floating action button appears in the bottom-right corner of the screen.
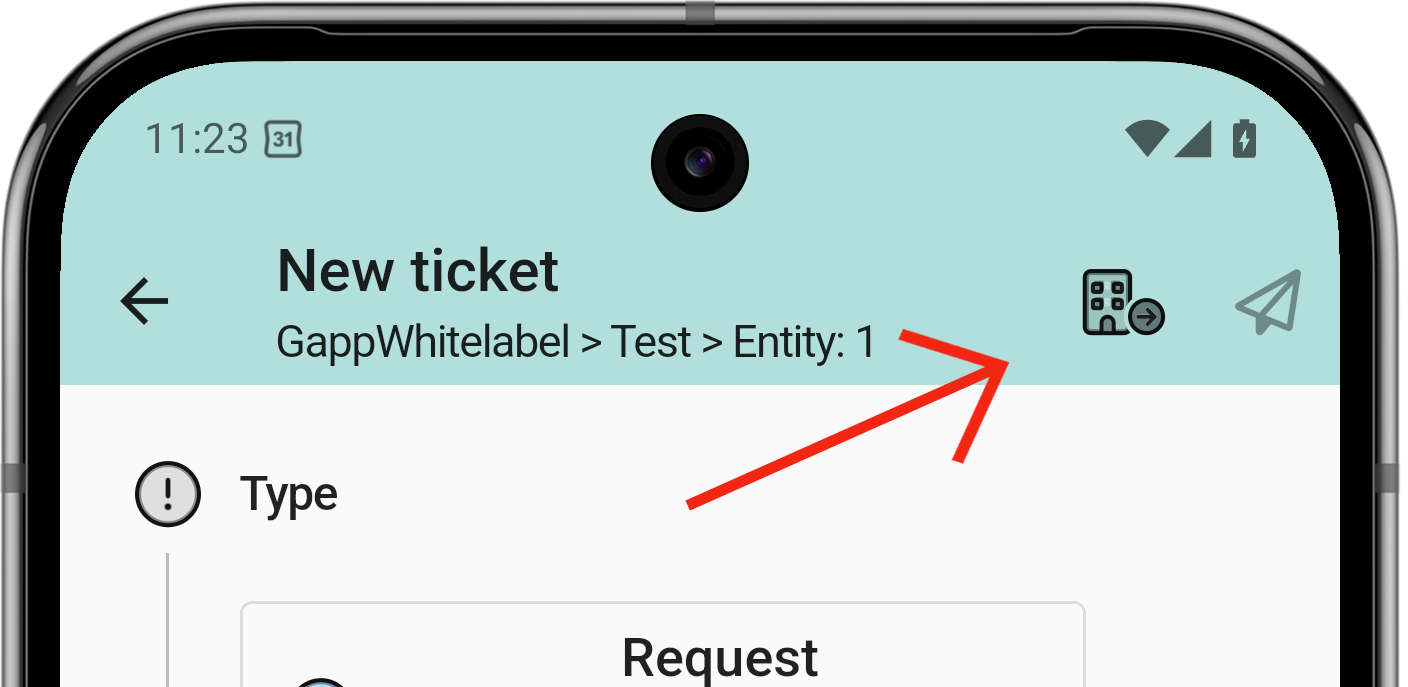
The ticket creation page opens. First, select the ticket type: Request or Incident. The numbered list below explains what each element on the screen does.
This screen appears when a new ticket is created from the home screen, the main menu, or the yellow (+) icon in the main ticket view.
Cuando le das al botón se te abrirá todas las opciones del ticket, tendrás opciones obligatorias y opcionales. Podrás configurar desde las opciones del plugin en GLPI cuales quieres opcionales y cuales obligatorias.
[CAPTURA DE GLPI EXTENDED]
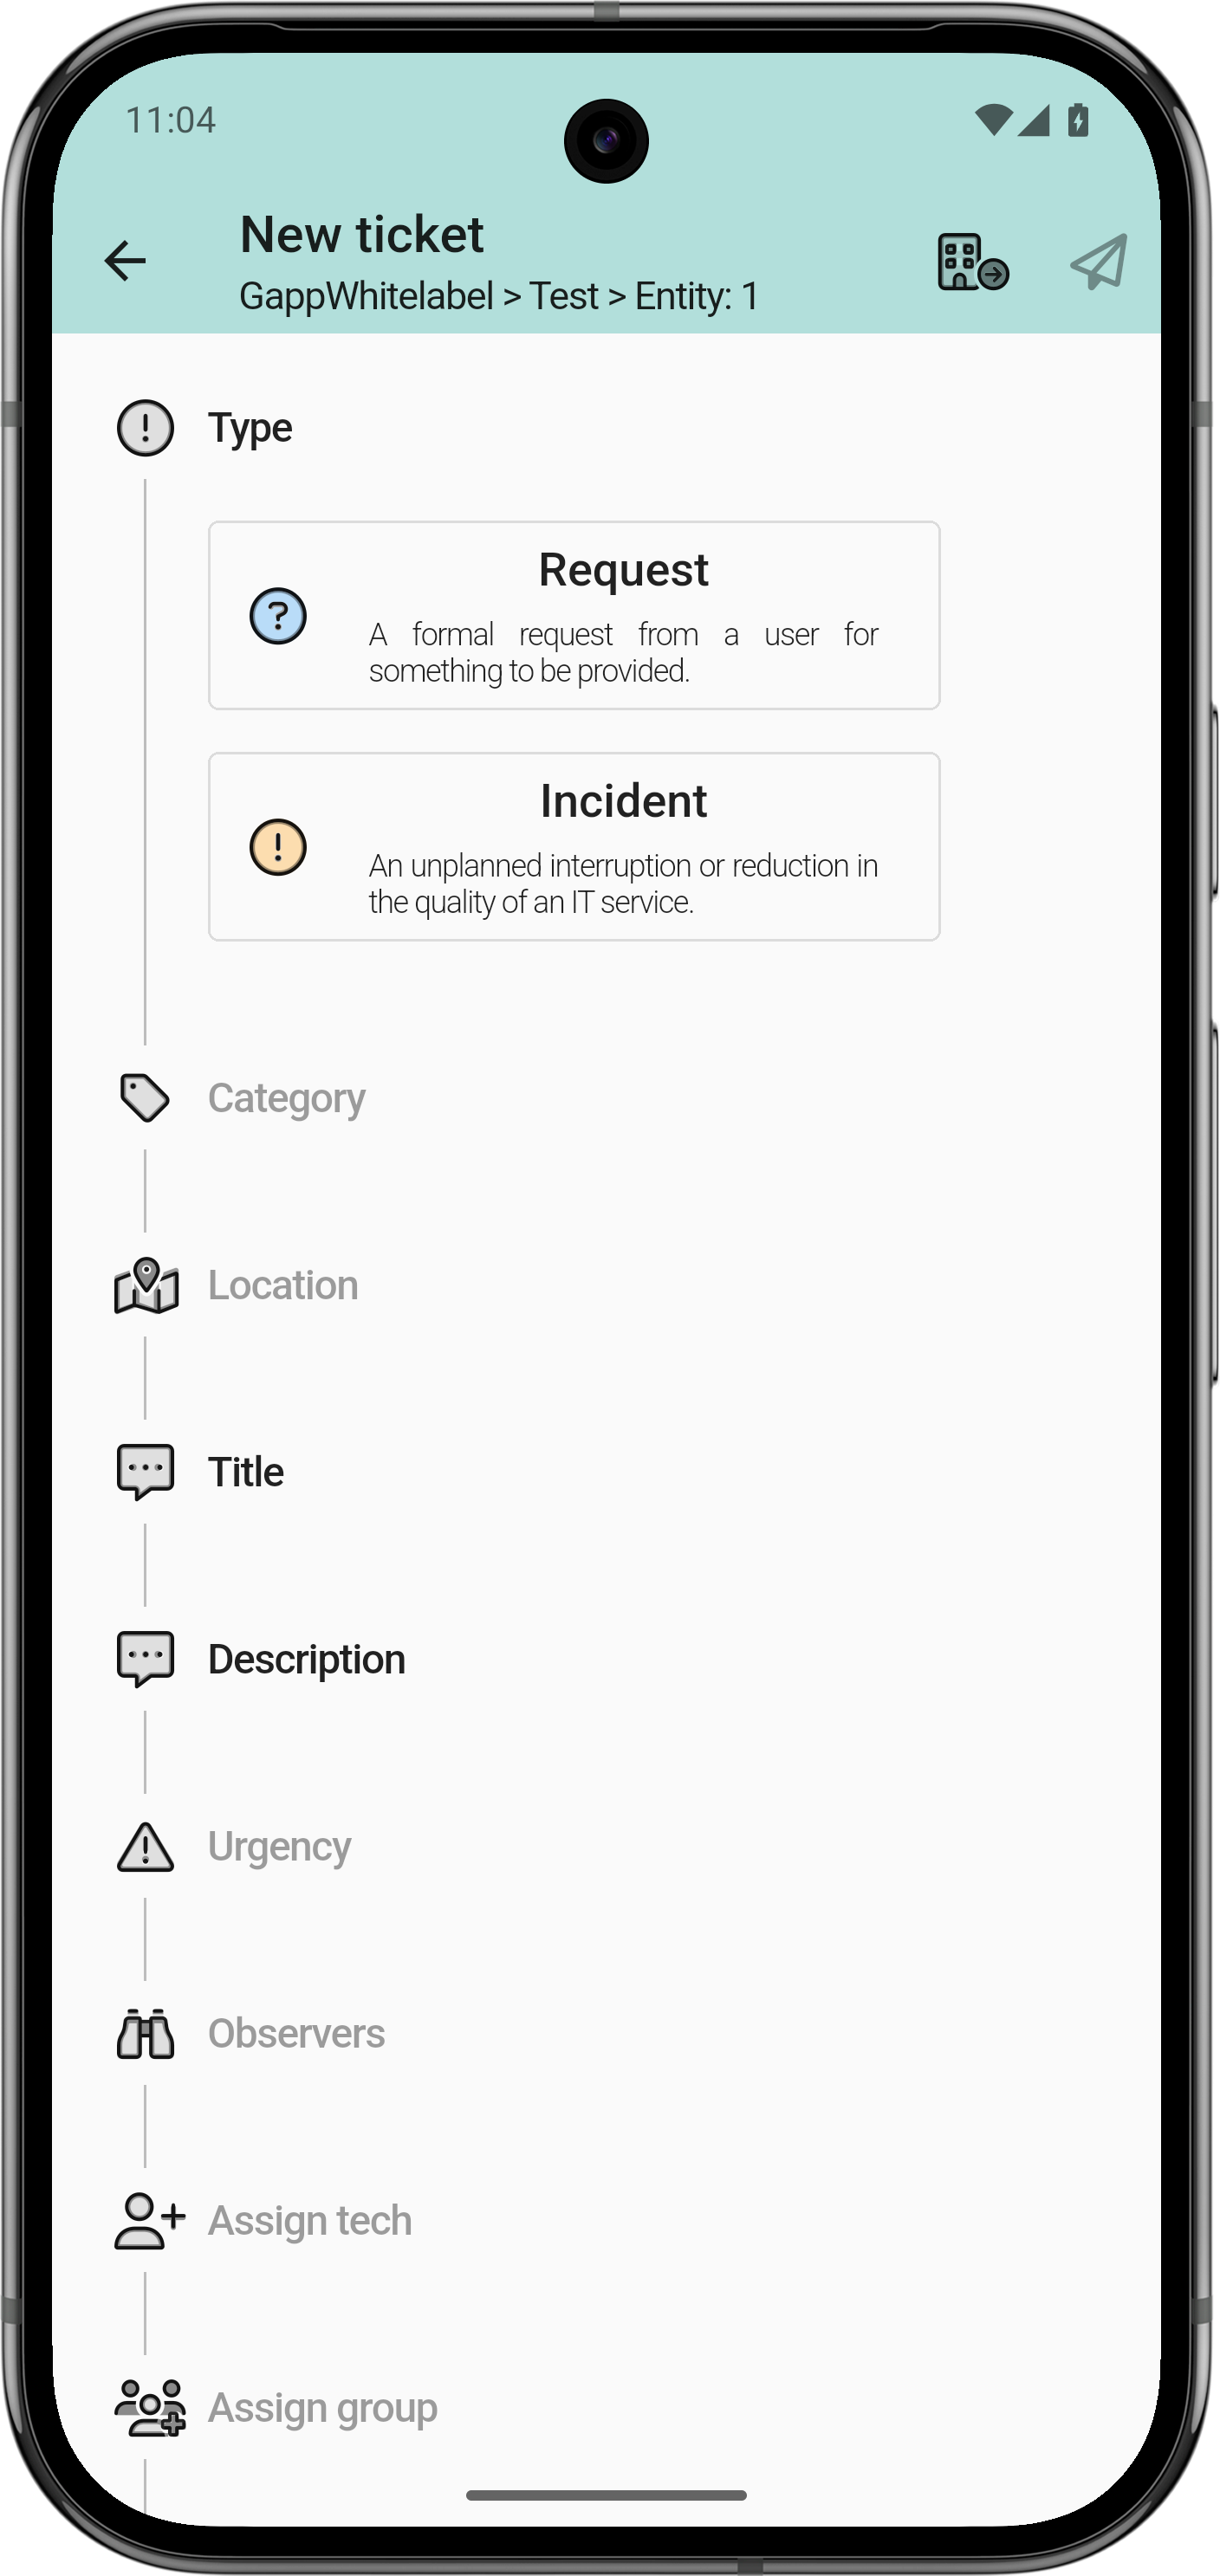
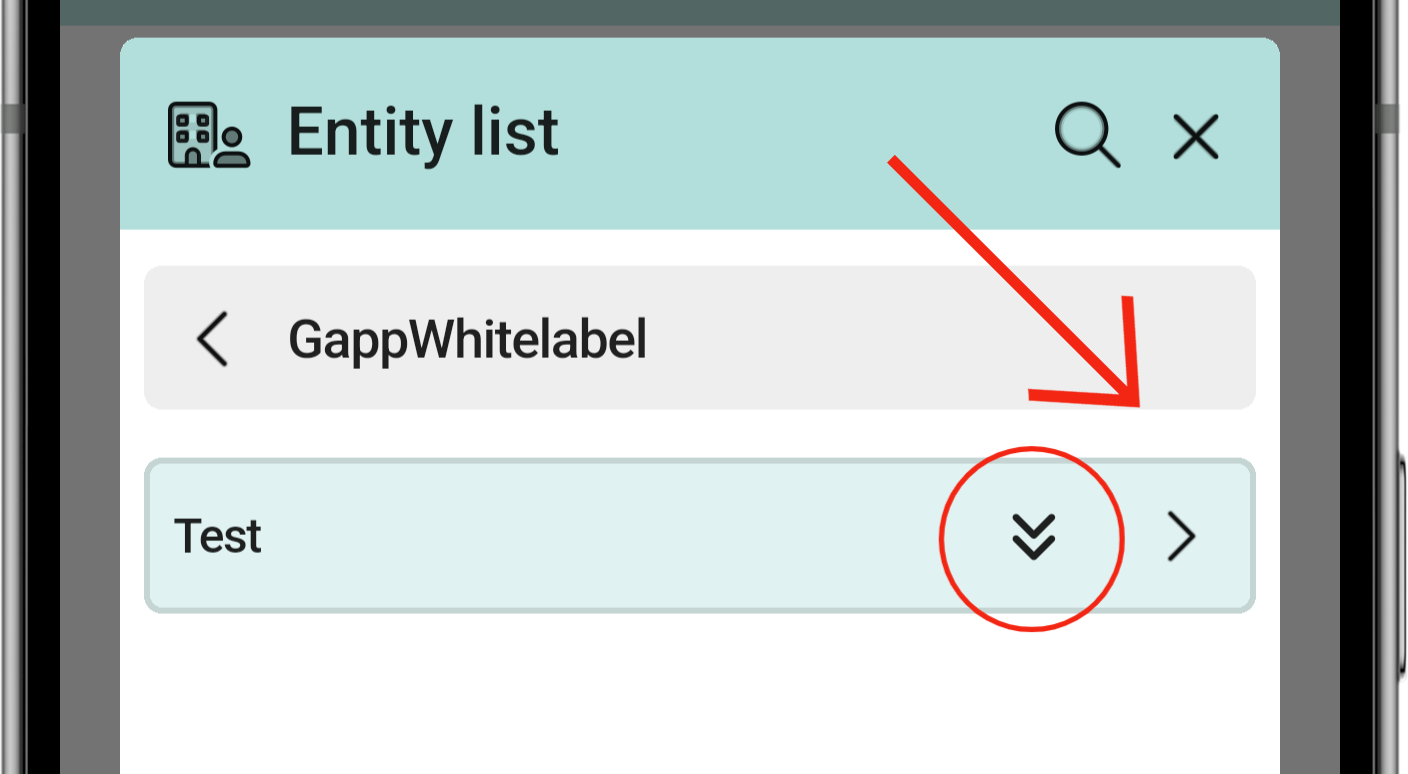
Para seleccionar la entidad correcta deberás darle al icono de un edificio en la barra superior, se te desplegará un listado con todas las entidades disponibles para tu perfil.
Una entidad puede tener sub-entidades, para moverte entre ellas tendrás que pulsar sobre la flecha derecha.