Create a Task
CuandoInside estemosa dentroticket, dea nuestro(+) button sits in the bottom-right corner of the screen. Tapping it opens the ticket tendremosactions unmenu; botónAdd ena lanew esquinatask interiorcreates derechaa con un "+", una vez pulsemos ahí These are all the options we have; we will start with the follow-up:task.
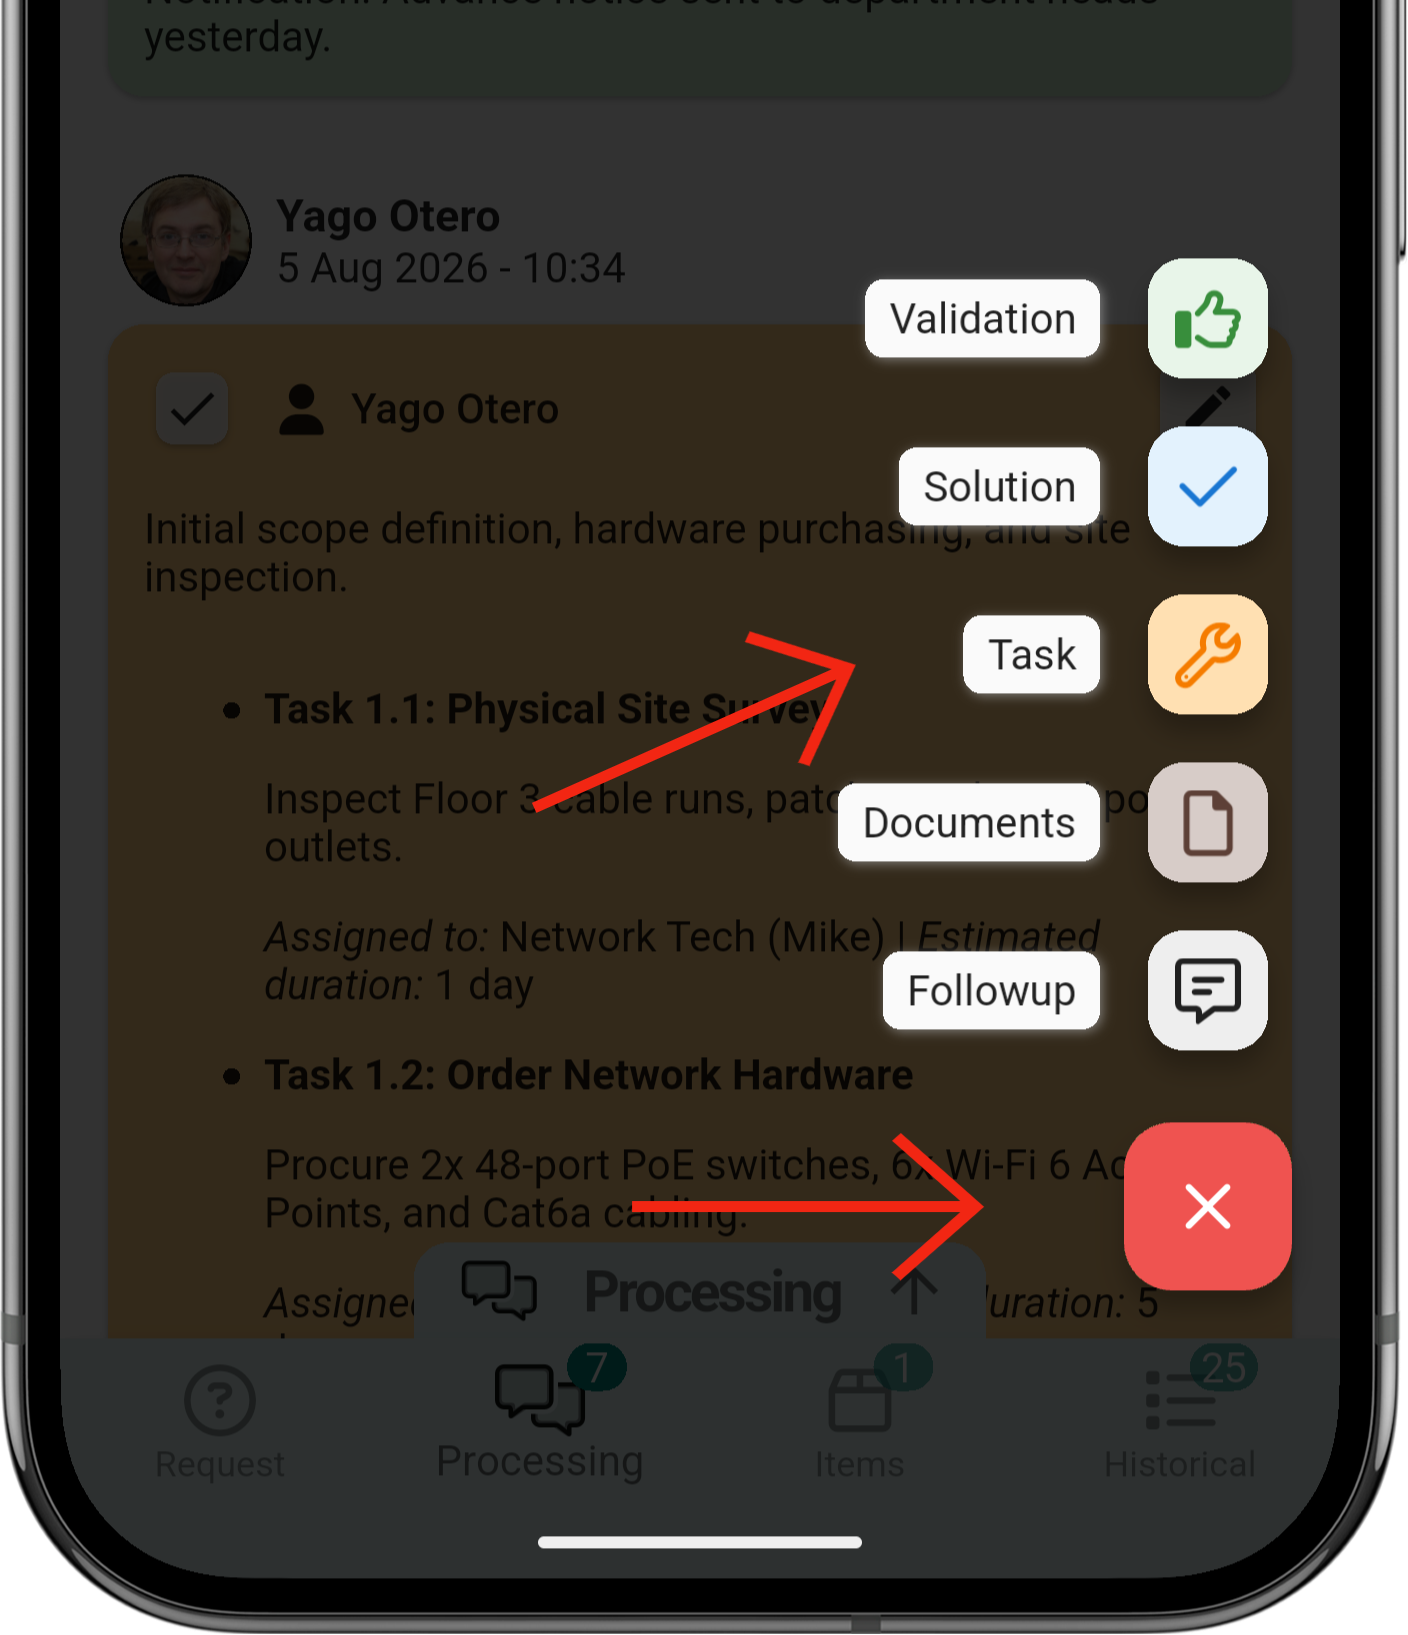
1. Create a task
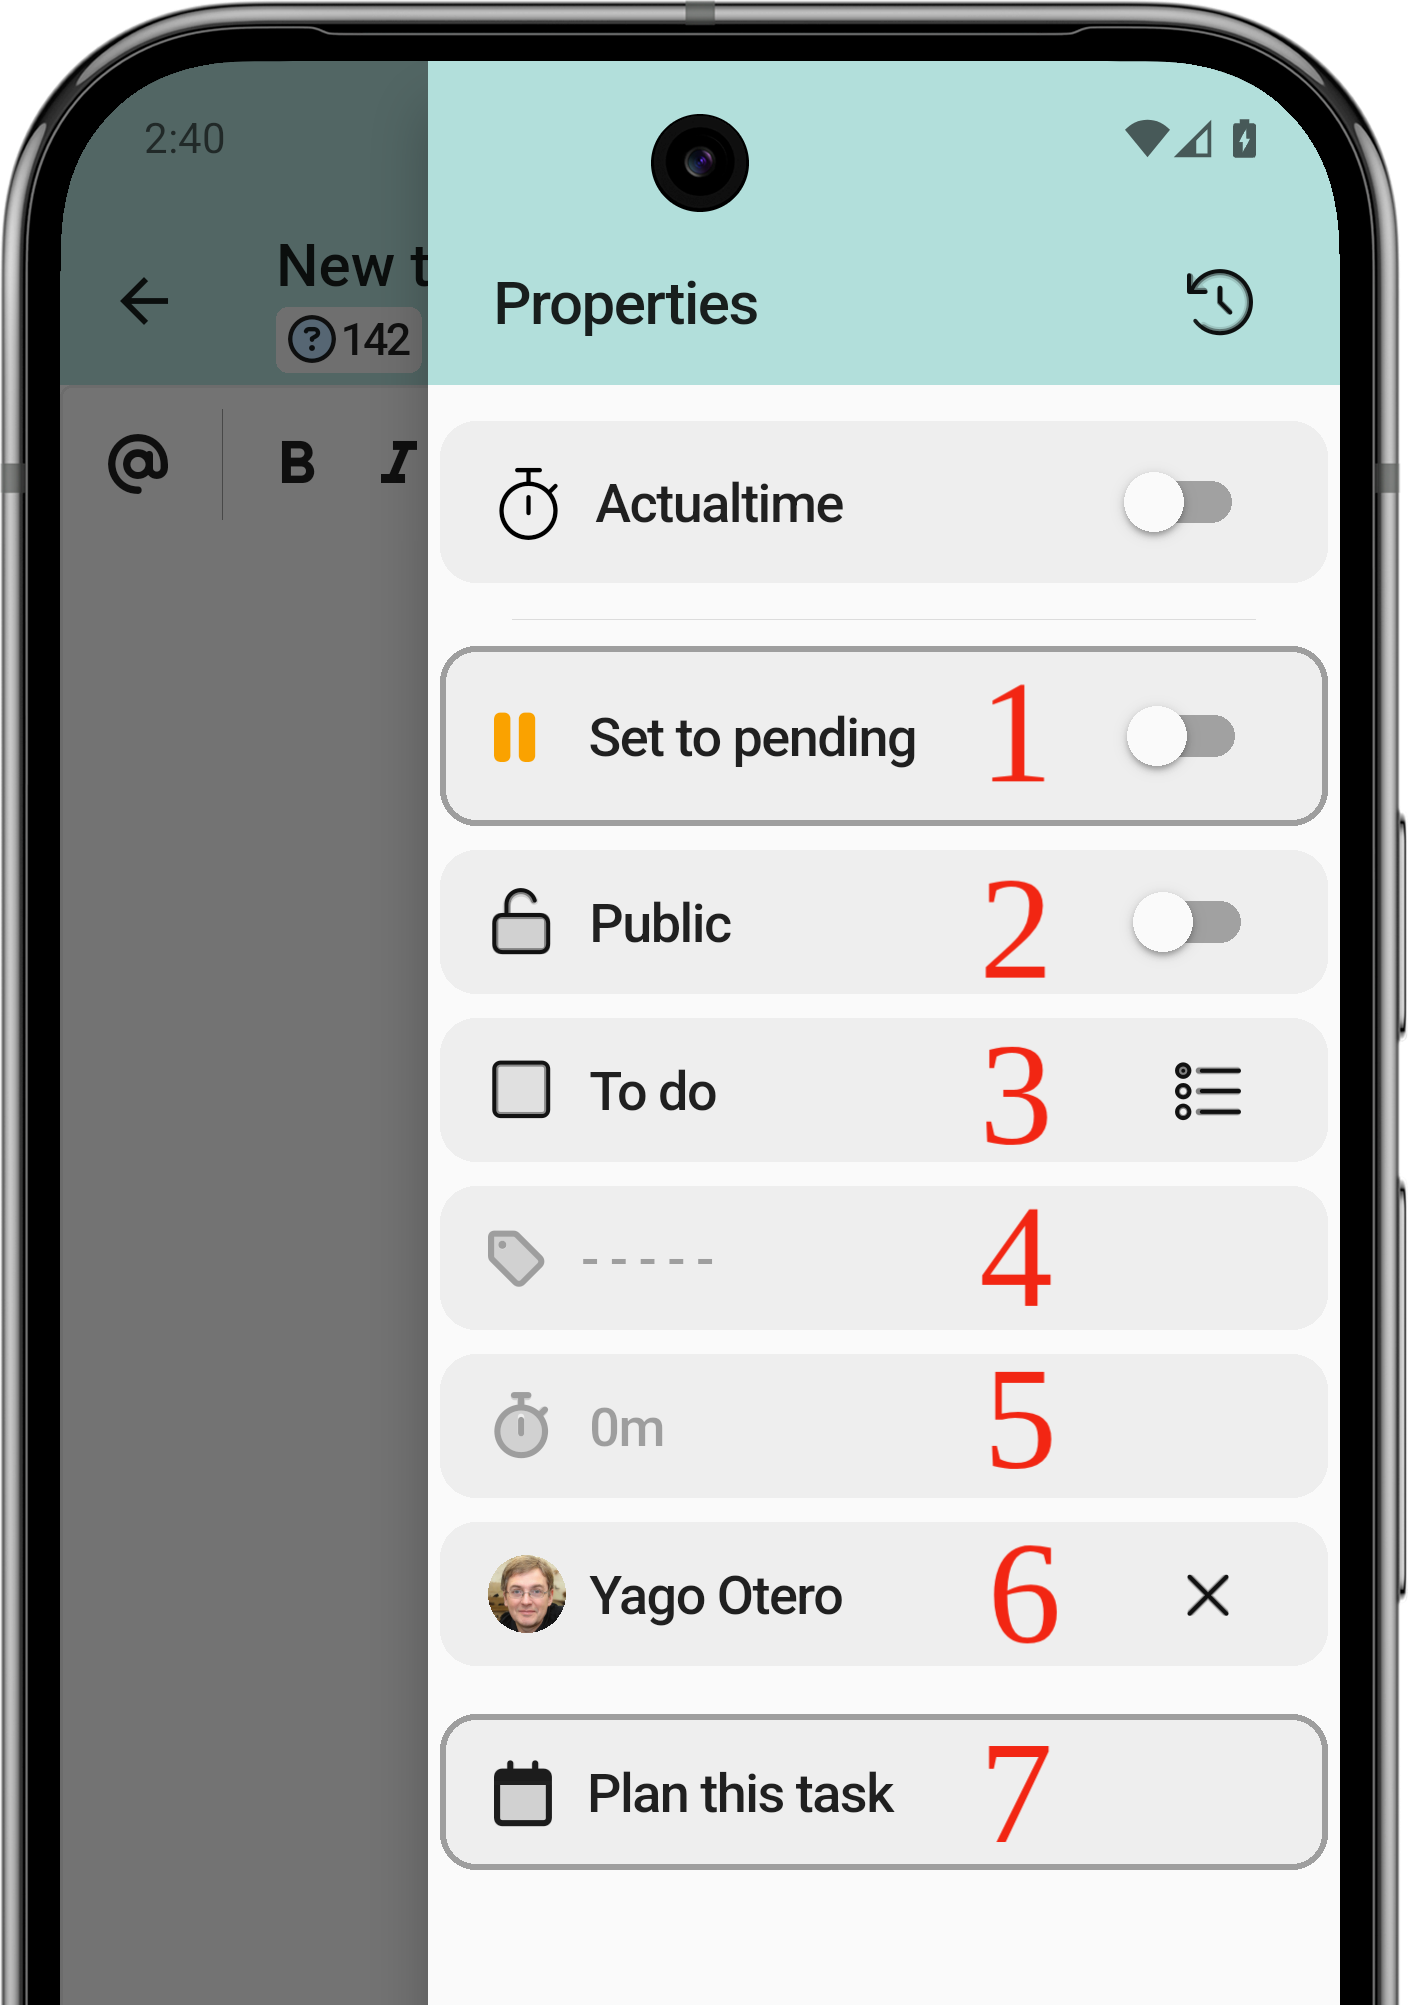
The task hasshares amost lot in common withof the follow-up,up butstructure, youwith couldadditional saystatus, itcategory isand aplanning bit more complete.options.
- Put the task on hold.
- Public or private
task?task.Maybe yourThe clientisdoes notinterestedalwaysinneedseeingtothatsee this information. - Mark the task as done.
- Task category.
- Task duration.
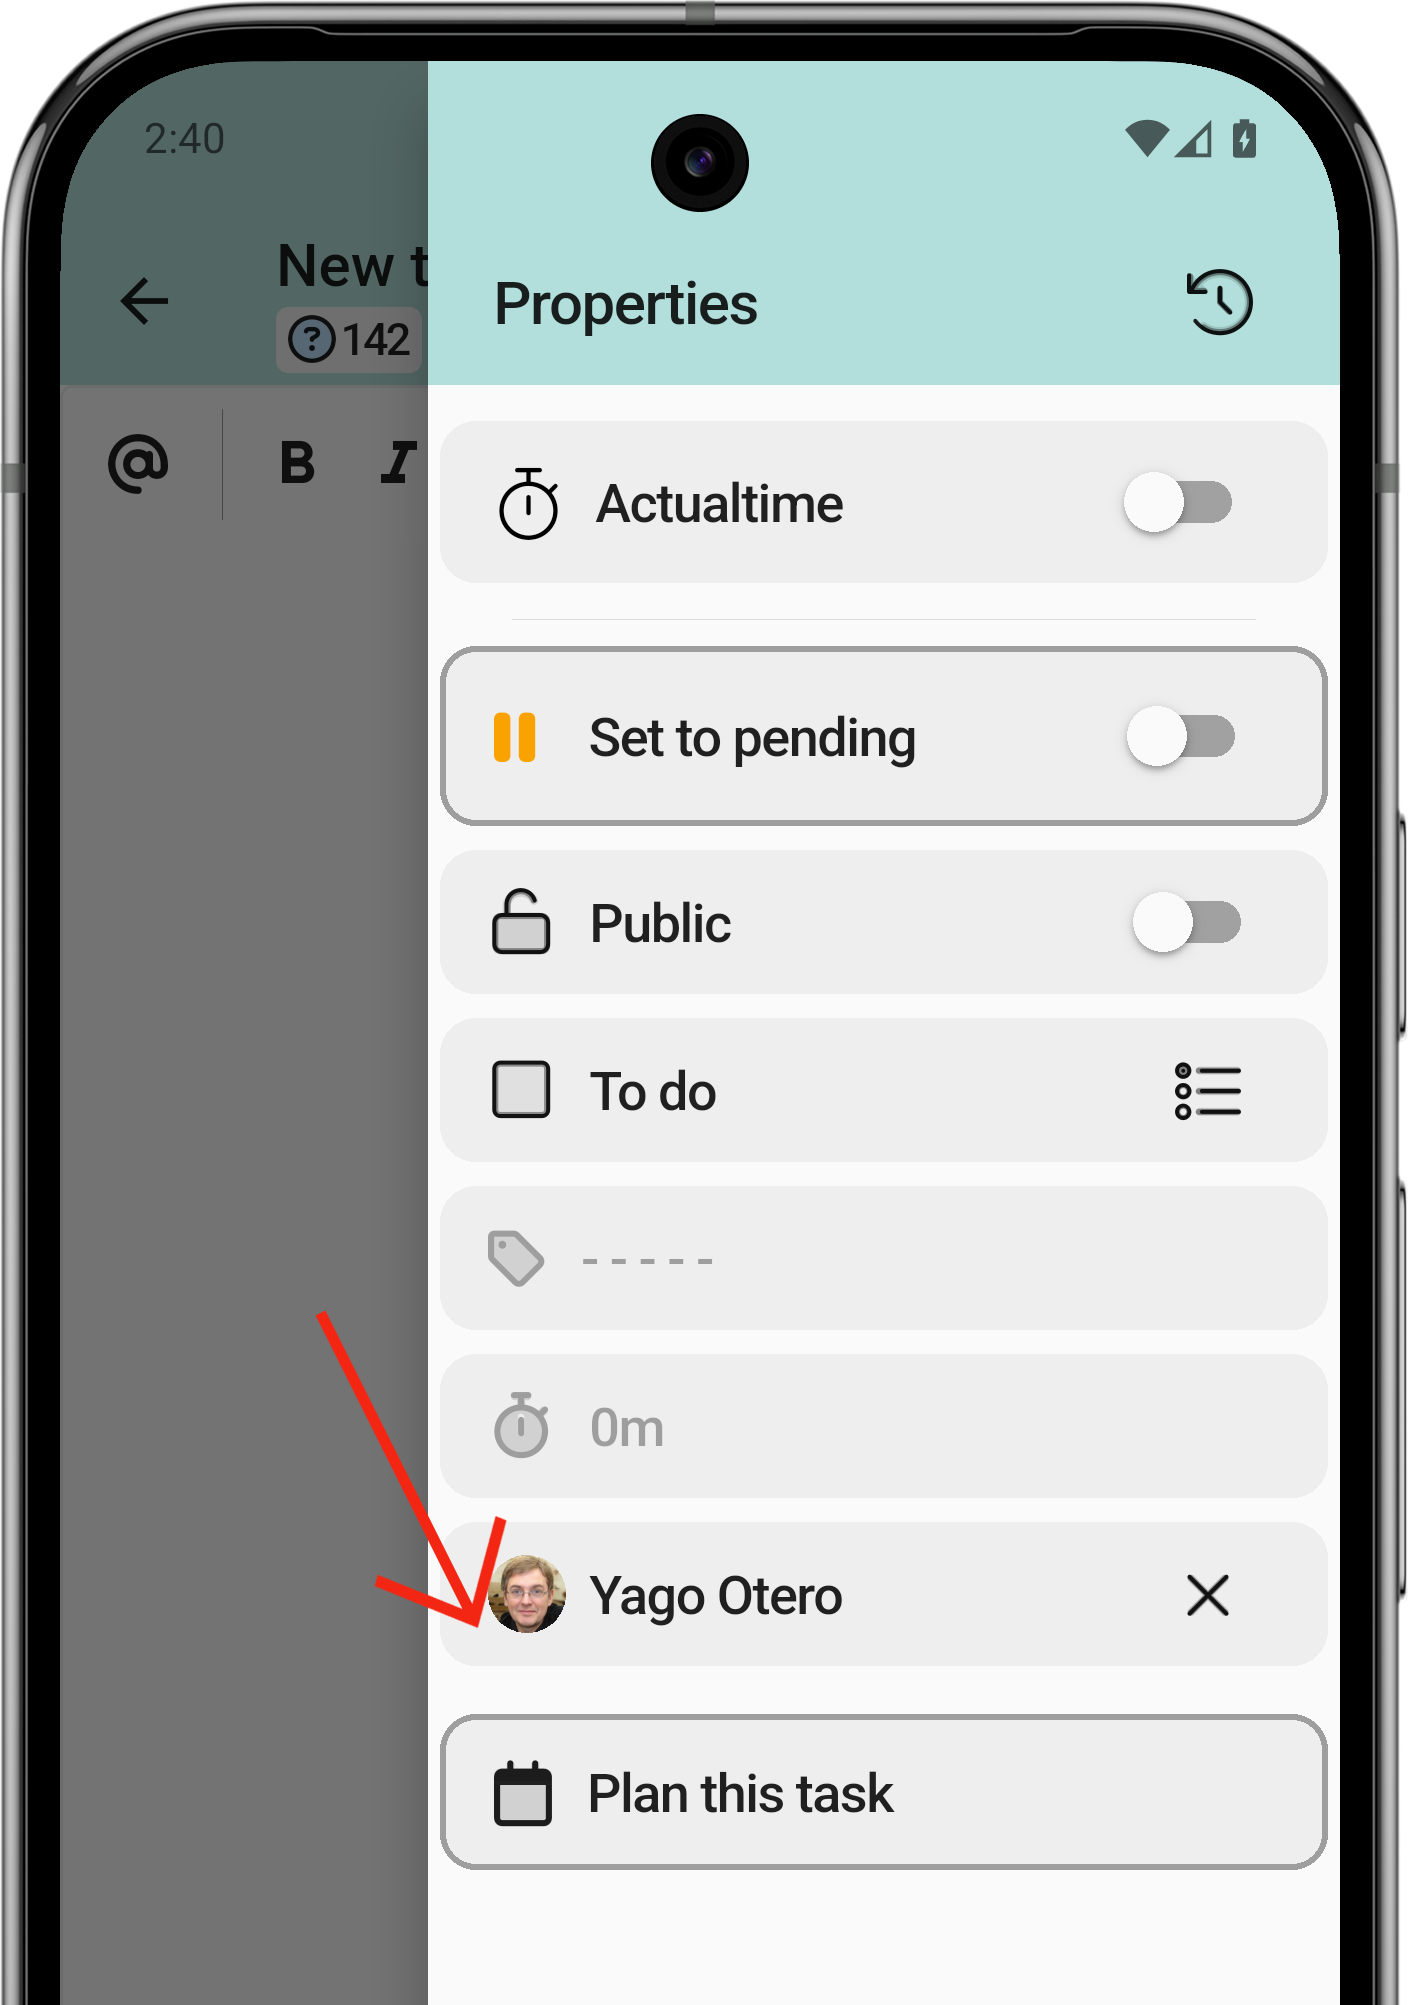
- Assigned technician.
- Plan the task.
1.1 Work with an ActualTime
La primera opción de todas será la que nos ayude a contar el tiempo transcurrido desde que enviamos la tarea hasta que la pausamos, para contar el tiempo.
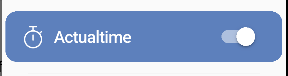
IniciaremosTheelActualTimeActualTime,timerUnastartsvezwithactivadothisseoption.miraráOnceasí:active, it looks like this:
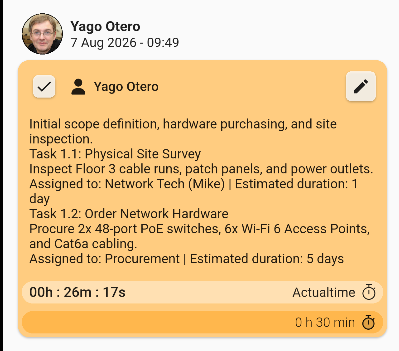
En la vista delThe ticketahoraviewnosshowsmostraráwhichquetasktareaisestárunninginiciadaandyforcuandohowtiempo llevalong.
SiTapping estásthe enrunning otratask pantallafrom peroanother pulsasscreen encimamoves tethe moveráview automáticamenteto ait ese puntoautomatically.

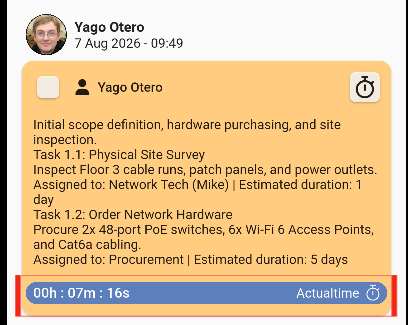
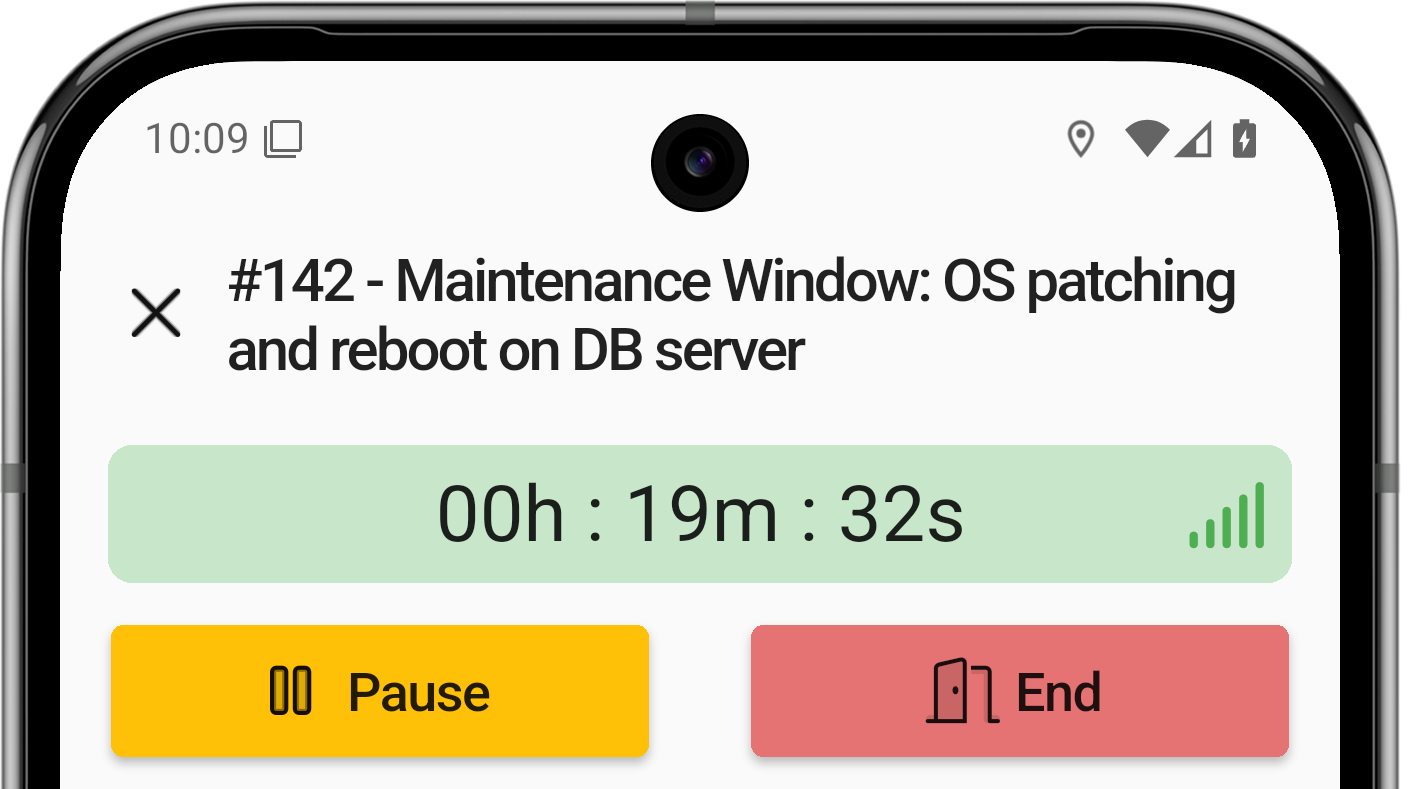
UnaWith vezthe quecounter yarunning, tenemosthe nuestrotask contadorcan iniciadobe ahoraopened podremosto accederpause ait laor tareamark dandoit asías la opción a pausar o dar como hecha la tarea.done.
PodrásThe iniciartask ycan pausarbe lastarted tareaand laspaused vecesas quemany considerestimes necesariaas needed.
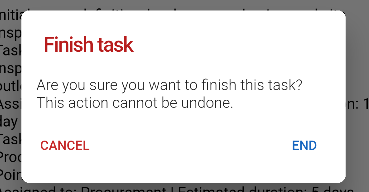
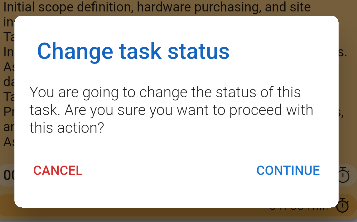
Cuando vayasFinishing a finalizartask unashows tareaan laalert aplicaciónasking tefor mostrará un mensaje de alerta pidiendote confirmaciónconfirmation.
TambiénThere tendrásis otraanother formaway deto marcarmark lathe tareatask comoas hecha,done: ena lacheckbox vistain delthe top-left corner of the ticket tendrás un CheckBox es la esquina superior izquierdaview.
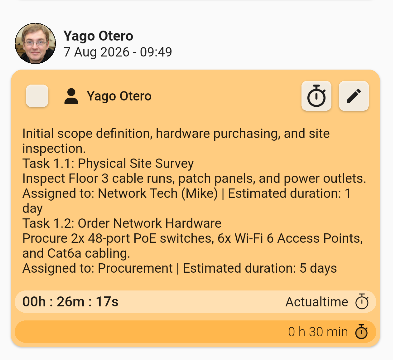
UnaTapping vezthe quecheckbox leasks dasfor al cuadrado te pedirá confirmar la acciónconfirmation.
EntoncesAfter unaconfirming, vezan quearrow aplicasteshows elwhether cambiothe setask podráis mirar con o sin la flecha que te indicará si la tarea está terminada o no.finished.
1.12 Add a planned task (II)
A task can be planned so that, later on, the technician in charge knows what they have to do and can do their job successfully. Users must select a day from the calendar to perform the task.
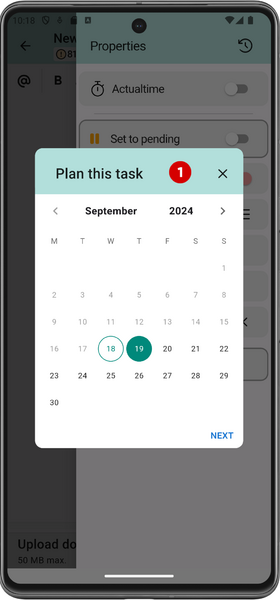
4. Select the start time
5. Select the task duration
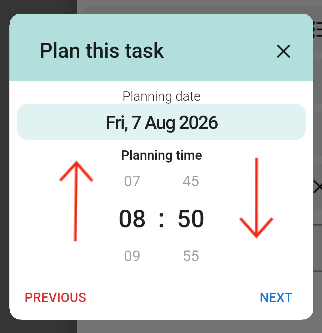
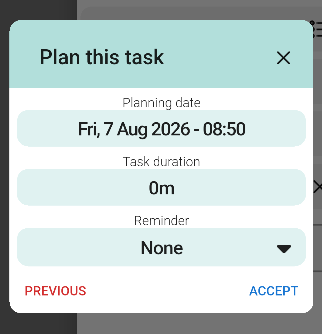
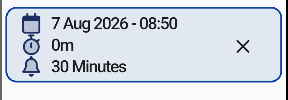
Once you have completed the planning,planning is complete, the information will beis displayed as shown here:
1.3.3 Upload documents
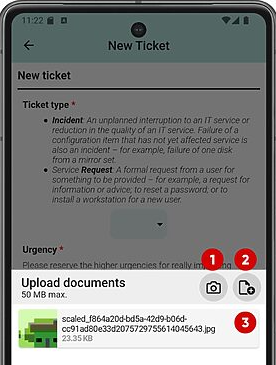
One of the most powerful features of theThe application is its integrationintegrates with yourthe smartphone's native functions: youphotos can uploadbe photosuploaded directly from yourthe gallery or take themtaken on the spot.
Multiple files can be selected at once or one at a time. Once the first file is selected, the same screen remains open in case you need to select more files.
- Open camera.
- Local files or other sources.
- Files already selected.