Create a Task
HereCuando Iestemos willdentro showde younuestro howticket totendremos doun everythingbotón inen thisla sectionesquina correctly.interior derecha con un "+", una vez pulsemos ahí These are all the options we have; we will start with the follow-up:
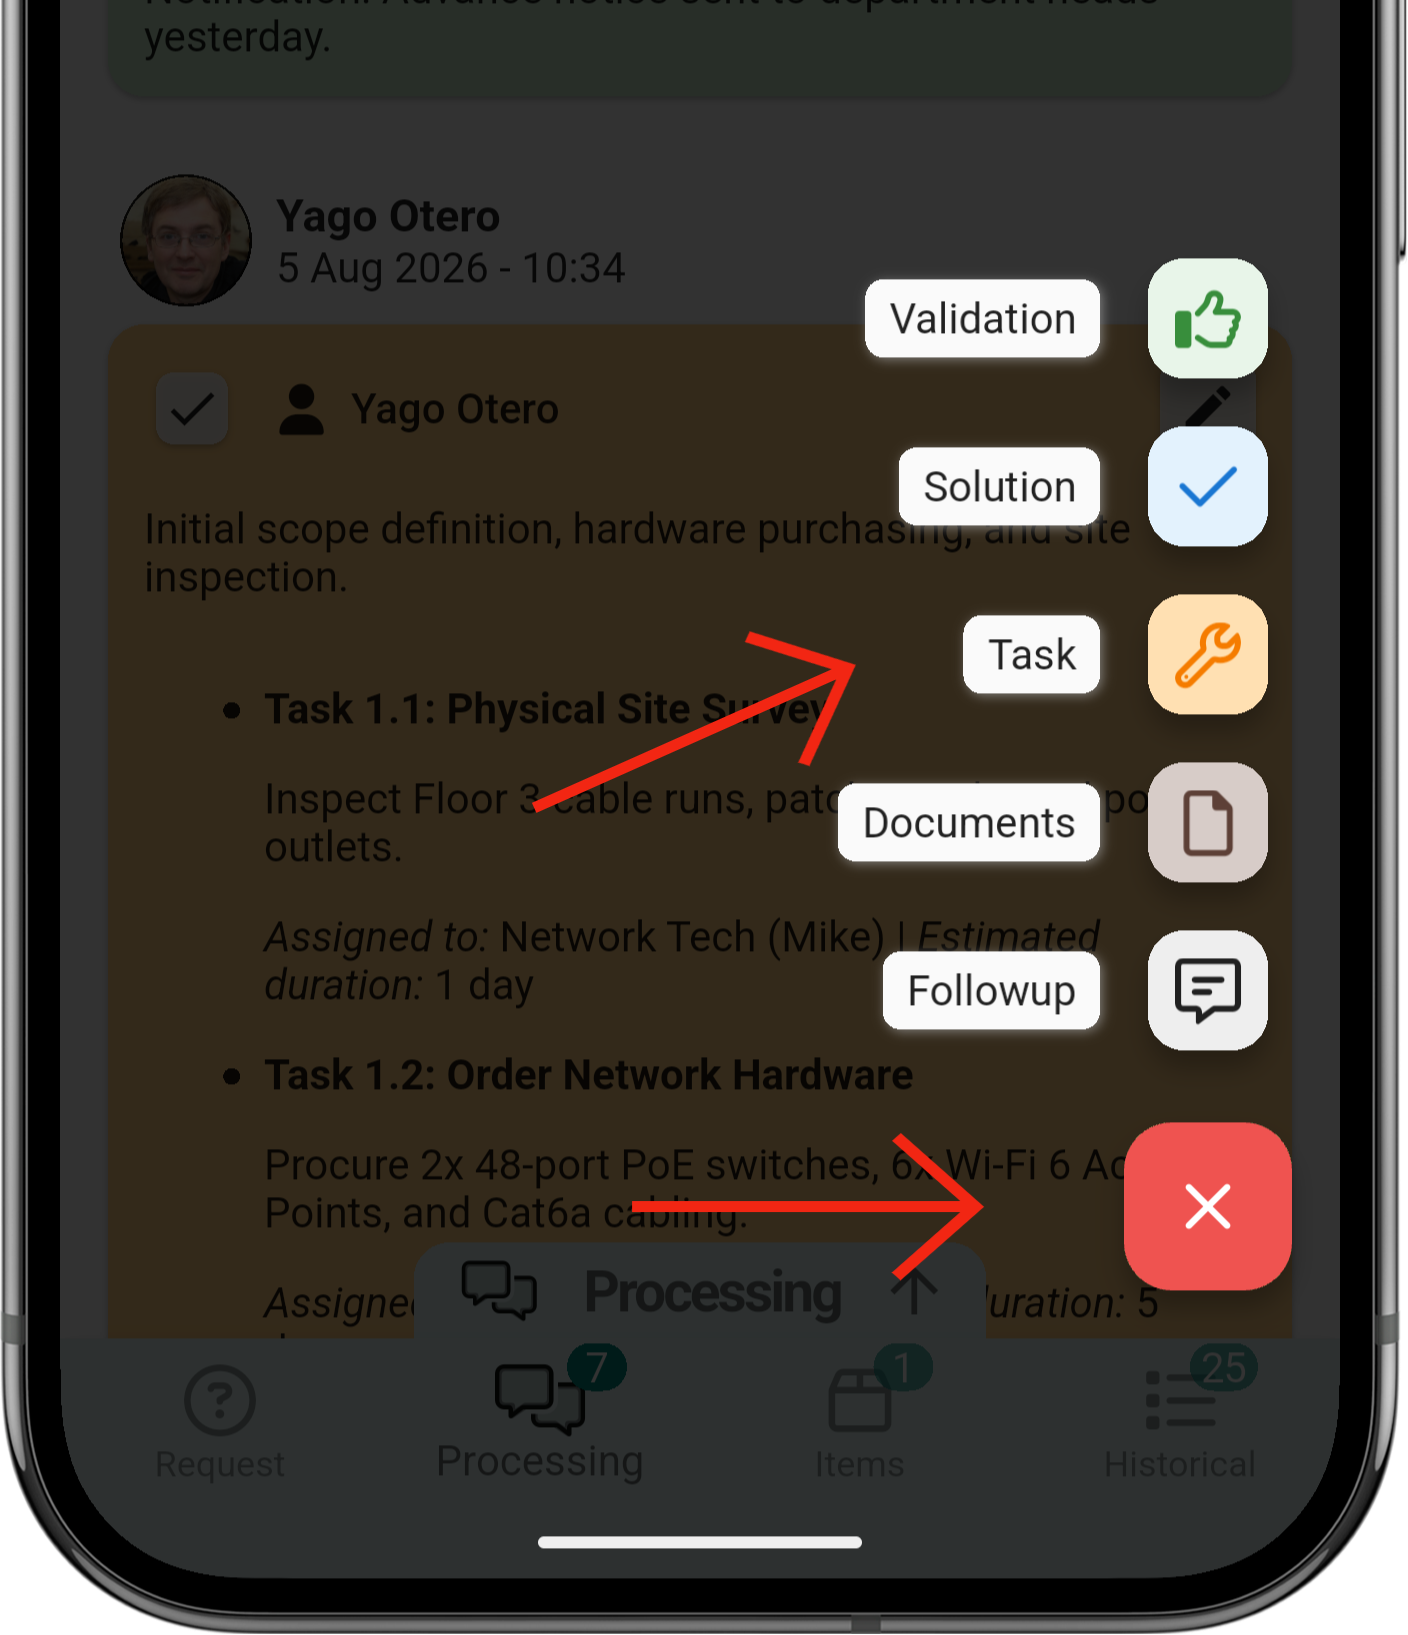
1. Create a task
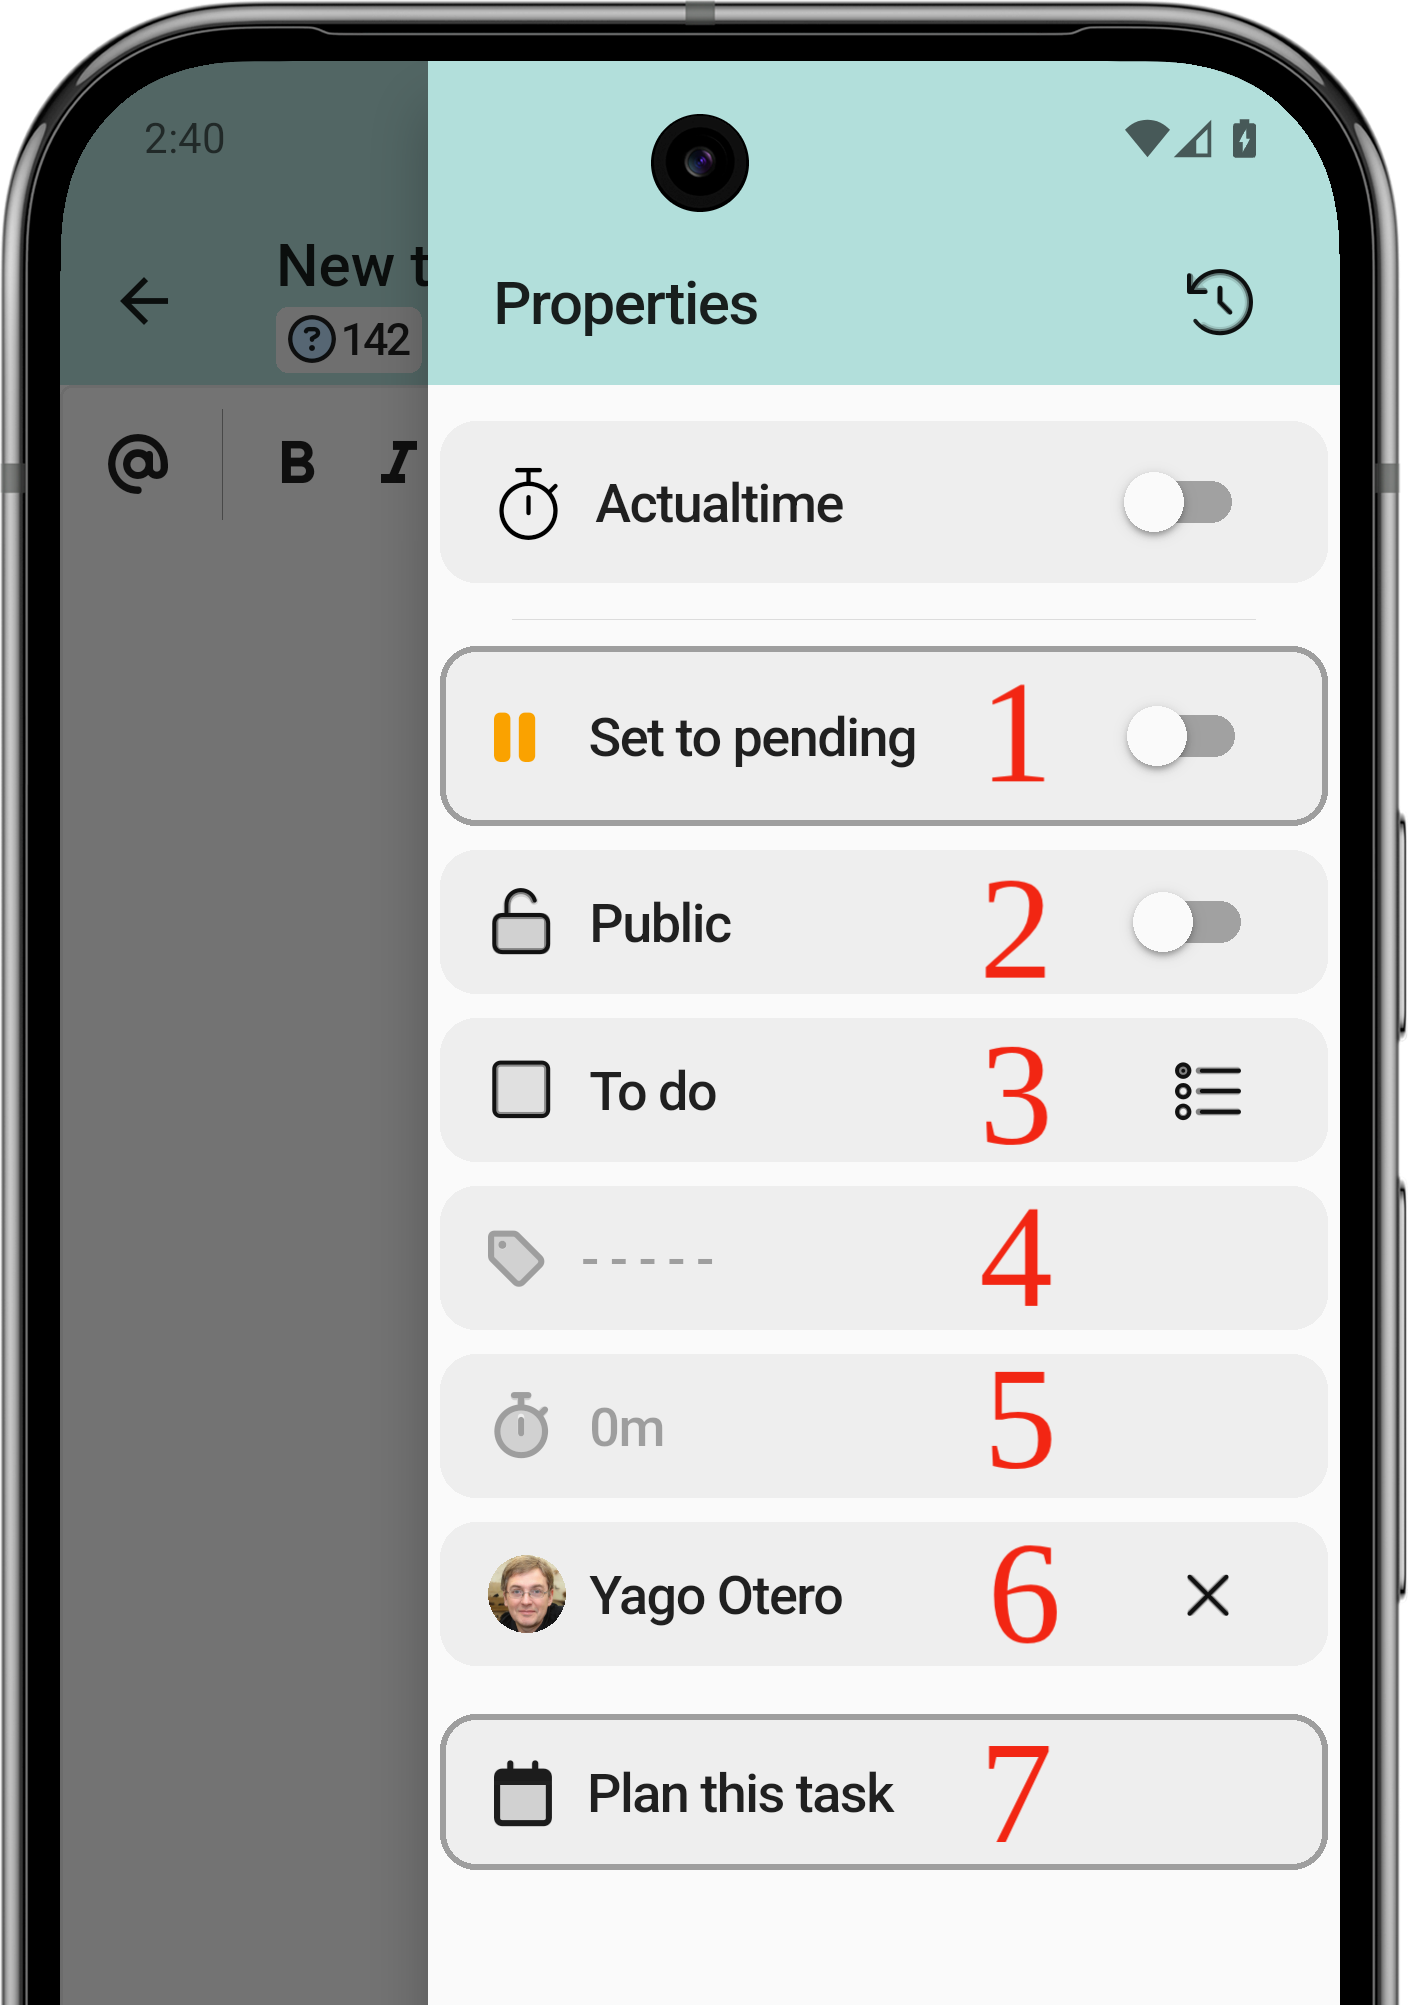
The task has a lot in common with the follow-up, but you could say it is a bit more complete.
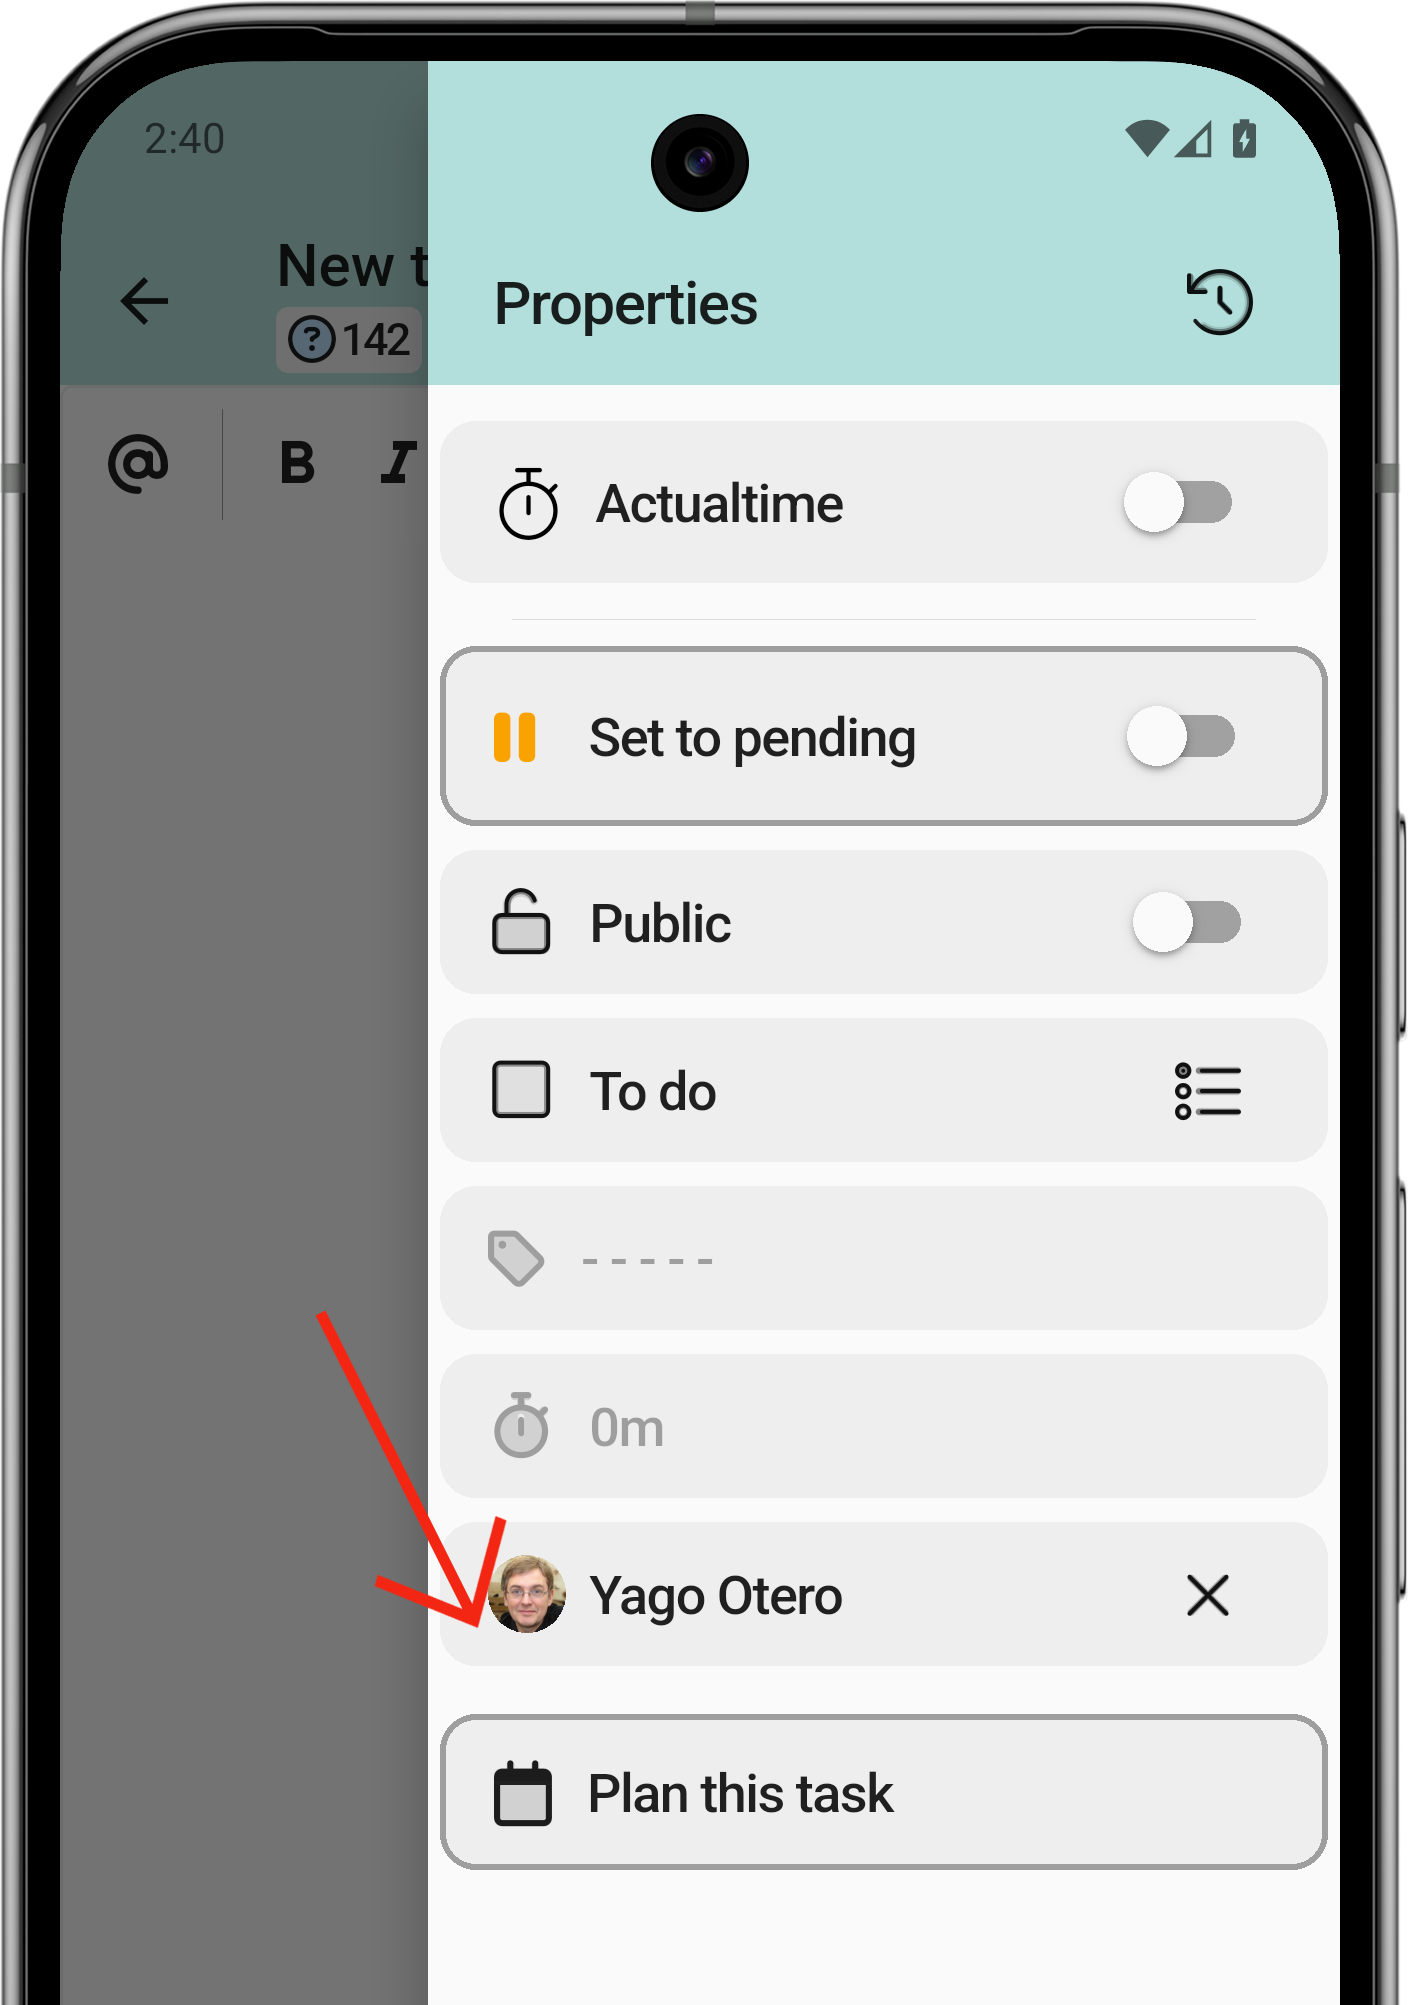
- Put the task on hold.
- Public or private task? Maybe your client is not interested in seeing that information.
- Mark the task as done.
- Task category.
- Task duration.
- Assigned technician.
- Plan the task.
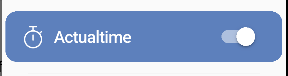
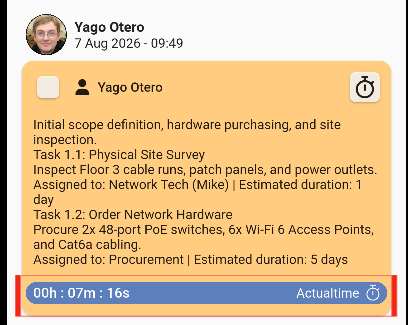
1.1 Work with an ActualTime
La primera opción de todas será la que nos ayude a contar el tiempo transcurrido desde que enviamos la tarea hasta que la pausamos, para contar el tiempo.
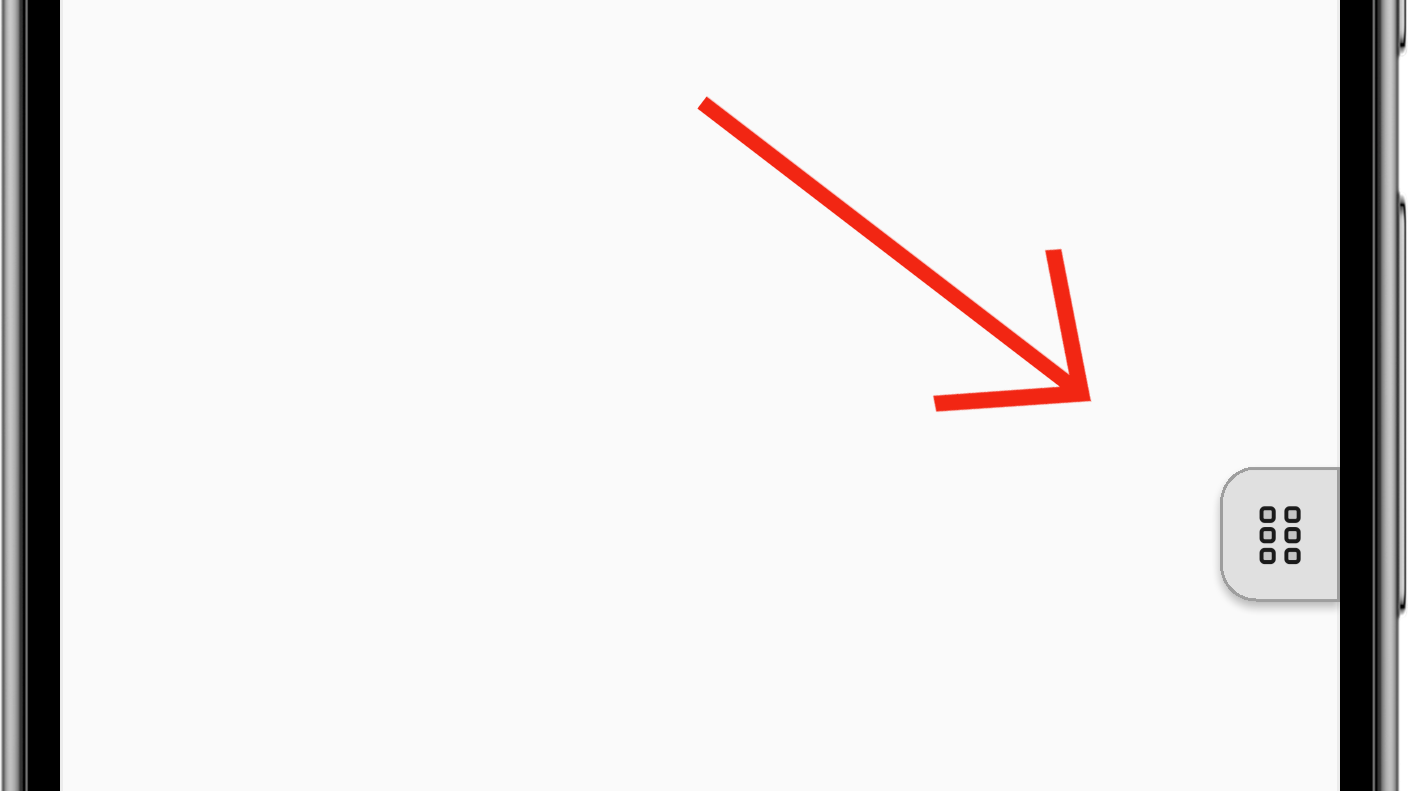
Si estás en otra pantalla pero pulsas encima te moverá automáticamente a ese punto

1.1 Add a planned task (II)
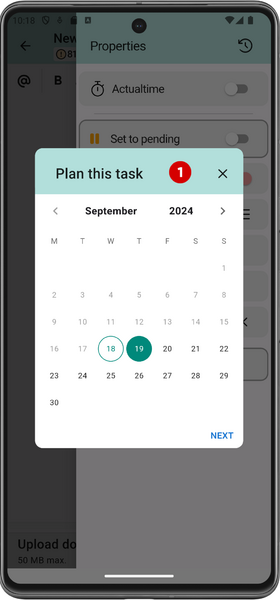
A task can be planned so that, later on, the technician in charge knows what they have to do and can do their job successfully. Users must select a day from the calendar to perform the task.
4. Select the start time
5. Select the task duration
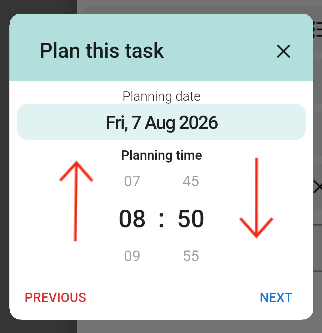
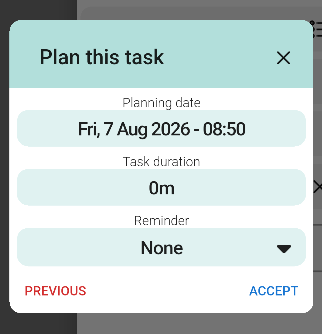
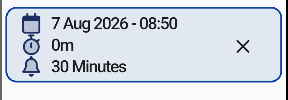
Once you have completed the planning, the information will be displayed as shown here:
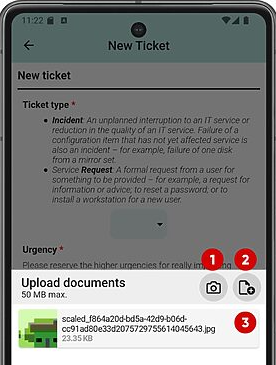
1.3. Upload documents
One of the most powerful features of the application is its integration with your smartphone's native functions: you can upload photos directly from your gallery or take them on the spot.
Multiple files can be selected at once or one at a time. Once the first file is selected, the same screen remains open in case you need to select more files.
- Open camera.
- Local files or other sources.
- Files already selected.