
5. Usage

5.1 Marking an environment with a preset
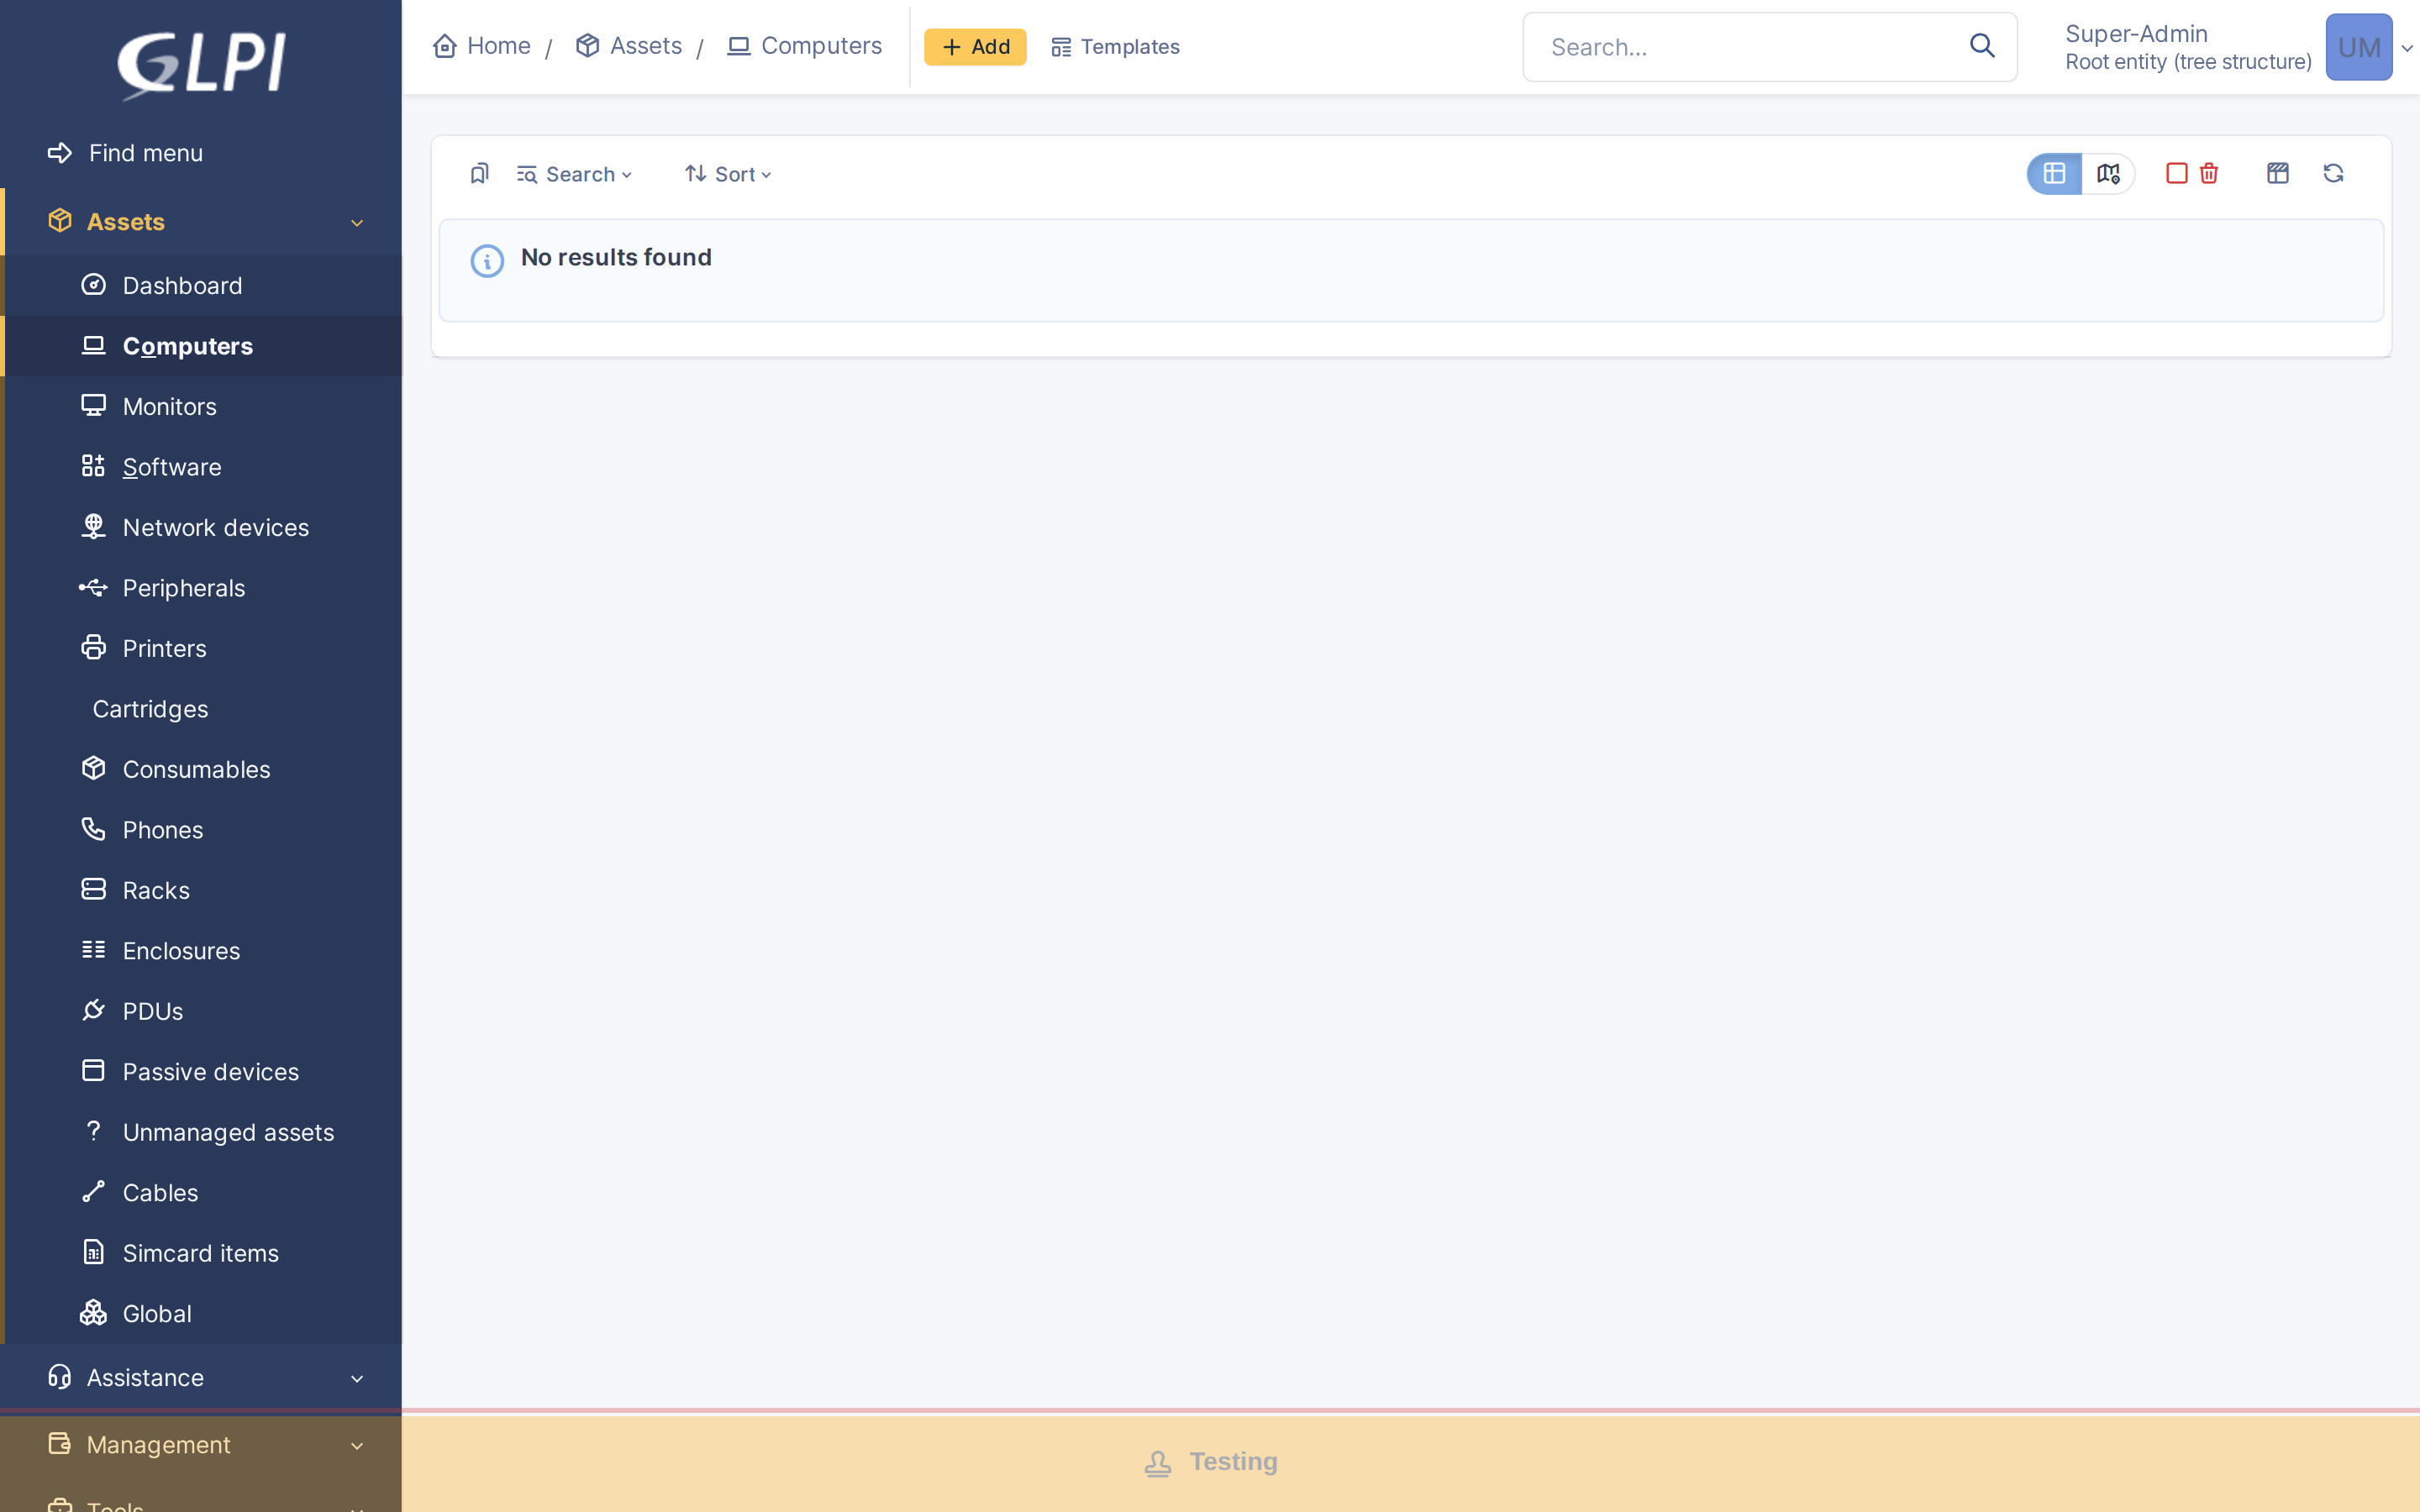
The three presets cover the usual environments. Each one has a fixed colour that gets warmer the closer the environment is to production: green for Development, orange for Testing and red for Preproduction. Production is deliberately not a preset, so red stays free for a custom label. Every user sees the banner on every page, in the standard and the simplified interface.
5.1.1 Development
Choose Development under Environment and save. The banner is green and says "Development". With Banner text color on Automatic, the lettering is black.
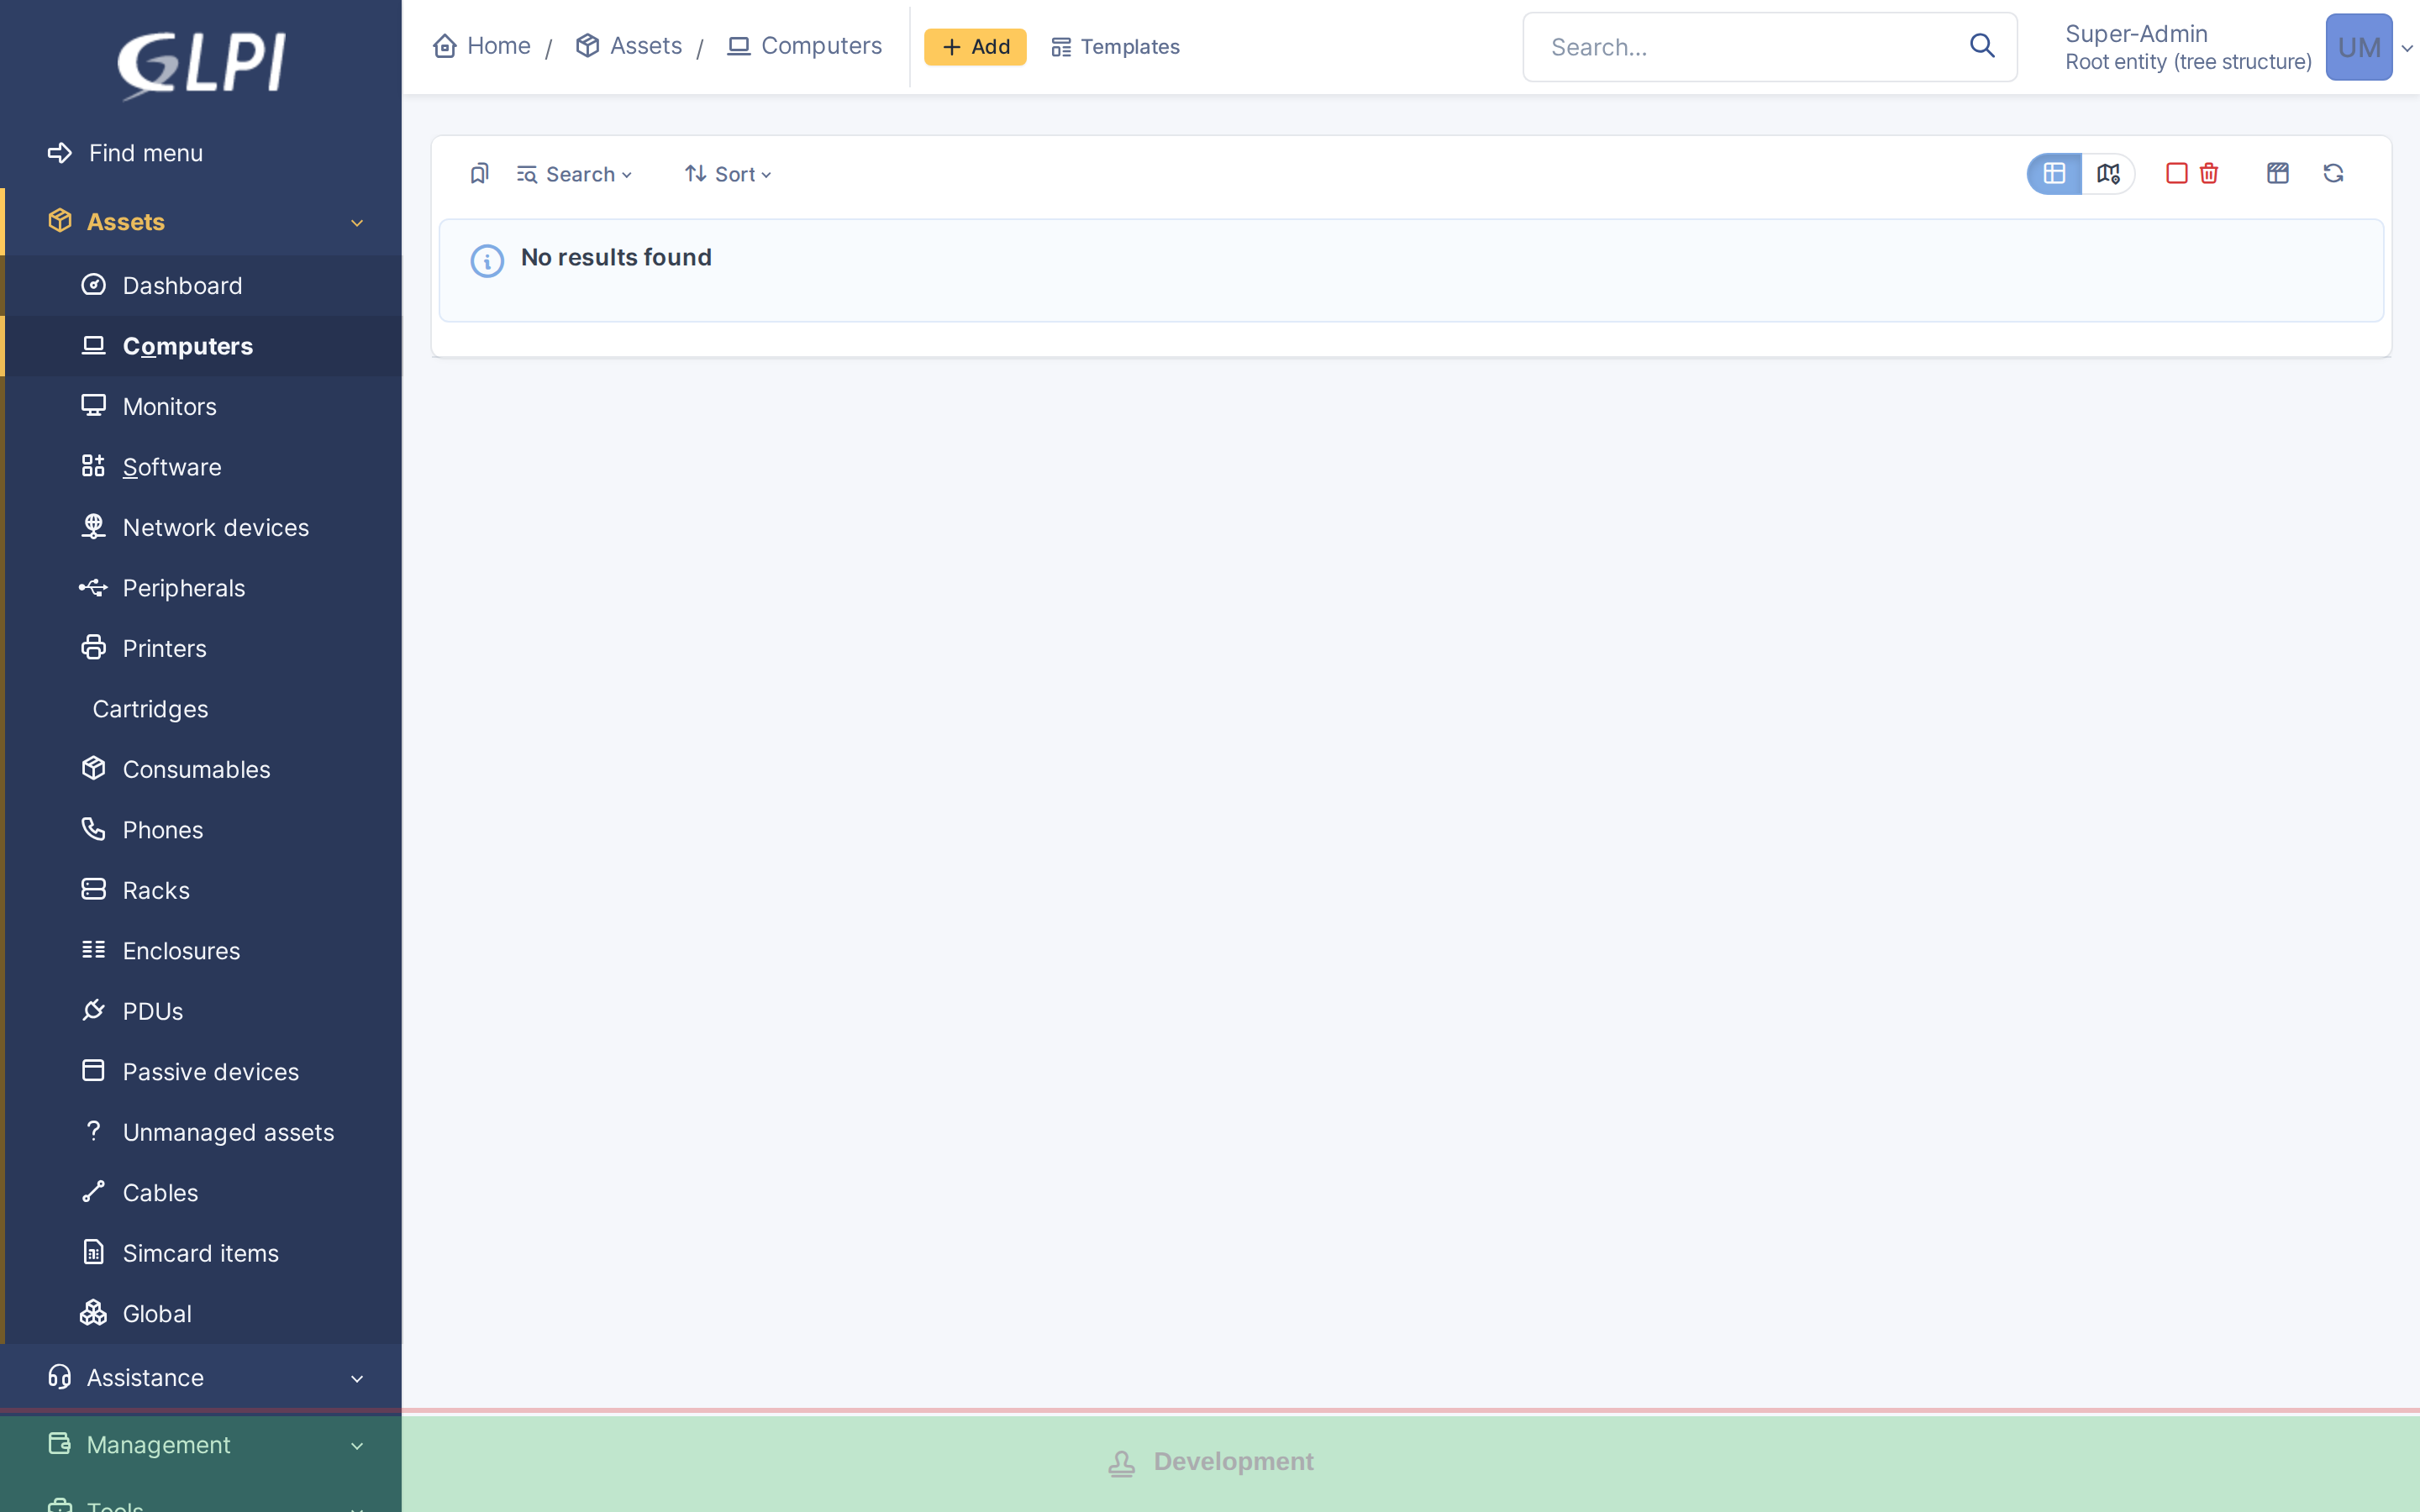
The Development banner
5.1.2 Testing
Choose Testing. The banner is orange and says "Testing", again with black lettering.
5.1.3 Preproduction
Choose Preproduction. The banner is red and says "Preproduction". On this deeper colour Automatic switches to white lettering so the text stays easy to read. Choose White or Black under Banner text color if you prefer to set it yourself.
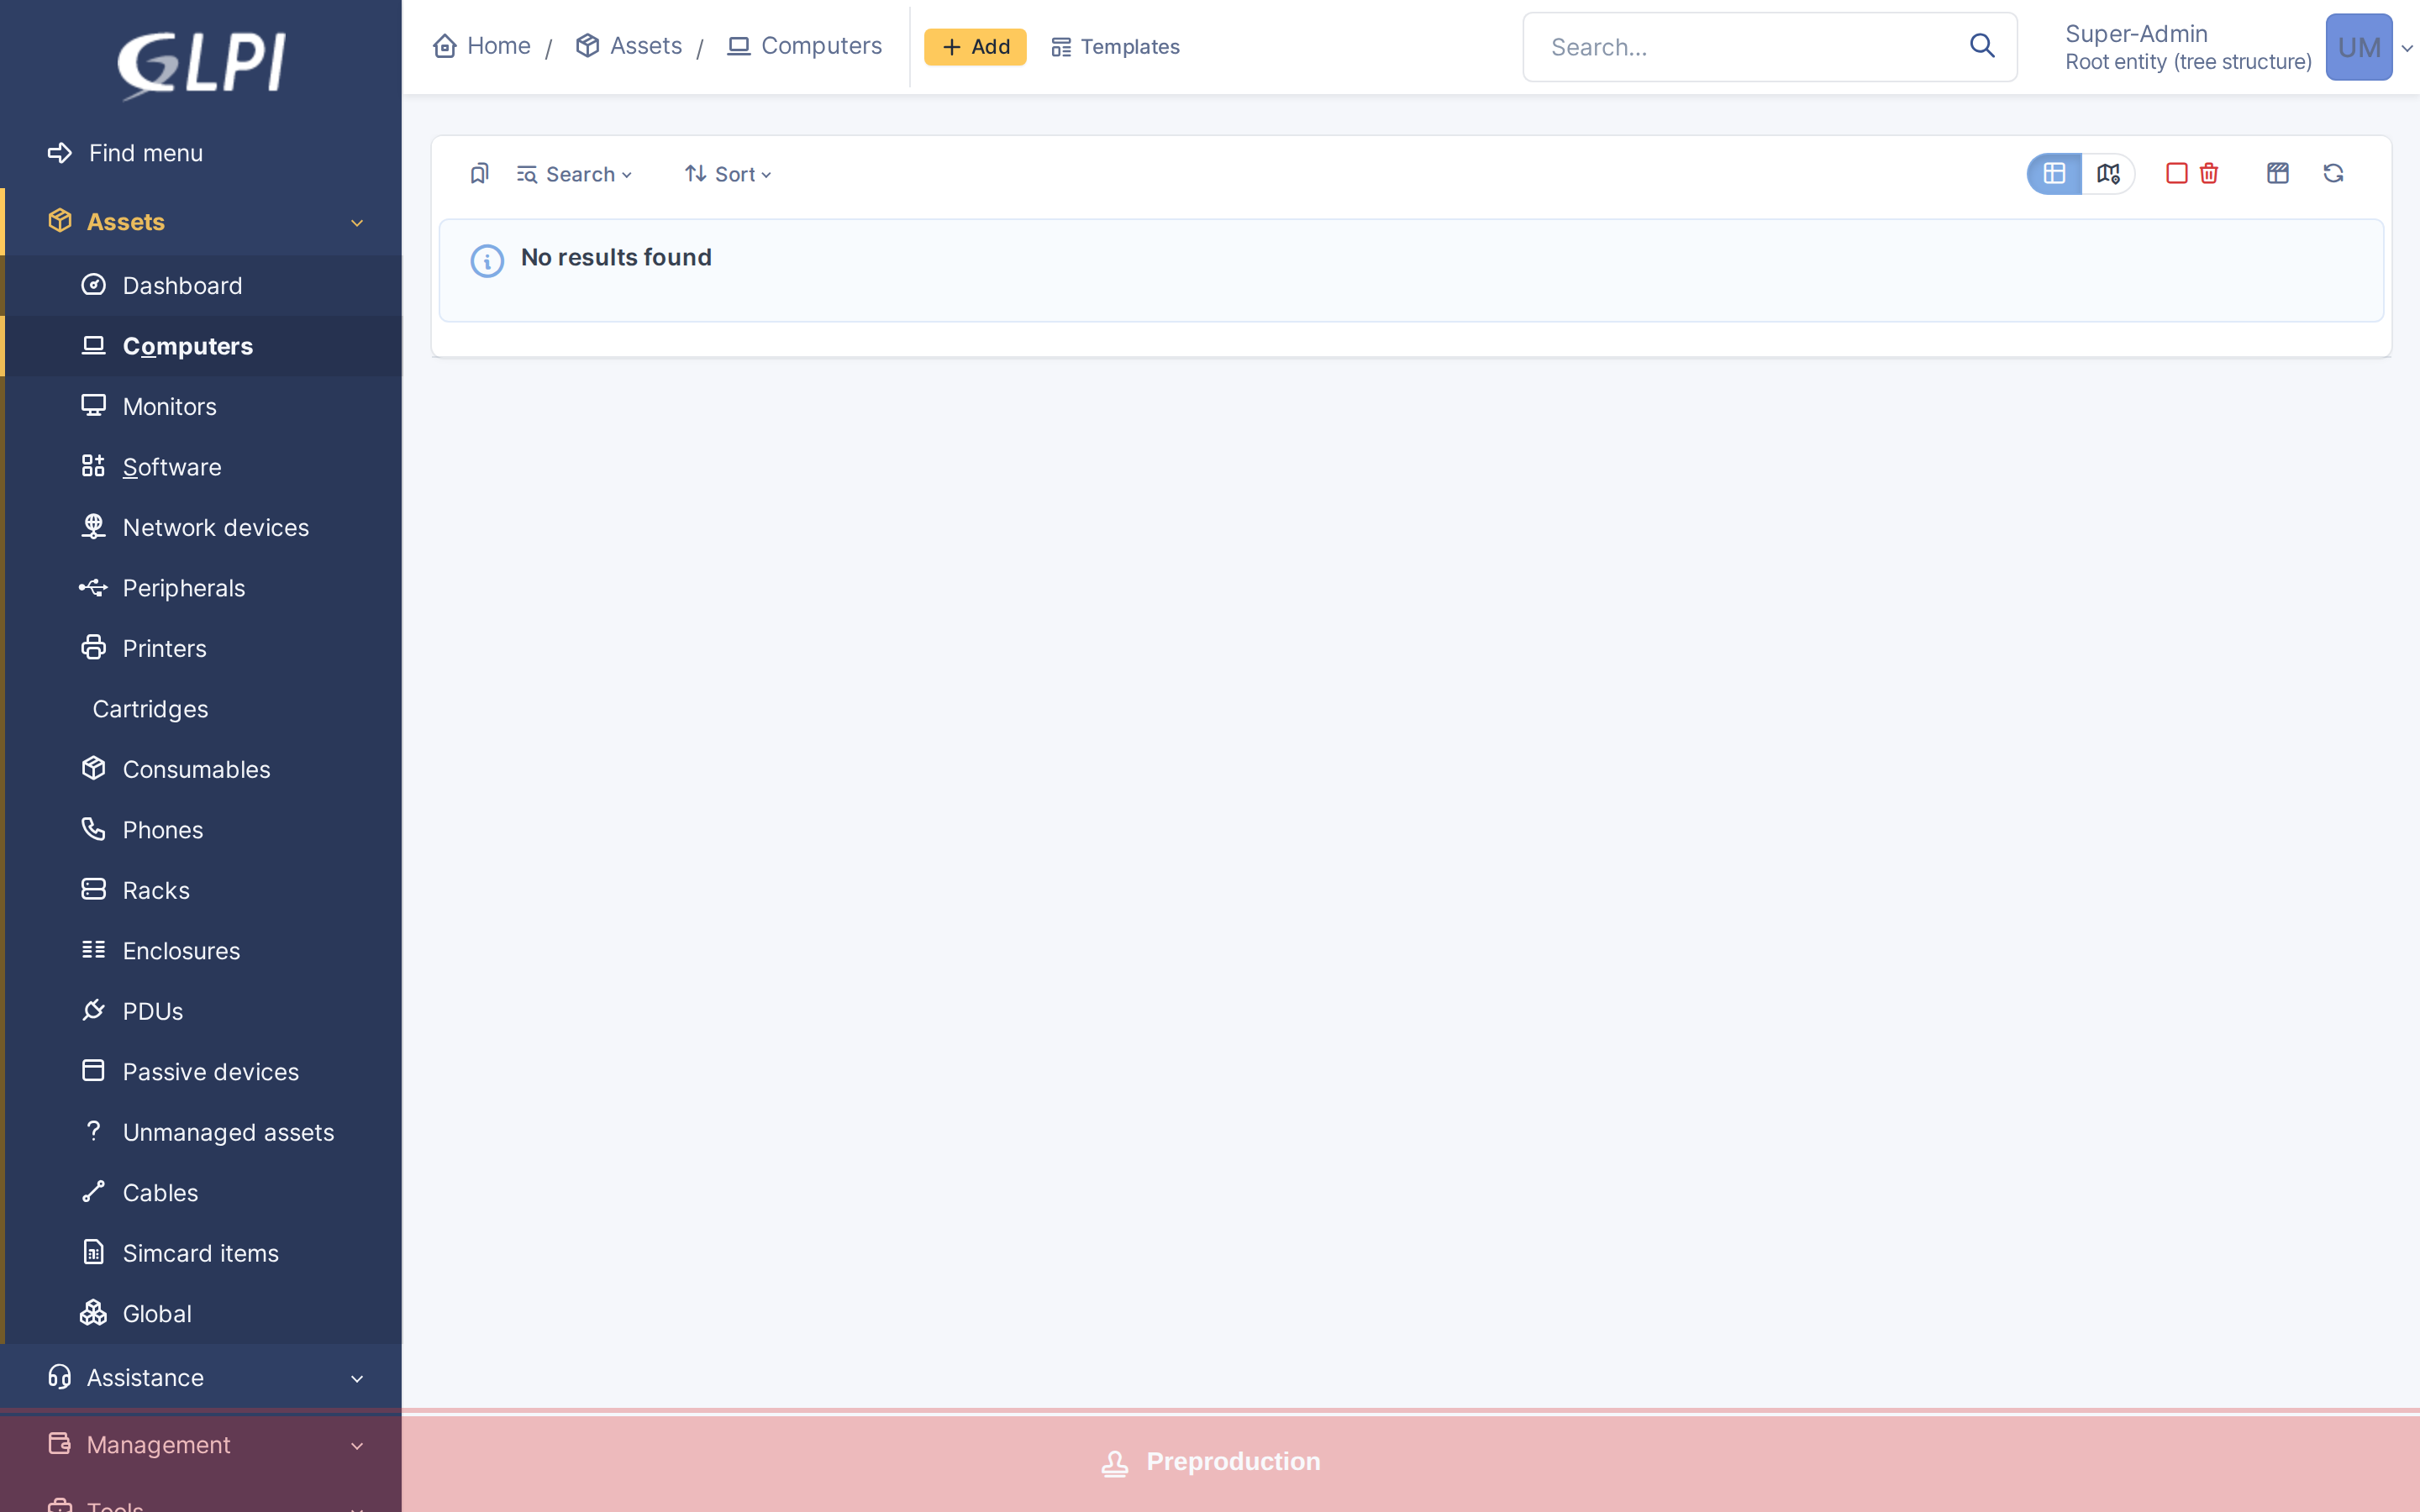
The Preproduction banner
Note: A preset always shows its own name. To write your own wording, or to show the entity or the signed-in user, use Custom — see the next section.
5.2 Writing a custom label
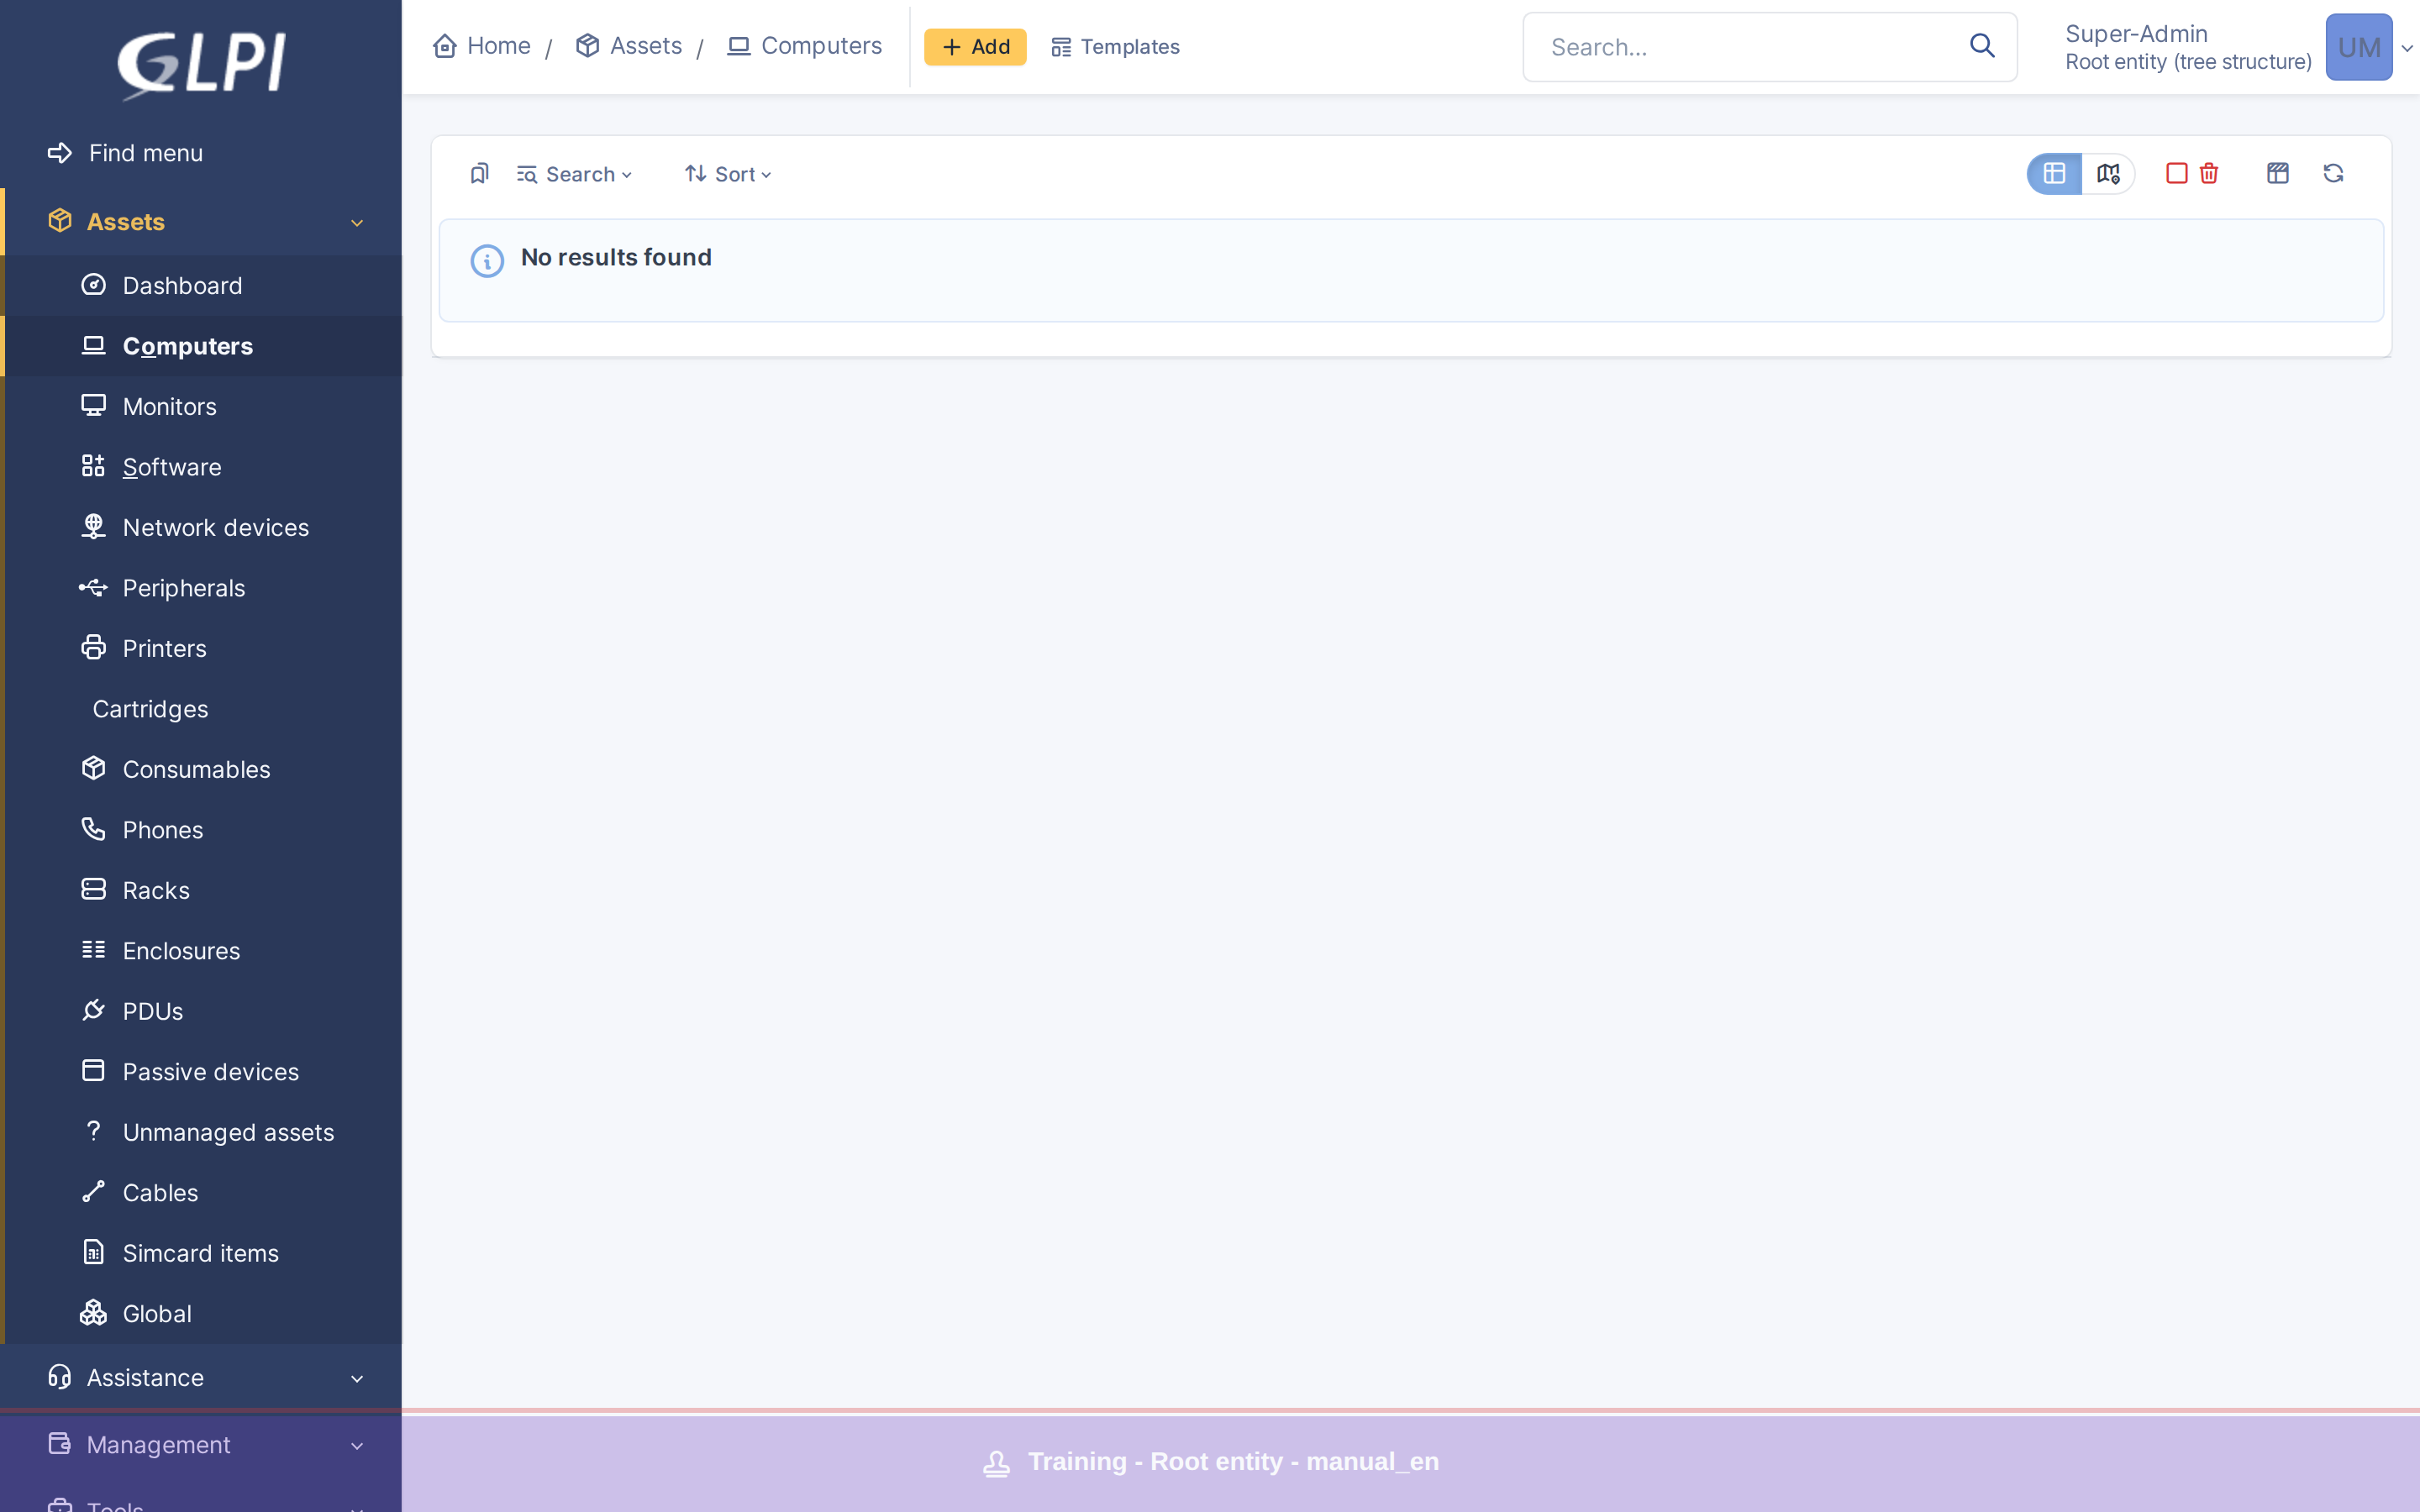
Choose Custom when the presets do not fit: you decide the wording, the colour, and whether the label also tells people where and who they are.
5.2.1 Write the text and pick a colour
With Custom selected, type the label in Text (up to 500 characters, in any language) and pick a Stamp color. The text is shown exactly as typed.
Placeholders are replaced with live information every time a page is drawn:
{entity}— the complete name of the current entity.{username}— the login name of the signed-in user.{url}— the address of the instance, such astesting.example.com:8443/glpi.{environment}— the word "Custom".
On pages shown before sign-in there is no entity or user yet, so {entity} and {username} are empty there.
5.2.2 Show it as a watermark
Change Type to Watermark only to show the label as a large, faint mark over the page instead of a bar. Use Opacity (%), Font size (px), Rotation (degrees) and Position to place it where it is noticeable without getting in the way. Banner and watermark shows both.
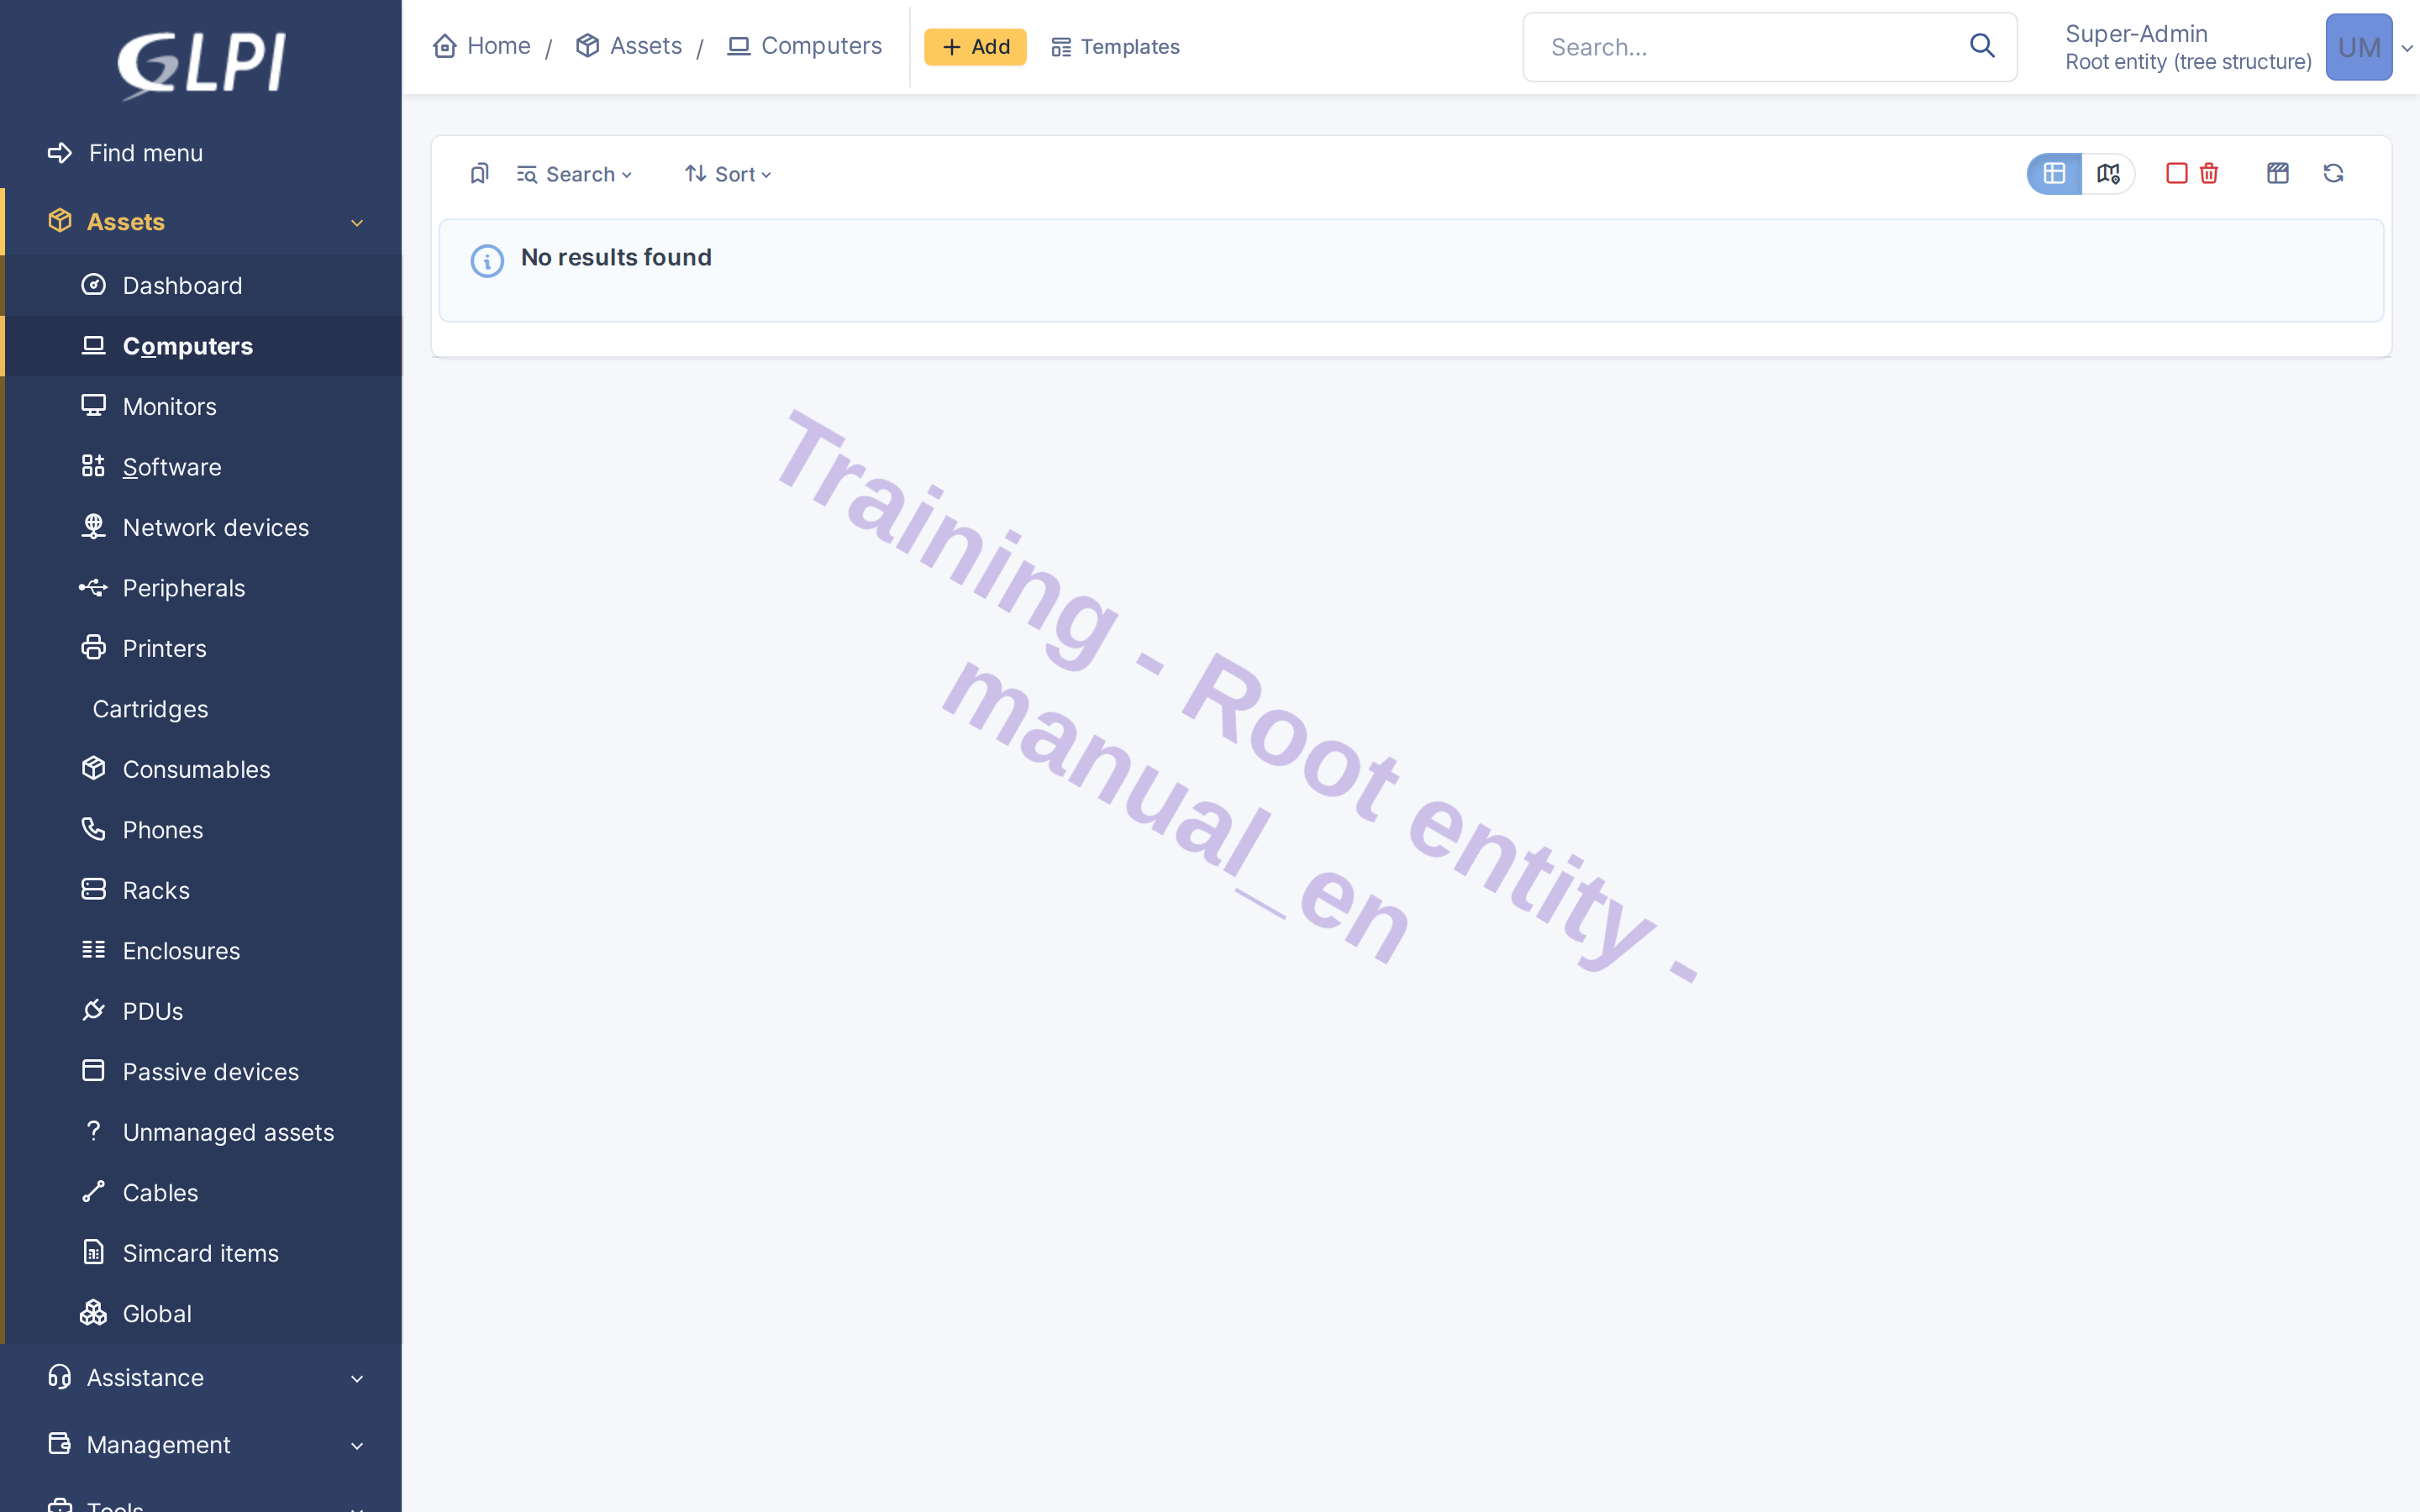
The same label as a centred watermark
5.3 The stamp on the login page
The stamp is not only for signed-in users. By default it also appears on the pages a visitor sees before signing in, so the wrong instance is noticed before anyone types a password. You can turn that off.
5.3.1 Visitors see the stamp
With Display on login page on (the default), the stamp appears on the login page and on the forgotten-password and password-reset pages. Because nobody is signed in yet, a custom text can only use the words you typed and {url}: {entity} and {username} are empty here.
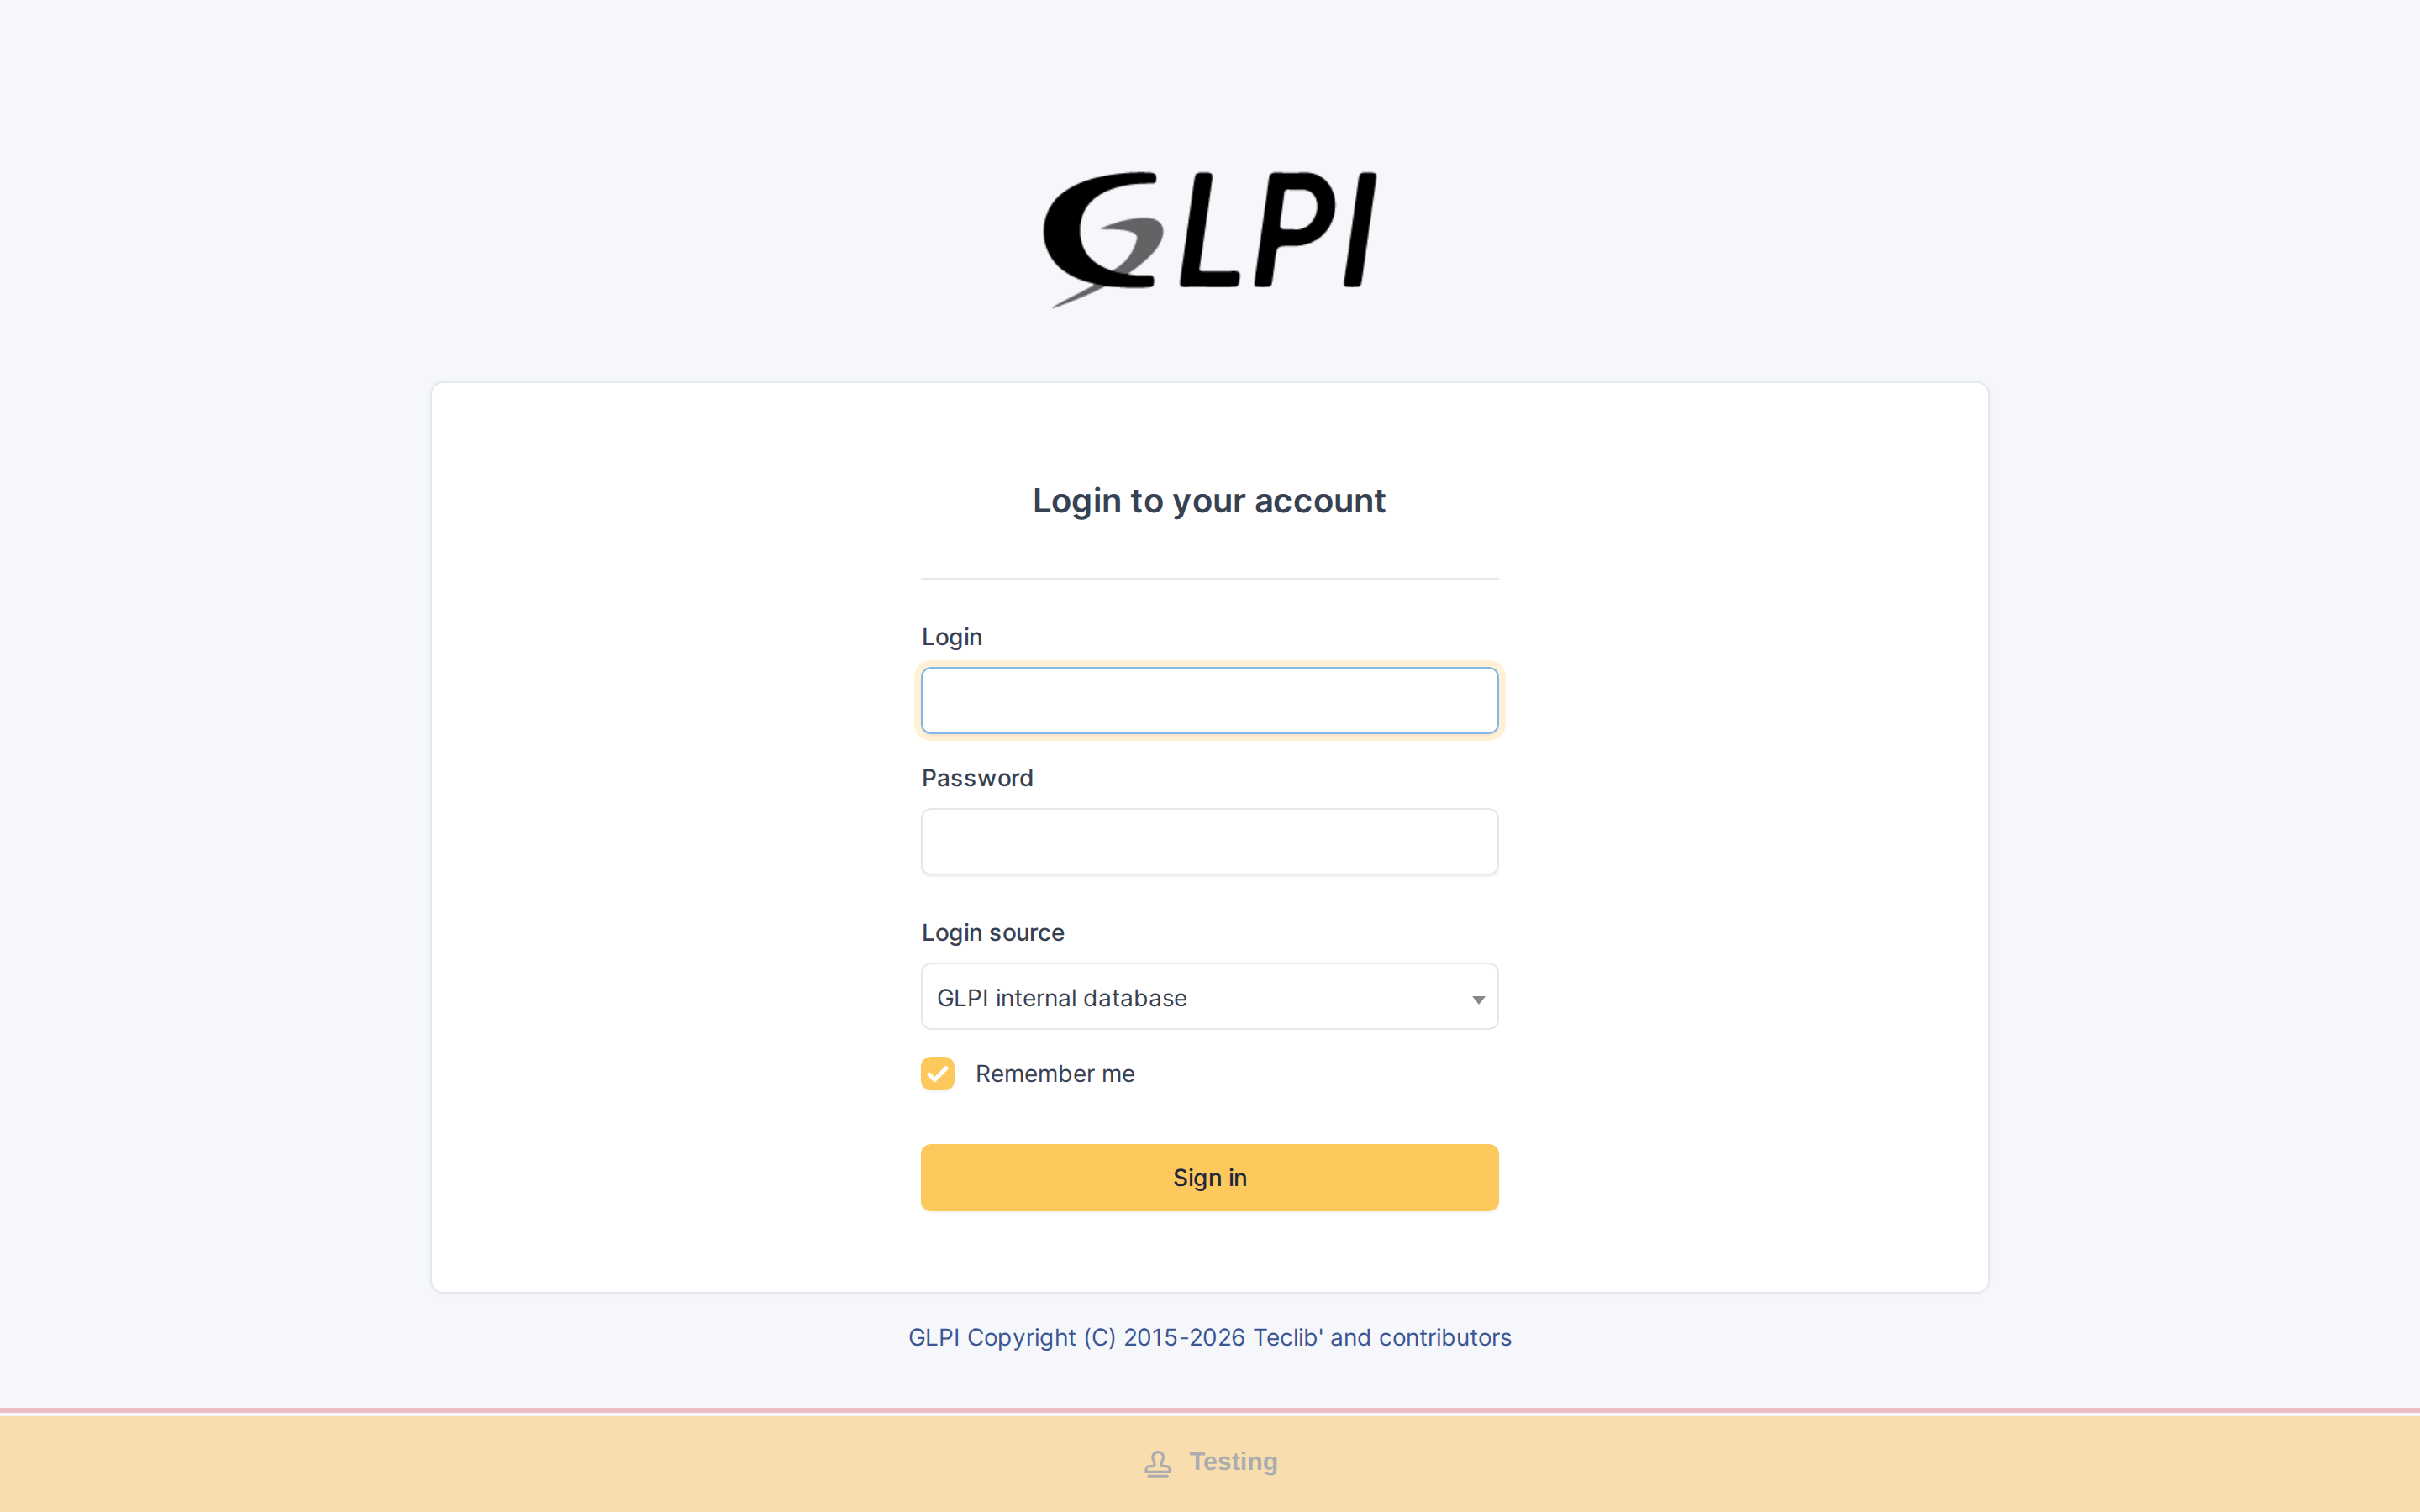
The login page with the Testing banner
5.3.2 Hide it from visitors
Switch Display on login page off under Display and save. Signed-in users still see the stamp everywhere; visitors who are not signed in see none, including on error pages and on the public FAQ.
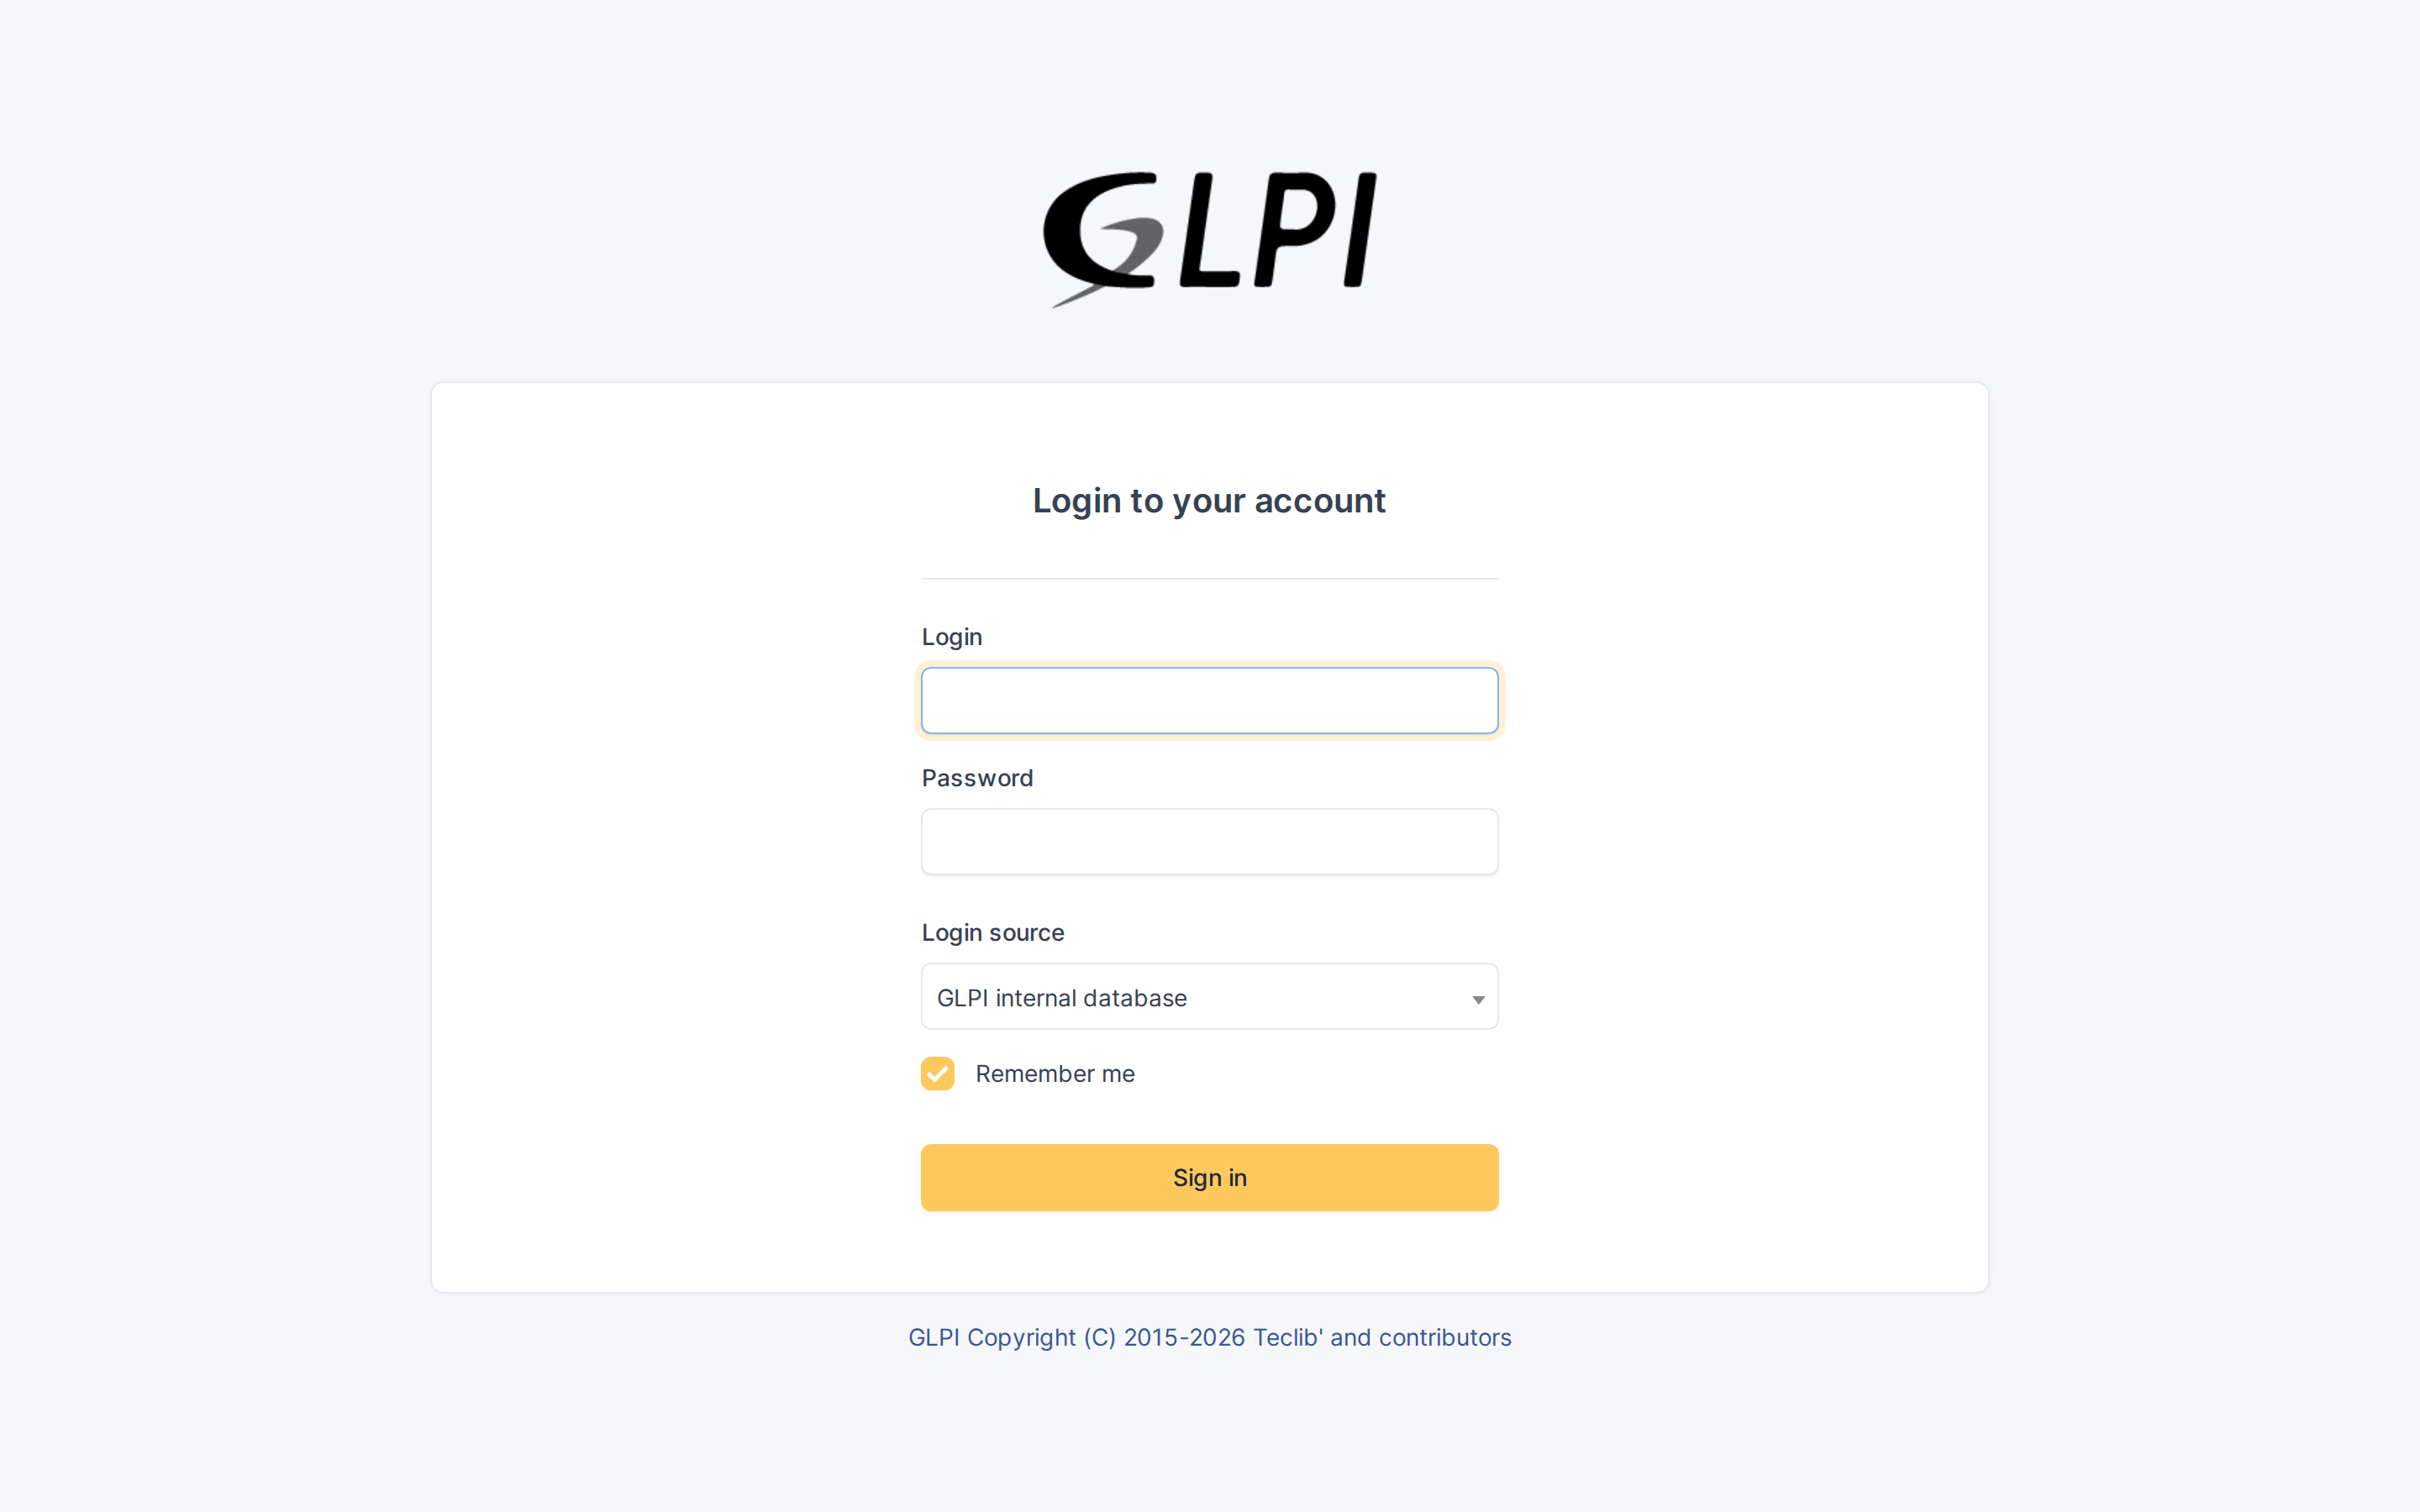
With Display on login page off, the login page has no stamp
Generated for Stamp 1.0.0-beta3 on GLPI 11.0.12 — 2026-11-10.