Create a Followup
ThisFollow-ups are created from inside a ticket, through the ticket actions menu. Each option is oneexplained ofbelow, the most complex systems in the application, and in GLPI in general. Here I will show you how to do everything in this section correctly. These are all the options we have; we will startstarting with the follow-up:
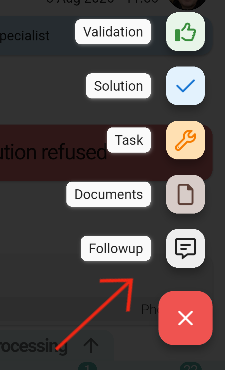
1. Create a follow-up
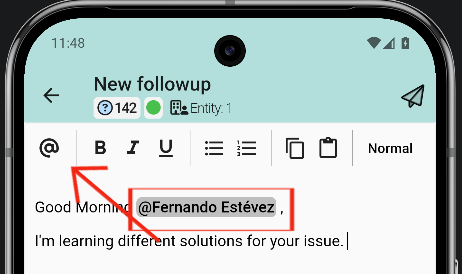
OnceThe youcreator enter the creator,opens a text editor will open where youthe canfollow-up writeis and explainwritten in detaildetail, what you need. You havewith options such as numbered or bulleted lists, copy, paste,copy and more.paste.
1.1 Mention people
An interesting option is that youColleagues can mentionbe yourmentioned colleagues usingwith the @ symbol. The steps are the following:
- Tap the @ symbol.
- Search for
yourthe colleague in the list.
1.2 Additional options for the follow-up
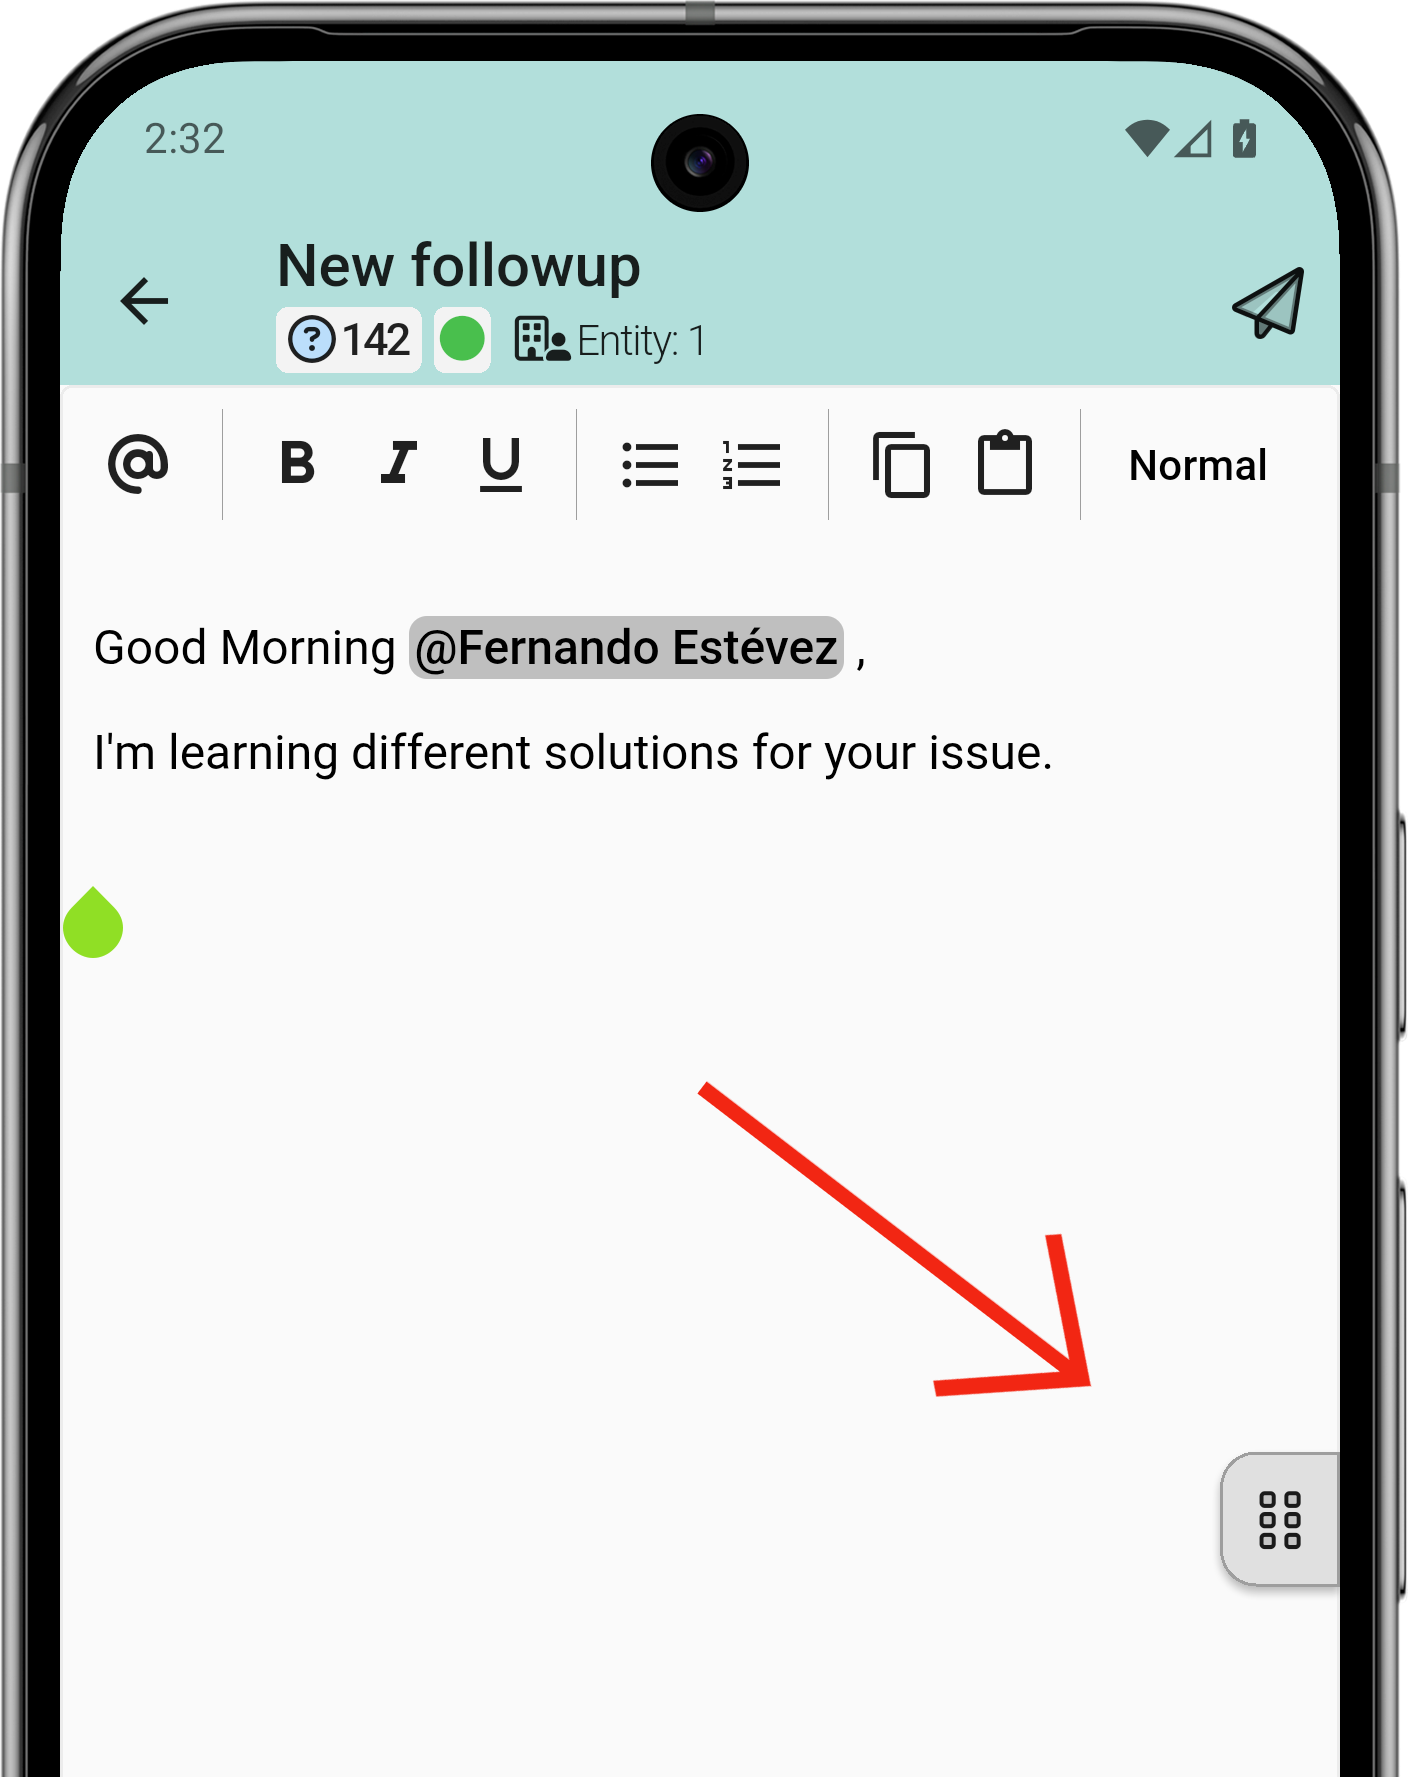
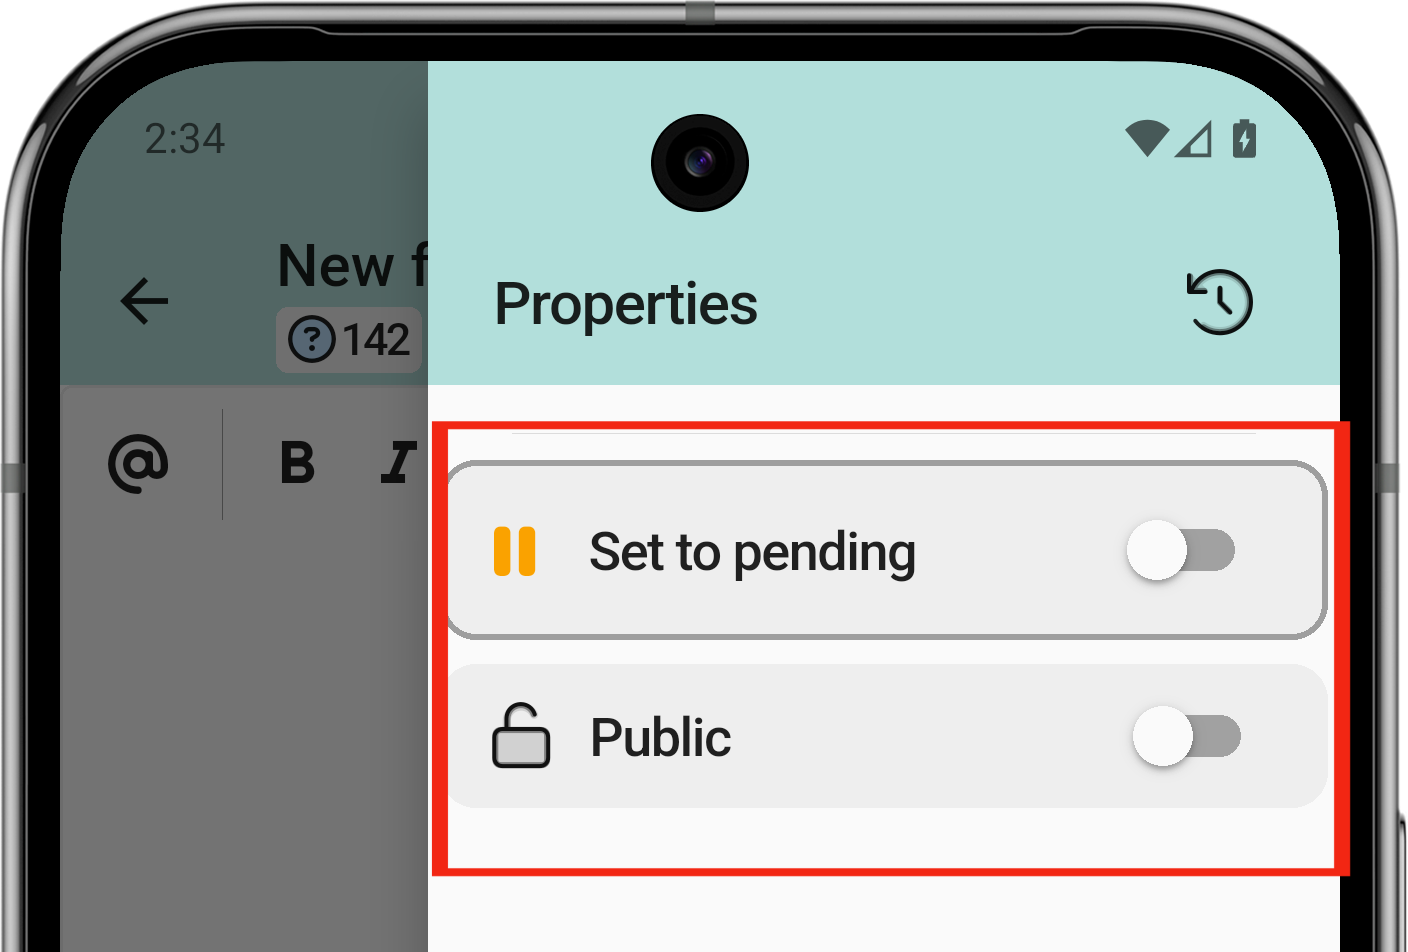
The follow-up can have two additional options: mark the ticket as on hold or as public. To mark these options, go to the hamburger menu on the right.
2. Upload documents
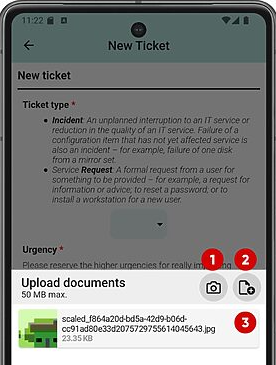
One of the most powerful features of theThe application is its integrationintegrates with yourthe smartphone's native functions: youphotos can uploadbe photosuploaded directly from yourthe gallery or take themtaken on the spot.
Multiple files can be selected at once or one at a time. Once the first file is selected, the same screen remains open in case you need to select more files.
- Open camera.
- Local files or other sources.
- Files already selected.