
Daily use — technician (mobile app)
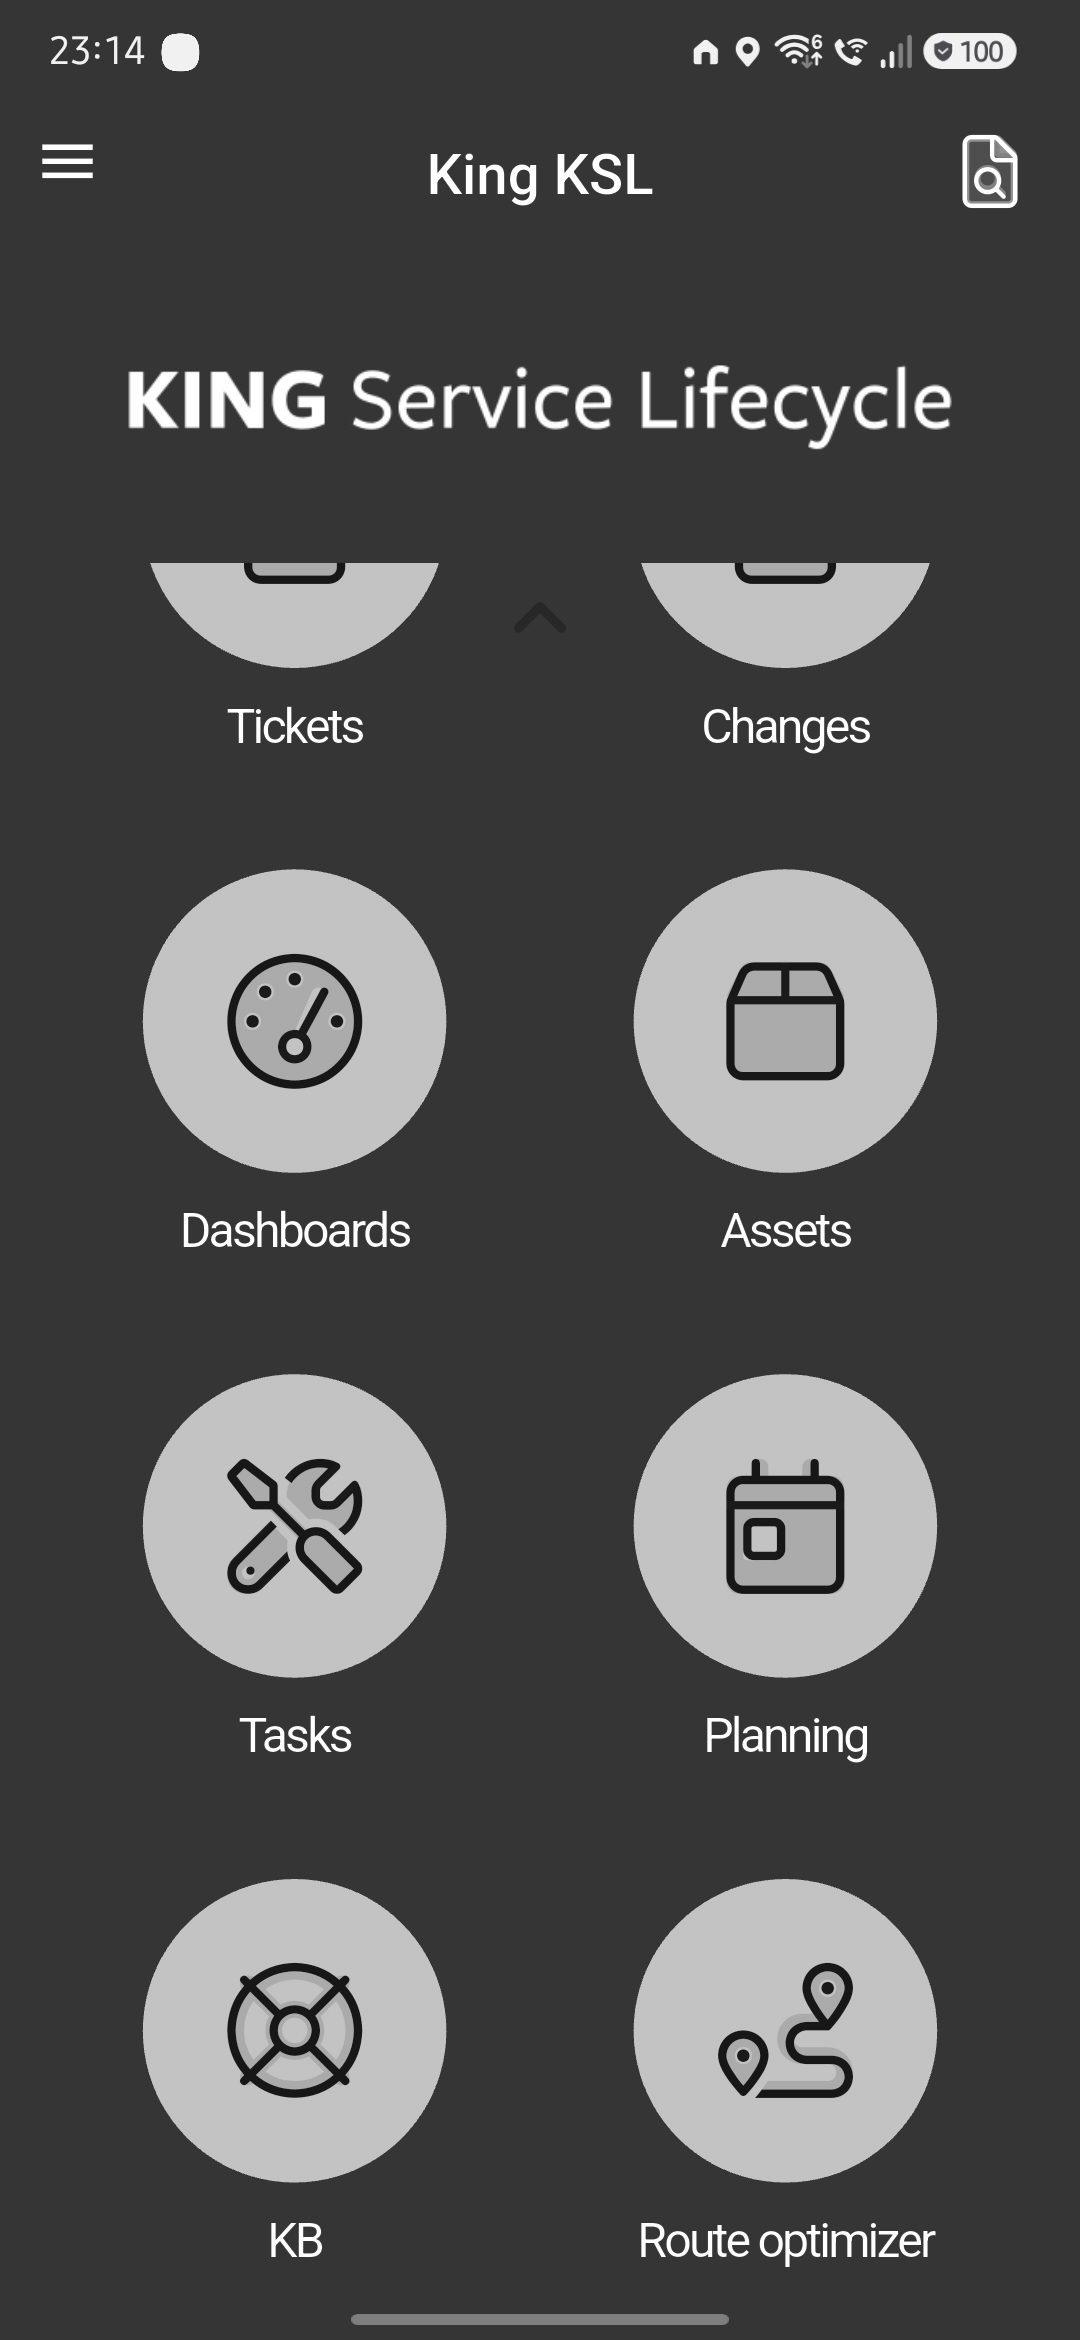
6.1 Open the Waypoint section
placeholderOnce the plugin is installed and the technician's profile has the right permissions, a Waypoint entry appears in the app's main menu.
6.2 Create the route
If there is no route in progress, the screen shows an empty state. Tap the "+" button to start planning.
A list of eligible tickets opens — those linked to a route and assigned to the technician. Select the ones to visit. When you confirm, the optimal order of stops is calculated automatically based on distance and traffic conditions.
If a particular ticket must be visited first regardless of what the optimiser suggests, long-press it before confirming. A star marks it, and it will be placed as the first stop; the remaining stops are optimised around it.
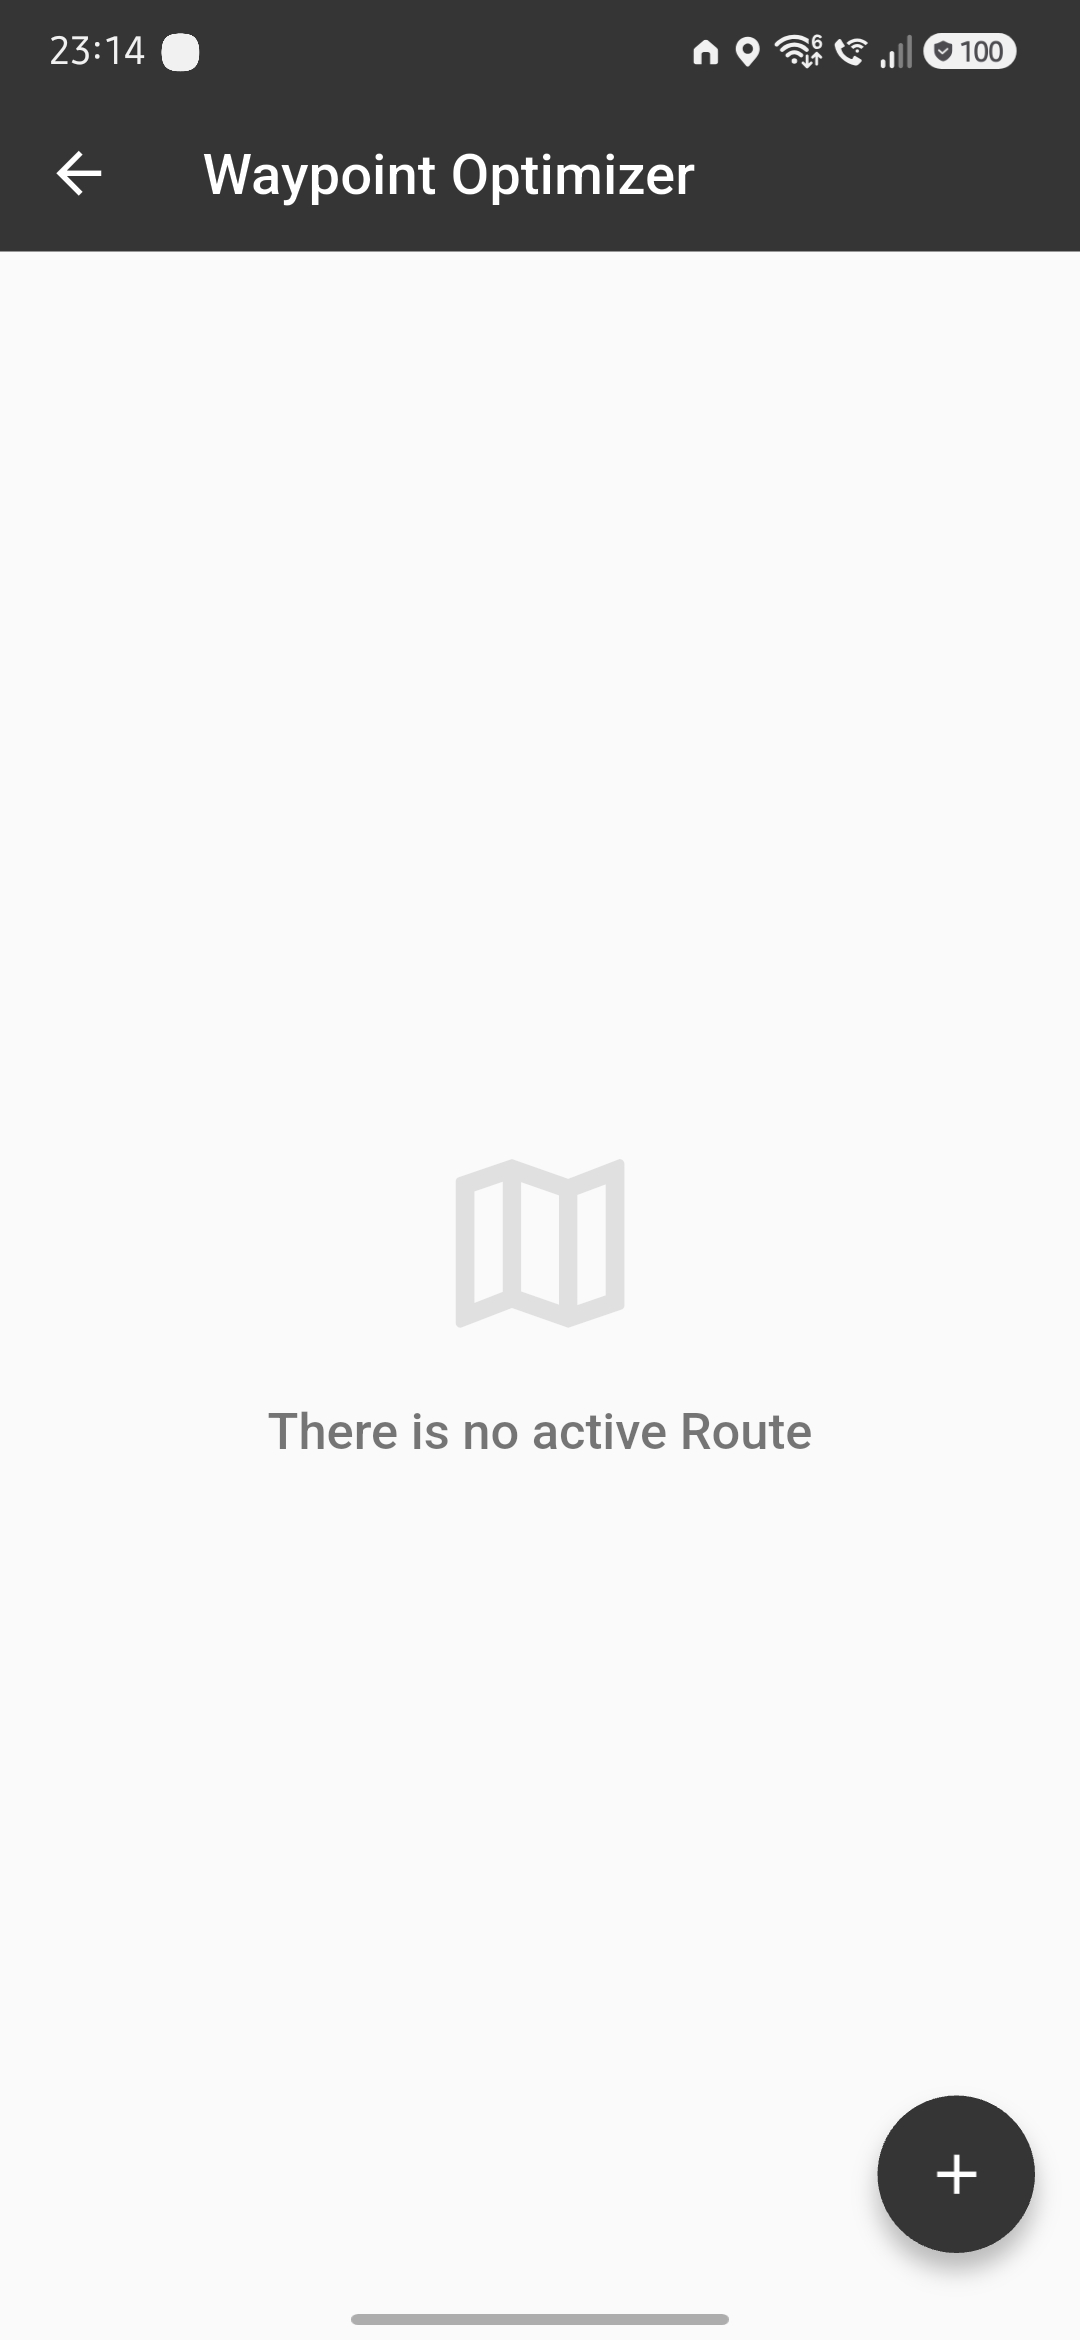
"There is no active Route" — the empty state, with the "+" button to start planning.
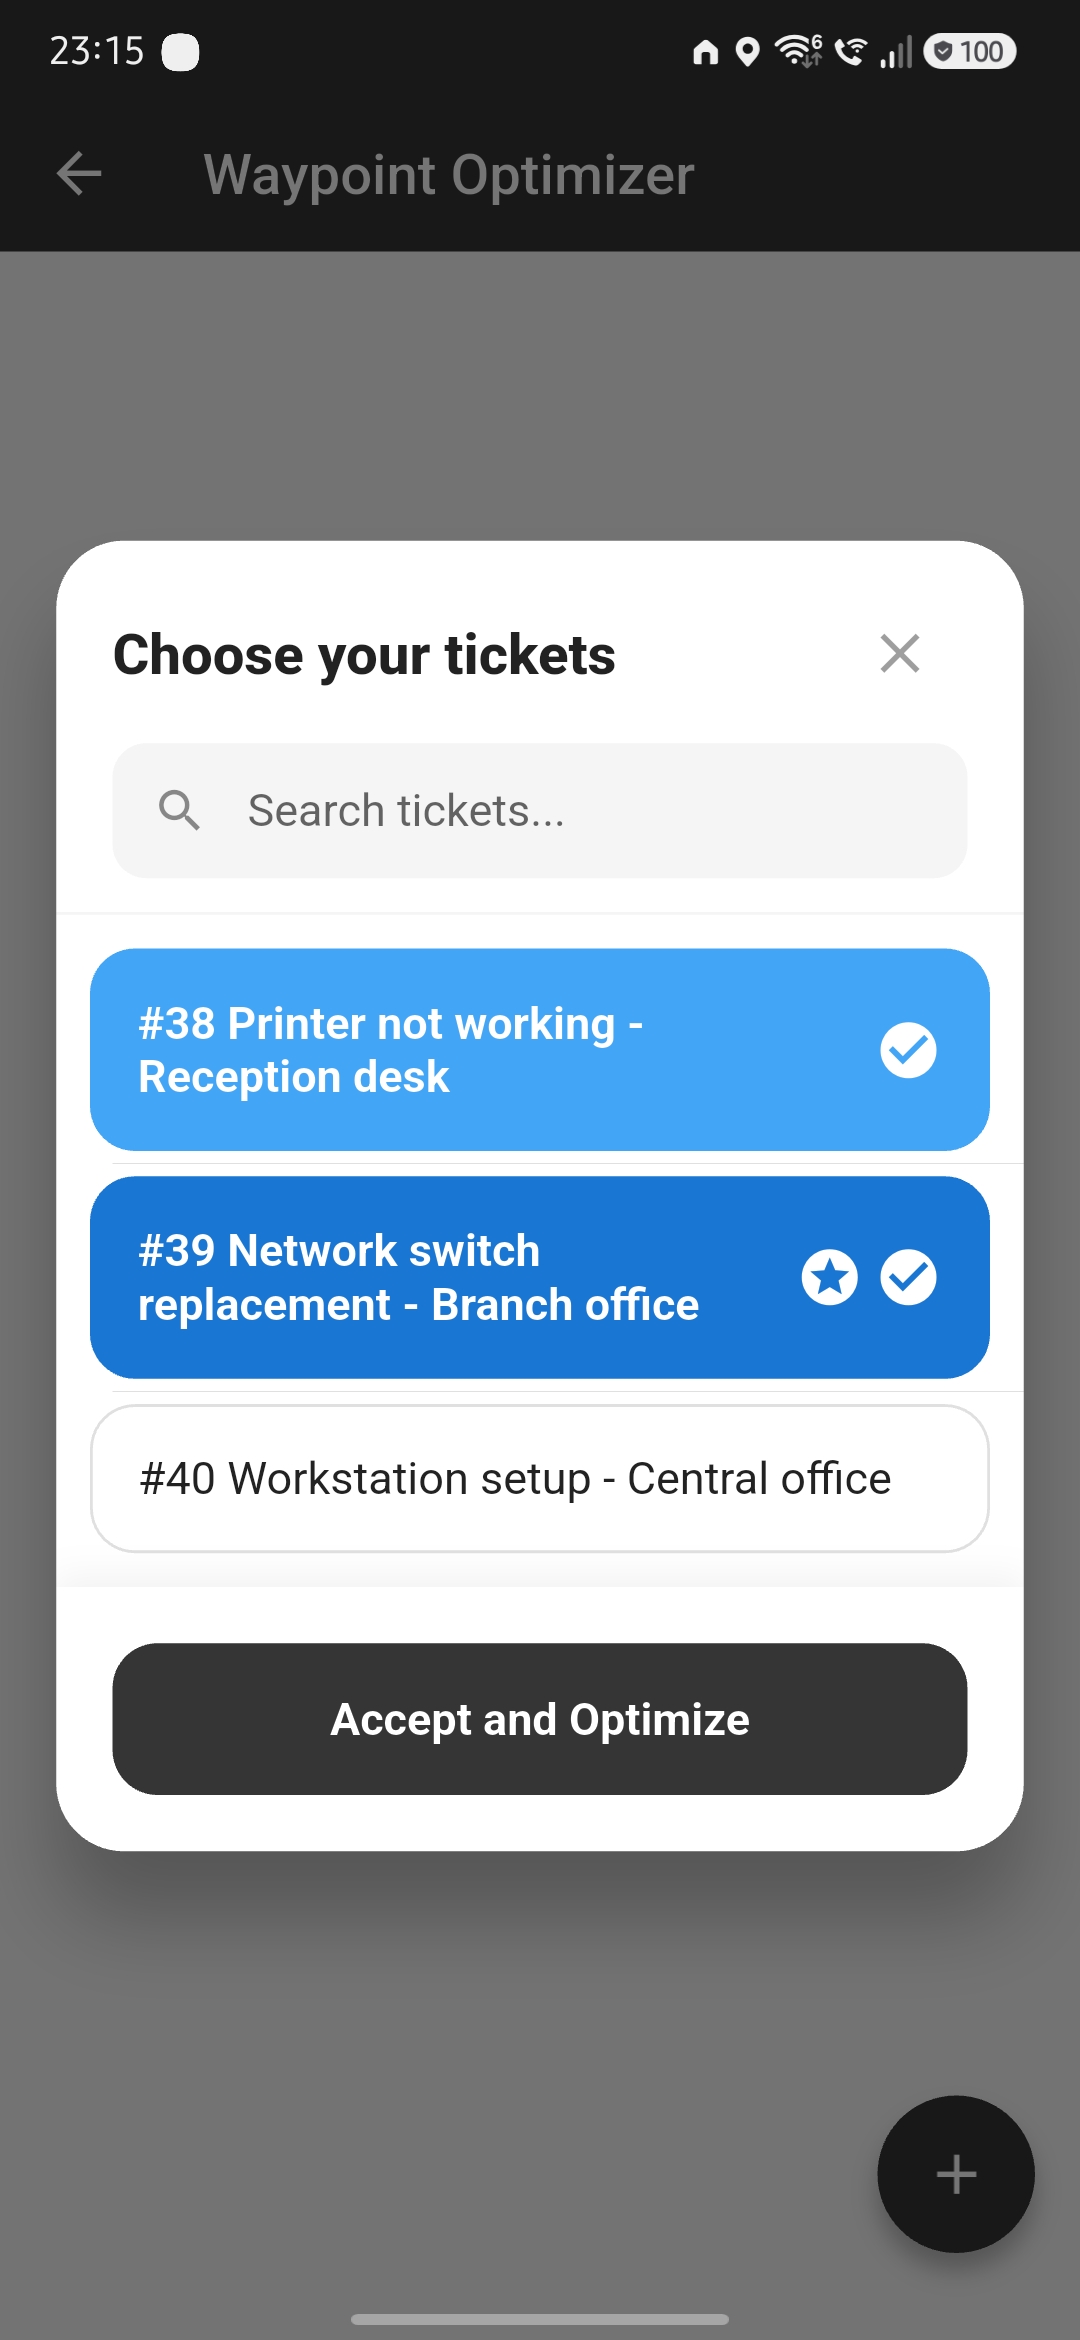
"Choose your tickets" — two tickets selected, #39 additionally marked with the star that forces it as the first stop.
6.3 The route screen
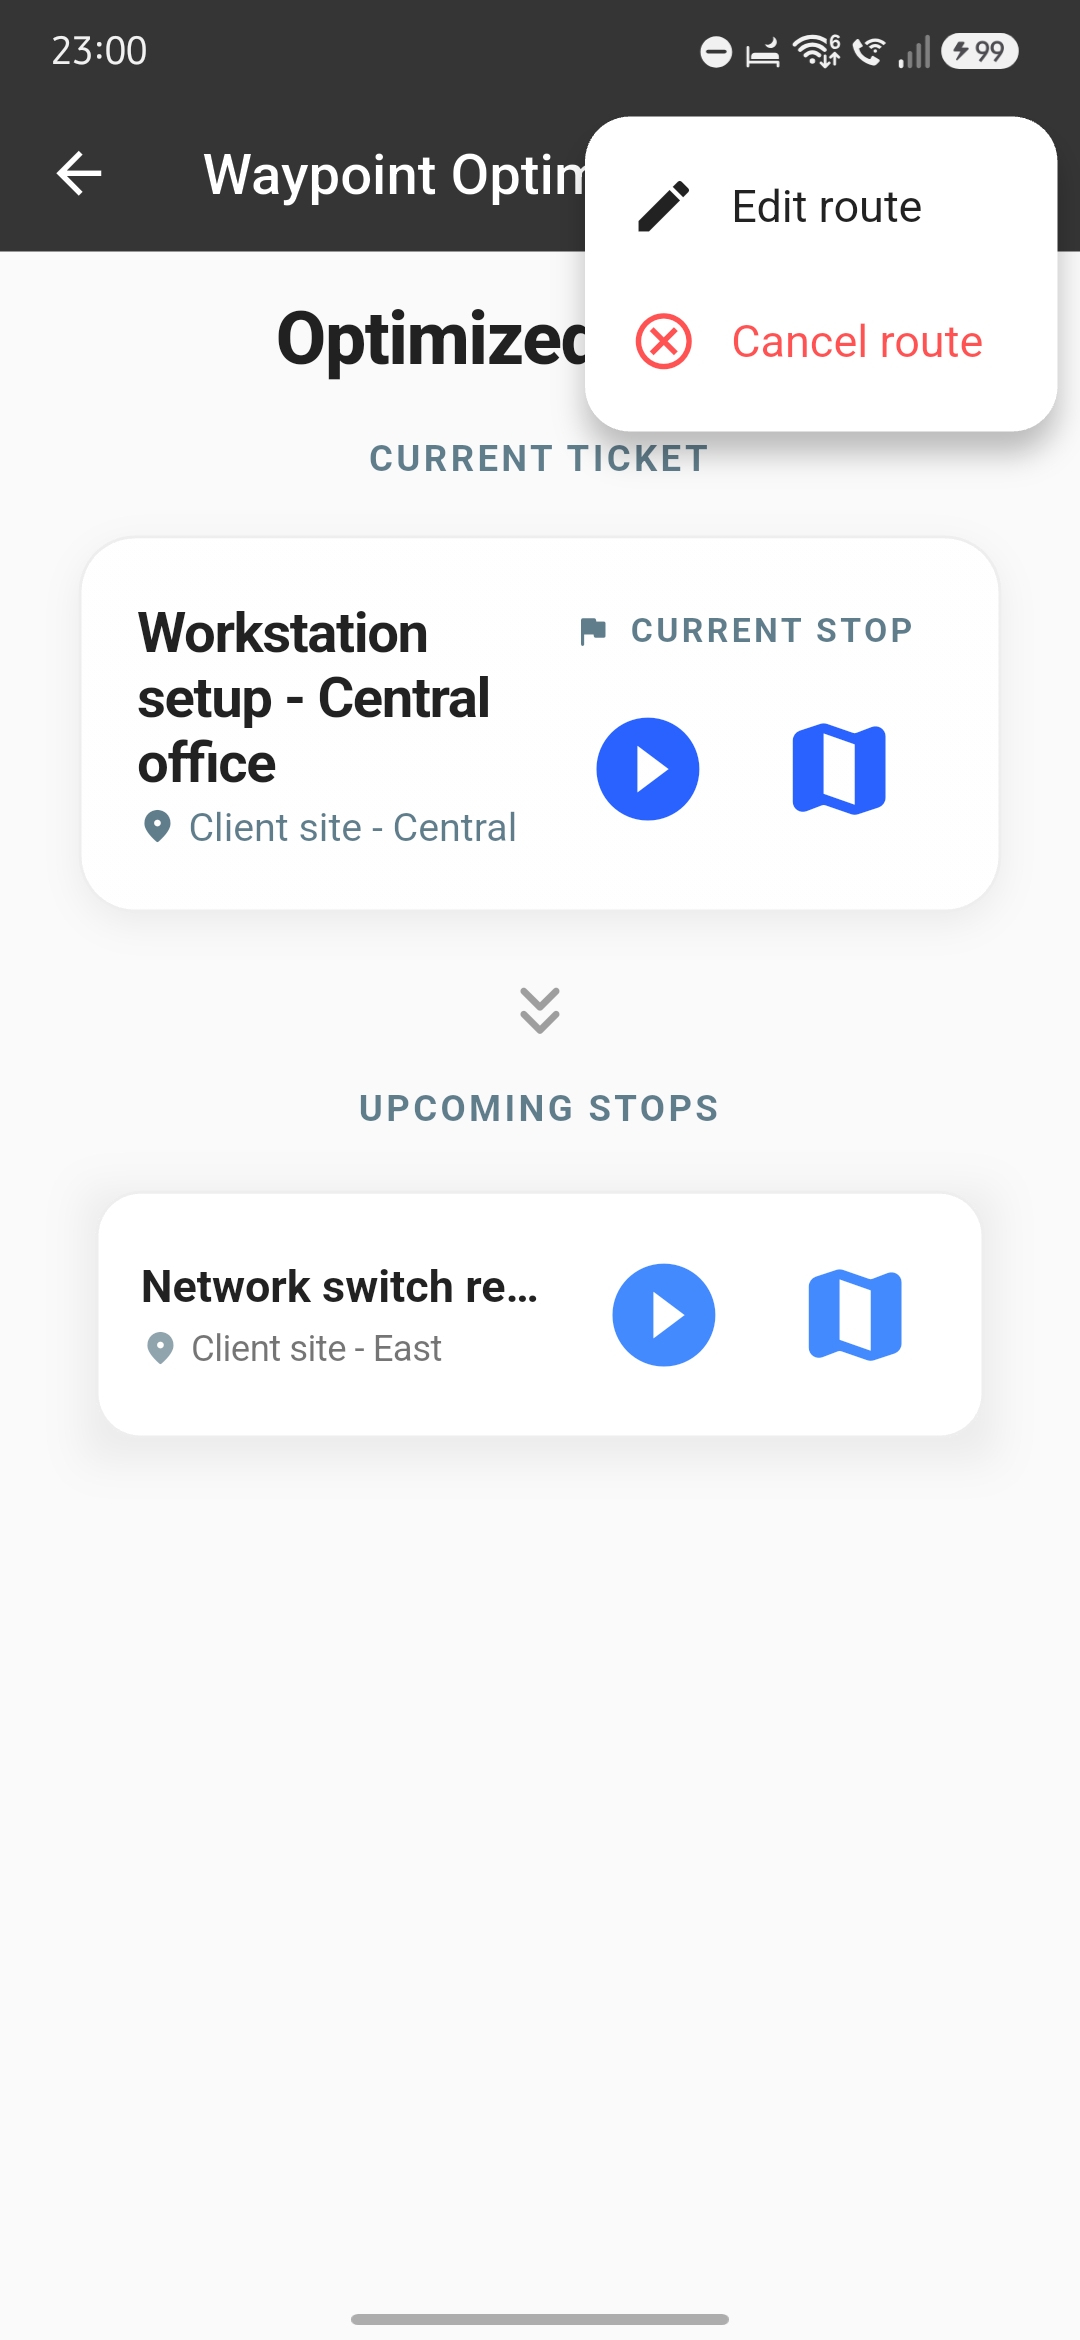
Once created, the route is shown as an ordered list of stops, each with its ticket and location. Each stop offers two buttons:
Tapping the body of a stop opens a summary of the ticket — title, location, status and assigned technician — with a shortcut to open the full ticket without leaving the route.
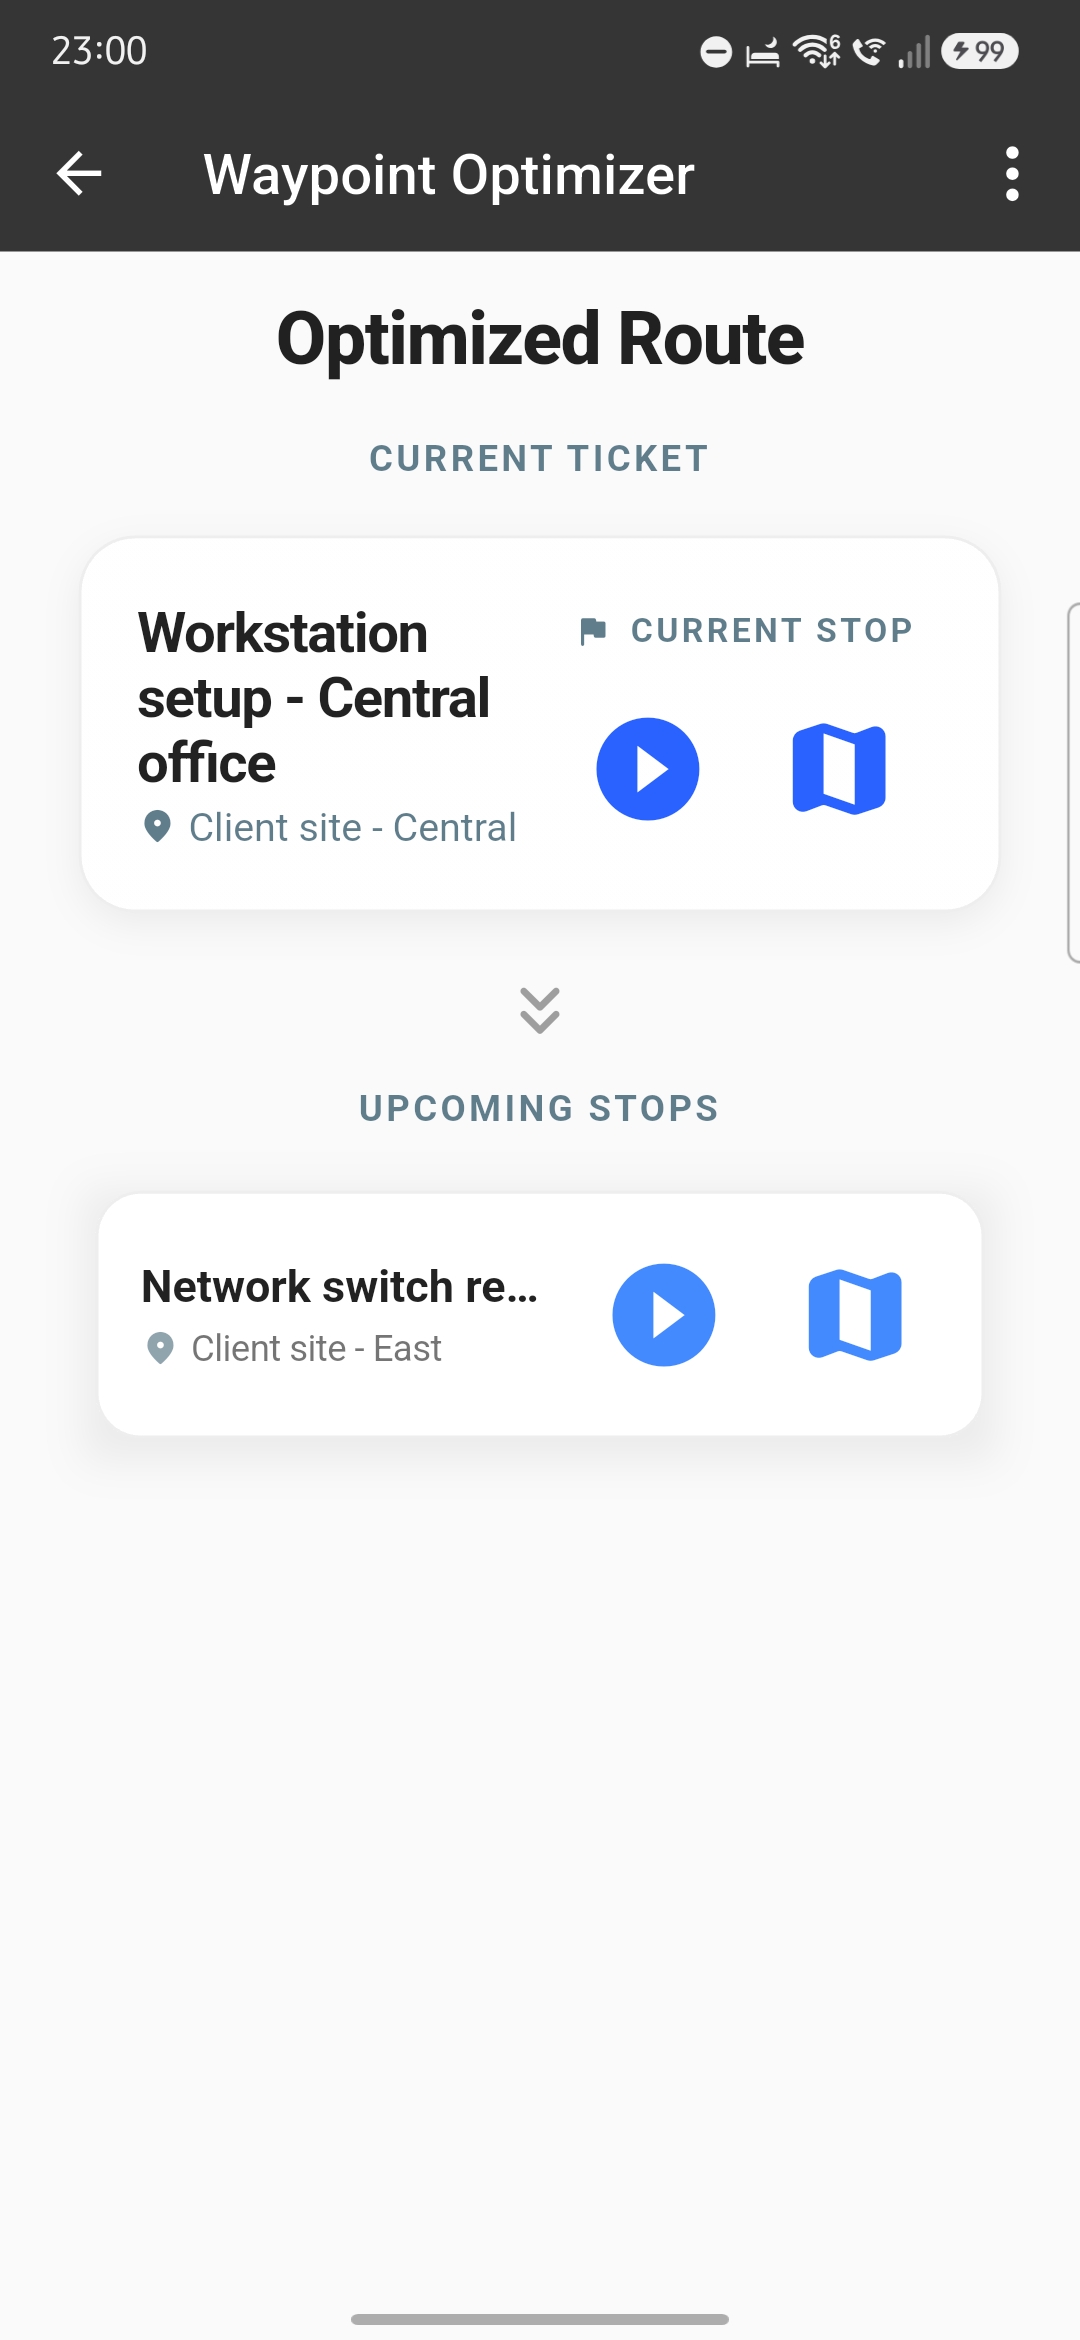
The route screen: current ticket, current stop and the upcoming stops queued below.
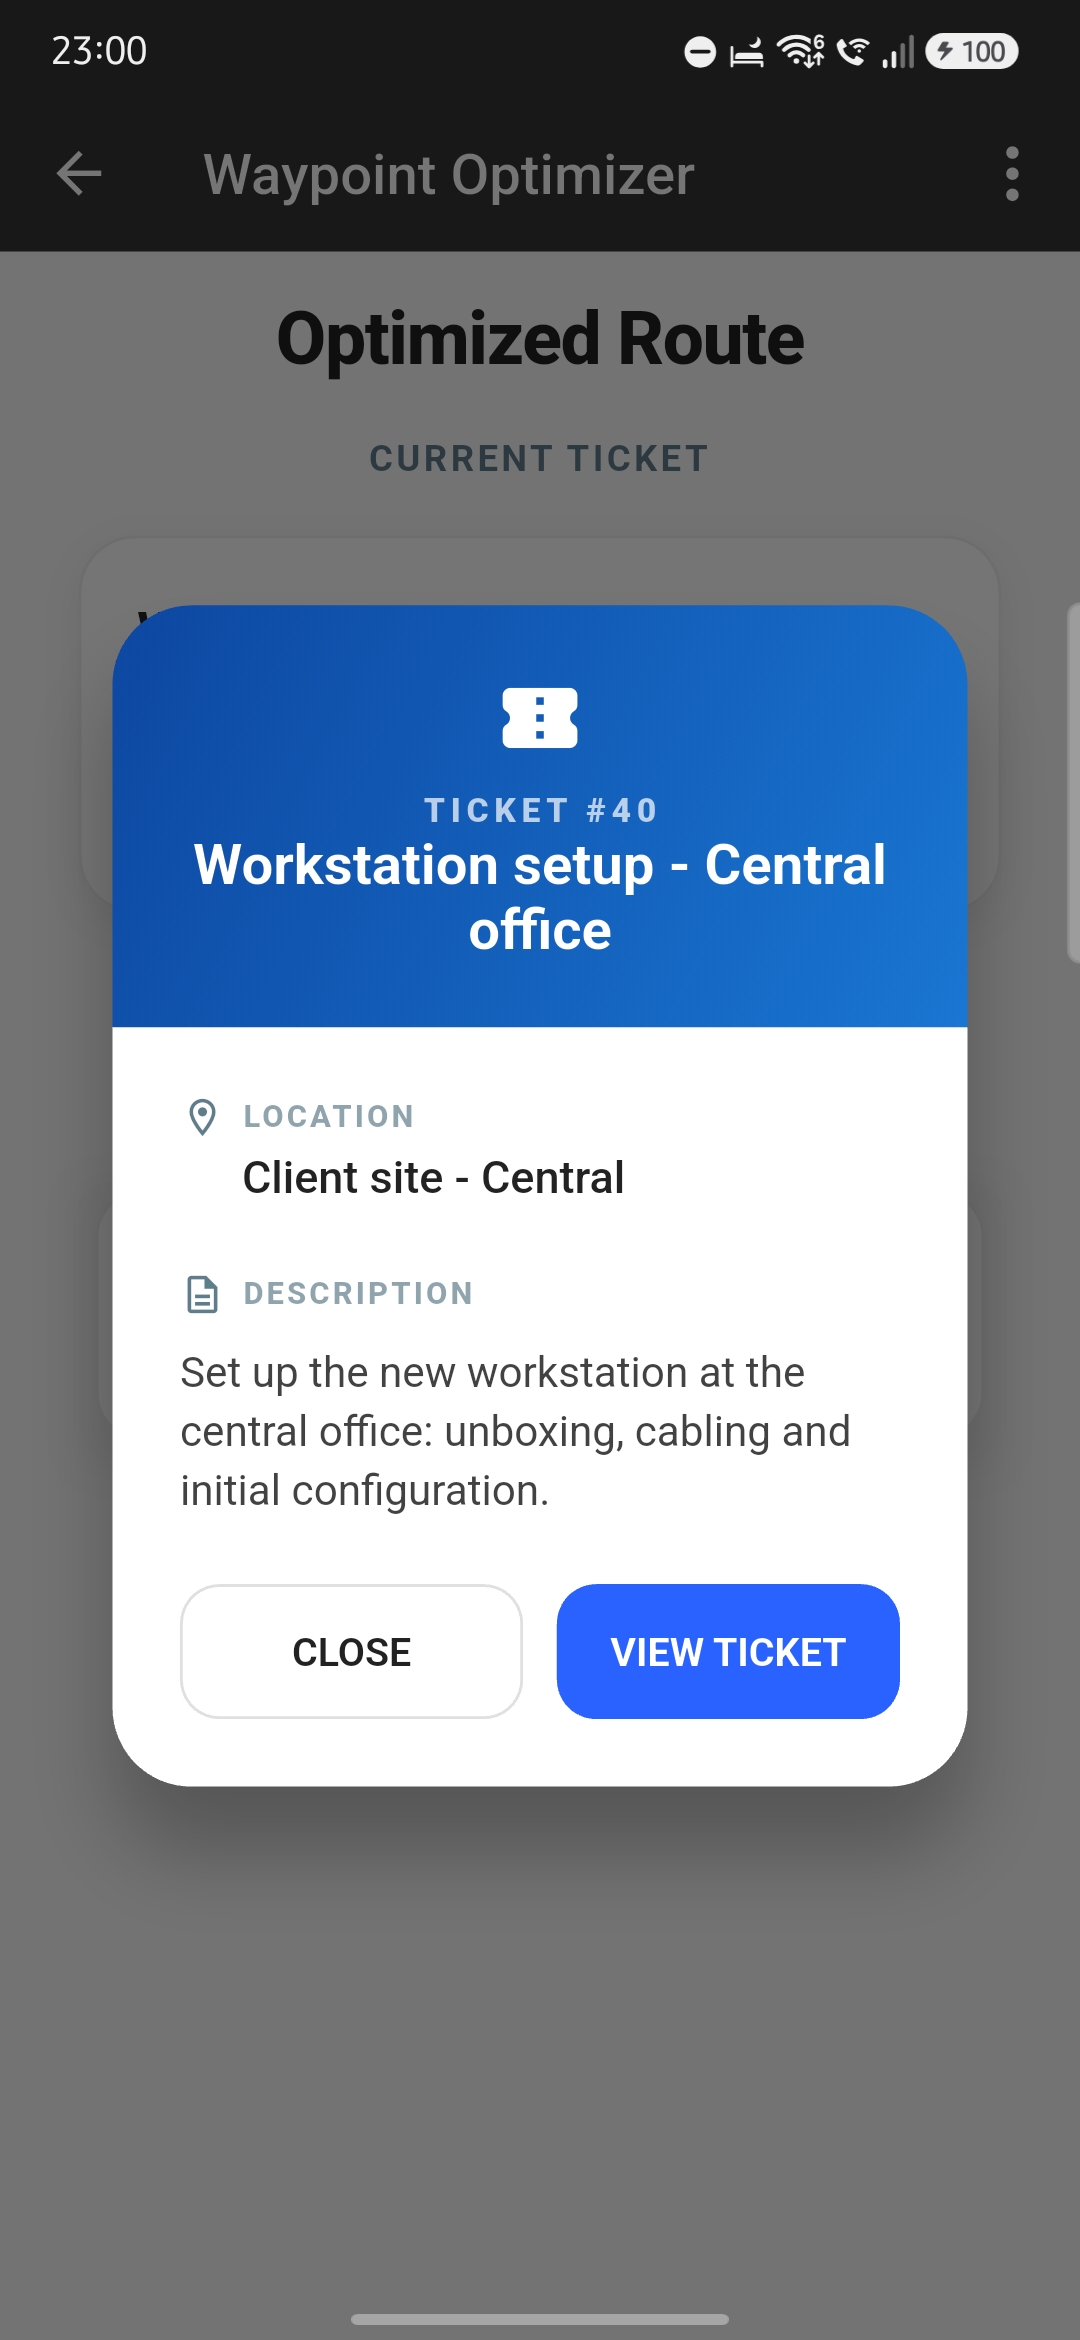
Ticket summary panel — location and description, with a shortcut to view the full ticket.
6.4 Complete a stop
This is the core cycle, repeated for every stop on the route.
When the last stop is completed, the route is closed automatically. There is no separate "finish route" button.
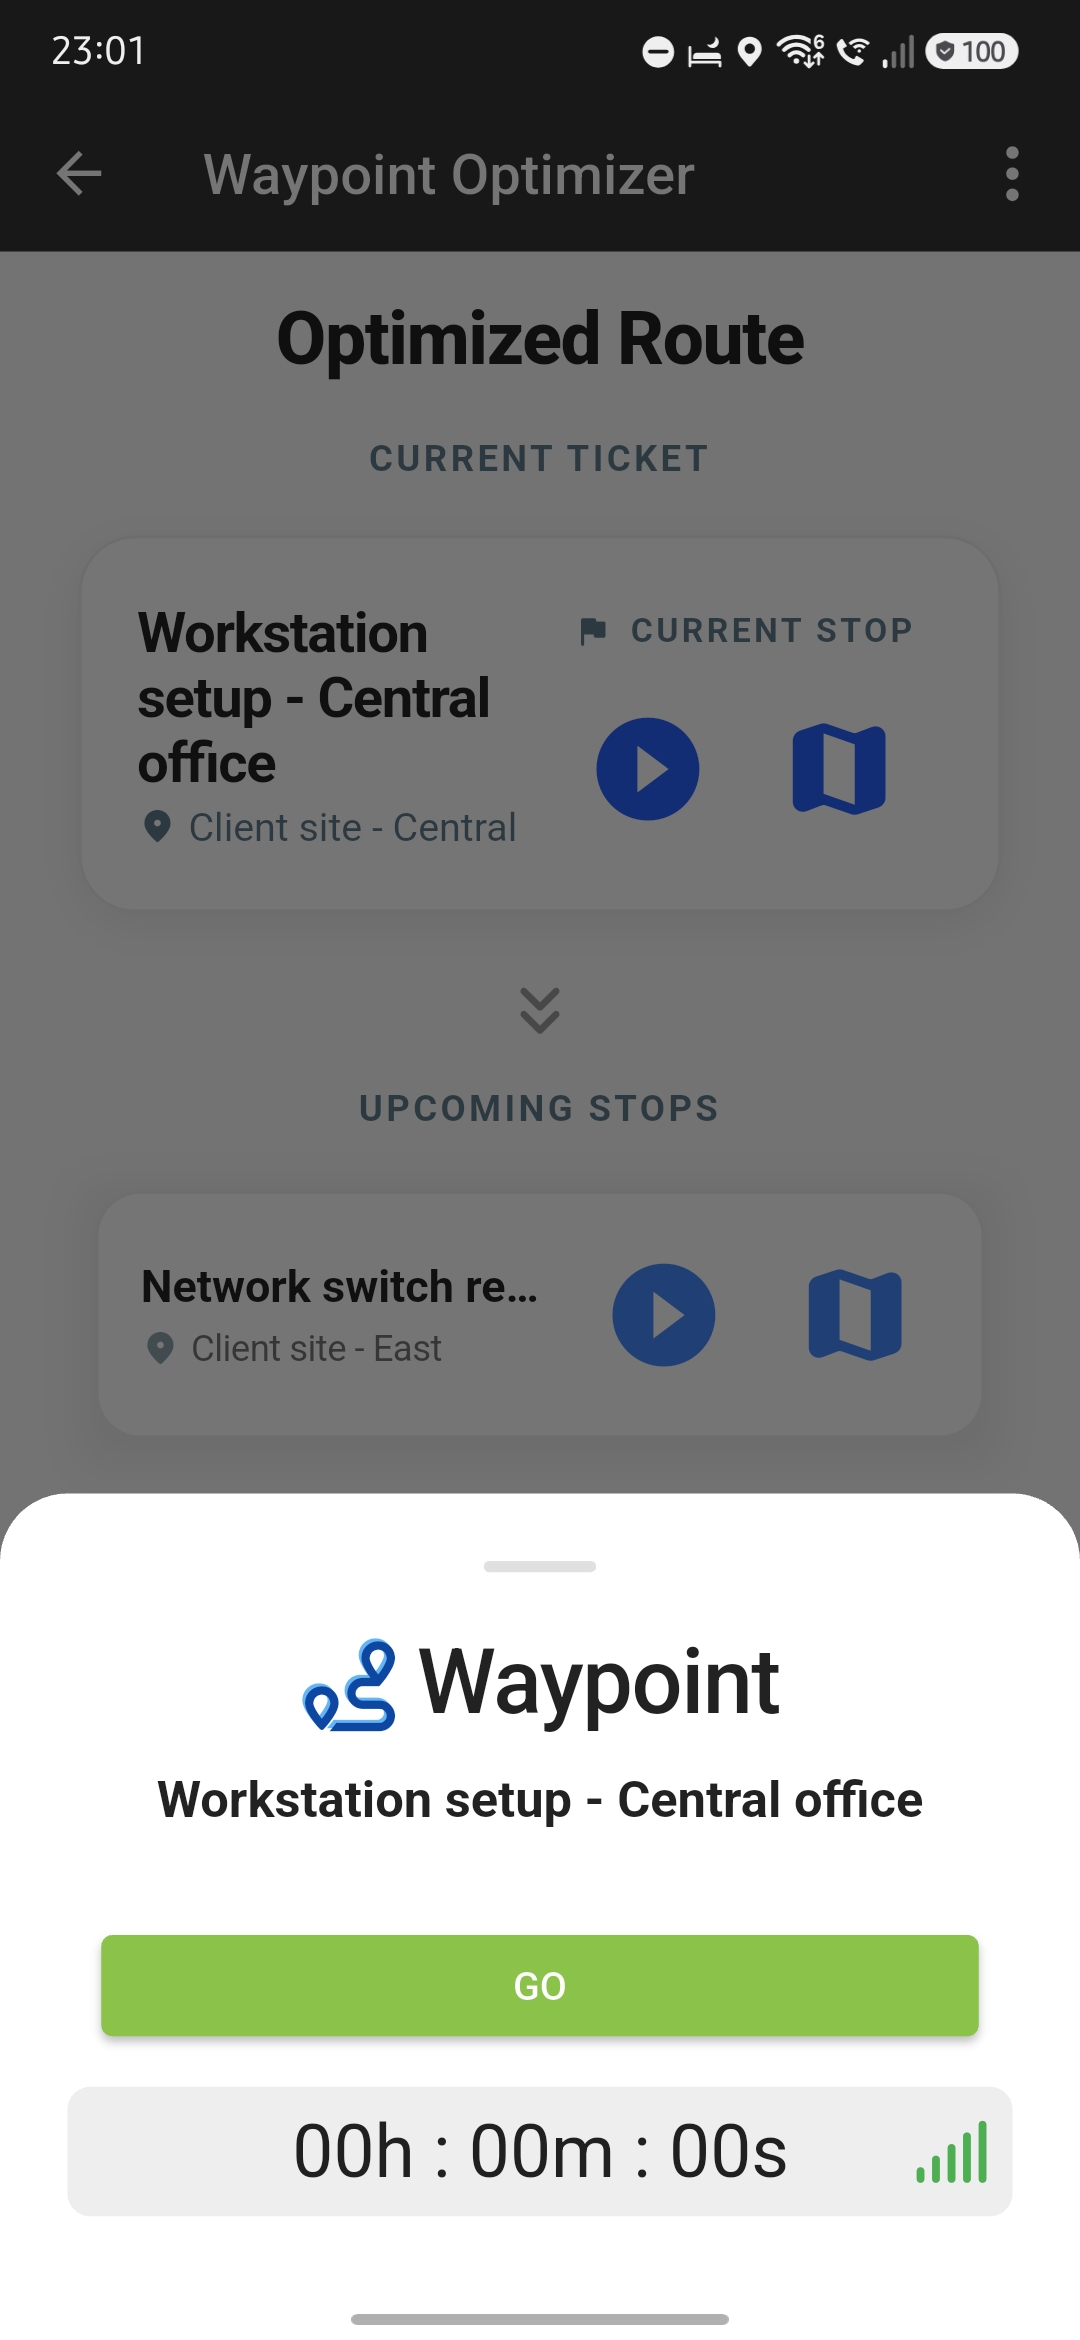
Travel panel before departure — GO button, timer at 00h 00m:00s.
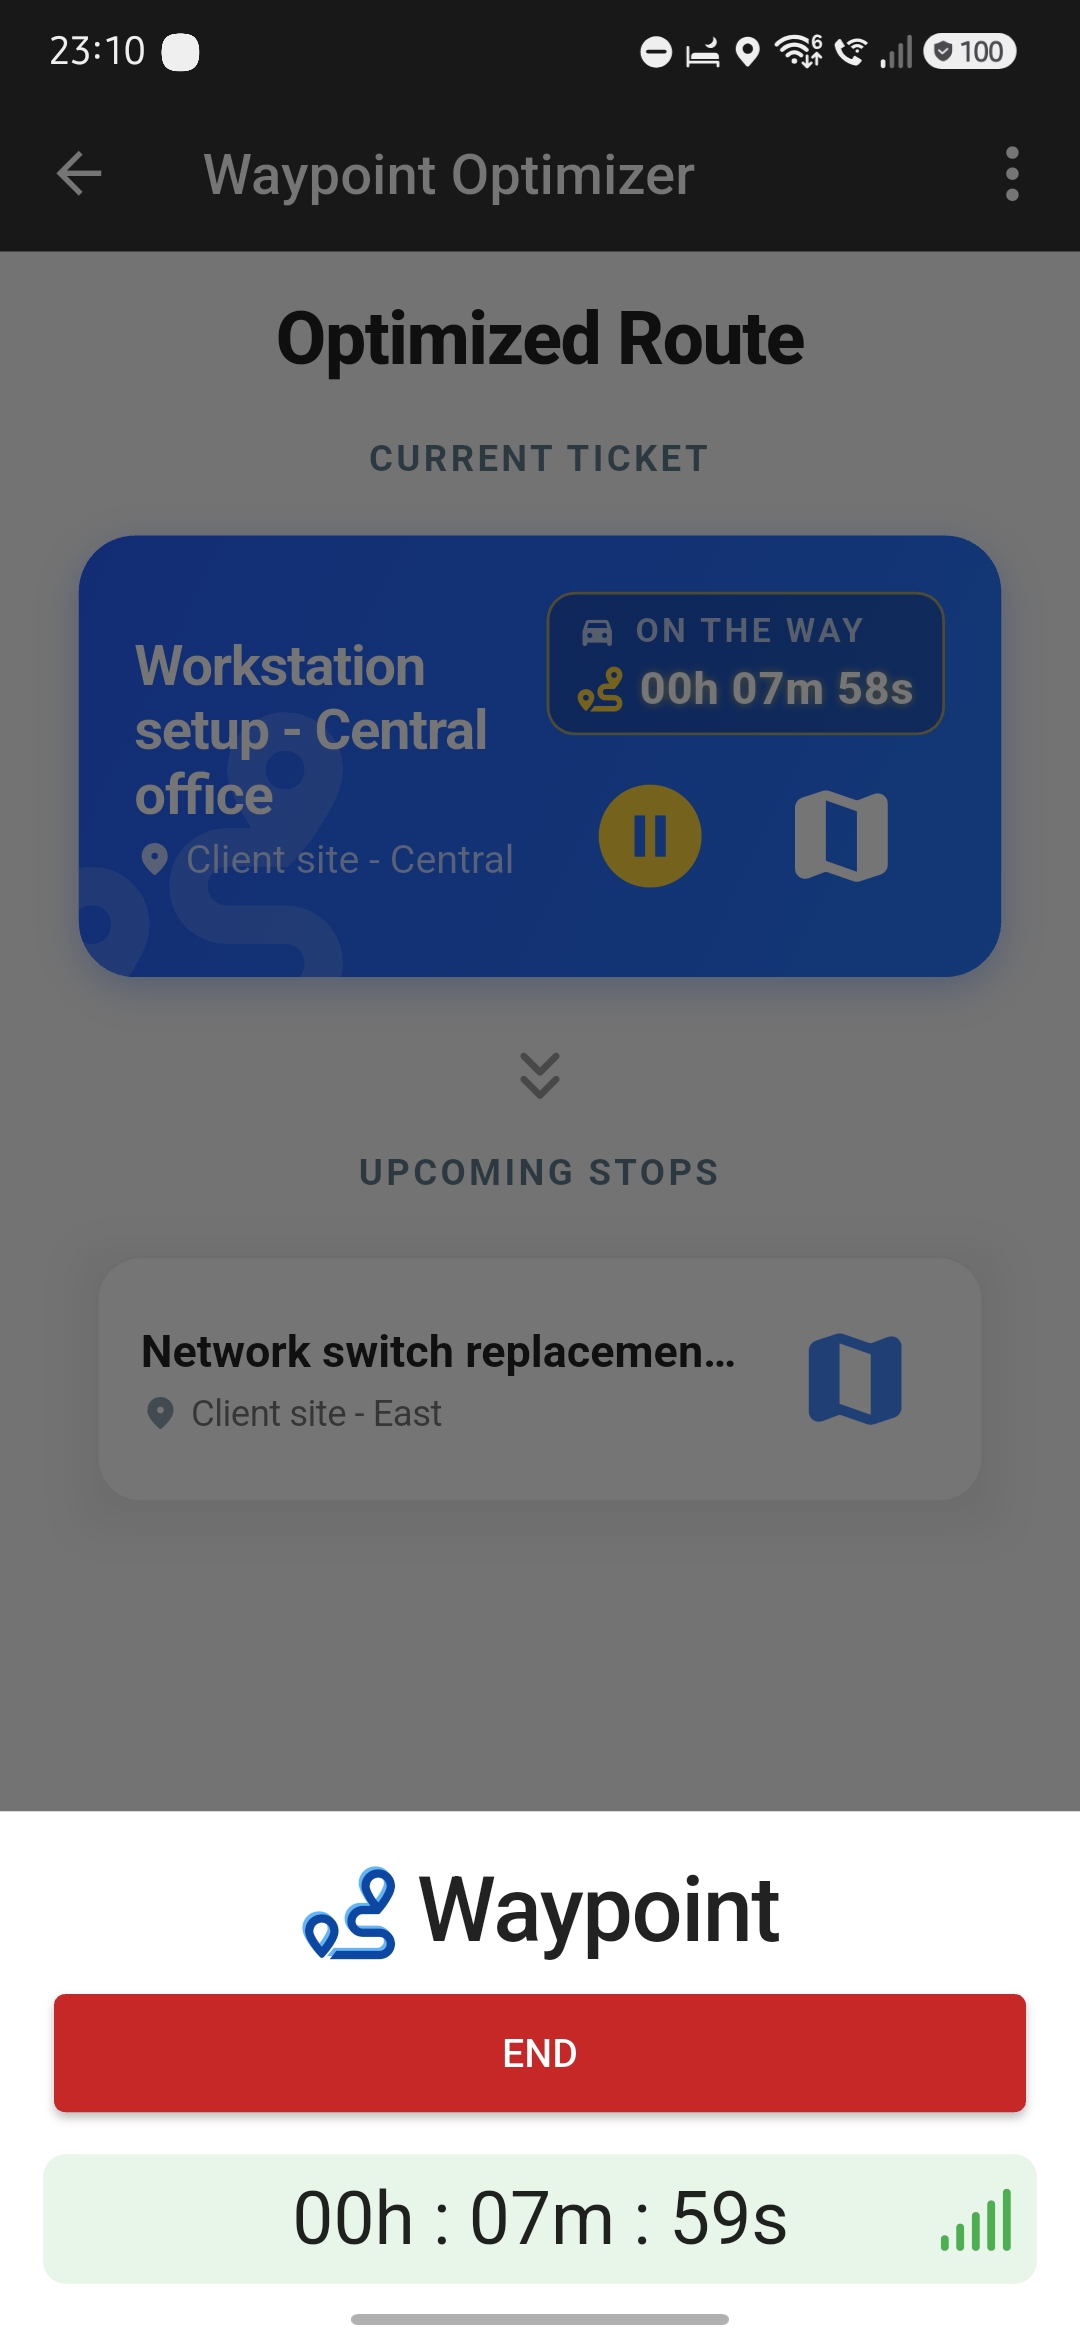
"On the way" — the travel timer running, END button to mark arrival.
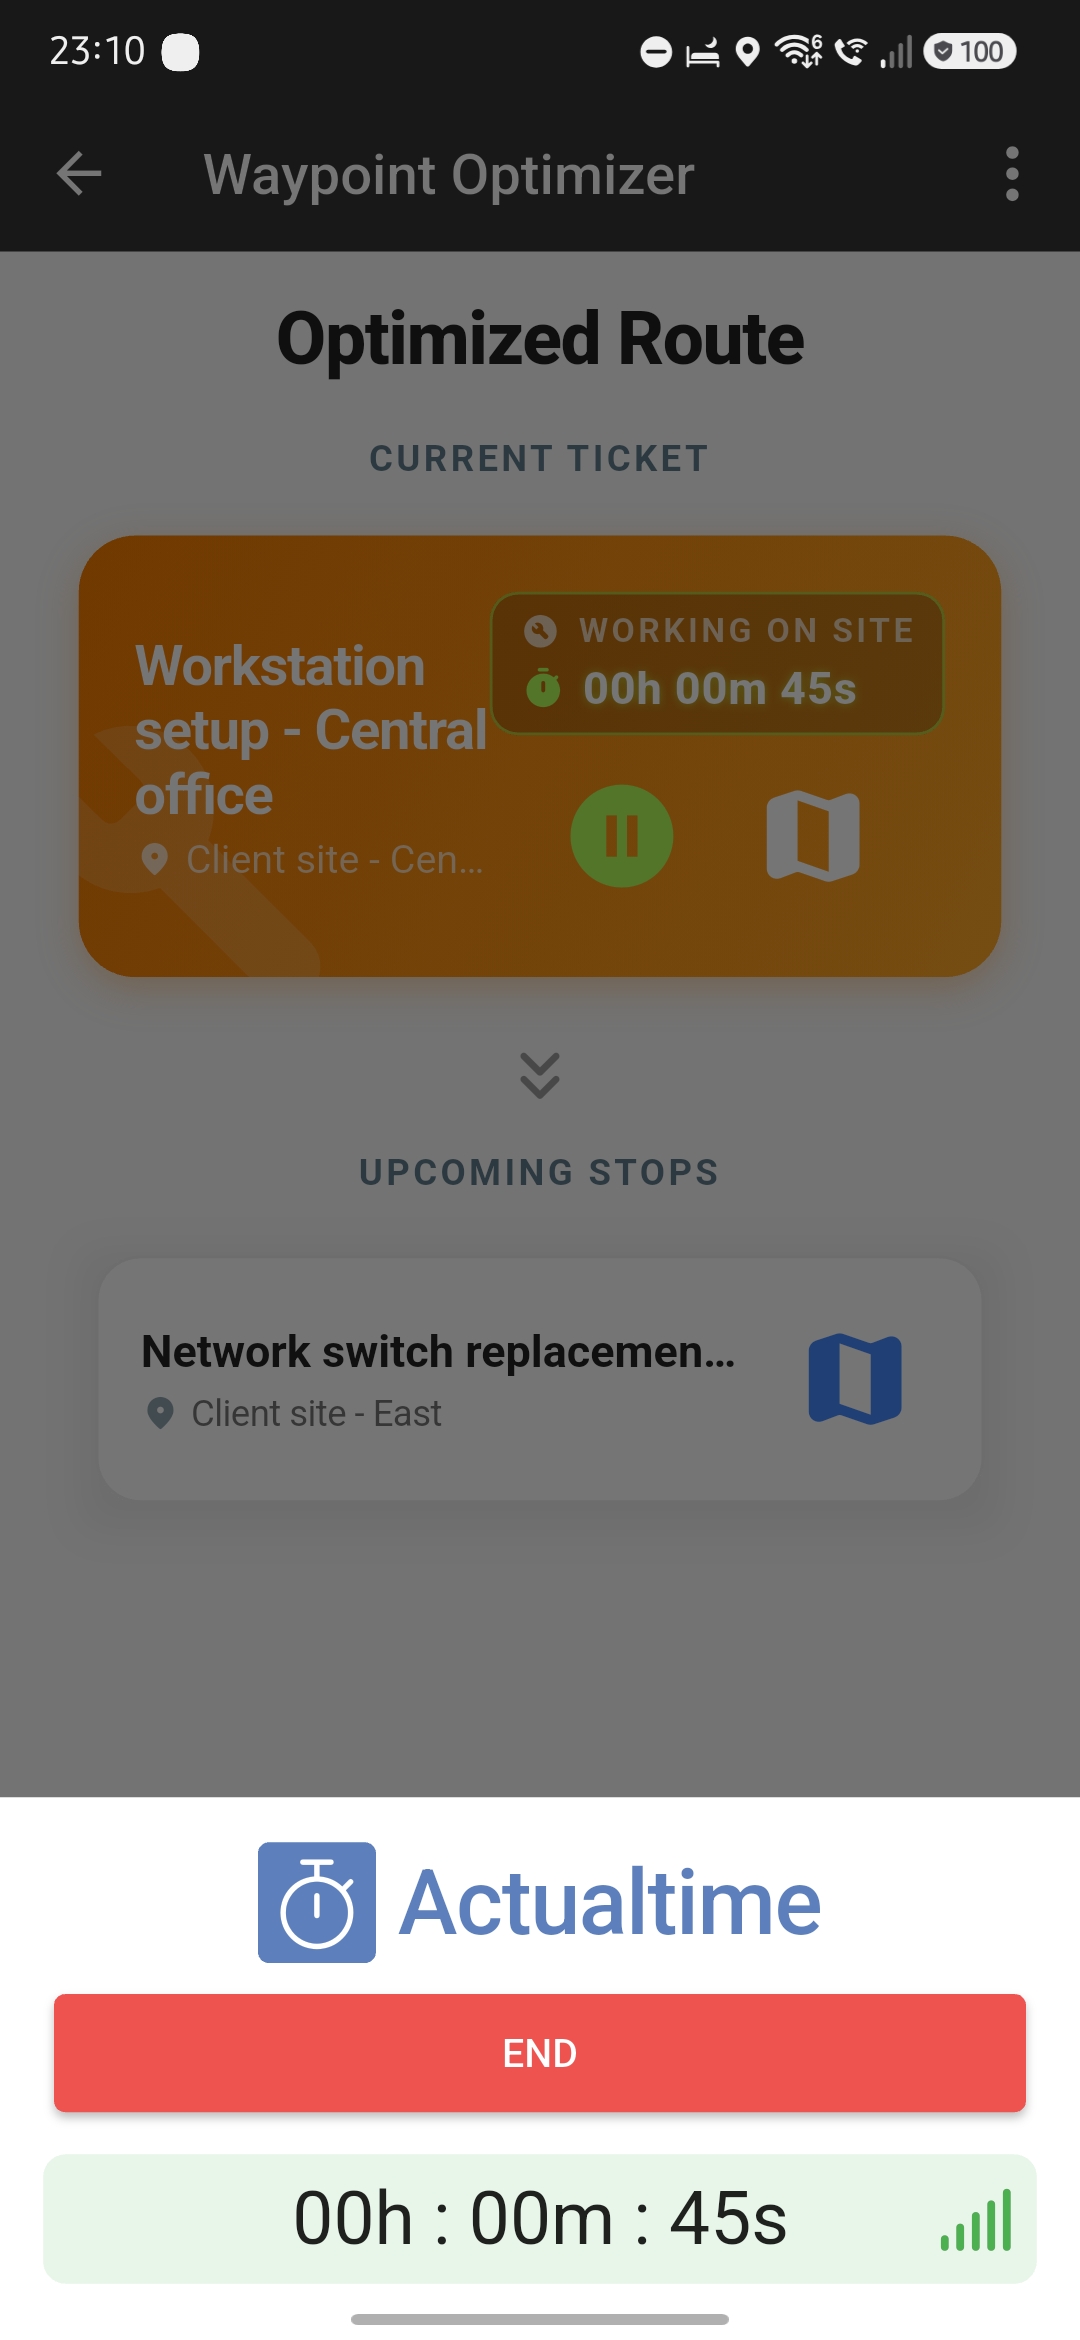
"Working on site" — the work timer already running right after the trip was stopped, with no manual start needed.
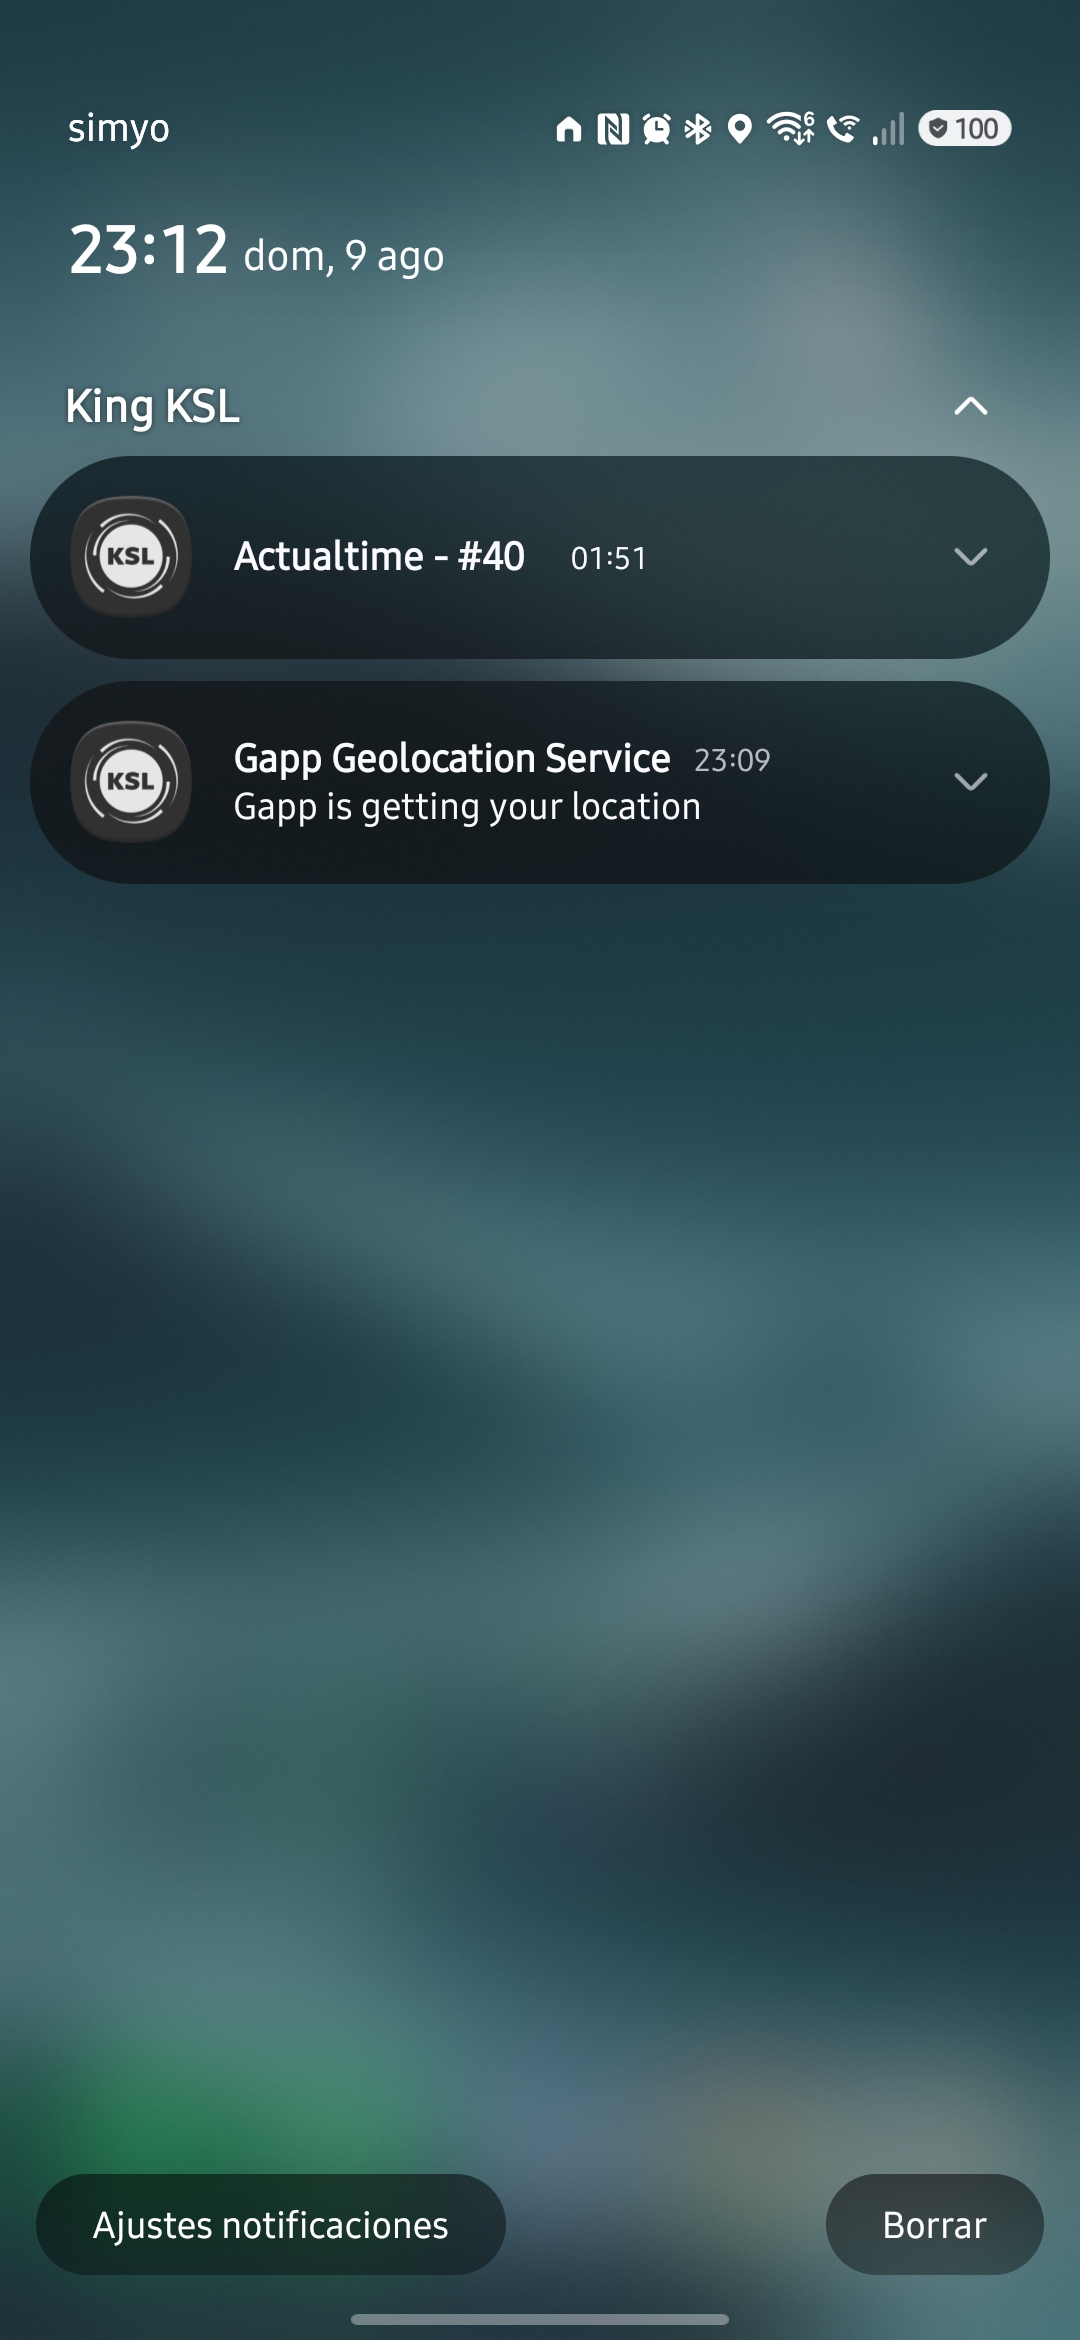
The phone's notification tray showing the active ActualTime timer while the app is in the background.