
5.1 Usage
5.1.1 Adding a legal link to the footer
5.1.1.1 Open the footer links
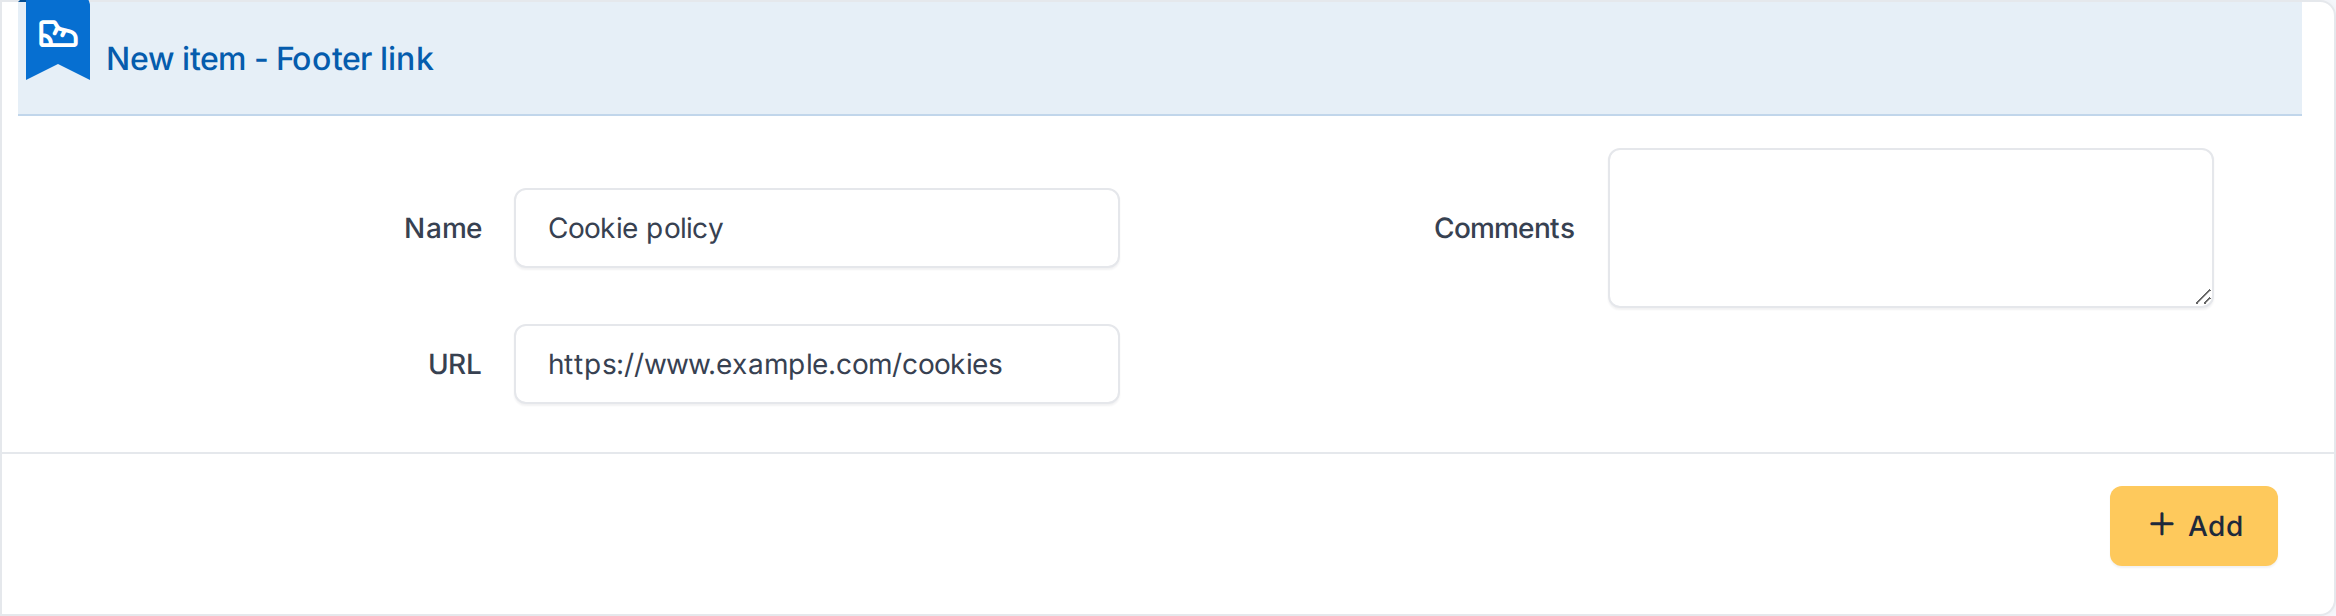
Go to Setup > Dropdowns, open Footer links and look at the list. Each link has a name and an address (URL). The links in the list are the ones shown in the footer; the bar does not appear until there is at least one.

5.1.1.2 Add a link
Click Add, type the Name that will appear in the footer and the URL it opens, and click Add again. The address can be a web page (https://), an email (mailto:), a phone number (tel:) or a page of your own GLPI (starting with /).
Note: For safety, a link whose address is not one of these kinds (for example one starting with
javascript:) is not shown in the footer.
5.1.1.3 See it in the footer
The new link appears in the footer on the next page you open, next to the others. A link opens in a new browser tab.

5.1.2 Adding a link to the GLPI menu
5.1.2.1 Add a menu link
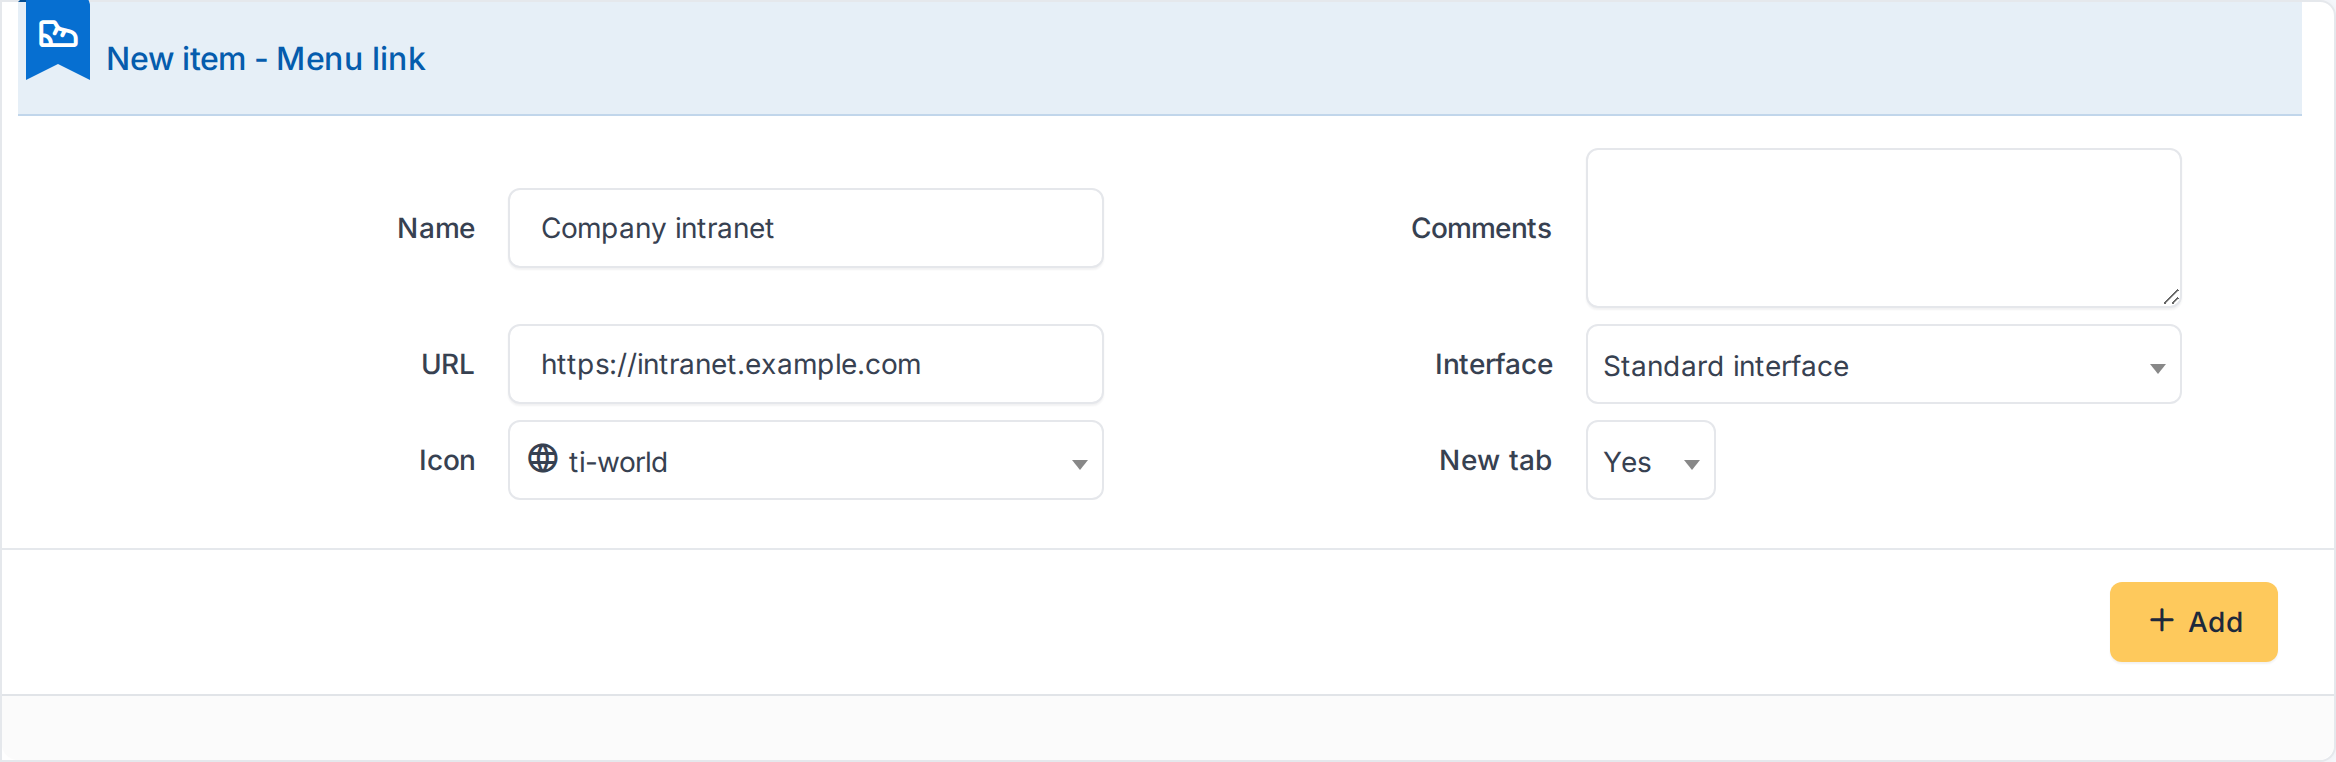
Go to Setup > Dropdowns, open Menu links and click Add. Fill in:
- Name and URL: what appears in the menu and where it leads.
- Interface: who sees the link. Simplified interface is the menu of Self-Service users, Standard interface the menu of technicians and administrators, and Both shows it to everyone.
- Icon: the symbol shown next to the name.
- New tab: whether the link opens in a new browser tab.
5.1.2.2 See it in the menu
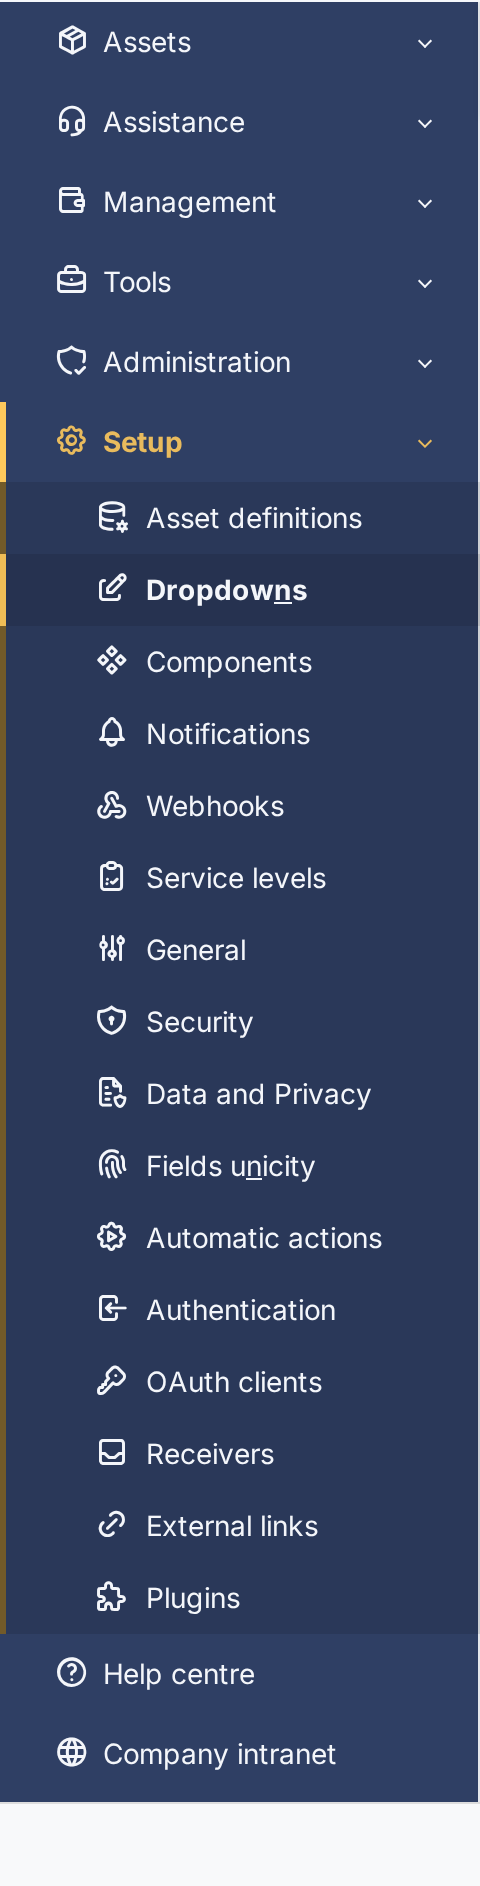
The link is added at the end of the menu, after the standard options, the next time a page loads. Only users of the interface you chose see it.
Generated for Footer 3.0.0 on GLPI 12.0.2 — 2026-11-19.