
4. Setup

Part of the More Security manual — see also 1. Introduction, 2. What's New, 3. Scope, 5. Usage, 6. Troubleshooting.
4.1 Installation
Install like any GLPI plugin: from the GLPI Marketplace, or by downloading it and installing/activating it from Setup > Plugins.
4.2 Configuration
Configuration lives entirely on the More Security tab of Setup > General — no separate setup wizard. See the manual's 3. Usage chapter for the full walkthrough with screenshots.
4.2.1 Automatic actions
- Monthly automatic update of the GeoIP database for geoblocking
- Weekly automatic cleanup of old, resolved security-log entries
A scheduled task runs automatically (once a month) to download the latest DB-IP Lite database, keeping geoblocking country data current.
Another scheduled task runs automatically (roughly once a week, overnight) to clean up old, resolved entries from the security log, so the log doesn't grow forever. Only entries that are no longer blocking anyone are removed; anything still actively blocked — including a permanent block — is kept. How long an entry is kept before cleanup is configurable from Setup > Automatic actions.
Actually blocking and unblocking happens instantly when an attempt occurs — only the log cleanup and database updates run on a schedule.
4.3 Permissions
- Changing the More Security settings requires the same permission as changing any other general GLPI setting — no separate right to manage.
- Viewing the security log is controlled by its own dedicated permission, which can be given to specific profiles independently of other rights. This log is read-only for everyone: even a profile with full rights can view entries but never edit or delete them.
- The trusted-network whitelist is configured alongside other settings in the More Security configuration tab, using the same permission as other general GLPI settings.
4.4 Configuring More Security
The More Security plugin provides brute-force protection for login and password-reset attempts, with per-account and per-IP throttling. All configuration is done through one tab in Setup > General.
4.4.1 Open the More Security configuration
From GLPI's main menu, navigate to Setup > General and click the More Security tab to access the plugin's configuration interface.
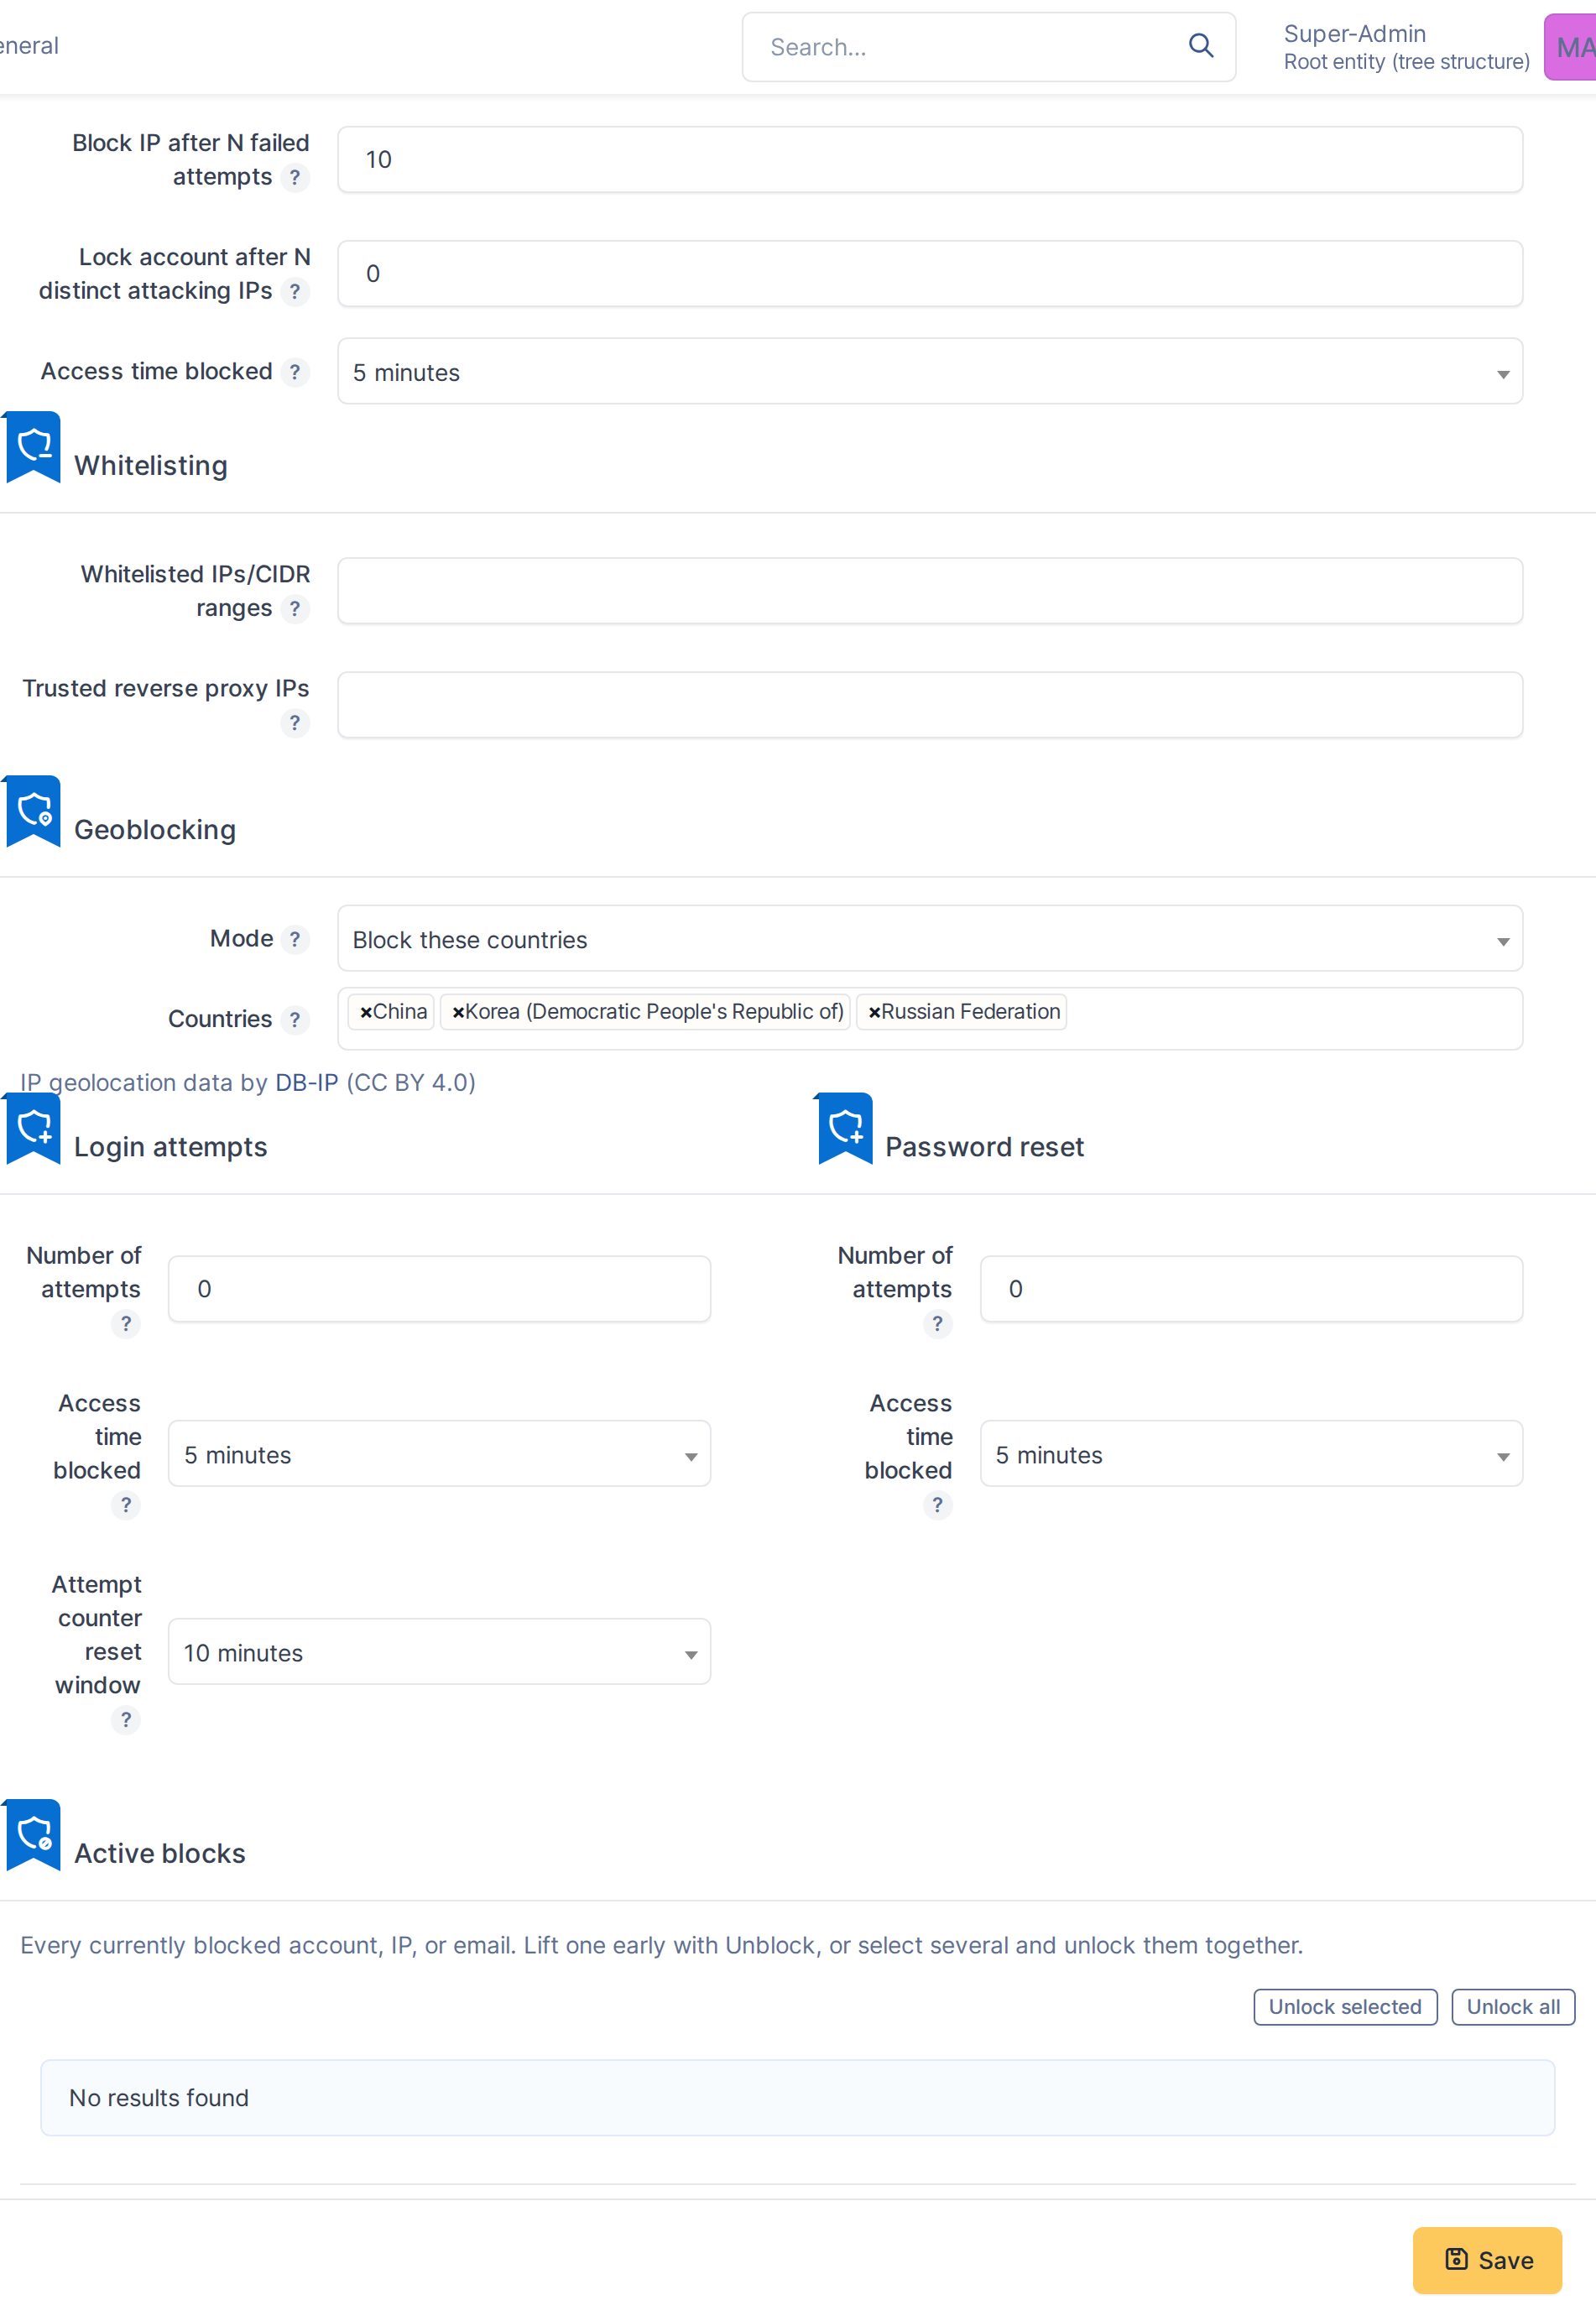
The More Security tab shows all protection settings organized into sections for IP blocking, Login attempts, and Password reset.
Note: All configuration changes take effect immediately without requiring a page reload or GLPI restart.
4.4.2 Configure login attempt blocking
The Login attempts section defines how many failed logins trigger a temporary account block, and how long that block lasts. In this example: after 5 failed attempts, the account is locked for 300 seconds.
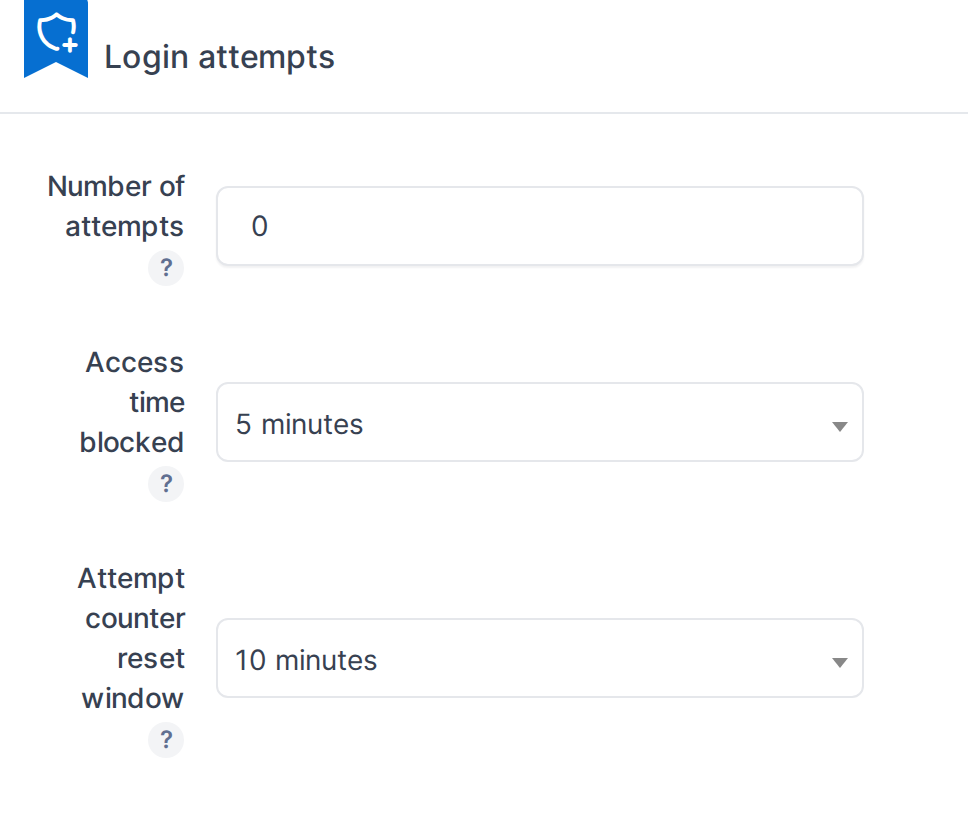
Login attempts are configured to block accounts after 5 failed login attempts, for 300 seconds.
4.4.3 Set password reset attempt limits
The Password reset section prevents unauthorized account takeover through reset-link brute-forcing, with its own independent attempt limit and block duration. In this example: after 3 failed reset attempts, access is locked for 600 seconds.
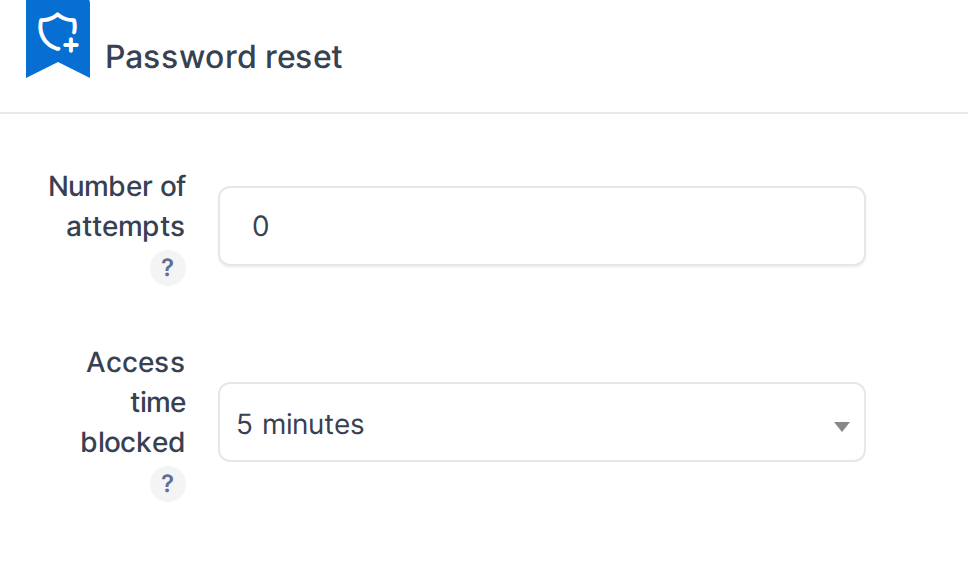
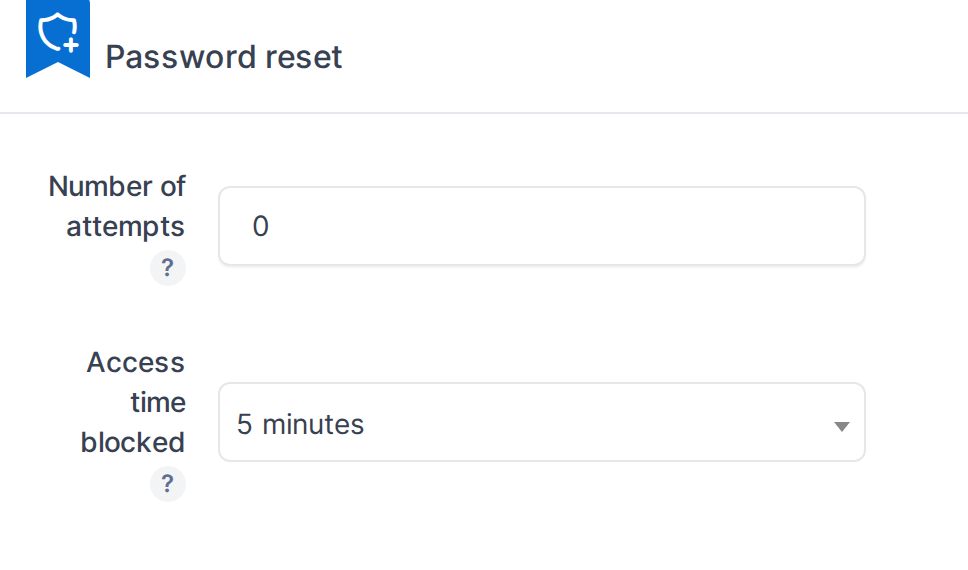
Password reset is limited to 3 attempts per 600 seconds to prevent reset-link abuse.
4.4.4 Configure IP-based blocking and trusted proxies
The IP blocking section throttles abuse by source IP — shared across login and password-reset attempts — independent of the per-account limits above, plus distributed-attack detection and trusted reverse-proxy IPs.
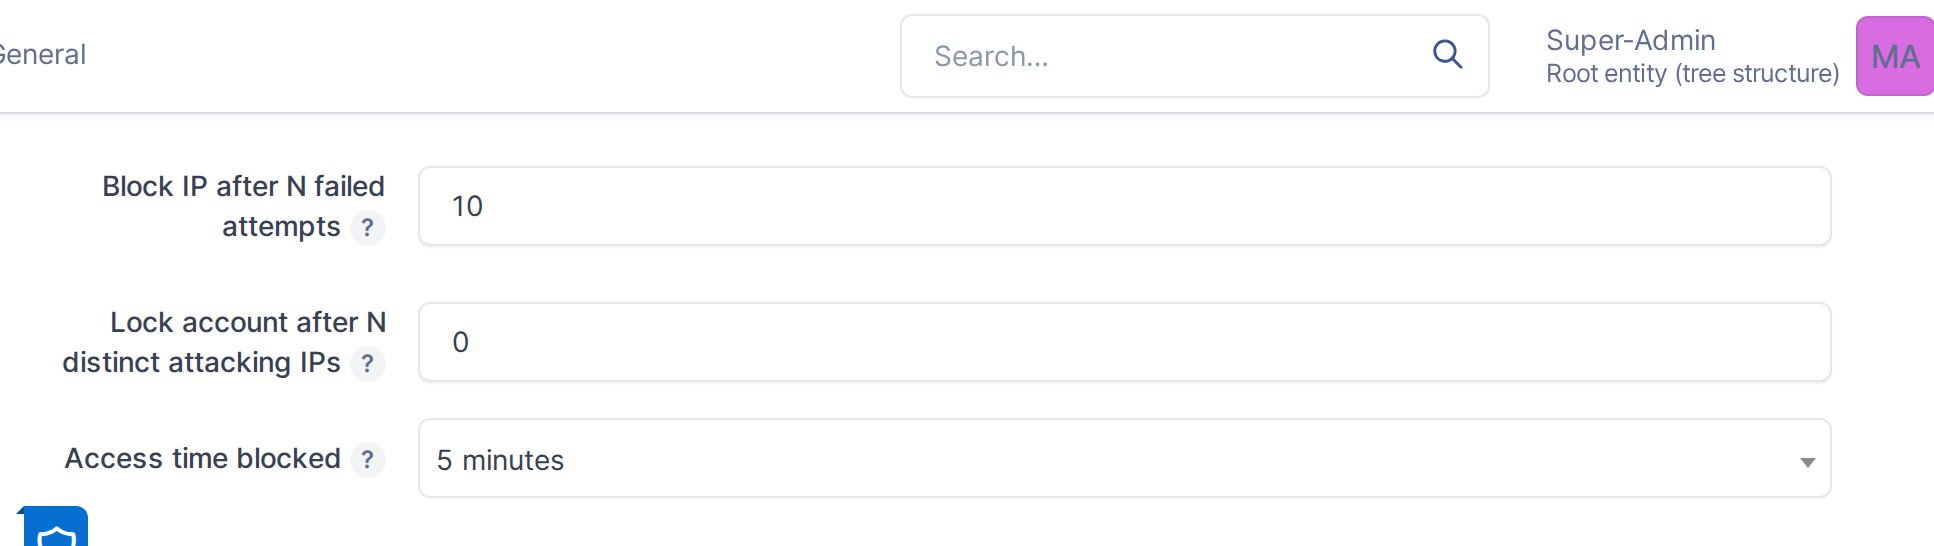
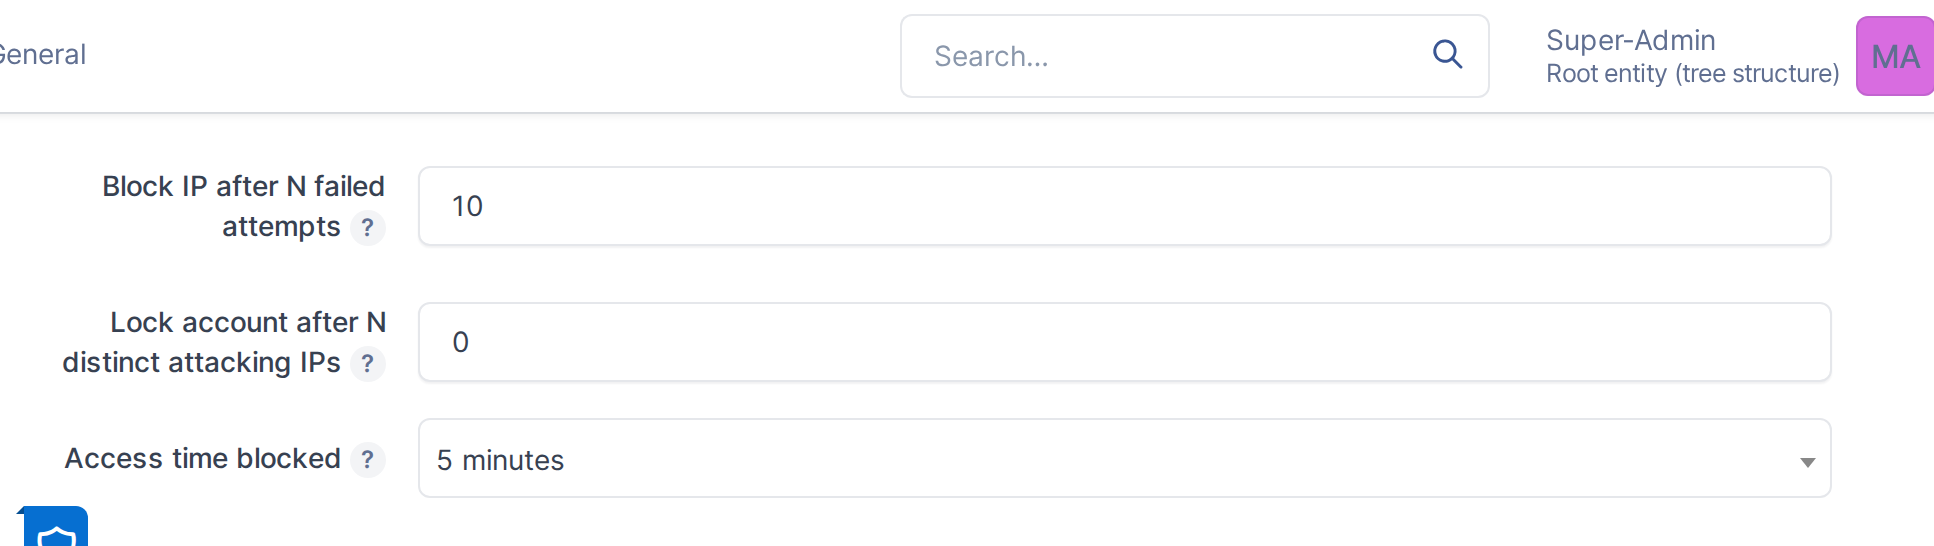
The IP blocking section configures per-IP attempt limits, distributed-attack detection, and trusted reverse-proxy IPs.
4.4.5 Review currently blocked accounts
Below the configuration fields, the Active blocks table lists every account, IP, or email currently locked, with the attempt count and remaining block time. Individual rows (or a selection) can be unlocked early. In this example, the account testuser shows as temporarily blocked.
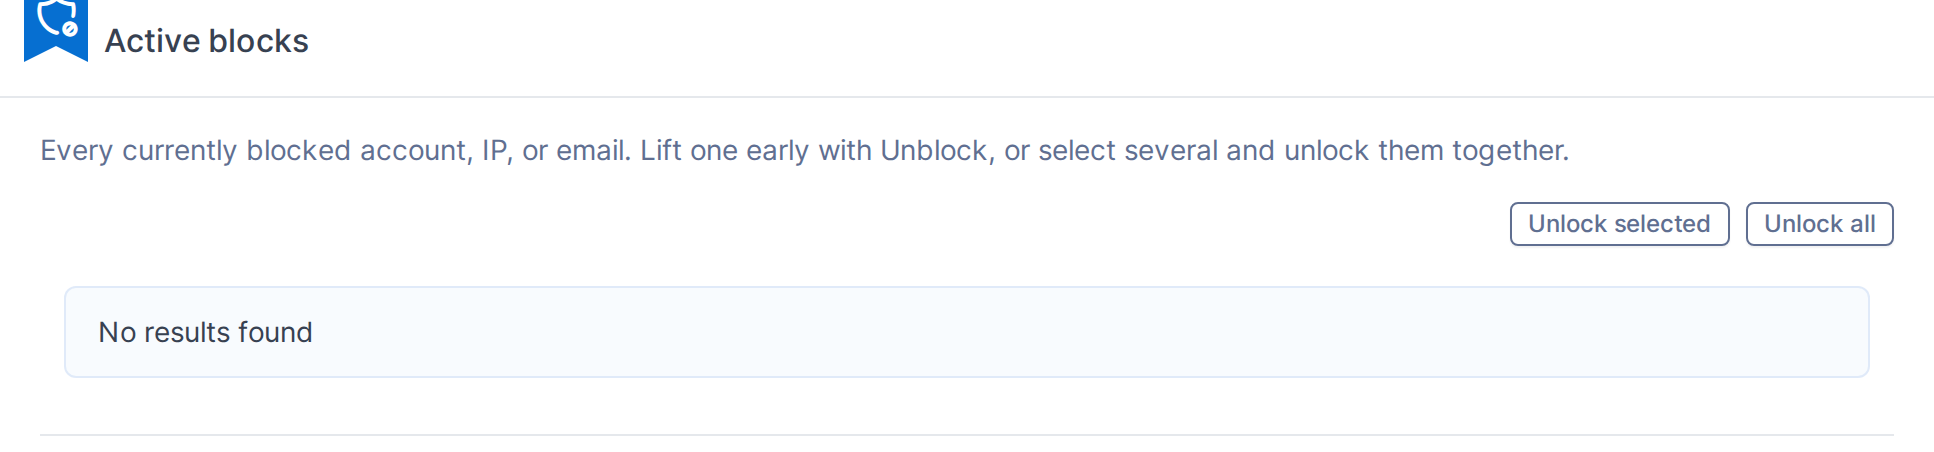
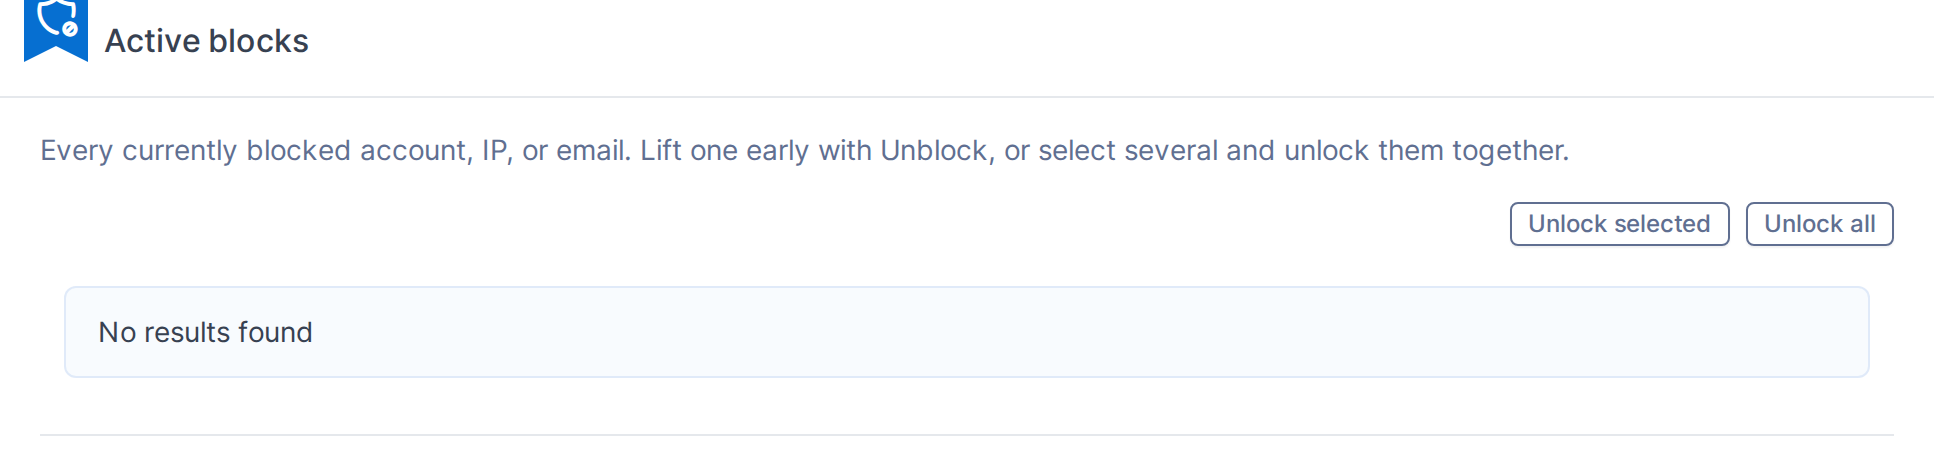
The Active blocks table shows every currently locked account, IP, or email, with its expiration and an Unlock action.
Note: The IP whitelist (exempting trusted networks from IP-based blocking) is configured as a comma-separated list of CIDR ranges.
4.4.6 Configure geoblocking by country
The Geoblocking section restricts logins by the country the client IP resolves to: disabled, allow-list only, or block-list. Whitelisted IPs and unresolvable IPs (private/local, or a missing database) always bypass this check.
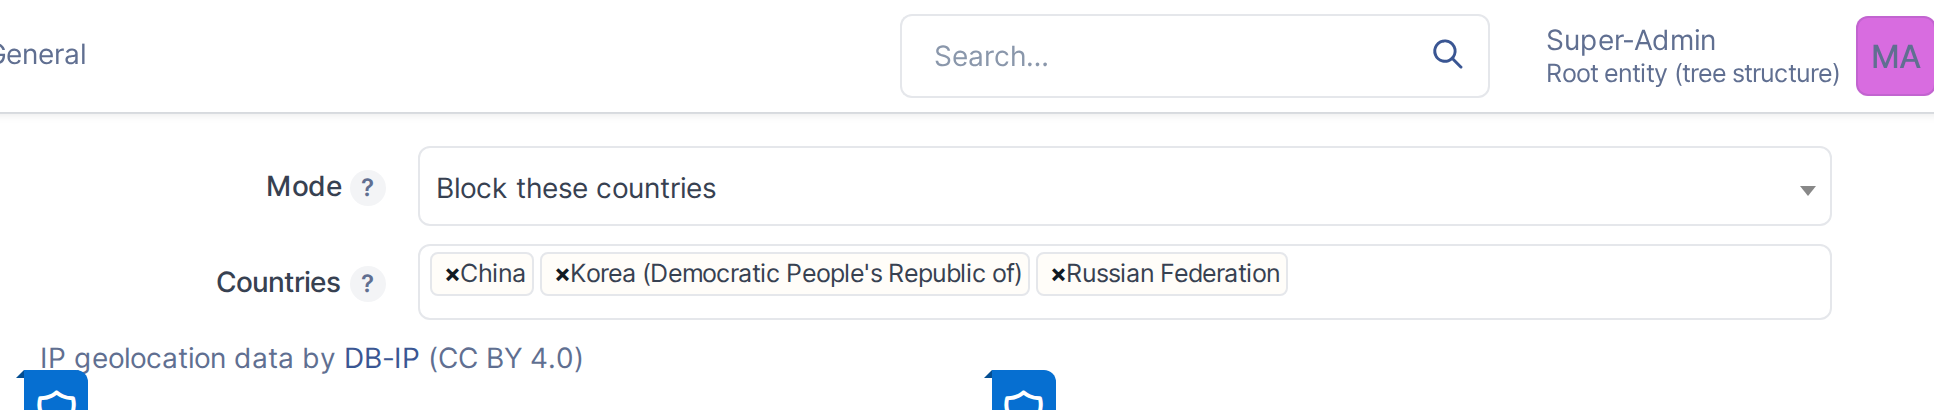
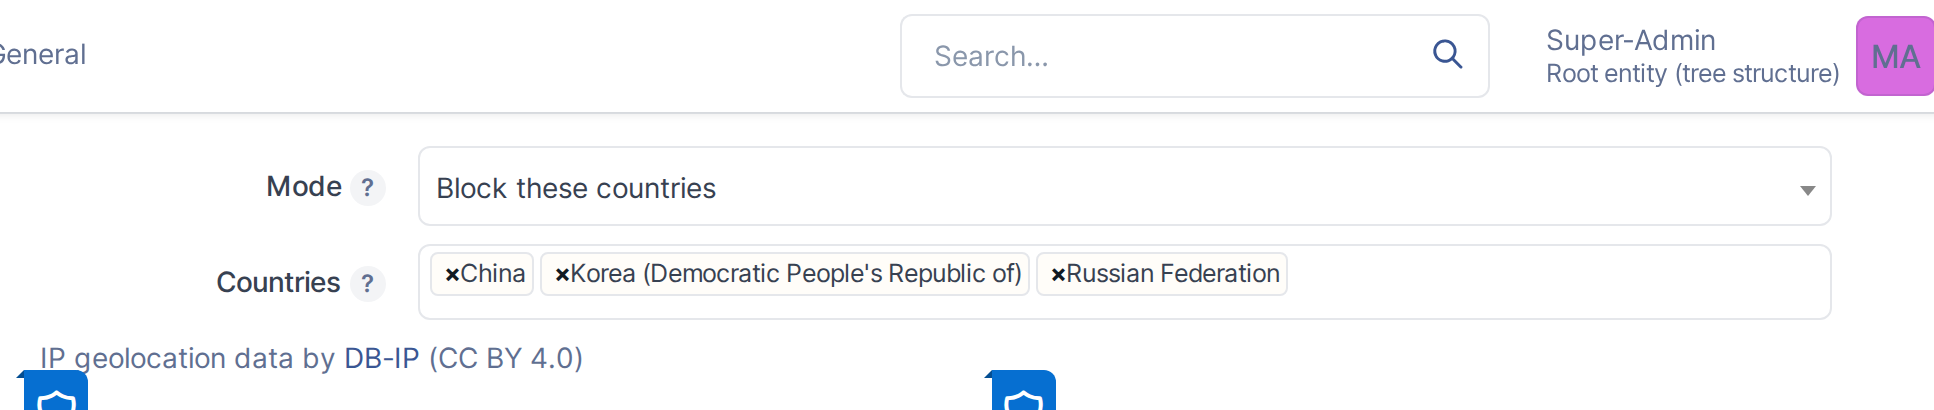
The Geoblocking section sets the allow/deny mode and the country list it applies to, with the DB-IP data attribution.
Note: Geoblocking country data comes from DB-IP's free Lite database, refreshed automatically once a month.
Generated for More Security 2.0.
0-beta190 on GLPI 11.0.8 — 2026-08-23.24.