
5.3 Labels and checklists

Part of the Agile Project Management manual — see also 1. Introduction, 2. What's New, 3. Scope, 4.1 General setup, 4.2 Labels and notifications, 5.1 The board, 5.2 Cards, 6. Troubleshooting.
5.3.1 Filtering the board by labels
On the Global Kanban view (when viewing all projects at once), you can filter cards to show only those with specific labels.
5.3.1.1 Open the label filter
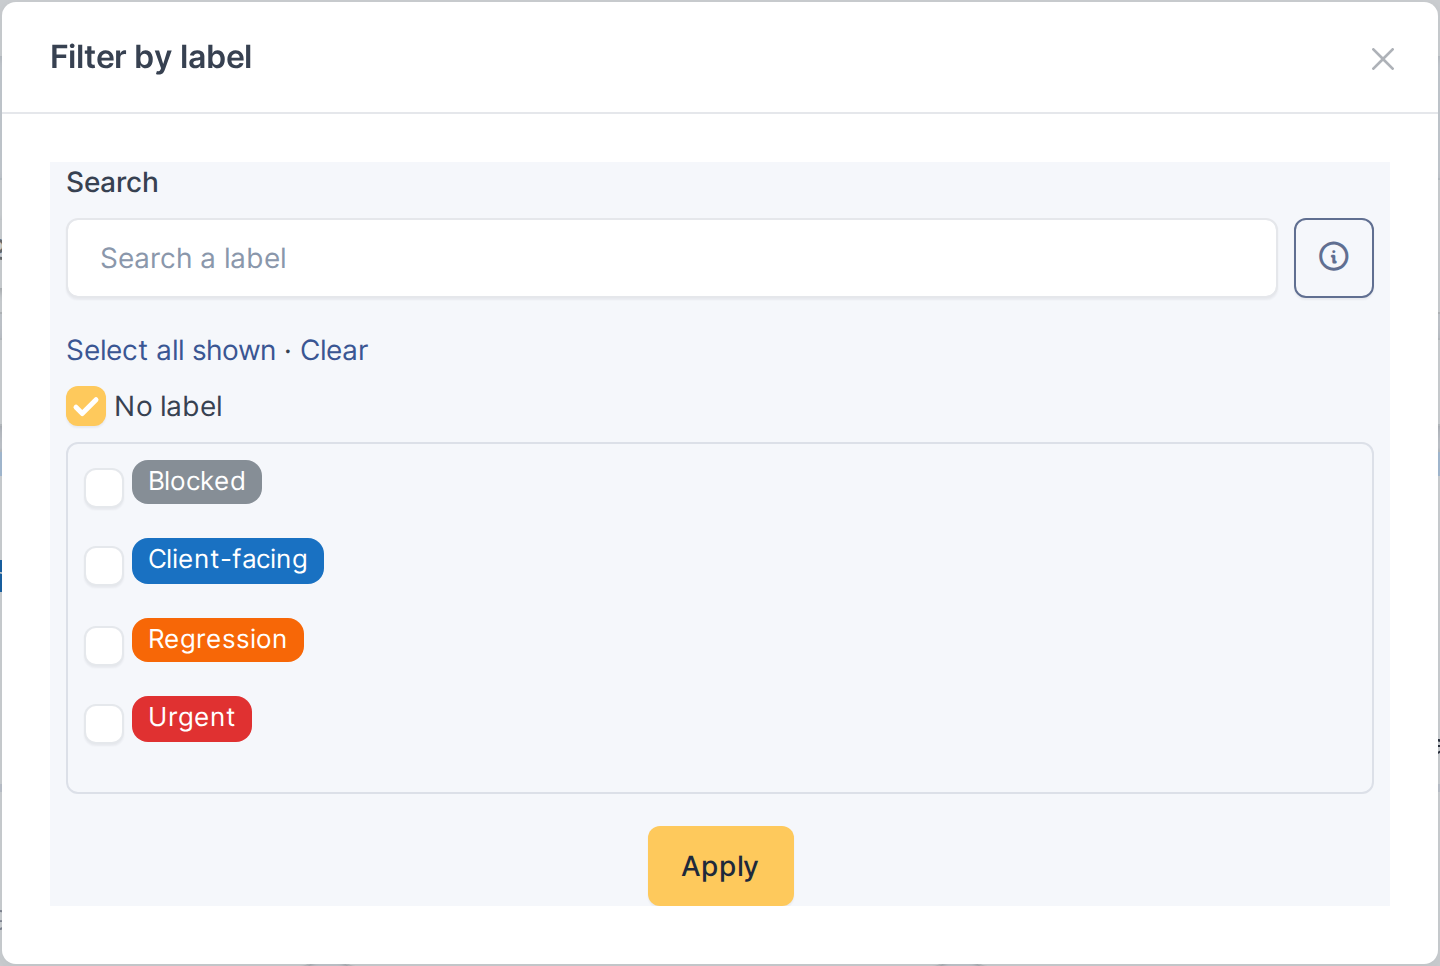
Click the tag icon in the toolbar above the board (only visible when viewing the Global Kanban and labels are configured). A dialog opens showing all available labels.
5.3.1.2 Filter by one or more labels
Check the boxes next to the labels you want to see. The board immediately updates to show only cards with at least one of those labels. Click the filter icon again or a checkbox to change the filter.
5.3.1.3 Clear the label filter
Uncheck all labels to show all cards again, regardless of their labels.
Note: Label filtering is available only in the Global Kanban view. In single-project Kanban, labels are displayed but there is no separate filter UI for them.
Note: The label filter is saved per user, like other filters (project, user, group, card type). It is remembered across sessions.
5.3.2 Label colors and appearance
5.3.2.1 Label color
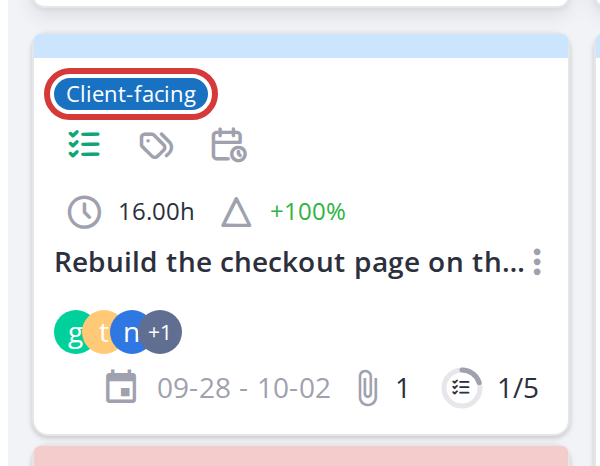
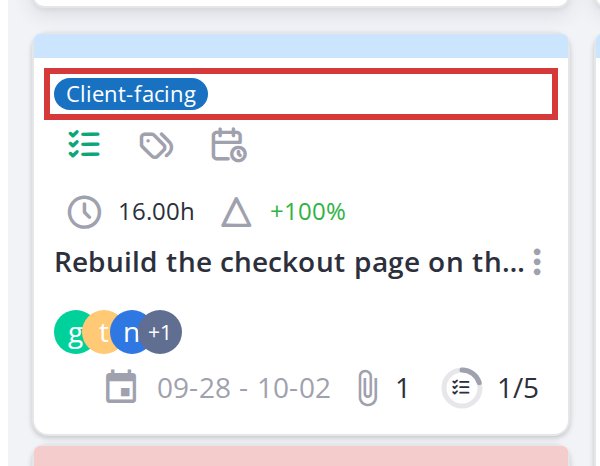
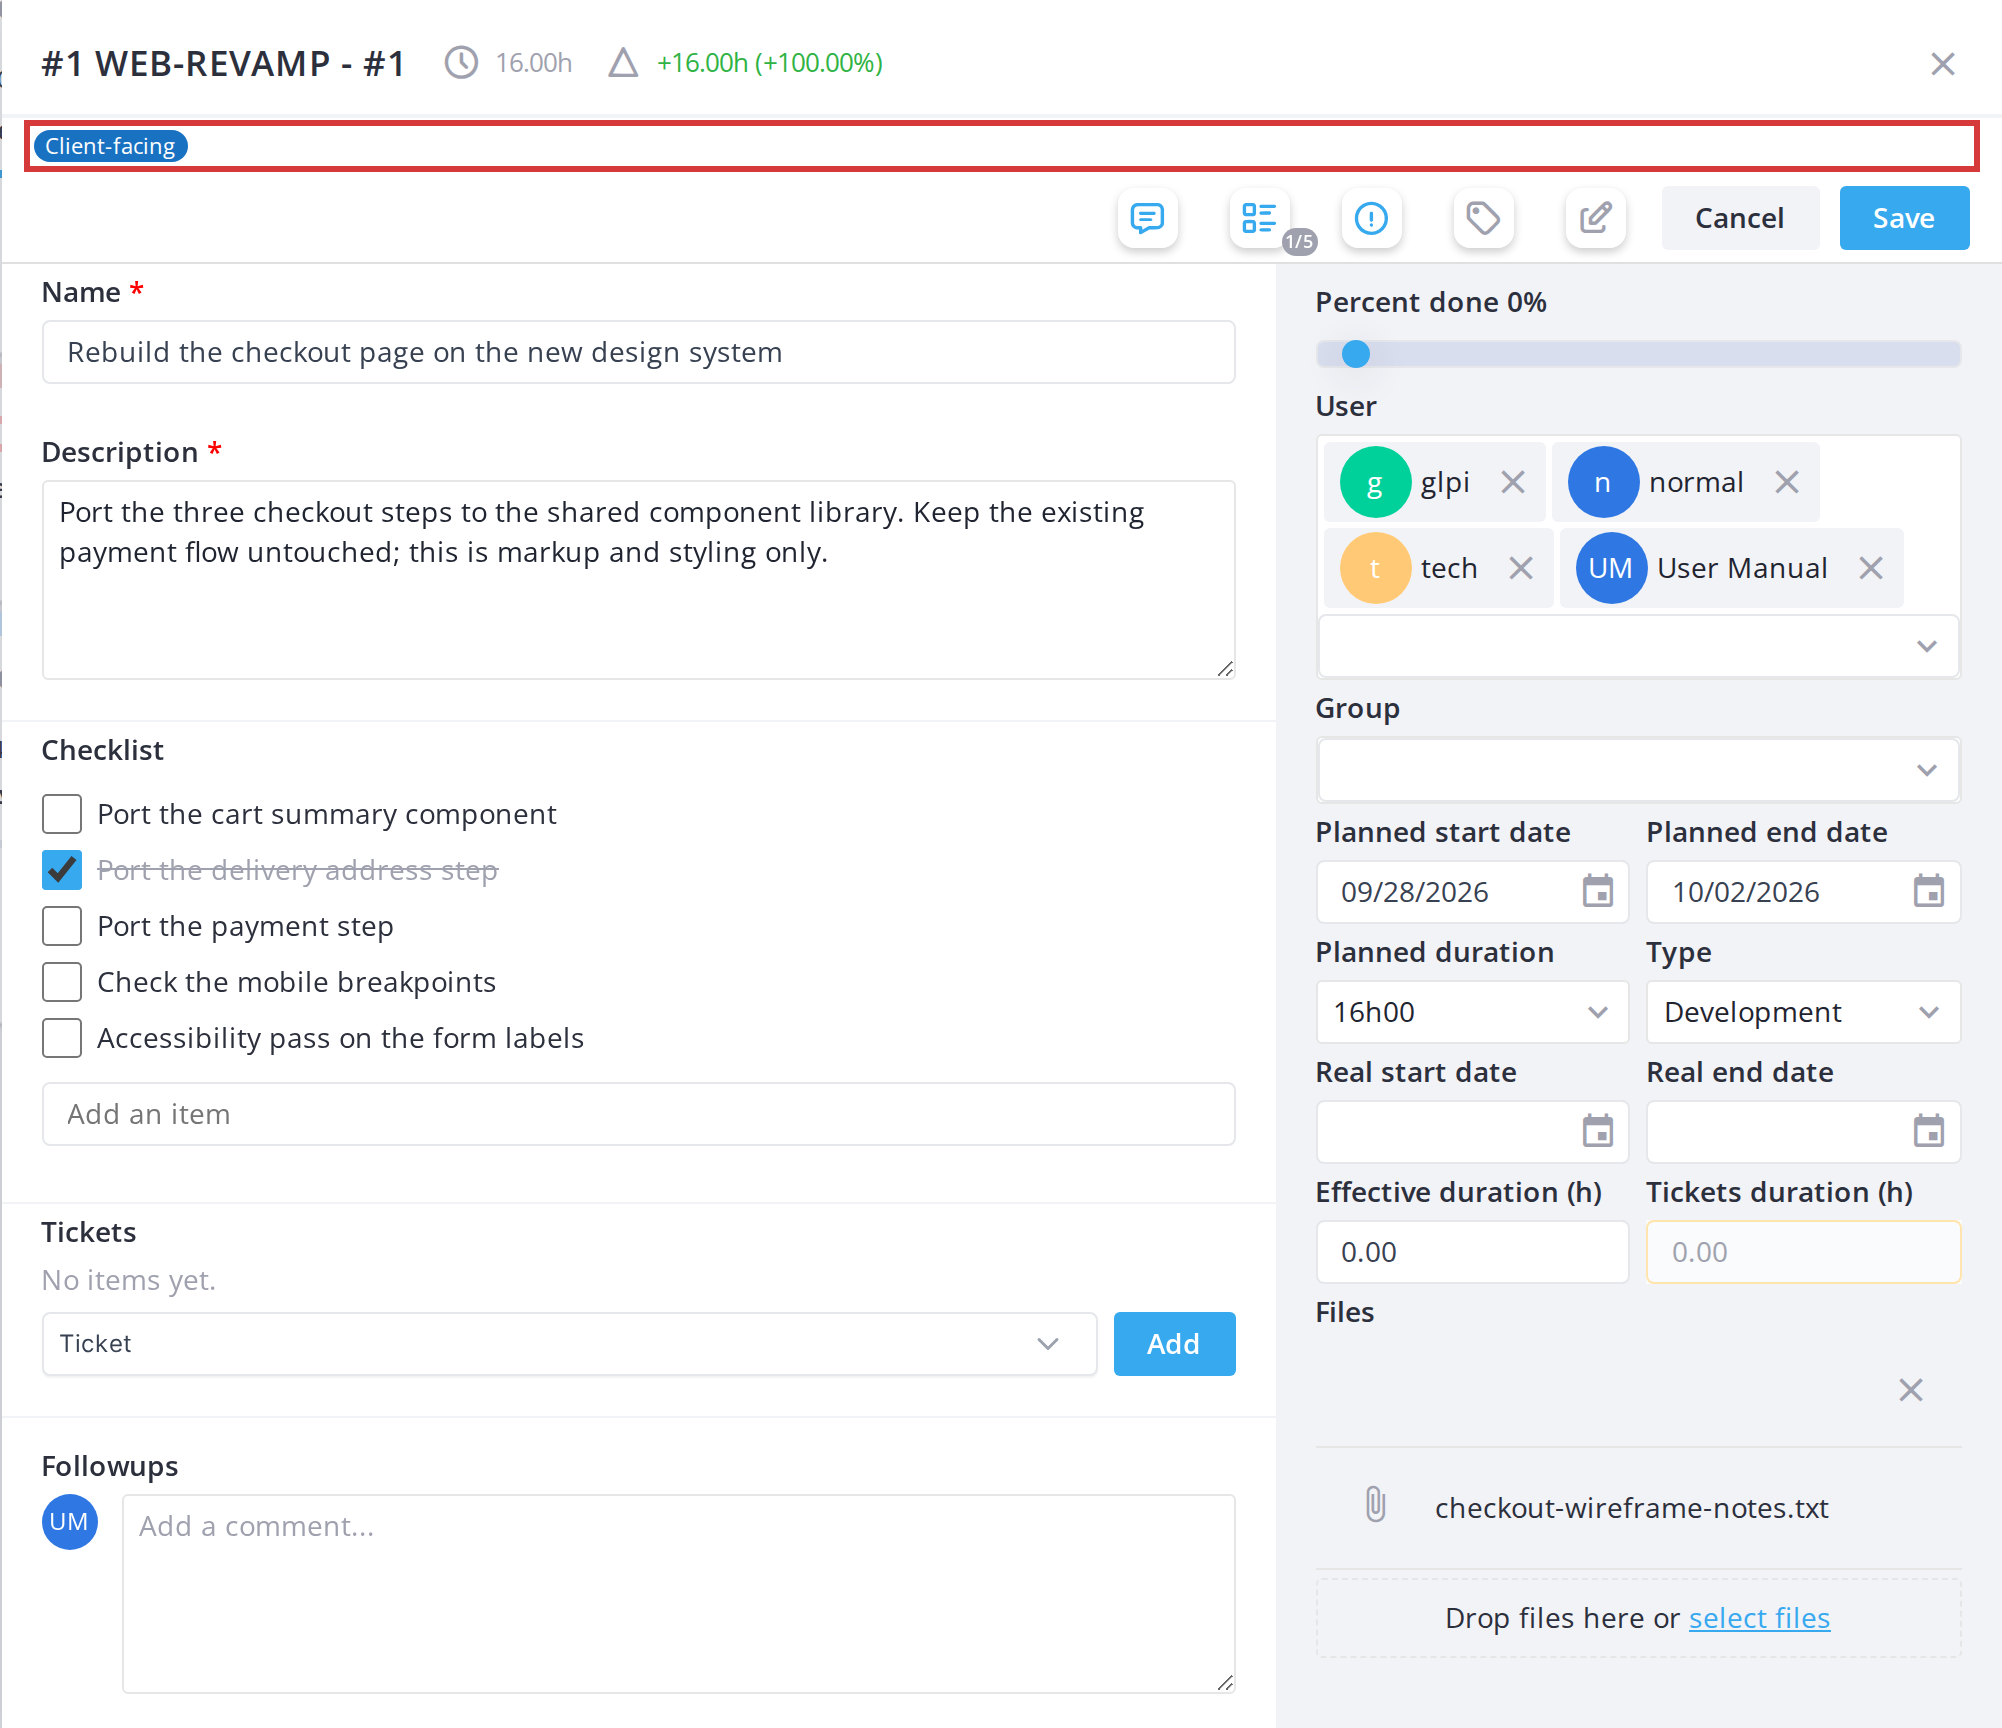
Each label has a background color set by the administrator. The label name is written in black or white, whichever reads better on that colour. On the card front, labels are shown as chips; in the modal, they appear in two places: a row at the top of the action bar (capped at a few visible chips, with extras in a "+N" badge), and again in the full-width list in the label assignment dialog.
5.3.2.2 Labels in the dialogs
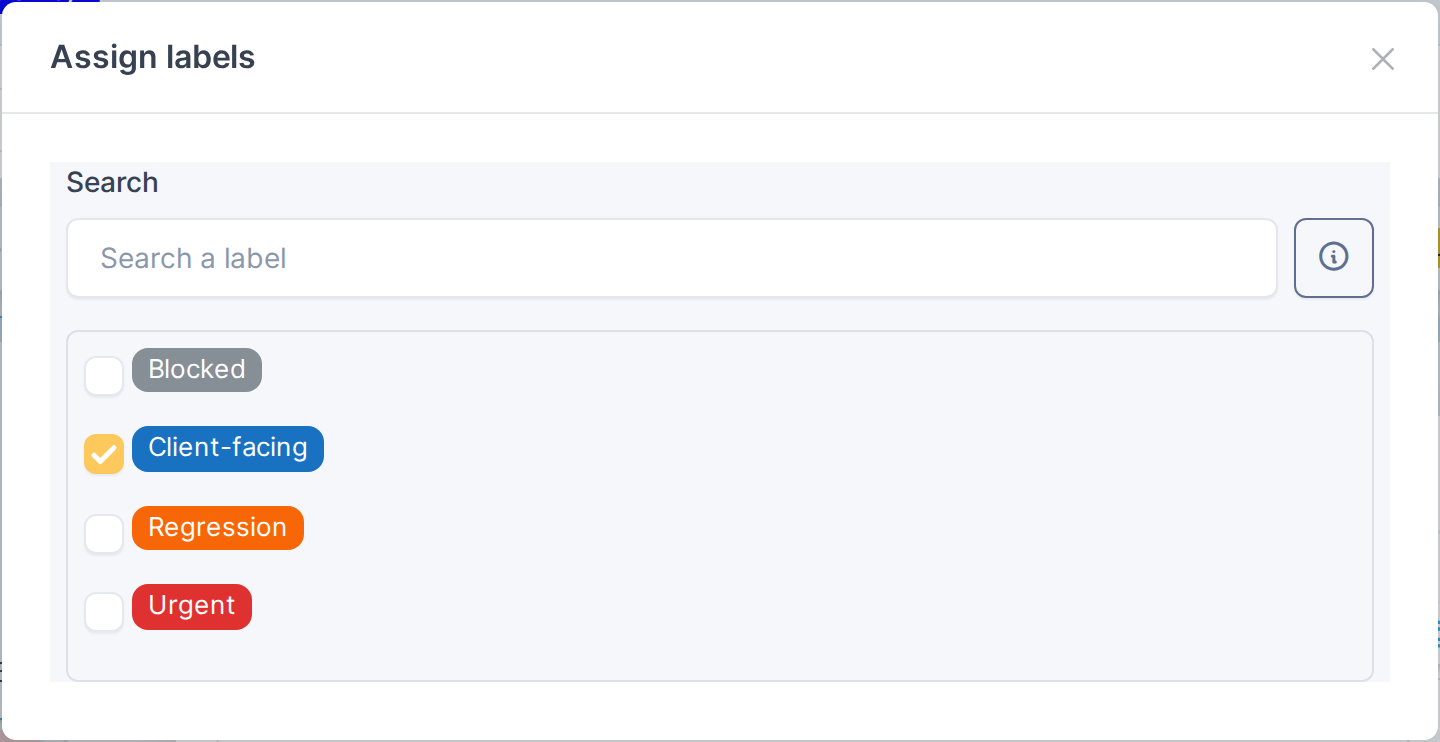
The Assign labels window and the global board's Filter by label window list each label as a chip in its own colour, the same chip as on the cards, so a label is recognised the same way everywhere.
Note: Label colors are chosen by administrators when creating a label in Setup. Colors are consistent across the board and all views.
5.3.3 Labels on task and ticket cards
Labels let you tag cards with custom metadata — e.g., "urgent", "in review", "customer feedback". They appear as colored chips on both the card front and in the detail modal.
5.3.3.1 View labels on a card
Open a card. If it has labels, they appear as colored chips in the modal. Each chip shows the label name; if there are many labels, extra ones collapse into a "+N" badge.
5.3.3.2 Assign a label to a card
Open the card and click the tag icon in the action bar at the top (if Assign labels permission is granted). A dialog appears with available labels. Check the box next to each label to assign it; uncheck to remove. Click Save to apply the changes.
5.3.3.3 Remove a label from a card
Open the card and click the tag icon to open the label assignment dialog. Uncheck the box next to a label to remove it. Click Save.
Note: Labels are project-wide (or global on the Kanban global view). They are not created per card — you can only assign existing labels. New labels are created in Setup by administrators.
Note: Only users with the Assign labels right can modify a card's labels. The tag icon is hidden for users without this right.
5.3.4 Checklists on task cards
Project task cards can have a checklist — a list of subtasks that you can check off as you complete them. Checklists are task-specific: ticket cards do not have one.
5.3.4.1 Show/hide the checklist
Open a task card. If it has a checklist, a checkmark icon appears in the action bar at the top. Click it to toggle the checklist panel visible/hidden. The checklist appears below the description in the modal.
5.3.4.2 Check off a checklist item
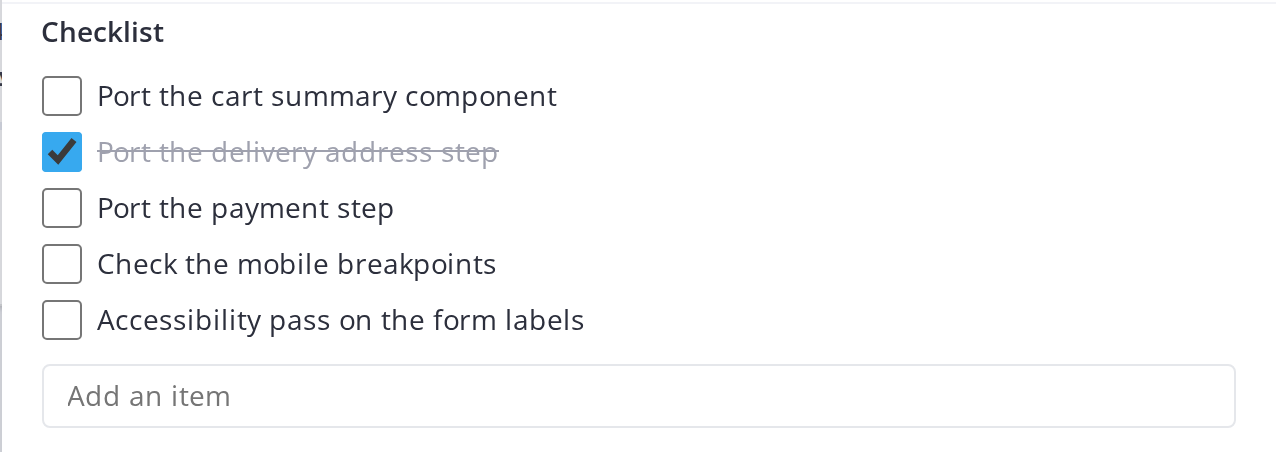
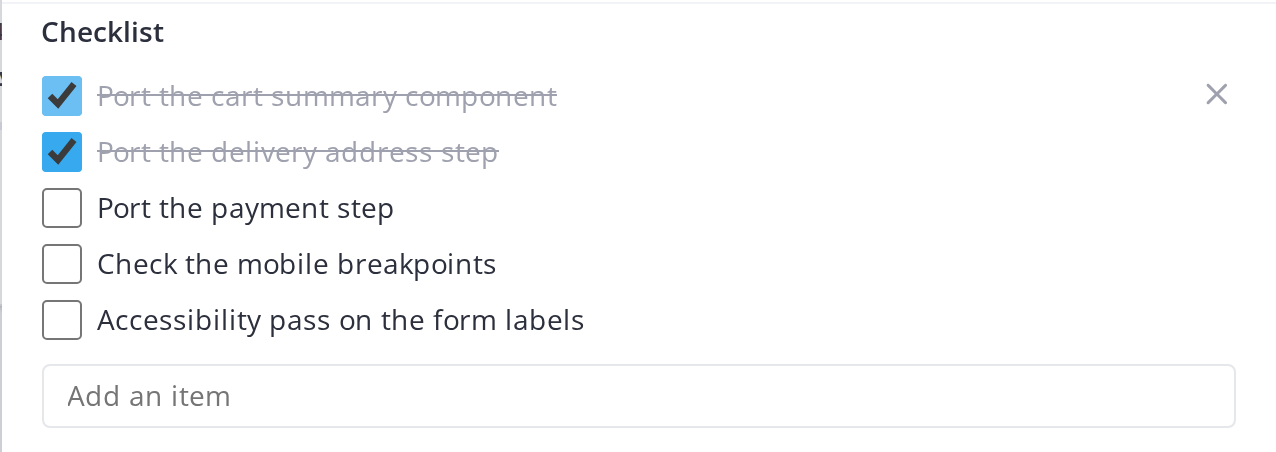
In the checklist panel, click the checkbox next to an item to mark it complete. Completed items get a strikethrough and are slightly grayed out.
5.3.4.3 Add a checklist item
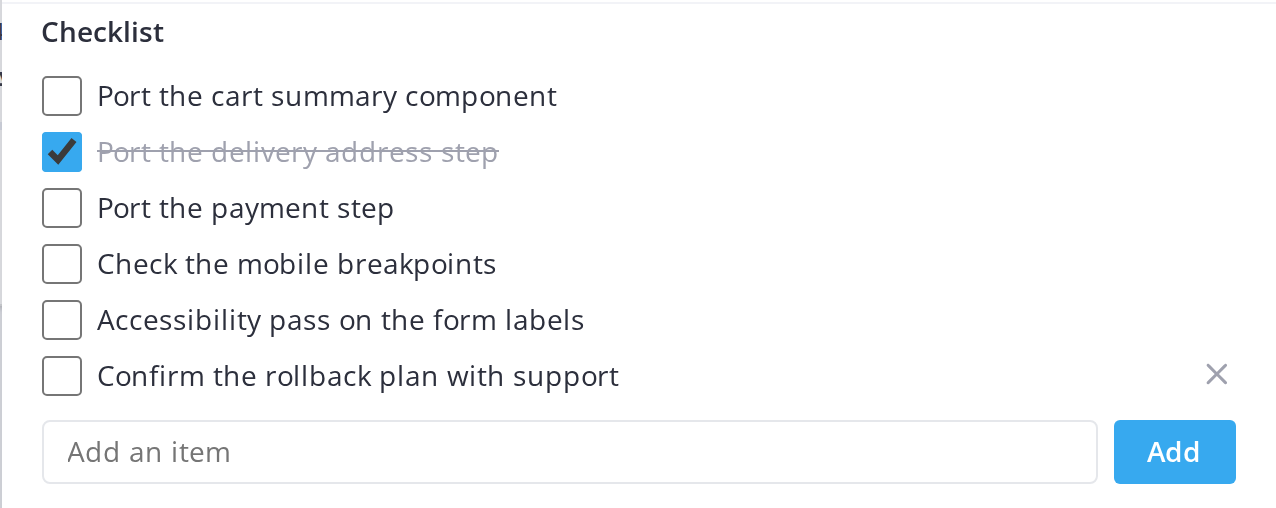
At the bottom of the checklist, type a new item name in the Add an item text box and click Add, or press Enter. The new item appears in the list, unchecked.
5.3.4.4 Edit a checklist item
Hover over a checklist item and click its text to edit it in place, then press Enter to save the change.
5.3.4.5 Delete a checklist item
Hover over a checklist item and an X icon appears on the right. Click it to remove the item from the checklist.
Note: Checklist permissions follow the card edit permissions — if you can edit the task, you can edit its checklist.
Note: A checklist progress ring appears on the card front (in the footer) showing the percentage of items checked. The ring fills as you complete items.
Generated for Agile Project Management 2.2.0-alpha.2 on GLPI 11.0 — 2026-09-25.