Asset Handover
Read and assign assets to a user
How to read the assets a user has and assign new ones from the Asset Handover section.
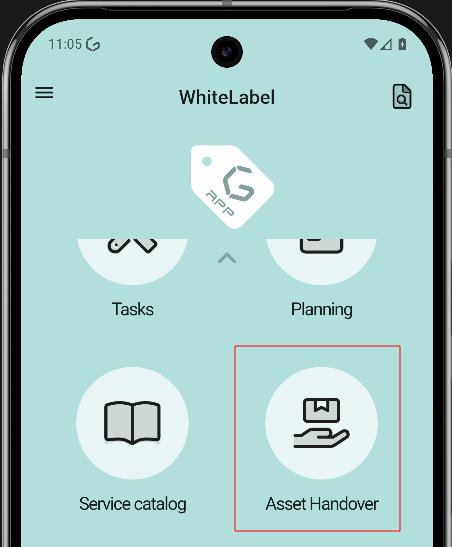
1. Open Asset Handover
From the main screen, open the side menu and tap Asset Handover to enter the section.
2. Choose how to assign
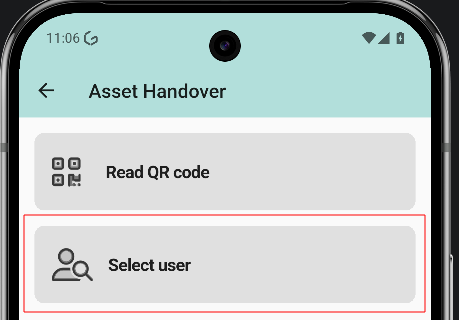
The screen offers two options: Read QR code and Select user. This guide covers the Select user flow.
3. Select the user
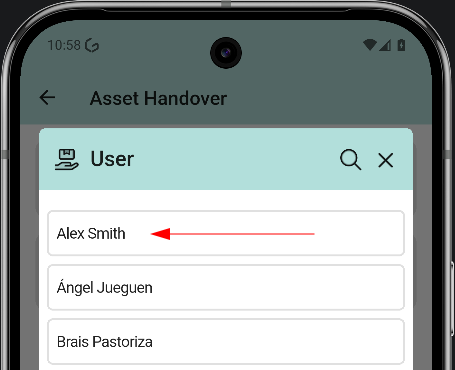
The user list opens. Tap the user who receives the asset. In the example, Alex Smith.
4. Read and assign from the user profile
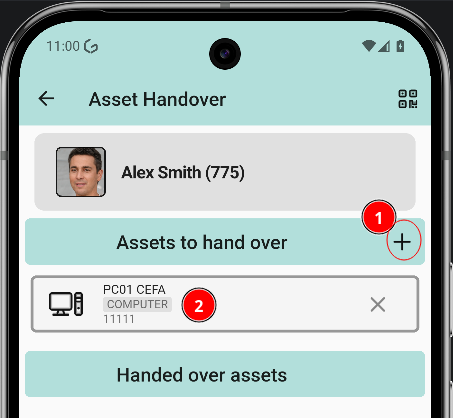
Tapping a user opens their profile, where the assets of that person can be read and new ones can be assigned. Two actions are available:
- Add new assets opens the asset list to assign a new asset.
- Asset list shows the assets the user already has.
5. Pick the asset
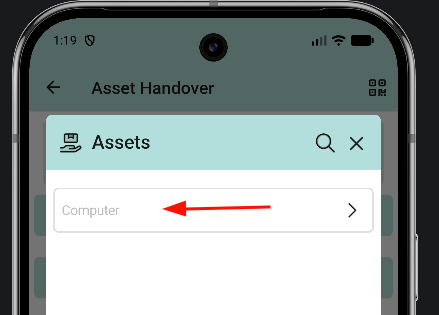
The asset list opens with the available assets. Tap the asset to assign.
6. Asset added
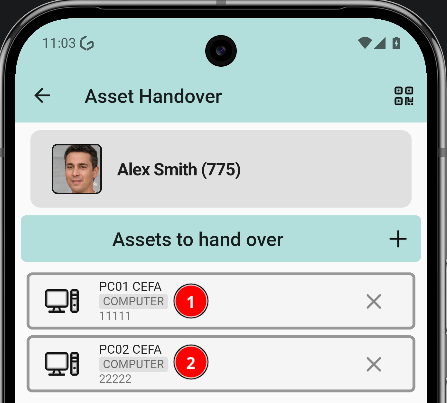
Back in the user profile, the asset list shows the previous asset and the newly assigned one.
Assign an item to a ticket
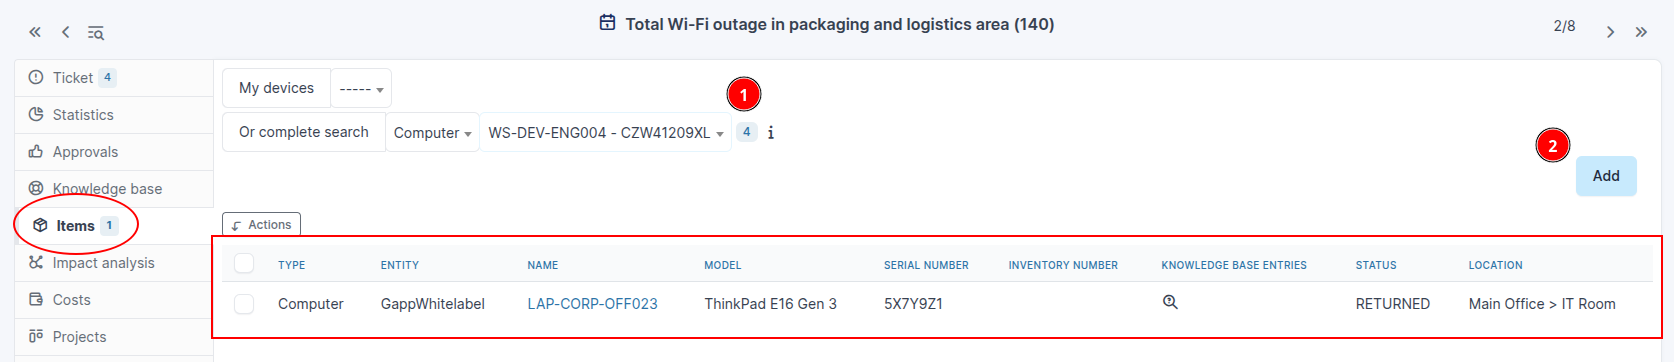
Items are assigned to a ticket from the GLPI web interface. Once linked, they appear in the Items tab of the ticket inside the app.
Link an item from GLPI
Open the ticket in the GLPI web interface and switch to the Items tab.
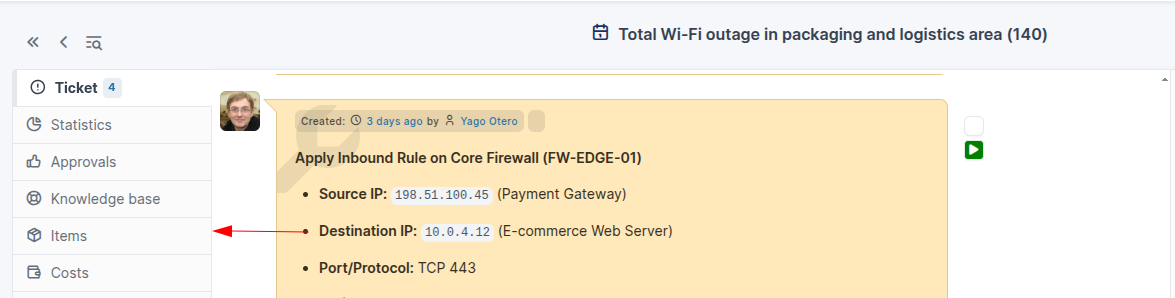
Select the item type and the device, then click Add.
View items in the app
Once the item is linked, it shows up in the Items tab at the bottom of the ticket detail screen.
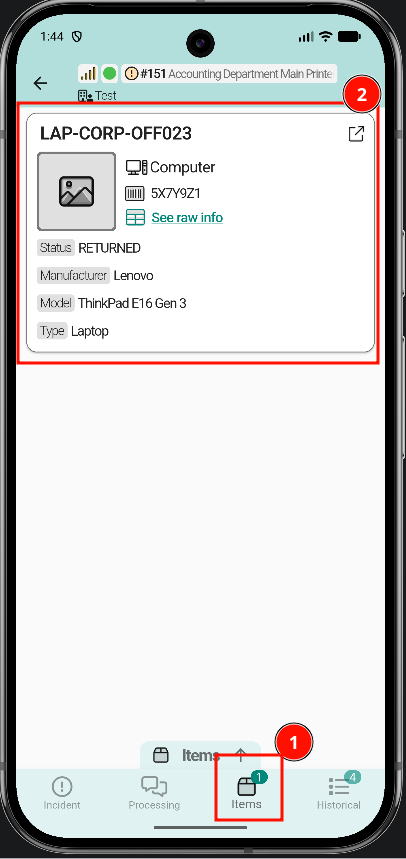
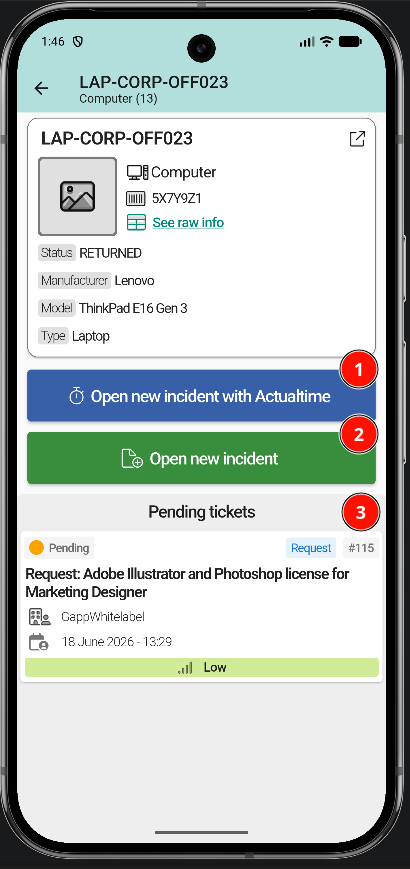
Tapping an item opens its full detail: raw information, linked tickets, and available quick actions.